
Cinematic settings for the OSMO Action
So you’ve just bought the new DJI OSMO ACTION and are finding that there are days were you don’t need the action part of an action camera, fortunately the OSMO ACTION has some fantastic cinematic settings that will help you capture some incredible shots.
We all know rocksteady is beyond amazing, however it is does have a large crop at 4K of 18% and we can’t have HDR video with rocksteady. What we can do is either go ahead with the crop or use a phone stabiliser like the Osmo Mobile 2 and attach the OSMO ACTION to that.
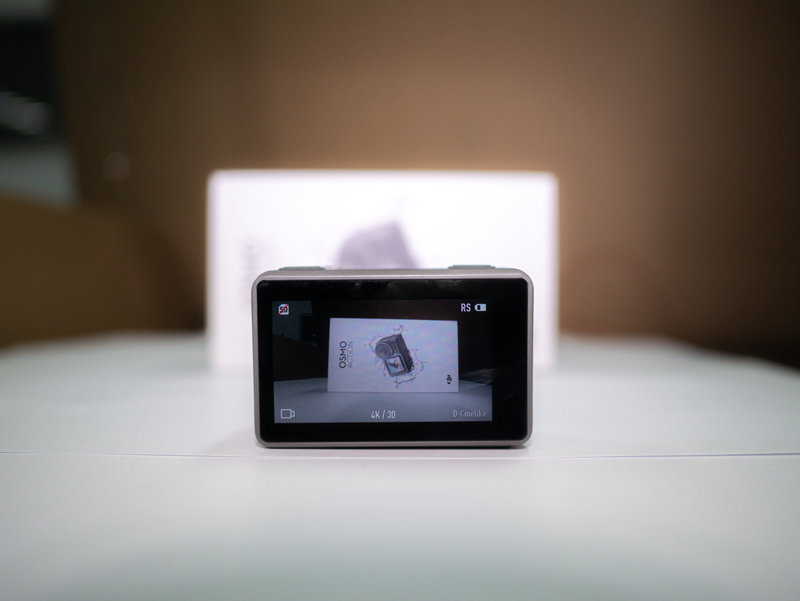
In this case, we will stick with rocksteady but use the colour profile, D-Cinelike, which gives the OSMO ACTION a greater dynamic range and allows for easier and better colour grading.
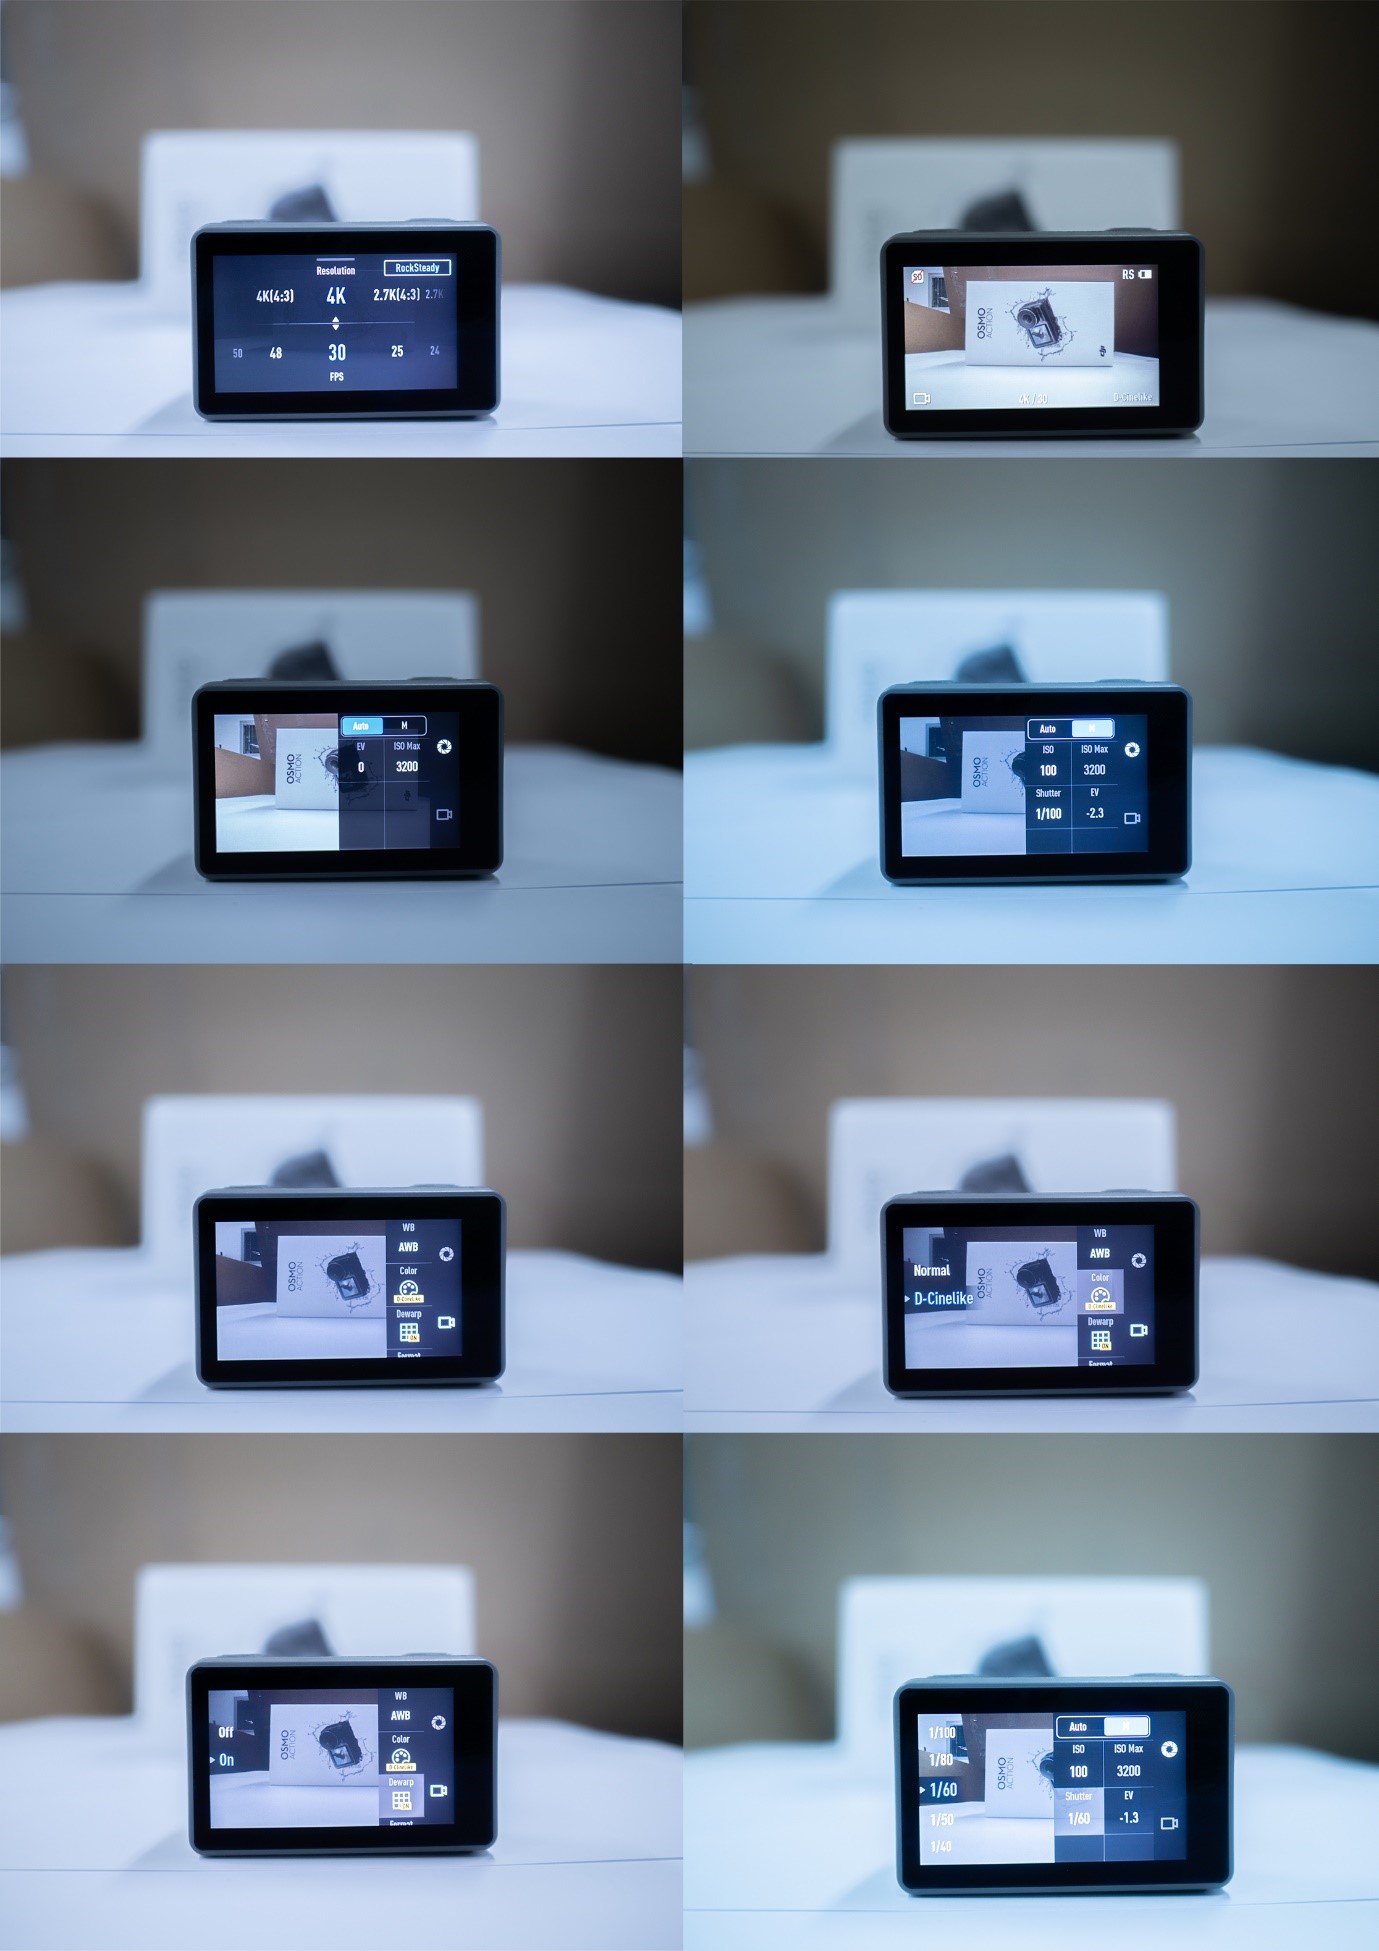
To get to this setting, swipe across to get to the video/photo settings, select the button that looks like a camera and find the setting with Color. Swipe to activate D-Cinelike. You will also find dewarp here, as we want to be cinematic as possible, we shall turn Dewarp On. (This will make sure we do not have any curved horizons).
Now we need to pick the best video settings. Auto mode is good, but doesn’t allow you to have the best possible results. What we need to do instead is to change from Auto to M (manual). Here we alter the ISO and Shutter. We also have an EV meter to help us. We do want this meter to be as close as possible to 0 to get the best results. ISO should also be as low as possible.
A great rule to follow is to keep the shutter speed to be 1/ (2x frame rate). For example, if we are shooting at 4K 30FPS, we want the shutter speed to be 1/60.
You might find that in daylight, 1/60 is very bright and allows a lot of light in. This is where ND filters come in handy. What we want to do is choose an appropriate ND filter for the amount of atmospheric light. On a sunny day, we want to choose a higher graded ND filter, on an overcast day, we want to use a lower graded ND filter. Generally, ND 4-16 is a great selection.
You can pick up a set of the best ND filters here: https://www.d1store.com.au/products/polar-pro-vivid-3-pack-cinema-filter-for-osmo-action
Now we have done the most we can in the camera, let’s move onto what we can do outside the camera. Holding the OSMO with just your hands is a little bit cumbersome, so it is highly recommended to pick up a hand-grip or a tripod. The extra length will allow a greater sense of control and can help get those lower/higher shots with ease. Remember that any drastic movement can ruin the footage, we want to be as smooth as possible with the movements.
https://www.d1store.com.au/products/pgytech-hand-grip-and-tripod-for-mavic-air
The following is one of our most popular accessories, it’s a hand grip tripod built for the air but works extremely well with the OSMO ACTION. There is even a space for you to place your smartphone and use it as a larger screen than the OSMO ACTION. This makes it a breeze to get your framing right.
The biggest tip to get the smoothest and most cinematic movement is slowing your movement down and getting that control of the camera. Without control, the footage looks super shaky and wonky, we don’t want that. You can also shoot at a higher frame rate and slow it down in post to get that slow moving shot. Shooting at 60FPS gives you 2 times slow motion. You can also use the built in SLO-MO to achieve 8x slow motion, but the quality will be reduced to get those results.
If you haven’t already, make sure to pick up care refresh for your OSMO ACTION, this is immensely beneficial to your product and will definitely come in handy especially if you do a lot of ACTION shots!
https://www.d1store.com.au/products/dji-care-refresh-osmo-action
If you do have any more questions, please do not hesitate to contact us at info@d1store.com.au