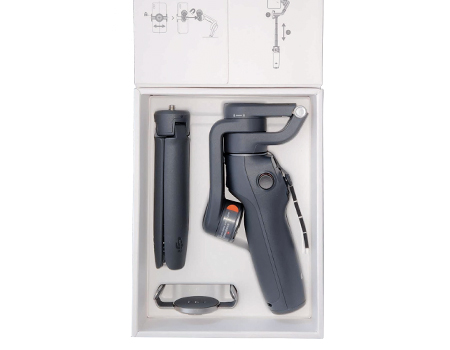
Double check the packaging for any hard to get accessories. With applicable devices, make sure to insert an SD Card.
Once unboxed, it is recommended to fully charge the device before Activation & First Use.
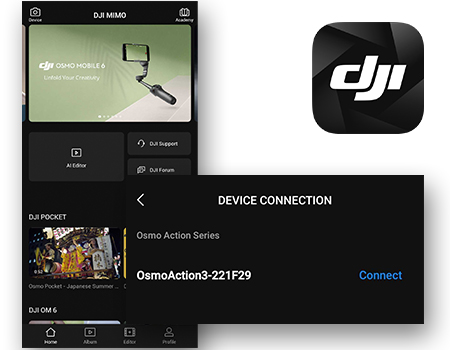
Activation
Open up DJI Mimo on your smartphone device and turn on your handheld device. Make sure both your Bluetooth and WiFi are turned on. Follow the prompts on your screen to connect to your device and activate.
Ensure your phone is connected to fast internet to avoid any errors.
Note: The warranty starts upon activation.
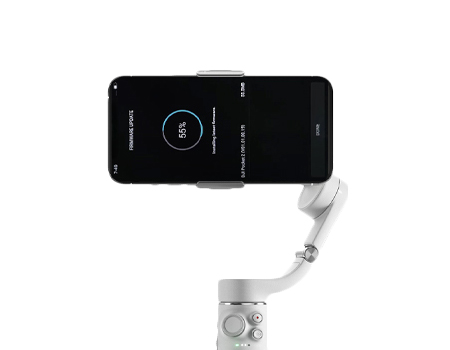
Firmware updates
Firmware updates are released often for new features and/or fix bugs. You will need to update your OSMO handheld through the DJI Mimo application.
Ensure your batteries are above 50% before updating along with stable and fast internet.
Care Refresh
Get DJI Care Refresh coverage for your Osmo series handheld to receive exclusive prioritised repair and replacement services for your device.
Please note that DJI Care Refresh can only be purchased and paired with brand new products within 30 days of device activation.
DJI has once again set the bar high with the release of the Osmo Action 5 Pro, the latest evolution in their renowned action camera series. With a host of enhancements over its predecessor, the Action 5 Pro stands out as a game changer for amateurs and professionals alike.
How to Download DJI Mimo for the DJI Osmo Mobile 6
Want to unlock the true creative potential of the all-new DJI Osmo Mobile 6? Well, you’re going to need the DJI Mimo app for that! Not sure how to download it? We’re here to help. Let’s take a look.
Considering purchasing a DJI Osmo Mobile 6? Great call|! But before you buy, let’s make sure that your smartphone is compatible with the DJI OM6. Join us as we go through which phones do and don’t work with the new DJI Osmo Mobile 6.
Select your handheld device below to view the F.A.Q:
Camera
Osmo Nano is equipped with a new generation 1/1.3-inch CMOS sensor, which offers an enhanced dynamic range of up to 13.5 stops. It supports up to 4K/60fps high-dynamic imaging and 4K/120fps slow motion recording.
Yes. On the recording specifications page, tap the RS|Wide icon in the upper right corner to switch the FOV to Standard (Dewarp).
Yes. Photos from Timelapse can be downloaded and viewed on a computer. Specific operation steps: In Timelapse mode, tap the settings icon on the right side of the screen, and switch the [Format] option to "Video+JPEG" or "Video+RAW."
Osmo Nano uses RockSteady 3.0 technology to stabilize footage. This Electronic Image Stabilization (EIS) technology is realized by increasing the shutter speed, analyzing the images captured by the CMOS sensor, and compensating by cutting off the edges of these images. In this way, multiple frames are overlaid and finally combined into a single frame that is sharp, clear, and accurately exposed.
It is designed to capture a wide dynamic range from the sensor, and colors are distributed evenly so the dark parts of a picture are greatly improved. It is not a real LUT, but a lower-contrast video with a flat color profile, great for post-processing options.
There are four options available: 1. Connect to the DJI Mimo app and download content from the microSD card and built-in storage to your smartphone. 2. You can insert a microSD card into the Multifunctional Vision Dock and follow the on-screen instructions to pair the Camera with the Vision Dock, exporting the Camera's content to the microSD card. Then use a card reader to export content from the microSD card to your computer or smartphone. 3. Attach the Vision Dock to the camera and connect it to a computer using a data cable. Select the storage location on the camera screen, then export content to the computer. 4. Attach the Vision Dock to the camera. Swipe down to access the settings menu and select "USB Mode"*. Connect Osmo Nano to a smartphone with a USB-C port using a USB-C cable. Then you can export content from the microSD card and built-in storage to your phone.
* Osmo Nano must be updated to the latest firmware.
It is saved in the camera's built-in storage. Osmo Nano does not support recording content directly onto the microSD card in the Multifunctional Vision Dock.
HorizonBalancing corrects the tilt horizontally within ±30° and supports recording stable 4K/60fps HD videos. HorizonBalancing supports video shooting specifications of 1080p@24/25/30/48/50/60fps, 2.7K (16:9)@24/25/30/48/50/60fps, and 4K (16:9)@24/25/30/48/50/60fps.
When Auto Recording is enabled, the camera can automatically start recording from a powered-off state through preset actions or intervals and clip durations. For detailed instructions, you can check A Beginner's Guide to DJI Osmo Nano, which includes tutorials, user manuals, and comprehensive instructions covering unboxing, setup, activation, and device connection.
Yes. Osmo Nano supports up to 1080p/240fps 8x slow motion videos. In 4K mode, it supports 4x slow motion (4K/120fps) shooting.
Yes. Osmo Nano uses a prime lens, and subjects are clear when they are more than 350 mm away from the lens.
No. Osmo Nano uses a fixed-focus lens and does not support focus adjustment.
Osmo Nano comes with built-in storage options of 64 GB (48 GB available) and 128 GB (107.6 GB available). Direct recording to a microSD card is not supported. However, you can quickly export footage from the camera to a microSD card via the Vision Dock to free up storage space on the camera.
Osmo Nano uses global intelligent metering and does not support spot metering.
Videos recorded by Osmo Nano are of high dynamic range, thus there is no need for a separate HDR mode.
Operation
The DJI Mimo app. It allows you to adjust settings and shooting modes, sync photos and videos, and edit and share your content. For more details, please visit the DJI Mimo webpage.
Osmo Nano must be activated via the DJI Mimo app before first use. 1. When the camera is mounted on the Multifunctional Vision Dock, press and hold either the camera button or the Vision Dock button to power it on. 2. Download the DJI Mimo app by scanning the QR code shown on the camera screen prompt or from your smartphone's app store. 3. Enable Bluetooth and Wi-Fi on your smartphone. 4. Launch the DJI Mimo app, tap the camera icon and follow the prompts to activate the device.
After connecting Osmo Nano to the DJI Mimo app, you will automatically receive firmware update notifications. Follow the prompts to complete the update.
The magnetic quick-release design between the camera and the Multifunctional Vision Dock allows for flexible front or rear mounting. When the lens and screen are on the same side, you can easily view your shot while taking selfies.
Yes. Osmo Nano supports voice commands in English and Mandarin Chinese. It’s recommended to use Voice Control within one meter from the camera in a relatively quiet environment. English commands: Start Recording Stop Recording Take Photo Shut Down
After shooting a video with Osmo Nano, you can connect it to the DJI Mimo app to eliminate the selfie stick*.
* To ensure the elimination effect works adequately, use the Osmo 1.5 m Extension Rod when shooting and try to avoid covering any of your body parts with it. InvisiStick supports up to 1920×1080 video when eliminating on the cloud, and up to 1280×720 video when eliminating locally.
You can save the video to your smartphone and share, or use the DJI Mimo App to upload it and share the link generated.
1. On Osmo Nano's camera view, tap the Image/Audio Settings icon on the right side, enable PRO mode in the upper right corner, and set Exposure to M (Manual) mode to adjust shutter speed and ISO parameters. 2. In the DJI Mimo App, tap the "..." icon on the camera view and enable PRO mode. Then, return to the camera view and tap the Image/Audio Settings icon to adjust shutter speed and ISO parameters.
Yes. When Osmo Nano is powered on, press and hold the quick switch button to enter sleep mode. To wake it up, press the quick switch button once. Additionally, pressing the shutter/record button once will enable the Snapshot feature.
When Osmo Nano is powered off, press and hold the shutter/record button to start recording immediately. The shooting mode will follow the settings of the SnapShot feature, allowing you to quickly capture exciting moments. After shooting, if there is no operation within 3 seconds, the camera will automatically power off.
It only supports DJI microphones. Direct connection to the first-generation DJI Mic is not supported. DJI microphones are sold separately.
No.
Yes. Tap the Volume icon in the upper right corner of the playback page to adjust the volume.
Battery
The Osmo Nano Camera can operate for up to 90 minutes on its own. When connected to the Multifunctional Vision Dock, the operating time can extend to up to 200 minutes.
Tested at 25° C room temperature while recording 1080p/24fps (16:9) video, with RockSteady stabilization enabled, Wi-Fi disabled, and the screen turned off. Actual operating time may vary based on device settings, usage, and environmental factors. Data was collected in a controlled environment and should be taken as reference only. When activating and using Osmo Nano in the EU and the UK, actual battery life may vary due to local regulations on product operating temperatures. Refer to the actual user experience.
With Endurance mode enabled, Osmo Nano can record at 4K/60fps (16:9 aspect ratio) for over 10 minutes longer compared to when the mode is off.
Measured at 25°C room temperature with RockSteady stabilization enabled, Wi-Fi disabled, and the screen turned off.
Yes. You can use a USB-C charger that supports the standard PD 3.0 protocol with a maximum PD output power of 30 W or above.
Yes.
1. You can check the battery level by connecting the camera to the Vision Dock. 2. You can also view the battery status in the DJI Mimo app. 3. When the camera’s battery drops below 20%, a yellow indicator light will briefly appear when powering on, allowing you to check the battery status even without the Vision Dock.
Accessories
DJI has designed a range of accessories to use Osmo Nano with in various scenarios. Check the Accessories section on the product page for more details.
Yes. You can connect Osmo Nano to most action camera accessories using the Osmo Dual-Direction Quick-Release Foldable Adapter Mount (sold separately).
Osmo series action cameras feature a range of accessory mounts for flexible setups and easy attachment or removal in various scenarios. The main types include: 1. Magnetic quick-release mount: Ideal for sports and activities that require frequent mounting and removal. 2. Dual-sided magnetic quick-release mount: Ideal for situations where both front- and rear-facing shooting (such as selfies and landscape shots) are needed. 3. 1/4'' threaded hole: A standard mount compatible with most mainstream photography accessories. 4. Ball head: Supports 360° rotation for flexible angle adjustments. 5. Standard three-prong mount: Designed for high-intensity activities, providing extra impact resistance and secure attachment. To use Osmo Nano with accessories from the Osmo Action or Osmo 360 series, it is recommended to use the Osmo Dual-Direction Quick-Release Foldable Adapter Mount. For detailed compatibility, please refer to the Osmo Nano accessory compatibility page.
Playback of recorded footage on computers can be affected by computer settings and performance. Flickering is usually caused by compatibility issues with the video player software, not by the video files themselves. If flicker occurs, try the following solutions: Apple Mac: Go to System Preferences > Displays > Refresh Rate, and change the refresh rate to a fixed value, instead of ProMotion. Other computers: A low-performance graphics card may cause flicker when playing the files. It is recommended to use a better-performing computer for viewing.
You can use the DJI Mimo app to add dashboard information and other sports data to your videos. This requires the Osmo Action GPS Bluetooth Remote Controller (sold separately) or importing third-party sports data. For detailed instructions, please refer to the official tutorials.
It is normal for the camera to become warm during extended shooting or when recording high-resolution videos. To help minimize heat and discomfort, you can try the following: 1) Use the included protective case to reduce the sensation of heat on your hands. 2) Operate the camera in a well-ventilated environment to improve heat dissipation. 3) Lower the video resolution or frame rate if high settings are not required. 4) Enable the “Auto Screen Off” feature, or manually turn off the screen when not needed to reduce power consumption and heat. 5) Since there are metal components on the bottom of the device, try to avoid prolonged contact with the mount or other metal areas during shooting to reduce the feeling of heat.
No.
The Osmo Nano Camera is waterproof up to 10 meters without any additional housing. When paired with the Multifunctional Vision Dock, it offers IPX4-rated splash resistance.
Before use, tighten the Glass Lens Cover. It is not recommended to use the camera body only for long-term underwater shooting or in environments with high water impact pressure. Do not use the camera in hot springs or extreme underwater environments, or let it come into contact with corrosive or unknown liquids.
1. Check that the Glass Lens Cover is intact, and tighten the Glass Lens Cover; 2. The Osmo Nano Camera is waterproof up to 10 meters without any additional housing. It is not recommended to use the camera body only for long-term underwater shooting; 3. Do not use the product in extreme water environments or unknown liquids. Avoid using it in hot springs or corrosive liquids; 4. Before changing the Glass Lens Cover, air dry the camera to avoid any fogging caused by water entering the lens cap; 5. After using it underwater, clean the device with fresh water to remove any foreign objects from the surface. Before recharging, ensure that the contacts are free of any foreign objects or water stains.
Recommended Models: Lexar SILVER PLUS 64GB U3 A2 V30 microSDXC Lexar SILVER PLUS 128GB U3 A2 V30 microSDXC Lexar SILVER PLUS 256GB U3 A2 V30 microSDXC Lexar SILVER PLUS 512GB U3 A2 V30 microSDXC Lexar SILVER PLUS 1TB U3 A2 V30 microSDXC Kingston Canvas Go! Plus 64GB U3 A2 V30 microSDXC Kingston Canvas Go! Plus 128GB U3 A2 V30 microSDXC Kingston Canvas Go! Plus 256GB U3 A2 V30 microSDXC Kingston Canvas Go! Plus 512GB U3 A2 V30 microSDXC Kingston Canvas Go! Plus 1TB U3 A2 V30 microSDXC
1. Dirt on the lens can be cleaned with a lens cleaning cloth. For dust in the cracks at the edge of the lens, use a dust blower or cotton swab for cleaning. 2. To clean water stains, oil smudges, or fingerprints on the lens, apply a few drops of lens cleaning solution on lens tissues and use a circular motion to wipe away.
Osmo Nano is dust-proof. However, if dust does get inside the device and cannot be cleaned, please contact DJI After-Sales for repair.
Each camera series offers unique features tailored to different needs and scenarios. Consider your specific needs and shooting scenarios to choose the camera that best suits you: Osmo Nano Series: A wearable camera that is compact and lightweight, with support for live view and remote control. It’s ideal for those who need a portable device for everyday recording or first-person perspective shooting. Osmo Action Series: A flagship action camera that is rugged, durable, and delivers outstanding image quality. Ideal for outdoor sports enthusiasts or vloggers who want professional-level footage and multi-angle shooting options. Osmo 360 Series: A 360-degree camera that captures everything around you without the need for precise framing. It’s especially suitable for creative video makers or professionals who require multi-perspective recording.
For detailed instructions, you can check A Beginner's Guide to DJI Osmo Nano, which includes tutorials, user manuals, and comprehensive instructions covering unboxing, setup, activation, and device connection.
No.
The microphone is located on the front of the main camera. Avoid covering it with your hand when holding the camera to maintain optimal audio quality.
Camera
1. Osmo 360 is equipped with a new-generation 1/1.1-inch square CMOS sensor. The square design enables the camera to deliver panoramic coverage equivalent to that of a 1-inch sensor. 2. High-brightness OLED touchscreen for clearer display and more convenient operation. 3. Wi-Fi 6.0 and USB 3.1 for fast data transfer. 4. 128GB built-in storage (105GB available); expandable via microSD card. 5. Battery life supports up to 100 minutes of 8K/30fps panoramic video recording*. 6. Battery life supports up to 190 minutes of 6K/24fps panoramic video recording**. See the official product page for more product highlights.
* Tested under laboratory conditions at 25℃ with Wi-Fi, Gesture Control, Voice Control, and Editing Assistant turned Off, while recording 8K/30fps panoramic videos with the screen off. Data was collected in a controlled environment and should be taken as reference only. In the EU and UK, due to local regulations on operating temperature, the actual battery life of Osmo 360 may differ from the data shown on this page. Please refer to your actual experience. ** Measured under laboratory conditions at 25° C (77° F), while recording 6K/24fps panoramic video, with Endurance mode on, Wi-Fi off, Gesture Control off, Voice Control off, Editing Assistant off, and the screen off. Data was collected in a controlled environment and should be taken as reference only.
Osmo 360 features a newly designed square CMOS sensor with optimized pixel arrangement, increasing the sensor's vertical pixel count from 3,000 in the traditional rectangular sensor to 4,000. This enables native 8K (4K+4K) panoramic video recording with dual lenses. With large 2.4 μm pixels for enhanced light sensitivity and up to 13.5 stops of dynamic range, combined with an f/1.9 aperture, it delivers flagship action camera-level performance in both high dynamic range scenes and low-light environments.
The surfaces of Osmo 360's dual fisheye lenses are treated with multi-layer coatings and hardening processes, ensuring outstanding image quality along with enhanced scratch and abrasion resistance to withstand minor impacts and scratches in daily use. However, as camera lenses are high-precision and delicate components, careful handling and protection are still recommended. When storing the camera, please use the Rubber Lens Protector or place the camera in a protective pouch to prevent the lens surface from being scratched by hard objects such as keys or sand. Before use, please check the inside of the Rubber Lens Protector or pouch for any foreign objects, to prevent sand or other hard objects from adhering to the interior and causing lens scratches. Before shooting, please remove the Rubber Lens Protector or camera pouch and clean the lens surface to ensure it is free of fingerprints, oil stains, or other smudges that may affect image quality. For shooting in complex environments where lenses may be exposed to bumps or impacts, it is recommended to use the Osmo 360 Transparent Lens Protectors* for enhanced protection.
* Osmo 360 Transparent Lens Protectors are sold separately.
Osmo 360 is equipped with two fisheye lenses, both capable of capturing images with over 180° field of view. During shooting, the camera uses algorithms to stitch together images captured by two lenses and utilizes their overlapping area to "erase" the selfie stick at the bottom of the camera. As a result, the selfie stick does not appear in the final photos or videos, achieving the "invisible selfie stick" effect. For the best invisible effect, it is recommended to use the official DJI Invisible Selfie Stick*. When mounting the Invisible Selfie Stick, make sure that the camera and the selfie stick are aligned in a straight line to ensure the algorithm functions properly. If you use an adjustable quick-release adapter to position the camera at an angle to the selfie stick, or use other mounting methods that cause the camera and selfie stick to be misaligned, or if the connection point between the selfie stick and the camera is noticeably offset from the camera's front-rear plane, this feature may not work as intended.
* The Invisible Selfie Stick is sold separately.
For optimal panoramic stitching effect, it is recommended to keep Osmo 360 at least 0.75 m away from the subject. If the distance is too close, the images captured by the left and right lenses may differ significantly, which may result in unnatural stitching or anomalies. As long as the distance is greater than the safe minimum, the camera will automatically produce smooth and natural stitching results.
OSV for panoramic videos and MP4 (HEVC) for flat videos.
Yes. Osmo 360 allows you to switch between lenses during single-lens recording without interruptions. This feature supports recording specifications up to and including 60fps.
Yes. In Panoramic Video mode, it supports up to 4K/100fps 4x slow-motion panoramic videos, and in Single-Lens mode, it supports up to 4K/120fps 4x slow-motion flat videos.
D-Log M is a color mode that provides users with greater flexibility for color grading in post-production. By increasing the brightness of shadow areas and suppressing highlights, it preserves more image details. When shooting with D-Log M, the footage will have reduced saturation and contrast, but it retains more color and brightness information, making it easier to create different video styles during post-processing.
There are three options available: 1. Connect to the DJI Mimo App and download content from the microSD card and built-in storage to your smartphone. 2. Use a card reader to export content from the microSD card to your computer or smartphone. 3. Swipe down from the camera view, tap the Settings icon, and select USB Mode. Follow the on-screen prompts to connect the camera to a computer or smartphone with a USB-C port using a USB-C cable. You can then export content from the microSD card and built-in storage.
The footage is saved either on the microSD card inserted into the camera body or in the camera's built-in storage.
Yes, Osmo 360 uses two fisheye prime lenses.
Videos recorded by Osmo 360 have a high dynamic range, making an HDR mode unnecessary.
Operation
The DJI Mimo App. It allows you to adjust settings and shooting modes, sync photos and videos, and edit and share your content.
You can follow the steps below to activate the device: 1. Download the DJI Mimo App by scanning the QR code shown on the camera screen prompt or from an app store. 2. Press and hold the quick switch button to power on Osmo 360. 3. Launch the DJI Mimo App, tap the Camera icon, enable Bluetooth and Wi-Fi on your smartphone, and connect to Osmo 360 4. After connecting Osmo 360 to the DJI Mimo App, you will be prompted to activate the device; 5. Complete the activation by following the prompts in the App.
The DJI Mimo App will send firmware push messages automatically. Follow the prompts to complete the update.
Tap the front/rear lens switch icon in the lower right corner of the touchscreen, or press the physical button at the lower right of the touchscreen, which is set to switch between the front and rear lenses by default.
Yes. You can control parameter settings, mode switching, video playback, and more.
Yes. Osmo 360 supports voice commands in English and Mandarin Chinese. It's recommended to use Voice Control within 1 m from the camera in a relatively quiet environment. English Commands: Start Recording Stop Recording Take Photo Shut Down
You can save the video to your smartphone and share, or use the DJI Mimo App to upload it and share the link generated.
1. On Osmo 360's camera view, tap the Image/Audio Settings icon on the right side, enable PRO mode in the upper right corner, and set Exposure to M (Manual) mode to adjust shutter speed and ISO parameters. 2. In the DJI Mimo App, tap the "..." icon on the camera view and enable PRO mode. Then, return to the camera view and tap the Image/Audio Settings icon to adjust shutter speed and ISO parameters.
Yes. When Osmo 360 is powered on, press and hold the quick switch button to enter Sleep mode. To wake it up, press the quick switch button once. Additionally, pressing the shutter/record button once will enable the Snapshot feature.
With the SnapShot feature, when Osmo 360 is powered off, press and hold the shutter/record button and then you can start recording immediately. The shooting mode will follow the settings of the SnapShot feature, allowing you to quickly capture exciting moments. After shooting, if there is no further operation within 3 seconds, the camera will automatically power off.
Yes. Tap the Volume icon in the upper right corner of the playback page to turn the sound on or off. Press and hold the icon to adjust the volume.
Battery
Battery life supports up to 100 minutes of 8K/30fps panoramic video recording*. Battery life supports up to 190 minutes of 6K/24fps panoramic video recording**.
* Tested under laboratory conditions at 25° C with Wi-Fi, Gesture Control, Voice Control, and Editing Assistant turned Off, while recording 8K/30fps panoramic videos with the screen off. Data was collected in a controlled environment and should be taken as reference only. In the EU and UK, due to local regulations on operating temperature, the actual battery life of Osmo 360 may differ from the data shown on this page. Please refer to your actual experience. ** Measured under laboratory conditions at 25° C (77° F), while recording 6K/24fps panoramic video, with Endurance mode on, Wi-Fi off, Gesture Control off, Voice Control off, Editing Assistant off, and the screen off. Data was collected in a controlled environment and should be taken as reference only.
Yes. You can use a USB-C charger that supports the standard PD 3.0 protocol with a maximum PD output power of 30 W or above.
Osmo 360 offers a wide range of accessories for different scenarios. For details, please refer to the product page on the official website.
Osmo 360 is compatible with Osmo Action Quick-Release accessories. For more details, please check the Osmo 360 accessory compatibility page.
1. Official accessories can be attached directly to Osmo 360 via the quick-release locking clips. 2. Other accessories can be attached via the 1/4" screw hole at the bottom of Osmo 360.
Yes. You can mount third-party action camera accessories with the Quick-Release Adapter Mount.
No, the Osmo Curved Adhesive Base Max* uses 3M adhesives that are not reusable.
* Osmo Curved Adhesive Base Max is sold separately.
The surface of the Osmo 360 Transparent Lens Protectors* is treated with a three-layer coating for enhanced hardness, which provides a certain level of scratch and wear resistance while minimizing image quality loss. They can withstand minor scratches during normal daily use. However, as the Transparent Lens Protectors are made of plastic, care is still required to prevent damage. If subjected to strong impacts or friction, noticeable scratches may occur. In such cases, it is recommended to replace the Protectors promptly to avoid affecting image quality.
* Osmo 360 Transparent Lens Protectors are sold separately.
No. Osmo 360 Transparent Lens Protectors* are only splash-proof. Before using the Osmo 360 Transparent Lens Protectors in non-underwater environments, please clean the area around the camera lens and the surface of the lens to ensure that both the lens and the mounting slot are free of fingerprints, oil stains, or other smudges. Any foreign matter on the inner/outer surface of the lens or the Protectors may affect image quality. Avoid using the Osmo 360 Transparent Lens Protectors during water sports or in rainy or snowy conditions, as this may cause fogging. If fogging occurs on the inner side of the Protectors, please wipe it dry with a soft cloth before use. When removing the Protectors, please be careful not to scratch the camera lens.
* Osmo 360 Transparent Lens Protectors are sold separately.
Before installing the Osmo 360 Transparent Lens Protectors*, carefully clean the camera lens surface and the inner surface of the Protectors with a lens cloth. To install, hold the outer surface of the Protector with your fingers. First, align the lower latch of the Protector with the mounting position at the bottom of the camera lens and snap it into place. Then, gently push the upper latch of the Protector into the reserved slot at the top of the camera until you hear a click, indicating that one side is installed successfully. After both Protectors are installed, carefully clean the outer surface to remove any fingerprints, oil, or other stains that may affect image quality. To remove the Protectors, gently use your thumb to lift the upper latch from the raised area on the top of the Protector, then detach the lower latch by moving it downward along the lower slot. Do not use excessive force during installation or removal to avoid damaging the Protector latches.
* Osmo 360 Transparent Lens Protectors are sold separately.
Other
When using high-specification, high-performance modes (such as 8K/30fps panoramic videos), the camera consumes more power, which can result in a noticeable increase in temperature. Additionally, extended recording sessions or prolonged handheld use can also cause the camera to feel warm.
You can try the following methods: Adjust shooting specifications: Select a lower resolution and frame rate (such as 4K/30fps or 6K/30fps) to reduce power consumption and alleviate heat buildup. Optimize camera settings: Turn off the screen display during shooting, and disable the Wi-Fi function when not needed. Improve the operating environment: Ensure the camera is used in a well-ventilated area to help dissipate heat more effectively.
No.
Yes.
Osmo 360 (camera body only) can be used at depths of up to 10 meters underwater.
Before use, please ensure the battery compartment cover and USB-C port cover are securely closed. It is not recommended to use the camera body only for long-term underwater shooting or in environments with high water impact pressure. Osmo 360 has an IP68 waterproof rating. Do not use the camera in hot springs or extreme underwater environments, or let it come into contact with corrosive or unknown liquids. The camera alone is waterproof to a depth of 10 meters, but due to the convex fisheye lens design, underwater light refraction may cause image distortion and stitching errors. Therefore, it is not recommended to bring the camera body only for underwater shooting.
1. Before use, please ensure the battery compartment cover and USB-C port cover are securely closed. 2. The device is waterproof to a depth of 10 meters without a case. Due to the panoramic camera's convex fisheye lens design, underwater light refraction may cause image distortion and stitching errors. Therefore, it is not recommended to bring the camera body only for underwater shooting. 3. Do not use the product in extreme water environments or unknown liquids. Avoid using it in hot springs or corrosive liquids. 4. Rinse the camera with clean water after using it underwater, and completely air dry it before using it again.
Recommended Models: Kingston CANVAS Go! Plus 64GB U3 A2 V30 microSDXC Kingston CANVAS Go! Plus 128GB U3 A2 V30 microSDXC Kingston CANVAS Go! Plus 256GB U3 A2 V30 microSDXC Kingston CANVAS Go! Plus 512GB U3 A2 V30 microSDXC Kingston CANVAS Go! Plus 1TB U3 A2 V30 microSDXC Lexar SILVER PLUS 64GB U3 A2 V30 microSDXC Lexar SILVER PLUS 128GB U3 A2 V30 microSDXC Lexar SILVER PLUS 256GB U3 A2 V30 microSDXC Lexar SILVER PLUS 512GB U3 A2 V30 microSDXC Lexar SILVER PLUS 1TB U3 A2 V30 microSDXC
1. Dirt on the lens can be cleaned with a lens cleaning cloth. For dust in the cracks at the edge of the lens, use a dust blower or cotton swab for cleaning. 2. To clean water stains, oil smudges, or fingerprints on the lens, apply a few drops of lens cleaning solution on lens tissues and use a circular motion to wipe away.
Osmo 360 is dust-proof. However, if dust does get inside the device and cannot be cleaned, please contact DJI After-Sales for repair.
General
Osmo Mobile 7P has been upgraded in several areas, including the following:
1. It comes with a Multifunctional Module that supports intelligent tracking, DJI Mic Mini reception, and lighting features.
2. It integrates a built-in tripod and extension rod, enabling more flexible and convenient shooting.
3. It offers quick setup, allowing you to unfold it in one motion and begin filming immediately. After powering off, it automatically returns to a pre-folded position for easy storage.
4. It can work with the Multifunctional Module to enable versatile intelligent tracking, allowing seamless use with your smartphone's native camera app or third-party camera/live streaming apps.
5. It allows you to easily adjust the brightness and color temperature of the fill light using the side wheel.
6. It now provides up to 10 hours* of operating time and features the ability to charge your smartphone.
7. The enhanced magnetic phone clamp provides a more secure connection, even for larger smartphones.
* Measured with the gimbal balanced in a level and stationary state without additional accessories.
Osmo Mobile 7 has been upgraded in several areas, including the following:
1. It offers an optional Multifunctional Module with intelligent tracking, DJI Mic Mini reception, and lighting features.
2. It integrates a built-in tripod, enabling more flexible and convenient shooting.
3. It offers quick setup, allowing you to unfold it in one motion and begin filming immediately. After powering off, it automatically returns to a pre-folded position for easy storage.
4. It can work with the Multifunctional Module to enable versatile intelligent tracking, allowing seamless use with your smartphone's native camera app or third-party camera/live streaming apps.
5. It now provides up to 10 hours* of operating time and features the ability to charge your smartphone.
6. The enhanced magnetic phone clamp provides a more secure connection, even for larger smartphones.
* Measured with the gimbal balanced in a level and stationary state without additional accessories.
The Osmo Mobile 7 Series is compatible with most smartphones on the market. It is recommended to use smartphones with a width of 67-84 mm, thickness of 6.9-10 mm, and weight of 170-300 g.
Please visit the official DJI website for the full smartphone compatibility list.
1. Forget the device in the Bluetooth settings of your smartphone.
2. Press and hold the shutter/record button, switch button, and trigger simultaneously for two seconds to forget the connected device.
The magnetic force of the Osmo Mobile 7 Series is approximately 40 Newtons, which is strong enough to hold an object equivalent to the weight of two 2-liter soda bottles. This ensures a secure attachment for smartphones.
The Osmo Mobile 7 Series uses a special closed-loop magnetic design that does not affect the performance of the attached smartphone. However, some smartphones may prompt for calibration due to the compass orientation after mounting. Simply follow the on-screen instructions on your smartphone for calibration to resume normal use.
The magnetic design may influence other magnetic-sensitive products. Do not place the Osmo Mobile 7 Series near bank cards, pacemakers, RAM chips, hard drives, and similar items.
Due to the layout of wide-angle lenses and/or irregular smartphone sizes, some users may see the gimbal in their camera view when using a wide-angle camera.
You can try the following: Adjust the position of the magnetic phone clamp by moving it away from the camera until the gimbal is not visible in the camera view.
1. Check if the magnetic phone clamp is correctly aligned with the gimbal's magnetic attachment area.
2. Check if the magnetic phone clamp is attached approximately to the middle of the smartphone.
3. If the issue still exists, perform gimbal auto-calibration and horizontal gimbal adjustment in the DJI Mimo app.
No. Due to its powerful motors, accurate balancing is not needed for the Osmo Mobile 7 Series. When using the magnetic phone clamp, simply attach it approximately to the middle of the smartphone.
There are five ways to activate tracking with the gimbal:
1. Multifunctional Module* + Other Camera Apps: Press the trigger or use a specific hand gesture to initiate intelligent tracking.
2. DJI Mimo Only: Press the trigger to initiate ActiveTrack.
3. DJI Mimo Only: Enable Smart Capture and tap a detection box in the camera view to initiate ActiveTrack.
4. DJI Mimo Only: Directly draw a box around your subject on the screen to initiate ActiveTrack.
5. DJI Mimo Only: Enable Gesture Control and use a specific gesture to initiate ActiveTrack.
* Osmo Mobile 7P comes with this module. Osmo Mobile 7 users will need to purchase the DJI OM 7 Series Tracking Kit separately to get the related accessories.
No.
Yes, as long as the combined thickness of the smartphone and the case does not exceed 10 mm.
In PTF mode, hold the gimbal in the Side Grip position and push the joystick up or down.
Additionally, Osmo Mobile 7P users can extend the extension rod to a certain length and adjust the pan motor's angle to be parallel with the horizontal plane to get the max tilt angle.
The top-left icon is the system status indicator, and the bottom-left icon is the battery level indicator.
The icons on the right represent different gimbal modes: PTF, PF, FPV, and SpinShot.
The built-in tripod is suitable for stable, level surfaces in windless environments. In other conditions, it is recommended to attach the DJI OM Grip Tripod to the bottom of the gimbal. The DJI OM Grip Tripod is sold separately.
The mounting hole at the bottom of the Osmo Mobile 7 Series is the standard 1/4"-20 UNC port, which is compatible with most tripods.
Yes. However, external lenses may affect the balance of the gimbal. Large, heavy lenses are not recommended. Ensure the total weight of the lens and the smartphone is less than 300 grams, while maintaining proper balance across the gimbal's three axes.
215 mm.
The side wheel on Osmo Mobile 7P offers the following functions:
1. Basic Functions:
Press Once: Switch between zoom and focus*
Rotate: Control zoom or focus*
2. Extended Functions With Multifunctional Module:
Press and Hold: Turn on/off the fill light
Press Once: Switch between controlling brightness and color temperature
Press Twice: Switch between controlling zoom/focus and the fill light*
Rotate: Adjust brightness or color temperature
* Requires the DJI Mimo app.
DJI Mimo App
ActiveTrack 7.0 offers significant upgrades in its basic tracking functionality:
1. Excellent Composition: It securely locks onto the subject based on the default position (center of the frame) or a user-defined composition.
2. Stable Capture: In multi-person scenarios, even if the subject briefly leaves the frame, it can quickly and accurately be re-acquired upon re-entering.
3. Smooth Tracking: Whether following objects or pets (like cats and dogs), as long as their basic appearances remain unchanged, tracking remains smooth.
4. Outstanding Result Quality: During the tracking process, zoom functionality is supported without losing track of the subject, ensuring naturally fluid final results.
5. Smart Capture: In multi-subject scenarios, the DJI Mimo app interface intelligently displays multiple detection boxes, and tapping a detection box can trigger ActiveTrack. You can also quickly switch between subjects by tapping different detection boxes.
1. Timelapse is suitable for mounting the gimbal on a tripod or base to record the passing of time in a fixed scene.
2. Motionlapse allows users to record a moving timelapse video from different angles with preset camera positions.
3. Hyperlapse allows users to record everything passing by as they hold the gimbal in hand and walk. ActiveTrack 7.0 provides more options for flexible shooting.
Yes. However, the adjustable range depends on the API openness of your smartphone.
Please visit the official DJI website for the full smartphone compatibility list.
On iPhones, yes; for smartphones with other operating systems, it depends on the API openness provided by the manufacturer.
Please visit the official DJI website for the full smartphone compatibility list.
Yes. You can enable the function to save unstitched pano photos in camera settings under Pano mode.
Yes. Glamour Effects are supported for taking photos (single and timed) and videos of common specifications. Some smartphones support shooting 1080p or 720p videos with Glamour Effects enabled.
Please visit the official DJI website for the full smartphone compatibility list.
There are two ways to enable ShotGuides:
1. Launch the DJI Mimo app, select Video mode, and point your camera toward a subject or scene. The Osmo Mobile 7 Series will automatically analyze the content in the frame and provide corresponding shooting guides. Tap to switch to ShotGuides.
2. Launch the DJI Mimo app and tap the ShotGuides icon to enter ShotGuides.
All iPhone models listed in the smartphone compatibility list support this feature. Please note the following before using:
1. For first-time use, complete the device pairing.
2. Ensure that your smartphone's operating system is updated to the latest version.
3. Enable Quick Launch in the DJI Mimo app and follow the instructions to complete authorization.
Please visit the official DJI website for the full smartphone compatibility list.
Android 8 or later, or iOS 12 or later.
Remote Control With Watch
Apple Watch models: Apple Watch Series 7/8/9/10, Apple Watch SE 2, Apple Watch Ultra 1/2, with an operating system of watchOS 9 or later. There are no restrictions on iPhone models, but the operating system must be iOS 16 or later. Remote control with a watch is only applicable to the Osmo Mobile 7 Series, Osmo Mobile 6, and Osmo Mobile SE.
1. Pair your Apple Watch with your iPhone and update the DJI Mimo app to version 2.0.4 or later on your iPhone.
2. Open the DJI Mimo app on your iPhone, then open the DJI Mimo app on your Apple Watch to start using it.
For more information, please visit the official DJI website to watch the tutorial video.
Due to Apple Watch's limitations in video transmission bandwidth, there are some differences in the resolution of the live feed compared to that of the filming device's camera. These differences may also vary between different Apple Watch models. However, this does not affect composition operations or the resolution of the final video and photo.
Taking photos, recording videos, using a virtual gimbal joystick, ActiveTrack, switching between portrait and landscape modes, and recentering the gimbal.
Generally, in an open, unobstructed area, the effective distance is within 8 meters.
You can check the most recent photo and the first frame of the latest video.
You can keep the display on for 70 seconds by following these steps: Settings > Display & Brightness > Wake Duration > Wake for 70 Seconds.
Due to the Bluetooth connection characteristics of Apple devices, concurrent use is not recommended.
When using a DJI microphone, connect the smartphone and the microphone receiver via the included mobile phone adapter.
Battery
No.
Yes.
Bluetooth
Each gimbal has an identification code sticker attached to it. You can choose the gimbal by the device name in the DJI Mimo app. You can also change the device name in the app.
You can do either of the following:
1. Disconnect the Bluetooth connection with the current smartphone, turn off the Bluetooth of the smartphone, and pair the gimbal with another smartphone.
2. When the gimbal is powered on, press the shutter/record button, switch button, and trigger simultaneously for two seconds to clear the existing connection, and then connect the gimbal to another smartphone.
You can try the following steps:
1. Restart the gimbal.
2. Restart the DJI Mimo app.
3. Clear the previous connection in the Bluetooth settings of your smartphone. Disable and then enable the Bluetooth of the smartphone.
If the above operations do not work, try connecting the gimbal directly through the DJI Mimo app instead of pairing it via your smartphone's Bluetooth settings.
Accessories
No. Here are the reasons:
1. The power cable lacks USB signal capability, so it cannot be used for audio recording.
2. The hardware design for charging the smartphone via the Multifunctional Module is different from that of the gimbal handle.
The DJI OM Magnetic Quick-Release Mount is designed specifically for iPhones that support MagSafe. Please ensure your device is compatible and watch the tutorial video for detailed operations.
Multifunctional Module
The Multifunctional Module supports tracking people within your smartphone's native camera app or third-party camera/live streaming apps.
The ActiveTrack 7.0 in the DJI Mimo app can track people, animals, and objects.
The Multifunctional Module allows intelligent tracking in the following apps:
1. Your smartphone's native camera app, including features like Cinematic mode on iPhones.
2. Live streaming platforms such as TikTok, Facebook, and Instagram.
3. Voice calls and video conferences.
4. Professional camera apps, including Blackmagic Camera and Protake.
1. Unfold the gimbal and mount your smartphone. Attach the Multifunctional Module to the magnetic phone clamp. Connect your smartphone to the USB-C port on the Multifunctional Module using the phone charging/audio recording cable. If your smartphone uses a Lightning port, you will need to purchase a separate phone charging/audio recording cable (USB-C to Lightning).
2. Take out the DJI Mic Mini Transmitter, press and hold the power button to turn it on, and then press and hold the linking button until the system status LED flashes blue and green alternately.
3. Press and hold the color temperature control/Bluetooth pairing button on the Multifunctional Module until the wireless microphone status indicator on the module flashes green rapidly. The indicator will remain solid green once linking is successful.
4. After linking, press the power button on the DJI Mic Mini Transmitter to enable noise cancelling.
For more details, please watch the tutorial video.
The DJI Mic Mini Transmitter.
Yes, it supports both front-camera and rear-camera tracking with a magnetic, detachable design for easy switching.
When the Multifunction Module is not in use for 5 minutes, it will automatically enter sleep mode to save power. At this time, it can be awakened by pressing the trigger on the gimbal.
Double-press the gimbal's M button to charge the smartphone via the Multifunction Module. Double-press again to turn off the charging function.
When used with Osmo Mobile 7P, you can fine-tune the fill light through the side wheel. The specific operations are as follows:
1. Press and hold the side wheel to turn on the fill light (default brightness is 5 lux and color temperature is 2500K).
2. Press the side wheel to switch between controlling brightness and color temperature.
3. Rotate the side wheel to adjust brightness or color temperature, with 8 levels of adjustment for each.
4. Press and hold the side wheel again to turn off the fill light.
General
You can use DJI Mic Mini with a range of devices, including cameras, smartphones (via Type-C/Lightning adapter or via direct Bluetooth connection), computers, and Osmo Mobile 6 (requires a smartphone for use).
DJI Mic Mini supports the DJI OsmoAudio™ connection ecosystem. The transmitter supports direct connection to Osmo Action 5 Pro, Osmo Action 4, or Osmo Pocket 3 without a receiver, delivering premium audio and simplifying your gear and workflow. For a full list of compatible devices, please refer to the Downloads page on the DJI Mic Mini official webpage.
DJI Mic Mini (2 TX + 1 RX + Charging Case) includes a charging case, one receiver, and two Infinity Black transmitters. It provides extended battery life and is suitable for two-person audio recording.
DJI Mic Mini (1 TX + 1 RX) includes one receiver and one Infinity Black transmitter, suitable for solo creators and other single-person audio recording scenarios.
The DJI Mic Mini Transmitter (Arctic White) and DJI Mic Mini Transmitter (Infinity Black) can be used with mobile phones, Osmo Action 5 Pro, Osmo Action 4, or Osmo Pocket 3.
DJI Mic Mini is ready to use without activation. You can scan the QR code on the package to register for a one-year warranty extension.
1. Connect the DJI Mic Mini receiver to a phone via a Type-C adapter and update the firmware for both the receiver and transmitters in the DJI Mimo app.
2. A DJI Mic Mini transmitter can also connect directly to a phone via Bluetooth to complete its firmware update.
3. When using an iOS mobile device, DJI Mic Mini firmware updates are only supported via Bluetooth, not via USB-C or Lightning connection.
The transmitters and receiver are already linked by default. If you need to link them again, you can do so in the following ways:
Method 1: Put the transmitters and receiver inside the charging case and they will link automatically;
Method 2: Power on the transmitters and the receiver. Press and hold the linking buttons on the transmitters and the receiver. When the status indicator on the transmitter blinks green and blue alternately, it indicates that linking is in progress. When the status indicator turns solid blue linking is complete.
To end linking during the process, power off the devices.
DJI Mic Mini has three recording modes: S (Stereo), M (Mono), and Ms (Mono Safety Track).
1. S: Stereo mode. Audio from the two transmitters is recorded via separate channels.
2. M: Mono mode. In Mono mode, the audio recorded by the two transmitters will be combined into one channel.
3. Ms: Mono with Safety Track mode. DJI Mic Mini will record dual tracks, with the main track at normal volume and a backup track at -6 dB to protect against distortion in cases of sudden source volume increases. If you use Ms (Mono Safety Track) mode, you will need to separate the tracks during post-production.
The DJI Mic Mini Charging Case can be used for linking the transmitters with the receiver, as well as storing the transmitters, the receiver, and mobile phone adapters (Type-C and Lightning). When fully charged, it can charge two transmitters and one receiver approx. 3.6 times. The DJI Mic Mini Mobile Phone Adapter (Lightning) is sold separately.
No.
No.
400 m. Measured in an open, unobstructed environment free of interference and is for reference only.
It is recommended to use a 5V/2A (max) charger to charge DJI Mic Mini's transmitters, receiver, and charging case.
At room temperature, it takes approximately 90 minutes* and 100 minutes* to fully charge the transmitters and the receiver, respectively, using the charging case. It takes about 2 hours to fully charge the charging case separately.* * Measured in a controlled test environment and is for reference only.
You can enable or disable noise cancelling by pressing the power button on the DJI Mic Mini transmitter once.
When recording with a phone or camera, you can adjust the noise cancellation levels (Strong or Basic) using the DJI Mimo app.*
Strong and Basic noise cancellation levels can be set directly on the product interface when using an Osmo Action 5 Pro, Osmo Action 4, or Osmo Pocket 3 connected to one or more transmitters via DJI OsmoAudio™ Direct Connection. * When the transmitter directly connects to a smartphone, the noise cancellation level cannot be adjusted in the Mimo app; it defaults to the Strong level.
For more details, refer to the comparison page of the DJI Mic series on the official website.
The DJI Mic Mini transmitter supports automatic power-saving, which is effective only when the transmitter is powered on. The transmitter automatically enters automatic power-saving mode when it does not detect signal from the receiver. It will wake and reconnect to the receiver once the signal is detected again.
DJI Mic Mini supports auto shutdown after inactivity, which needs to be set in advance for both the receiver and transmitters via the DJI Mimo app. The auto shutdown time is set to 15 minutes. The operation logic is as follows:
1. When auto shutdown is enabled on both the receiver and transmitters: If no signal is detected, the transmitter will enter power-saving without shutting down and the receiver will remain powered on. After 15 minutes, both will automatically shut down.
2. When auto shutdown is enabled on the receiver, and disabled on the transmitters: If no signal is detected, the transmitters will enter power-saving mode without shutting down, and the receiver will remain powered on. After 15 minutes, the receiver will automatically shut down, while the transmitter continues power-saving without shutting down.
3. When auto shutdown is enabled on the transmitters and disabled on the receiver: If no signal is detected, the transmitter will enter power-saving without shutting down, and the receiver will remain powered on. After 15 minutes, the transmitter will automatically shut down while the receiver remains powered on.
4. When auto shutdown is disabled on both the receiver and transmitters: Only the transmitters will perform power-saving mode when no signal is detected, and neither will automatically shut down.
DJI Mic Mini Clip Magnet
23 N. DJI Mic Mini uses multi-pole magnetization and has enough strength to lift an iron block weighing up to 2.3 kg.
It is recommended to keep the DJI Mic Mini Clip Magnet away from bank cards, pacemakers, RAM chips, and hard discs.
1. DO NOT use when wearing heavy clothes (sweaters, down jackets, etc.). The transmitters could fall off due to lack of magnetism.
2. Use with caution during vigorous exercise (for example, jumping, sprinting, etc.).
DJI Mic Mini Transmitter
It is recommended to use the back clip of the DJI Mic Mini transmitter to secure it to places like your collar, or you can mount the transmitter using the DJI Mic Mini Clip Magnet.
Omnidirectional.
1. Transmitters connect to a receiver via 2.4GHz frequency band.
2. Direct Bluetooth connection to a smartphone.
3. Direct connection to select DJI products via DJI OsmoAudio™.
1. It depends on the compatibility of the livestreaming app and the mobile phone operating system. You can test it with Bluetooth earphones or headsets. If you cannot record audio with the earphones or headset for livestreaming, the transmitter does not support this function when connecting to a mobile phone via Bluetooth. For a list of compatible devices, please refer to the Downloads page on the DJI Mic Mini official webpage.
2. To connect, power on the transmitter. Press and hold the linking button for two seconds and the mobile phone will automatically search for available Bluetooth devices. Select DJI Mic Mini when it appears to complete linking. When the transmitter's status indicator turns solid blue, linking is completed. If the mobile phone's Bluetooth cannot find DJI Mic Mini, turn Bluetooth off and back on again on the mobile phone and try again.
DJI Mic Mini supports the DJI OsmoAudio™ connection ecosystem. DJI Mic Mini transmitters can directly connect to select DJI products (one TX for Osmo Action 4, and up to two TX for Osmo Pocket 3 and Osmo Action 5 Pro).
DJI Mic Mini transmitters can directly connect to your smartphone via Bluetooth. When the transmitter directly connects to a smartphone, the noise cancellation level cannot be adjusted in the Mimo app and will default to the Strong level. Low Cut settings are also not supported in the Mimo app.
The DJI Mic Mini transmitter does not have internal storage, so it cannot be used as a voice recorder.
DJI Mic Mini Receiver
It can link with up to two DJI Mic Mini transmitters at the same time.
No.
You can play back recorded audio on a mobile phone without removing the receiver.
Yes. When the DJI Mic Mini receiver is connected to your phone via mobile phone adapter, you can use a charging cable to charge both the mobile phone and the receiver through the receiver's USB-C port.
For a list of compatible devices, please refer to the Downloads page on the DJI Mic Mini official webpage.
The DJI Mic Mini receiver's OUT port outputs analog signals for camera connections.
The DJI Mic Mini Mobile Phone Adapter (Type-C/Lightning) and the receiver's Type-C port output digital signals.
When the DJI Mic Mini receiver is connected to a camera via 3.5mm TRS cable, you can enable this function using the DJI Mimo app and the receiver automatically powers on and off in sync with the camera.
Camera
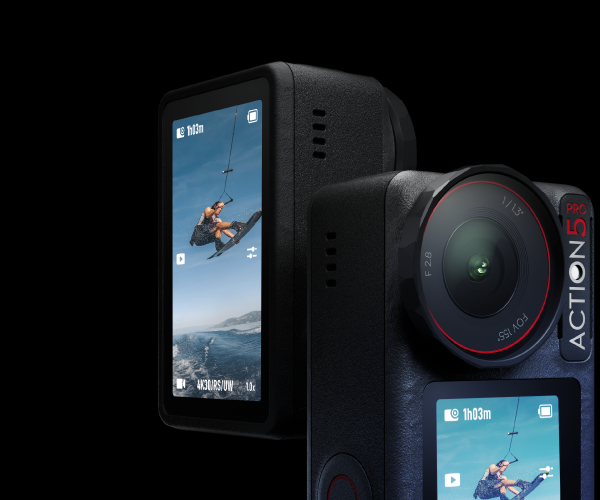
Osmo Action 5 Pro features a next-gen 1/1.3-inch CMOS sensor, upgraded front and rear OLED high-brightness touchscreens, support for Wi-Fi 6.0 high-speed transfer, 47GB of built-in storage, and 4 hours* of extended battery life. Additionally, it introduces Subject Tracking mode and SuperNight mode. For other differences, refer to the model comparison page.
* Measured under laboratory conditions at 25° C, while recording 1080p/24fps (16:9) video, with RockSteady on, Wi-Fi off, and screens off. Data was collected in a controlled environment and should be taken as reference only. When activating and using Osmo Action 5 Pro in the EU and the UK, actual battery life may vary due to local regulations on product operating temperatures. Refer to the actual user experience.
Osmo Action 5 Pro is equipped with a next-gen 1/1.3-inch CMOS sensor, which offers an enhanced dynamic range of up to 13.5 stops. It supports up to 4K/60fps high-dynamic low-light imaging and 4K/120fps 4:3 video recording.
Yes. On the recording specifications page, tap the RS|Wide icon in the upper right corner to switch the FOV to Standard (Dewarp).
Yes. Photos from Timelapse can be downloaded and viewed on a computer.
Osmo Action 5 Pro uses RockSteady 3.0 technology to stabilize footage. This Electronic Image Stabilization (EIS) technology is realized by increasing the shutter speed, analyzing the images captured by the CMOS sensor, and compensating by cutting off the edges of these images. In this way, multiple frames are overlaid and finally combined into a single frame that is sharp, clear, and accurately exposed.
HorizonSteady uses DJI's latest stabilization algorithm to correct shakes for any horizontal rotation (360°) and lock onto a leveled horizon in every frame, regardless of how the camera is mounted or worn. It allows you to capture smooth and stable footage whether you are cycling on bumpy roads or go-karting around a track.
HorizonSteady supports 1080p@24/25/30/48/50/60fps and 2.7K (16:9)@24/25/30/48/50/60fps.
HorizonBalancing supports 1080p@24/25/30/48/50/60fps, 2.7K (16:9)@24/25/30/48/50/60fps, and 4K (16:9)@24/25/30/48/50/60fps.
Yes. Osmo Action 5 Pro supports shooting up to 1080p/240fps 8x slow-motion videos.
D-Log M is designed to capture a wide dynamic range from the sensor, and colors are distributed evenly so the bright and dark parts of the video have greater fidelity and clarity. It is not a LUT, but a lower-contrast video with a flat color profile, which is great for expanding post-processing options.
There are three exporting options available:
1. Connect to the DJI Mimo app and download content from the microSD card and built-in storage to your smartphone.
2. Use a card reader to export content from the microSD card to your computer or smartphone.
3. Swipe down from the camera view, tap the Settings icon, and select OTG Connection. Follow the on-screen prompts to connect the camera to a computer or smartphone with a Type-C port using a Type-C cable. You can then export content from the microSD card and built-in storage.
The footage is saved either on the microSD card inserted into the camera body or in the camera's built-in storage.
Yes. Osmo Action 5 Pro uses a prime lens, and subjects are clear when they are at least 350 mm or more from the lens.
Osmo Action 5 Pro supports evaluative metering but not spot metering.
Videos recorded by Osmo Action 5 Pro have a high dynamic range, making an HDR mode unnecessary.
The color temperature sensor of Osmo Action 5 Pro is built into the letter "O" of the logo on the front of the camera. Do not cover it during use. With the color temperature sensor, Osmo Action 5 Pro delivers outstanding color temperature performance even in scenarios with complex lighting, such as diving. The sensor corrects color temperature when filming underwater and reduces color temperature flicker due to the change of shooting angle. It can also detect and reduce light flickering more accurately.
SuperNight mode supports shooting at 1080p@24/25/30fps, 2.7K (16:9)@24/25/30fps, and 4K (16:9)@24/25/30fps. You can enable RockSteady 3.0 or RockSteady 3.0+, and choose between standard or wide FOV. It is recommended to use this mode in darker urban night scenes. For city nights with basic lighting, standard video mode will suffice.
Subject Tracking mode keeps the subject centered in the frame and continuously track them, making it ideal for capturing various tracking scenarios like skiing/snowboarding and cycling/motorcycling. This mode is not suitable for tracking pets or other non-human subjects.
When using Subject Tracking mode, a gray frame will appear in the center of the camera view. When a person is centered in the camera view, they will be prioritized as the tracking subject and a yellow box appears, indicating that the subject has been selected. Press the shutter/record button to start recording, and the yellow box will turn green, indicating that the subject is locked and tracking has begun. As the subject moves, the gray frame will move accordingly, helping the user maintain a consistent shot. If the tracking subject is lost, the green box will turn red. If the subject remains lost for more than 10 seconds, even if they re-enter the camera view, tracking will not resume automatically, and the gray frame will reset to the center. To restart Subject Tracking, you need to re-lock the subject and start recording again.
Operation
The DJI Mimo app. It allows you to adjust settings and shooting modes, sync photos and videos, and edit and share your content.
You can follow the steps below to activate the device:
1. Download the DJI Mimo app by scanning the QR code shown on the camera screen prompt or from your smartphone's app store.
2. Press and hold the quick switch button to power on Osmo Action 5 Pro.
3. Launch the DJI Mimo app, tap the Camera icon, enable Bluetooth and Wi-Fi on your smartphone, and connect to Osmo Action 5 Pro.
4. After connecting Osmo Action 5 Pro to the DJI Mimo app, you will be prompted to activate the device.
5. Complete the activation by following the prompts in the app.
The DJI Mimo app will send firmware push messages automatically. Follow the prompts to complete the update.
Swipe up from the bottom of a screen to unlock it and switch to that screen. Through the camera menu, users can opt to display the front and rear screens simultaneously or to use just one screen.Swipe up from the bottom of a screen to unlock it and switch to that screen. Through the camera menu, users can opt to display the front and rear screens simultaneously or to use just one screen.
Yes. You can control parameter settings, mode switching, video playback, and more.
Hold the camera in a vertical orientation, or attach the Horizontal-Vertical Protective Frame along with other accessories to the camera to switch between horizontal and vertical shooting.
Yes. Osmo Action 5 Pro supports voice commands in English and Mandarin Chinese. It is recommended to use voice control within one meter from the camera in a relatively quiet environment.
English commands:
Start Recording
Stop Recording
Take Photo
Shut Down
After shooting a video with Osmo Action 5 Pro and the selfie stick, you can connect it to the DJI Mimo app to eliminate the selfie stick*. For details, refer to the tutorial video.
* To ensure the elimination effect works adequately, use the Osmo 1.5m Extension Rod when shooting and try to avoid covering any of your body with it. InvisiStick supports up to 1920×1080 video when eliminating on the cloud, and up to 1280×720 video when eliminating locally.
You can save the video to your smartphone and share it, or use the DJI Mimo app to upload it and share the link generated.
1. On Osmo Action 5 Pro's camera view, tap the Image/Audio Settings icon on the right side, enable PRO mode in the upper right corner, and set Exposure to M (Manual) mode to adjust shutter speed and ISO parameters.
2. In the DJI Mimo app, tap the ""..."" icon on the camera view and enable PRO mode. Then, return to the camera view and tap the Image/Audio Settings icon to adjust shutter speed and ISO parameters.
Yes. When Osmo Action 5 Pro is powered on, press and hold the quick switch button to enter sleep mode. To wake it up, press the quick switch button once. Additionally, pressing the shutter/record button once will enable the Snapshot feature.
When Osmo Action 5 Pro is powered off, press and hold the shutter/record button to start recording immediately. The shooting mode will follow the settings of the SnapShot feature, allowing you to quickly capture exciting moments. After shooting, if there is no operation within 3 seconds, the camera will automatically power off.
Yes. You can connect Osmo Action 5 Pro with a third-party microphone via a universal 3.5mm Type-C cable.
Yes. Tap the Volume icon in the upper right corner of the playback page to turn the sound on or off. Press and hold the icon to adjust the volume.
On the camera view, swipe down to enter the menu, tap the Settings icon, and select Depth & Altitude. In the Diving menu, enable Auto Record, and the camera will automatically start recording at a depth of 1 meter underwater and display the diving depth and duration. In the Hiking & Parachuting menu, enable Altitude Display and set Min Altitude Display to Always, and the camera view will display the current altitude in real-time.
In standard video mode, record at 1080p@100/120/240fps or 2.7K/4K (16:9)@100/120fps. Then, apply 4x frame interpolation to achieve up to 1080p/960fps, thus creating 32x super slow-motion video (from 1080p/240fps to 1080p/960fps).
* This feature does not require switching to Slow Motion mode. You can simply shoot in standard video mode. During playback, if the video is longer than 3 seconds, tap the Snail icon at any moment you want to apply in-camera slow motion processing to, and save a super slow-motion version of the original footage.
Battery
The max operating time of Osmo Action 5 Pro is 4 hours*, and up to 3.6 hours** when shooting in environments with temperatures as low as -20° C.
* Measured under laboratory conditions at 25° C, while recording 1080p/24fps (16:9) video, with RockSteady on, Wi-Fi off, and screens off. Data was collected in a controlled environment and should be taken as reference only. When activating and using Osmo Action 5 Pro in the EU and the UK, actual battery life may vary due to local regulations on product operating temperatures. Refer to the actual user experience. ** Measured under laboratory conditions at -20° C, while recording 1080p/24fps (16:9) video, with RockSteady on, Wi-Fi off, and screens off. Data was collected in a controlled environment and should be taken as reference only.
Yes. You can use the DJI 30W USB-C Charger* to fast charge Osmo Action 5 Pro.
* The DJI 30W USB-C Charger is sold separately.
Yes. However, Subject Tracking mode and SuperNight mode are only functional when the camera is equipped with a battery. Other modes can be used without a battery, as long as the camera is connected to a power source via a Type-C cable.
Accessories
DJI has designed a range of accessories to use Osmo Action 5 Pro within various scenarios. Check the Accessories section on the product page for more details.
Please check the accessory compatibility page for more details.
1. Official accessories can be attached directly to Osmo Action 5 Pro via the quick-release locking clips.
2. Attach a tripod and other accessories with the Osmo Magnetic Ball-Joint Adapter Mount or via the 1/4″ screw hole on the bottom of the Osmo 1.5m Extension Rod.
Yes. You can mount third-party action camera accessories with the Quick-Release Adapter Mount.
You can mount a tripod using the Osmo Magnetic Ball-Joint Adapter Mount or the 1/4″ screw hole on the bottom of the Osmo 1.5m Extension Rod. Additionally, you can use the Osmo Action Multifunctional Charging Handle, which comes with a built-in tripod.
No. The Flat Adhesive Base uses 3M adhesives that are not reusable.
For details, please refer to the tutorial video.
Other
Playback of recorded footage on computers can be affected by computer settings and performance. If flicker occurs, try the following solutions:
Apple Mac: Go to System Preferences > Displays > Refresh Rate, and change the refresh rate to a fixed value, instead of ProMotion.
Other computers: A low-performance graphics card may cause flicker when playing the files. It is recommended to use a better-performing computer for viewing.
With the Osmo Action GPS Bluetooth Remote Controller, you can record GPS information and add sports data to your video in the DJI Mimo app.With the Osmo Action GPS Bluetooth Remote Controller, you can record GPS information and add sports data to your video in the DJI Mimo app.
When using high-specification, high-performance modes (such as 4K/120fps standard video mode, 2.7K/60fps Subject Tracking mode, or 4K/30fps SuperNight mode), the camera consumes more power, which can result in a noticeable increase in temperature. Additionally, extended recording sessions or prolonged handheld use can also cause the camera to feel warm.
No.
Yes.
Yes. Osmo Action 5 Pro can be used at depths of up to 20 meters without a case and up to 60 meters by using the Waterproof Case.
Before use, close the battery compartment cover and the USB-C port cover, and tighten the Glass Lens Cover. It is recommended to install the Waterproof Case for long-duration underwater shooting or in environments with high water impact pressure. Osmo Action 5 Pro and its Waterproof Case have an IP68 waterproof rating. Do not use the camera in hot springs or extreme underwater environments, or let it come into contact with corrosive or unknown liquids.
1. Check that the Glass Lens Cover and screens are intact. Close the battery compartment cover and the USB-C port cover, and tighten the Glass Lens Cover.
2. Osmo Action 5 Pro can be used at depths of up to 20 meters. However, it is recommended to install the Waterproof Case for long-duration underwater shooting or in environments with high water impact pressure. With the Waterproof Case, Osmo Action 5 Pro can be used at depths of up to 60 meters.
3. Do not use the camera in hot springs or extreme underwater environments, or let it come into contact with corrosive or unknown liquids.
4. Before changing the Glass Lens Cover, air dry the camera to avoid any condensation caused by water entering the lens cap.
5. Rinse the camera with clean water after using it underwater, and completely air dry it before using it again.
Recommended Models:
SanDisk Extreme PRO 32GB U3 A1 V30 microSDHC
Kingston CANVAS Go! Plus 64GB U3 A2 V30 microSDXC
Kingston CANVAS Go! Plus 128GB U3 A2 V30 microSDXC
Kingston CANVAS React Plus 64GB U3 A1 V90 microSDXC
Kingston CANVAS React Plus 128GB U3 A1 V90 microSDXC
Kingston CANVAS React Plus 256GB U3 A1 V90 microSDXC
Lexar Professional 1066x 64GB U3 A2 V30 microSDXC
Lexar Professional 1066x 128GB U3 A2 V30 microSDXC
Lexar Professional 1066x 256GB U3 A2 V30 microSDXC
Lexar Professional 1066x 512GB U3 A2 V30 microSDXC
Kingston Canvas Go! Plus 1T U3 A2 V30 microSDXC
1. Dirt on the lens can be cleaned with a lens cleaning cloth. For dust in the crease at the edge of the lens, use a dust blower or cotton swab for cleaning.
2. To clean water stains, oil smudges, or fingerprints on the lens, apply a few drops of lens cleaning solution on lens tissues and use a circular motion to wipe away.
Osmo Action 5 Pro is dust-proof. However, if dust does get inside the device and cannot be cleaned, please contact DJI After-Sales for repair.
General
You can use DJI Mic 2 with a range of devices, including cameras, smartphones (via USB-C/Lightning port or direct Bluetooth connection), computers, Osmo Action 4 (via USB-C port or Bluetooth), Osmo Pocket 3 (via USB-C port or Bluetooth), and Osmo Mobile 6.
DJI Mic 2 (2 TX + 1 RX + Charging Case) includes a charging case, one receiver, and two Shadow Black transmitters, suitable for two-person audio recording, and providing extended battery life.
DJI Mic 2 (1 TX + 1 RX) includes one receiver and one Shadow Black transmitter, suitable for single-person audio recording of individual creators.
The DJI Mic 2 Transmitter (Pearl White) and DJI Mic 2 Transmitter (Shadow Black) can be used with mobile phones, Osmo Action 4, and Osmo Pocket 3.
No. DJI Mic 2 is ready to use without activation. You can scan the QR code on the package to register for a one-year warranty extension.
1. Download the firmware update package from the Downloads page of DJI Mic 2;
2. Ensure that the receiver is powered off and the transmitter is on. Connect the transmitter or receiver to your computer using a standard USB-C cable;
3. Put the downloaded firmware update package (file with .bin suffix) under the root directories of the transmitters and receiver;
4. Disconnect from your computer, and the transmitters and receiver will start the firmware update automatically. 1. If the update fails, download and copy the firmware again and reboot the transmitters and receiver. Repeat until the firmware is updated successfully. 2. Remove the mobile phone adapter from the receiver before connecting it to the computer for firmware update.
The transmitters and receiver are already linked by default. If you need to link them again, you can do so in the following ways:
Method 1: Put the transmitters and receiver into the charging case and they will link automatically;
Method 2: Power on the transmitters and the receiver, swipe down on the receiver's main screen, select Receiver Settings, and swipe left to choose Link Device. Press and hold the linking button on one transmitter, and follow the on-screen instructions to complete linking. When the status indicator on the transmitter blinks green quickly, it indicates the linking is in progress. When the status indicator blinks green slowly, it indicates it has been linked and is waiting for another transmitter to be linked. When the status indicator turns solid green, the linking is completed.
To end linking during the process, tap Stop Linking.
DJI Mic 2 provides three recording modes: S (Stereo), M (Mono), and Ms (Mono Safety Track). S: Stereo mode. Audio from the two transmitters is recorded via separate channels.
M: Mono mode. Under Mono mode, the audio recorded by the two transmitters will be in one channel.
Ms: Mono with Safety Track mode. A backup soundtrack will be recorded at -6 dB in case the main track gets distorted due to a sudden increase in the audio volume of the source. If you use Ms (Mono Safety Track) mode, you will need to separate the tracks during post-production.
The DJI Mic 2 Charging Case can be used for linking the transmitters with the receiver, as well as storing the transmitters, the receiver, and mobile phone adapters (USB-C and Lightning). It can also charge two transmitters and one receiver two times.
No.
No.
250 m with FCC compliance and 160 m under CE (in an unobstructed environment without interference).
It is recommended to use a 5V/2A charger to charge DJI Mic 2's transmitters, receiver, and charging case. At room temperature, it takes about 1 hour and 10 minutes to fully charge the transmitters and the receiver using the charging case. It takes about 2 hours and 40 minutes to fully charge the charging case.
You can refer to the comparison page for details.
33 N. DJI Mic 2 uses multi-pole magnetization and has enough strength to lift an iron block weighing up to 3.3 kg.
It is recommended to keep the DJI Mic 2 Clip Magnet away from bank cards, pacemakers, RAM chips, and hard discs.
1. DO NOT use when wearing heavy clothes (sweaters, down jackets, etc.). The transmitters could fall off due to lack of magnetism.
2. Use with caution during vigorous exercise, for example, jumping, sprinting, etc.
Transmitter
It is recommended to use the back clip of the DJI Mic 2 transmitter to secure it to places like your collar, or you can mount the transmitter using the DJI Mic 2 Clip Magnet.
Omnidirectional.
1. Transmitters connecting to the receiver via a 2.4G frequency band.
2. Bluetooth mode.
1. It depends on the compatibility of the livestreaming app and the mobile phone operating system. You can test it with Bluetooth earphones or headsets. If you cannot record audio with the earphones or headset for livestreaming, the transmitter does not support this function when connecting to a mobile phone via Bluetooth.
2. To connect, power on the transmitter, press and hold the record button for three seconds to switch the transmitter to Bluetooth connection mode, and enable Bluetooth on your mobile phone. Press and hold the linking button for two seconds and the mobile phone will automatically search for available Bluetooth devices. Select DJI Mic 2 when it appears to complete linking. Certain mobile phones will prompt a Bluetooth pairing request. Confirm the access to complete the linking. When the transmitter's status indicator turns solid blue, the linking is completed. If the mobile phone's Bluetooth cannot find DJI Mic 2, reboot Bluetooth on the mobile phone and link again.
DJI Mic 2 transmitters each have 8GB of built-in storage that can record 24-bit audio for up to 14 hours or 32-bit audio for up to 11 hours. Transmitters do not support external storage.
During internal recording, a file is saved every 30 minutes. When 32-bit float recording is enabled, a file is saved every 23 minutes, and the files are in WAV format. Recorded files can be exported by connecting the transmitter to a computer using the included USB cable.
Connect the transmitter(s) to your computer and delete the files you wish to remove.
You can also format the transmitters using the receiver.
When the storage space of the DJI Mic 2 transmitters runs out, the recording will stop.
The DJI Mic 2 transmitter currently only supports Bluetooth connection with Osmo Action 4, Osmo Pocket 3, and smartphones. Osmo Action 4 and smartphones can connect to one transmitter via Bluetooth at a time, while Osmo Pocket 3 can connect to two transmitters via Bluetooth at the same time. When the DJI Mic 2 transmitter is connected to a smartphone via Bluetooth, intelligent noise cancelling and internal recording cannot be used.
Receiver
It can link with up to two DJI Mic 2 transmitters at the same time.
No.
Link the DJI Mic 2 receiver and transmitters, plug a 3.5mm jack earphone/headset into the black 3.5mm monitoring port of the DJI Mic 2 receiver for monitoring. Monitoring volume can be adjusted during monitoring by swiping down on the main screen of the DJI Mic 2 receiver then entering Receiver Settings, swiping left, and tapping the monitoring volume icon to make adjustments.
Yes. You can lock the receiver screen by pressing the power button once. The screen will prompt "Screen locked." To unlock for touch control, press the power button again. When navigating in sub-menus, you can also return to the main interface by pressing the power button once.
You can play back recorded audio on a mobile phone without removing the receiver.
Yes. When the DJI Mic 2 receiver is connected to your phone via mobile phone adapter, you can use a charging cable to charge both the mobile phone and the receiver through the receiver's USB-C port.
Yes.
The DJI Mic 2 receiver's OUT port outputs analog signals for camera connections.
The DJI Mic 2 Mobile Phone Adapter (USB-C and Lightning) and USB-C ports output digital signals.
When the DJI Mic 2 receiver is connected to a camera via 3.5mm TRS cable, you can enable this function and the receiver automatically powers on and off in sync with the camera. When the camera is powered off or audio recording is not enabled during filming, the receiver will automatically power off. When the camera is powered on, the receiver will automatically power on.
To enable this feature, swipe down on the DJI Mic 2 receiver's main screen, enter Receiver Settings, swipe left, tap Power On/Off with Camera Simultaneously, and select ON.
Swipe down on the receiver's main screen to find Receiver Settings, then swipe left to find Recommended Camera Settings. Select the brand and camera model, and adjust the camera gain to the recommended gain. For more details, refer to the Instructions on Recommended Gain for Camera Setup. Connect the receiver to the camera's microphone port using a 3.5mm TRS cable, and the receiver's screen will display the current camera model in the upper left corner. If your camera is not listed in the recommended settings, choose None for the camera brand and adjust the receiver's gain based on audio monitoring.
Accessories
The unique rotating design allows for flexible recording, while its cable routing design prevents accidental unplugging. Compact and easily concealable, it is ideal for interviews, vlogs, livestreaming, and more.
Yes.
Camera
The minimum object distance is 20 cm.
There are three modes: Hyperlapse, Timelapse, and Motionlapse.
In Hyperlapse mode, you can set the resolution, frame rate, and speed.
In Timelapse mode, you can set the resolution, frame rate, interval, and duration.
In Motionlapse mode, you can set the resolution, frame rate, interval, duration, and waypoints.
Only videos are saved by default. Adapt settings in Pro mode to save images.
In Pro mode, you can set the format to Video + JPEG or Video + RAW to save both the original images and the final timelapse video.
D-Log M is designed to capture a wide dynamic range from the sensor, and colors are distributed evenly so the bright and dark parts of the video have greater fidelity and clarity. It is not a LUT but a lower-contrast video with a flat color profile, which is great for expanding post-processing options.
The footage is saved to the microSD card inserted into the device.
Single, Continuous, and Product Showcase mode.
General
1. Osmo Pocket 3's sensor has been upgraded from 1/1.7 inches to 1 inch to deliver high-definition footage in various scenarios, low-noise night shots, high-dynamic range capabilities in high-contrast scenarios, and support for 4K/120fps.
2. The upgraded 2-inch OLED screen delivers richer colors and higher contrast. The image size is larger, presenting clearer details, and both horizontal and vertical shots can be displayed on full screen. Simply double-tap your subject on the screen to start tracking or rotate the screen to quickly power on or off the device.
3. Pocket 2 requires the Do-It-All Handle for Wi-Fi connection to a smartphone, while Pocket 3 features built-in Wi-Fi for direct connection to a smartphone.
4. Intelligent Feature upgrades:
a. ActiveTrack has been upgraded to 6.0, achieving a perfect combination of mechanical gimbal and intelligent tracking algorithms. No matter how you hold the device or move the camera, the tracked subject stays centered.
b. Face Auto-Detect mode:
Record single-person vlogs with ease. After the subject enters the frame, the camera will automatically recognize and smoothly track them in center frame.
c. Dynamic Framing mode:
Improve creative efficiency and reduce stress by locking the subject in the center frame or a set position.
1. Double-tap your subject on the screen to turn on ActiveTrack. Tap outside the tracking frame or press the joystick once to turn off ActiveTrack.
2. In the DJI Mimo app, frame to select the subject and turn on ActiveTrack. Tap “×” in the upper right corner of the tracking frame to stop tracking.
3. ActiveTrack is not supported in Low-Light, Panorama, Slow Motion, and Timelapse modes.
By default, the horizontal or vertical shooting mode will automatically switch according to the screen orientation. To adjust this, you can access the settings interface and select Landscape, Portrait, or Auto-Rotation.
When the recording starts, the horizontal or vertical shooting mode is locked, and switching is not available.
166 minutes. Tested at room temperature (25° C/77° F) and 1080p/24fps (16:9), with Wi-Fi off and screen off. This data is for reference only.
Yes, it can be charged to 80% in 16 minutes and 100% in 32 minutes. Tested in a laboratory environment with the DJI 65W PD charger (sold separately).
No.
Yes, but we recommend using it after it is fully charged. Osmo Pocket 3 draws power directly from the power input while recording and only charges the battery when recording has stopped.
The DJI Mimo app. It allows you to sync photos and videos, edit, and share.
You can follow the steps below to activate the device:
1. Download the DJI Mimo app by scanning the QR code shown on the camera screen prompt or from an app store.
2. Press and hold the shutter/record button to power on Osmo Pocket 3.
3. Launch the DJI Mimo app, tap the camera icon on the upper left corner of the home screen, enable Bluetooth and Wi-Fi on your smartphone, and connect to Osmo Pocket 3.
4. After connecting Osmo Pocket 3 to the DJI Mimo app, you will be prompted to activate the device.
5. Complete the activation by following the prompts in the app.
In the camera view, swipe down to enter the control center, and then tap the walking person icon to adjust the Rotational Speed.
You can control the gimbal rotation direction in the following ways:
1. Via Osmo Pocket 3: When the slider in the home screen displays the zoom ratio, move the joystick to control the tilt and pan axes. When the slider in the home screen displays only the arrow patterns without numbers, drag the slider up or down to control the tilt axis, and move the joystick left or right to control the pan axis.
2. Via DJI Mimo: Access the camera view in the app, and then use the virtual joystick to control the tilt and pan axes.
1. Turn on Wi-Fi and Bluetooth to connect Osmo Pocket 3 to the DJI Mimo app for device control, firmware updates, and material export.
2. Select OTG connection in system settings on Osmo Pocket 3 and connect it to an OTG-supported smartphone through a USB-C to USB-C cable for file export.
Connect Osmo Pocket 3 to a computer through a USB-C cable for file transfer or to use as a webcam.
1. Connect to the DJI Mimo app and download the content to your smartphone.
2. Insert the microSD card from Osmo Pocket 3 into a computer.
3. Connect to a computer or an OTG-supported smartphone through a USB-C cable.
Osmo Pocket 3 will automatically split the recording without damaging quality when it approaches 16 GB.
Glamour Effects is available in video mode but not in photo mode. Glamour Effects can be used in video mode, whether using Osmo Pocket 3 independently or with a smartphone.
When shooting with Osmo Pocket 3 independently, you can obtain the glamour effects after exporting the footage through the DJI Mimo app, where you can further adjust various Glamour Effects parameters. Glamour Effects supports adjusting up to 4K/60fps videos. However, depending on their processing performance, some smartphone models only support exporting 1080p/30fps videos.
Yes, it supports shooting up to 1080p/240fps 8x slow-motion and 4K/120fps 4x slow-motion videos.
Osmo Pocket 3 supports in-device panorama stitching. You can connect to the DJI Mimo app and access the playback interface to download the images to your smartphone or export them to your computer through the microSD card.
Osmo Pocket 3's internal audio recording will automatically adjust the volume gain based on the zoom ratio but does not support customizable adjustments. When Osmo Pocket 3 is connected to a third-party external audio recording device, volume gain can be customized.
Yes. It supports RTMP platforms.
Yes. Swipe down on the screen to access the menu, go to system settings, and then select the time for Scrn Off When Rec. This can be set to 3 s, 15 s, 30 s, 1 min, 5 mins, 10 mins, or never.
Audio Zoom is enabled by default on Osmo Pocket 3 and will be activated with changes in the zoom ratio.
No.
No. Osmo Pocket 3 features an all-new 1-inch stacked CMOS sensor, which supports up to 4K/120fps uncropped recording (available only in Slow Motion mode) and full-pixel PDAF, delivering enhanced overall performance.
Accessories
Osmo Pocket 3 has three microphones, one on each non-screen sides. When Pro mode is off, the Directional Audio is set to All by default. When Pro mode is on, you can switch between Front, Front and Back, and All.
When fully charged and connected to Osmo Pocket 3, the Battery Handle can increase the operating time by approximately 62% (an additional 103-min operating time at 1080p/24fps). Data tested under laboratory conditions at 25° C (77° F) and can be used for reference only.
No.
Swipe down on the screen to access the menu, go to system settings, select the wireless microphone, and then enter linking mode. Follow the on-screen instructions to put DJI Mic 2 into linking mode. After successful linking, return to the home screen, and a volume bar will be displayed at the top. After the first linking, the device will automatically connect when powered on.
Yes.
Osmo Pocket 3 does not support a direct connection to DJI Mic. It needs to be used with the DJI Mic Receiver plugged in.
No.
1. It provides a connection hole for a tripod with 1/4″ thread. 2. It transforms the USB-C port to the rear for easy recording while charging when placed somewhere. 3. It extends the handle length to enhance the holding experience.
For attachment, you don’t need to press the front release button. Align with the USB-C port, insert, and ensure secure buckles on both sides. For detachment, press the front release button and pull out.
The Osmo Pocket 3 Protective Cover can store the Osmo Pocket 3 Wide-Angle Lens and Osmo Pocket 3 Black Mist Filter, while the DJI Mic 2 Transmitter can be attached to the top.
Open the Osmo Pocket 3 Expansion Adapter, align it with the curved edge of the joystick base, and slowly insert the joystick into it. Ensure the proper installation position while also allowing screen rotation before fastening the adapter buckle.
Osmo Pocket 3 supports the following accessories: Handle With 1/4″ Thread, Battery Handle, DJI Mic 2 Transmitter, Wide-Angle Lens, Mini Tripod, Black Mist Filter, Expansion Adapter, Magnetic ND Filters Set, Carrying Bag, Protective Cover, and Type-C to Type-C PD Cable.
Camera
Osmo Action 4 has a larger 1/1.3-inch image sensor than its predecessor. With a single pixel equivalent size of 2.4μm, Osmo Action 4 delivers footage with minimal noise in both moving and low-light scenes.
D-Log M is designed for professional videography. It enhances the dynamic range in high-contrast or multi-colored environments (such as blooming gardens). It enables greater flexibility in color grading during post-editing, capturing the scene's essence. 10-bit color depth enables smoother color transition with no discrete step changes.
The 155° ultra wide-angle also captures an expansive view of your surroundings during movement, creating an intense visual impact and immersing you in vast landscapes when recording scenery.
It is designed to capture a wide dynamic range from the sensor, and colors are distributed evenly so the bright and dark parts of the video have greater fidelity and clarity. It is not a LUT, but a lower-contrast video with a flat color profile, which is great for expanding post-processing options.
Osmo Action 4 supports the following resolution settings:
4K (4:3): 3840×2880@24/25/30/48/50/60fps
4K (16:9): 3840×2160@100/120fps
4K (16:9): 3840×2160@24/25/30/48/50/60fps
2.7K (4:3): 2688×2016@24/25/30/48/50/60fps
2.7K (16:9): 2688×1512@100/120fps
2.7K (16:9): 2688×1512@24/25/30/48/50/60fps
1080p (16:9): 1920×1080@100/120/200/240fps
1080p (16:9): 1920×1080@24/25/30/48/50/60fps
When Low-Light Image Enhancement is set to Auto, it supports all stabilization options for 1080p@24/25/30fps, 2.7K (16:9 or 4:3) @24/25/30fps, and RockSteady for 4K (16:9) @24/25/30fps.
Compared to the Standard Combo, the Osmo Action 4 Adventure Combo comes with an additional two Extreme Batteries and a 1.5m Extension Rod, providing you with ample power for long-duration shoots and allowing for multi-angle selfies during skiing or other scenarios.
Osmo Action 4 uses RockSteady 3.0 technology to stabilize footage. This Electronic Image Stabilization (EIS) technology is realized by increasing the shutter speed, analyzing the images captured by the CMOS sensor, and compensating by cutting off the edges of these images. In this way, multiple frames are overlaid and finally combined into a single frame that is sharp, clear, and accurately exposed.
HorizonSteady uses DJI's latest stabilization algorithm to correct shakes for any horizontal rotation (360°) and lock onto a leveled horizon in every frame, regardless of how the camera is mounted or worn. It allows you to capture smooth and stable footage whether you are cycling on bumpy roads or go-karting around a track.
Yes. You can use the DJI 30W USB-C Charger* to fast charge Osmo Action 4.
* The DJI 30W USB-C Charger is sold separately.
Compatibility
Osmo Action 4 is compatible with most accessories of its predecessor, such as:
Osmo Action Extreme Battery
Osmo Action 1.5m Extension Rod Kit
Osmo Action Biking Accessory Kit
Osmo Action Diving Accessory Kit
Osmo Action Multifunctional Battery Case
Osmo Action 60m Waterproof Case
Osmo Action Adhesive Base Kit
Osmo Magnetic Ball-Joint Adapter Mount
Osmo Action Chest Strap Mount
Osmo Action Suction Cup Mount
Osmo Action Helmet Chin Mount
Osmo Action Handlebar Mount
Osmo Action Surfing Tether
DJI Floating Handle
Osmo Backpack Strap Mount
Osmo Action Hanging Neck Mount
Osmo Action ND Filters Set
Osmo Action Surfing Tether Kit
Osmo Action Bike Seat Rail Mount
Osmo Action Curved Adhesive Base Kit
Osmo Action Mini Extension Rod
Osmo Action 360° Wrist Strap
Osmo Action Mini Handlebar Mount
Check the Osmo Action 4 accessory compatibility page for more details. Additionally, there are new Osmo Action 4 accessories, including the Osmo Action Bite Mount, Osmo Action GPS Bluetooth Remote Controller, and the Osmo Action Road Cycling Accessory Kit.
Yes. You can mount third-party action camera accessories with the quick-release adapter mount.
Recommended models:
SanDisk Extreme Pro 32GB V30 A2 UHS-I Speed Grade 3
Kingston Canvas Go!Plus 64GB UHS-I Speed Grade 3
Kingston Canvas Go!Plus 128GB UHS-I Speed Grade 3
Kingston Canvas React Plus 64GB UHS-II Speed Grade 3
Kingston Canvas React Plus 128GB UHS-II Speed Grade 3
Kingston Canvas React Plus 256GB UHS-II Speed Grade 3
Lexar Pro 512GB SDXC UHS-I V30 R160/W120 (1066x)
Gimbal
1. Osmo Mobile SE adds a status panel, which is convenient for you to check the current gimbal mode. It also supports switching between gimbal modes via the M button.
2. Osmo Mobile SE has an upgraded joystick to provide a better operating experience.
3. Osmo Mobile SE has an upgraded Magnetic Phone Clamp for an improved clamping effect.
4. Osmo Mobile SE improves ActiveTrack.
5. Osmo Mobile SE adds ShotGuides.
1.LightCut is a video editing app officially recommended by DJI. It provides intuitive shooting and editing functions that fit the needs of DJI users.
2. LightCut supports shooting templates in a range of scenarios: outings, parks, camping, seaside, city, sports, and more. It provides extensive guidance for you to create impressive videos effortlessly. When connecting to Osmo Mobile devices, it also supports ActiveTrack, stabilization, and Glamour Effects.
3. After shooting, use the One-Tap Edit function and select the original clips you have taken. One-Tap Edit automatically recommends templates according to your clips, covering nature, city, home, store visiting, food, pets, festivals, and many other scenarios, and intelligently selects great clips to generate videos without the need for manual editing.
4. You can also switch to many other templates, change the clips, or select music, filters, text, and stickers. Effortless editing allows you to share your work right away.
The magnetic force of Osmo Mobile SE is 45 Newtons (approximately the force needed to hold two 2-liter soda bottles), more than enough strength to keep smartphones attached securely.
Yes.
ActiveTrack 6.0 offers enormous improvements to its basic tracking functionality:
1. In multi-person scenes, it’s less likely to lose a subject due to obstructions or to start tracking another person by mistake.
2. It can follow subjects reliably, even in multi-person scenarios or during moments with fast/ dramatic movements like sports.
3. It’s less likely to lose a tracked pet.
4. If a subject leaves the frame, the gimbal can find and follow the subject again using automatic zoom and gimbal movements for continuous tracking.
5. Track the subject while also using the zoom function.
1. Timelapse is suitable for mounting the gimbal on a tripod or base to record the passing of time in a fixed scene.
2. Motionlapse allows users to record a moving timelapse video from different angles with preset camera positions.
3. Hyperlapse allows users to record everything passing by as they hold the gimbal in hand and walk. ActiveTrack 6.0 provides more options for flexible shooting.
Compatibility
Osmo Mobile SE is compatible with most smartphones on the market. It is recommended to use smartphones with a width of 67-84 mm, thickness of 6.9-10 mm, and weight of 170-290 g.
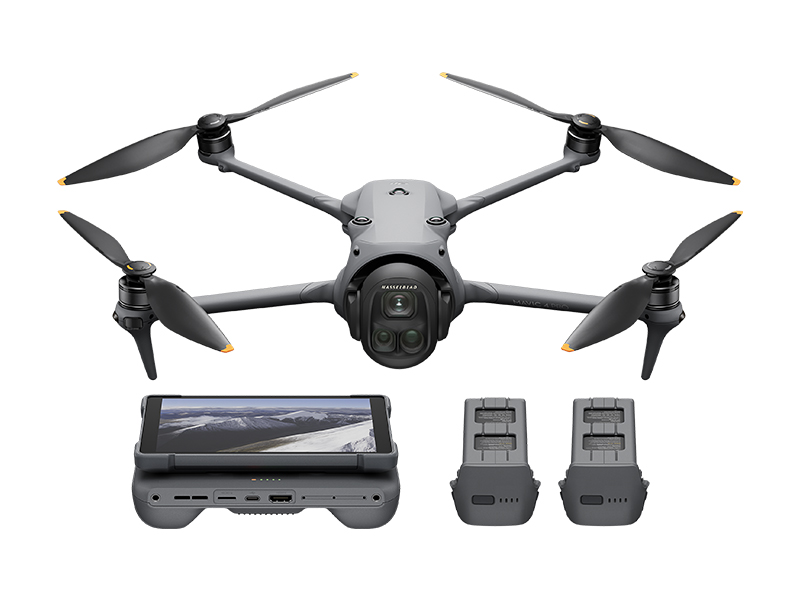 DJI Mavic 4 Pro Creator Combo (512GB)
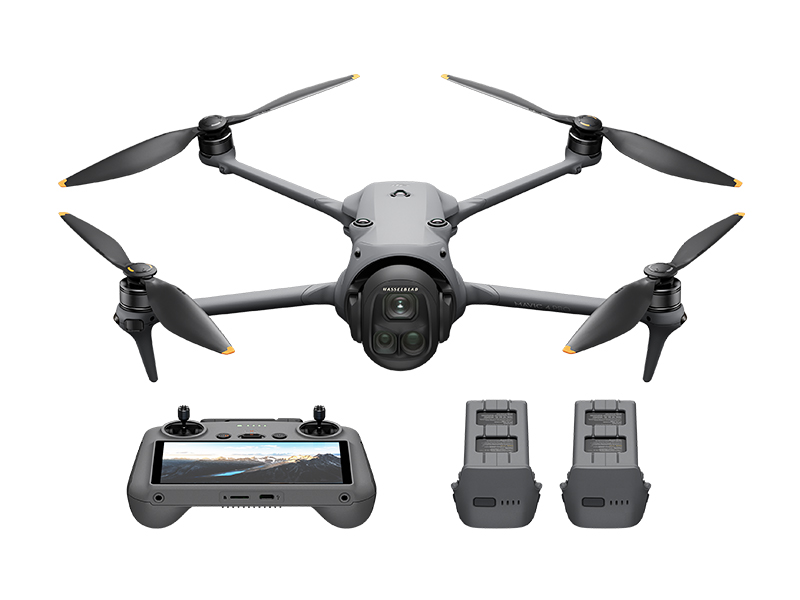 DJI Mavic 4 Pro Fly More Combo
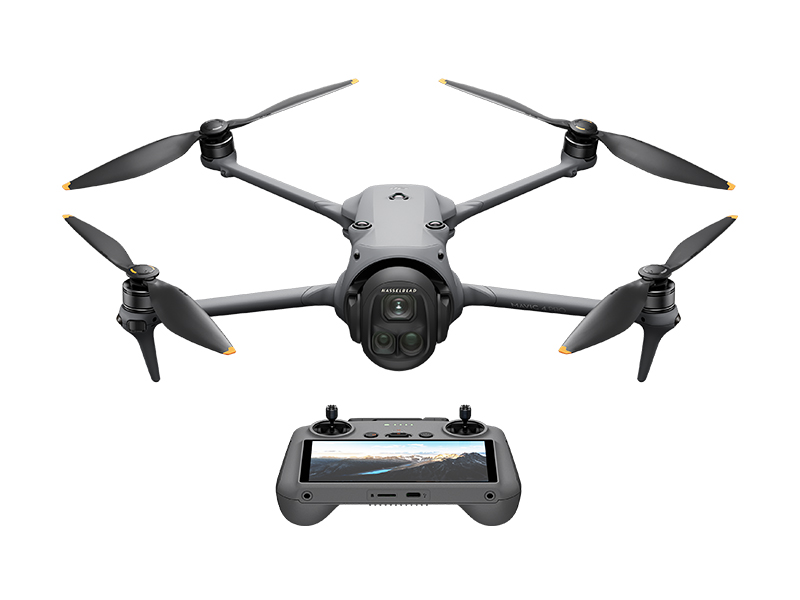 DJI Mavic 4 Pro
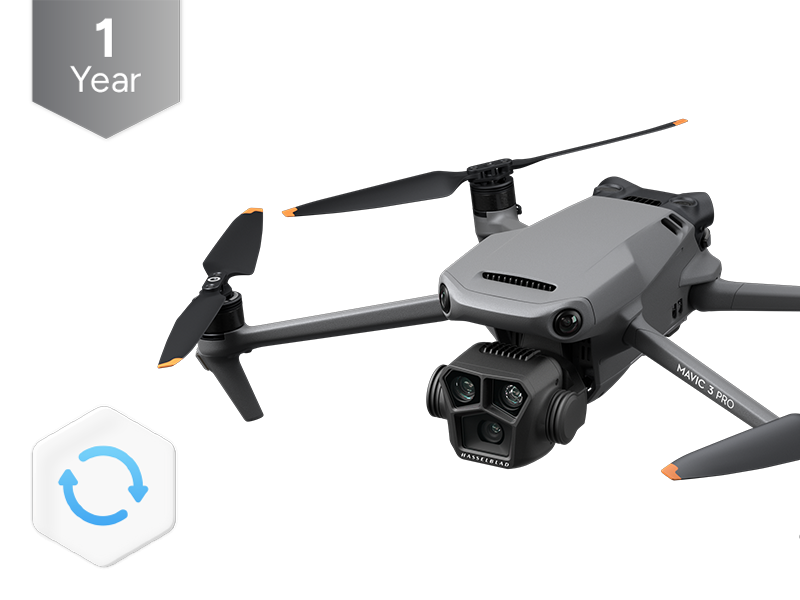 DJI Care Refresh 1-Year Plan (DJI Mavic 3 Pro)
 DJI Care Refresh 2-Year Plan (DJI Mavic 3 Pro)
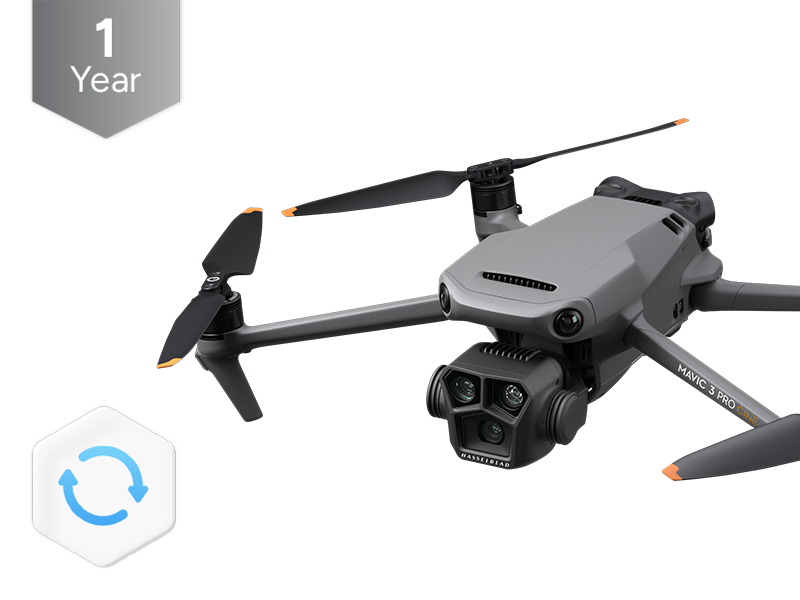 DJI Care Refresh 1-Year Plan (DJI Mavic 3 Pro Cine)
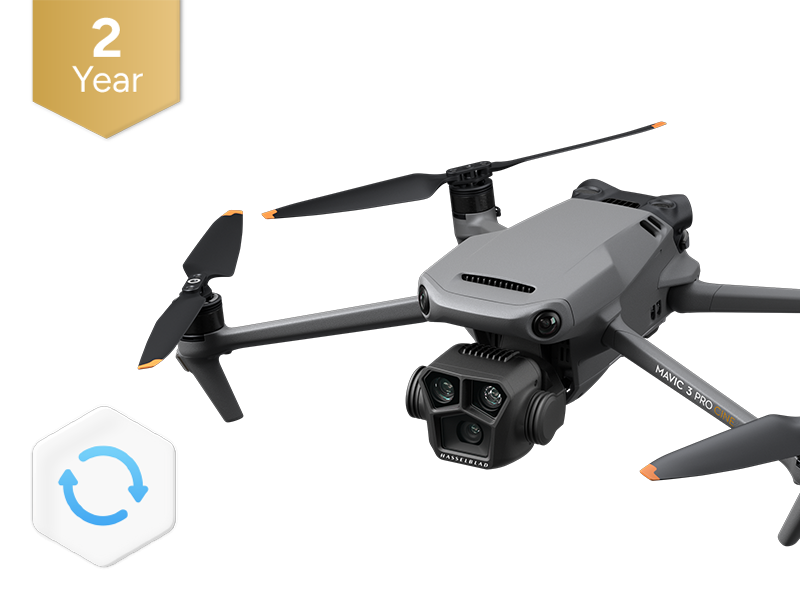 DJI Care Refresh 2-Year Plan (DJI Mavic 3 Pro Cine)
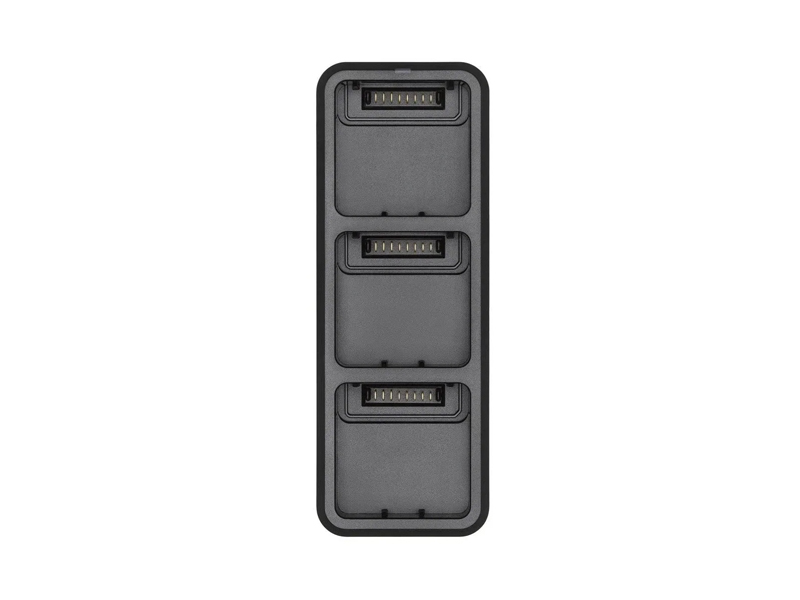 DJI Mavic 3 Series 100W Battery Charging Hub
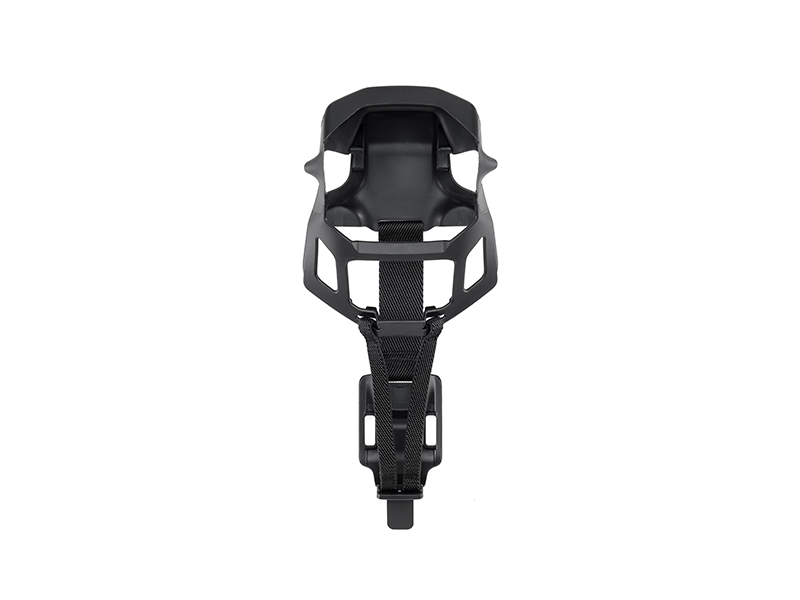 DJI Mavic 3 Classic Storage Cover
 DJI Power SDC to DJI Mavic 3 Series Fast Charge Cable
 DJI Mavic 3 Series Low-Noise Propellers
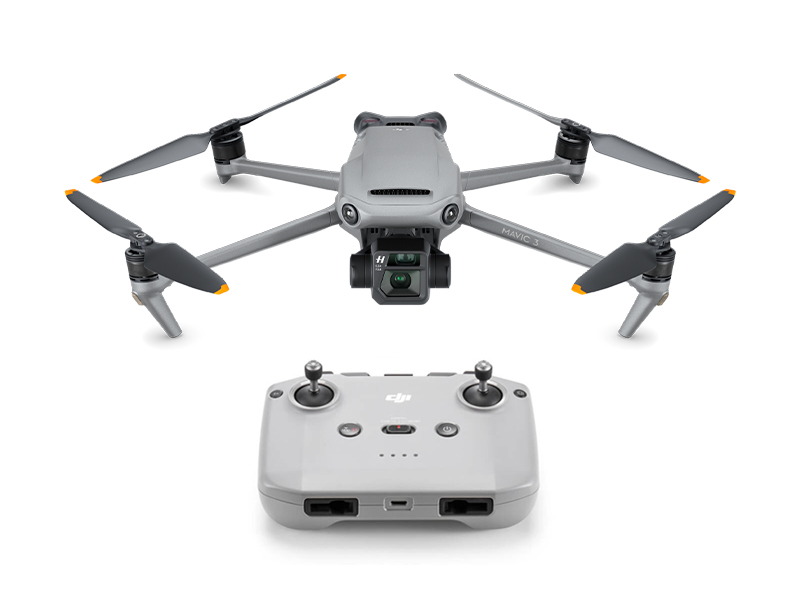 DJI Mavic 3
  DJI Mavic 3 Fly More Combo
  DJI Mavic 3 Cine Premium Combo (Open Box)
 Mavic 2 Pro (Drone Only, No Battery)
.jpg) Mavic 2 Zoom (Drone Only)
Mavic 2 Zoom (Drone Only) Mavic 2 Pro
 CrystalSky Mavic/Spark Remote Controller Mounting Bracket
 D1 Aircraft Sleeve
 PolarPro CrystalSky Mount for Mavic Series
 SunnyLife Low-Noise Propellers for Mavic Pro (2 Pairs)
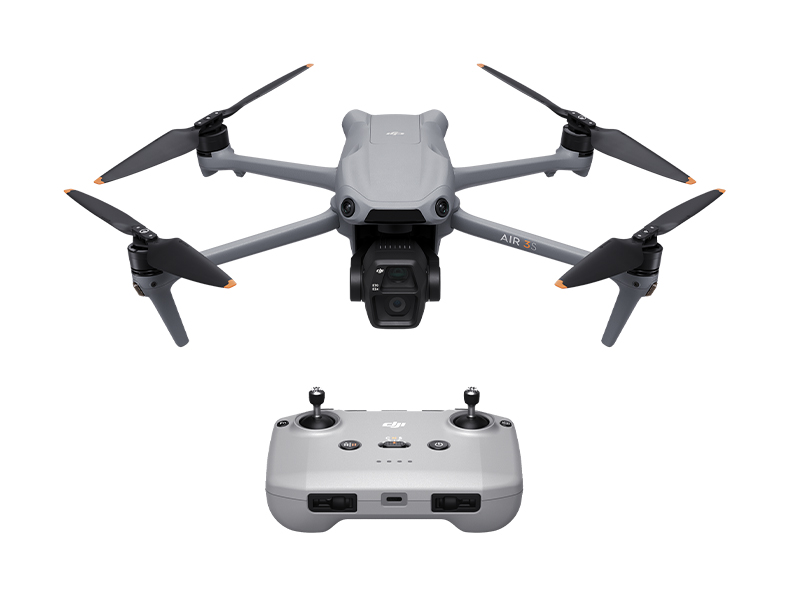 DJI Air 3S
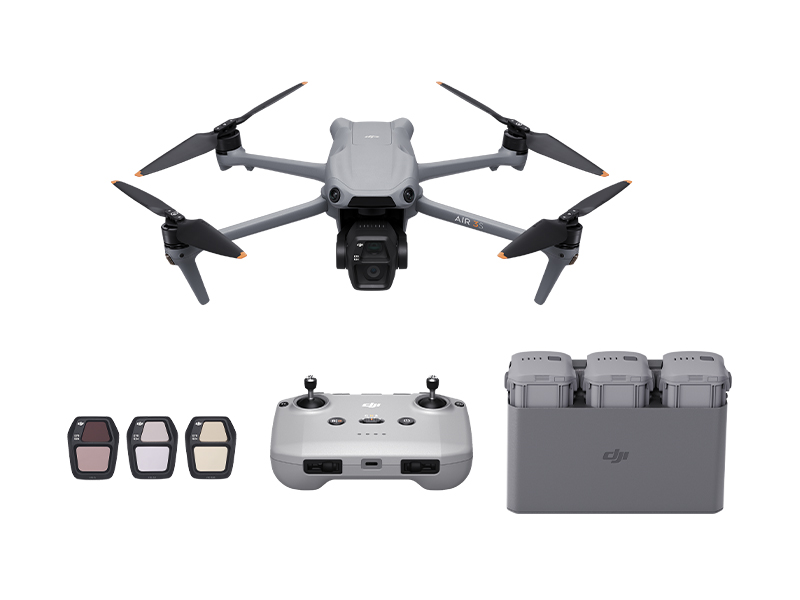 DJI Air 3S Fly More Combo w. DJI RC-N3
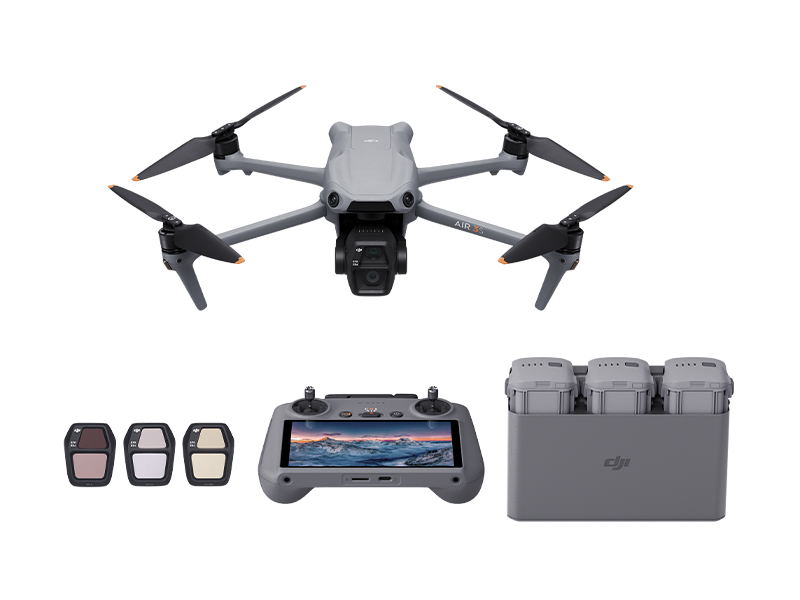 DJI Air 3S Fly More Combo w. DJI RC 2
 DJI Air 3 Fly More Combo w. DJI RC 2
 DJI Air 3 Fly More Combo
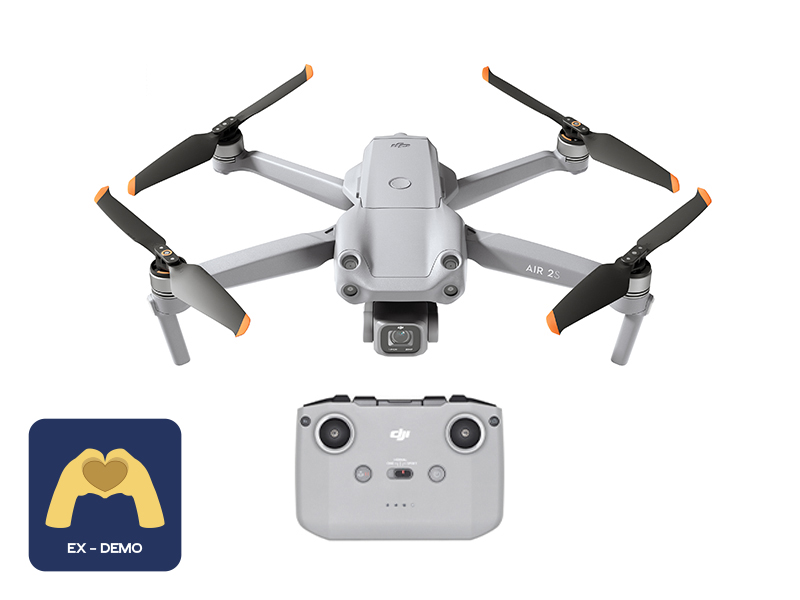 Ex-Demo DJI Air 2S
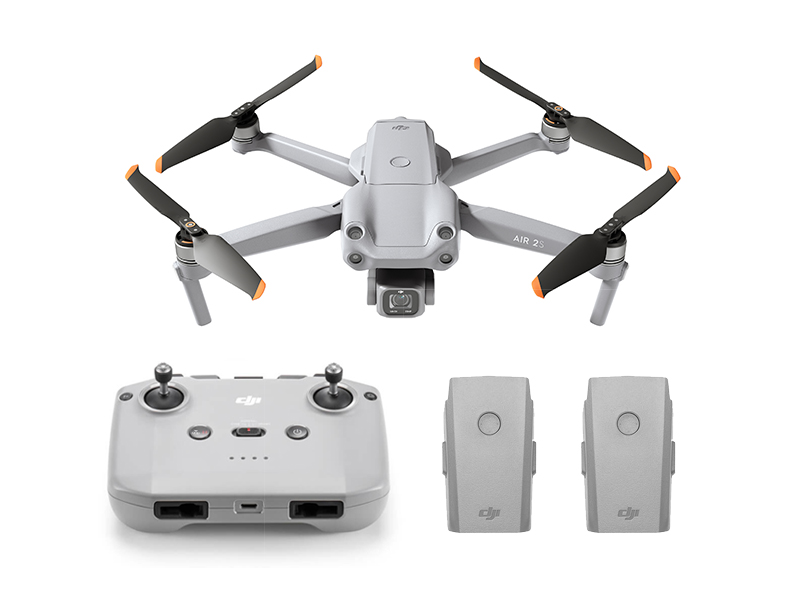 DJI Air 2S Fly More Combo
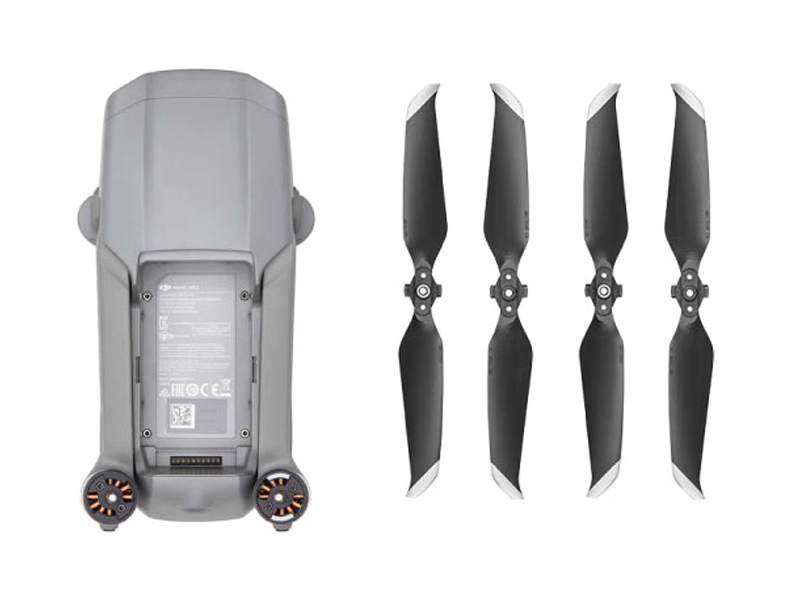 Mavic Air 2 (Drone Only)
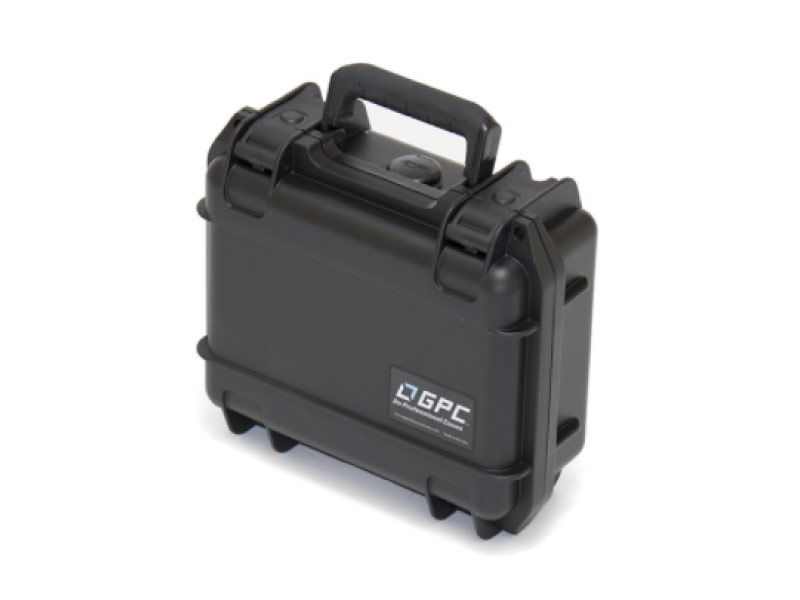 GPC Safety Case V2 for Mavic Air 2
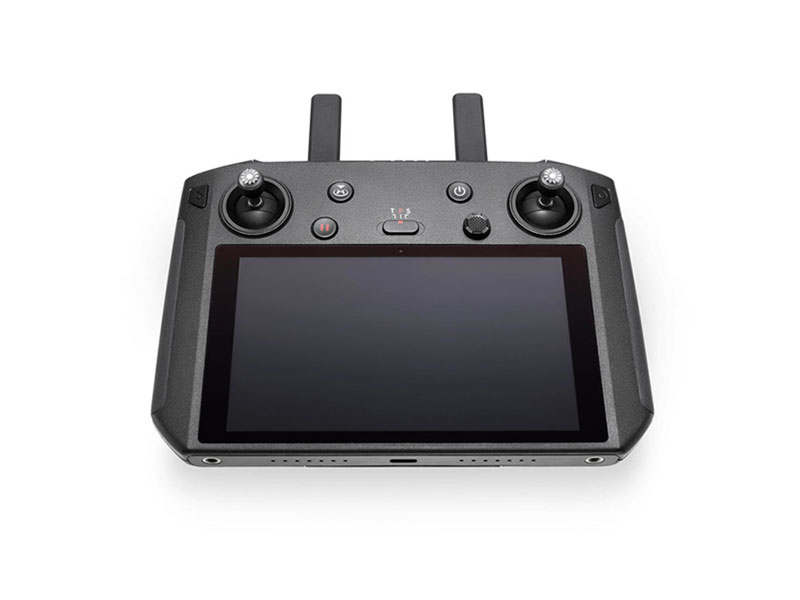 DJI Smart Controller
  Mavic Air 2 Battery to Power Bank Adaptor
 Mavic Air
 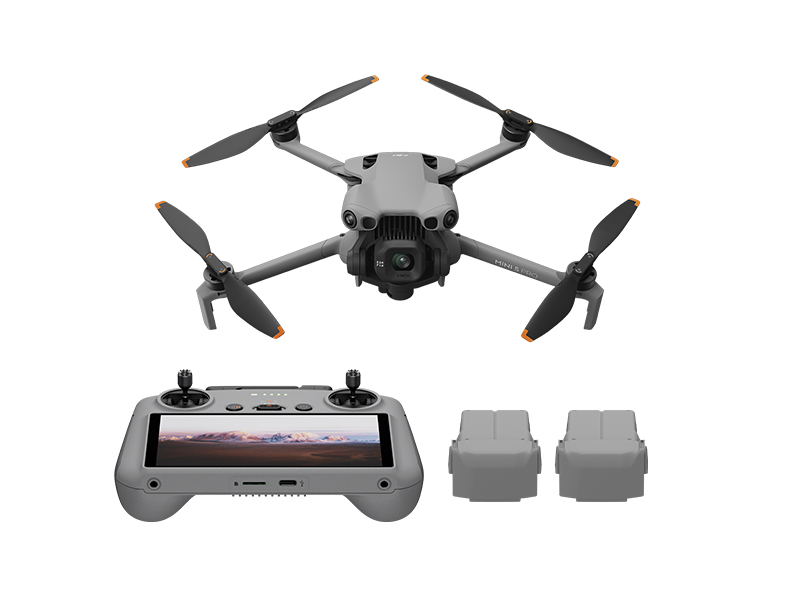 DJI Mini 5 Pro Fly More Combo
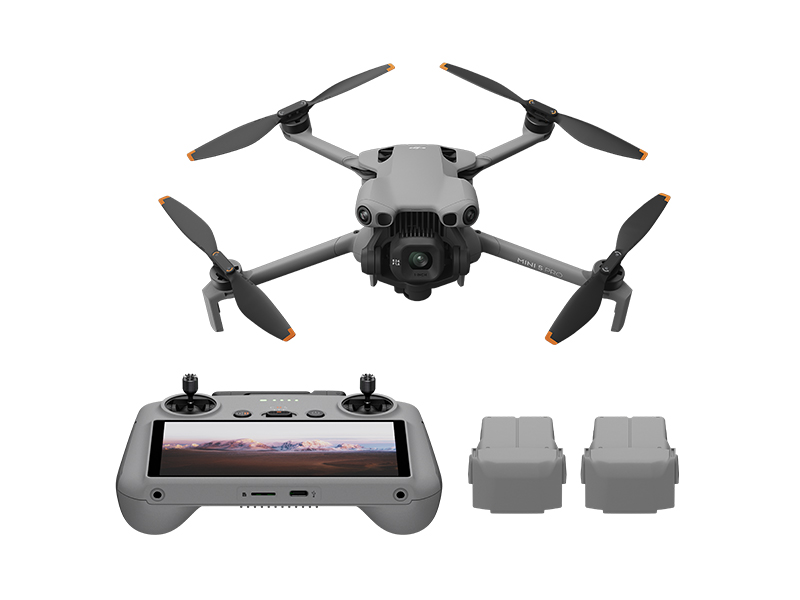 DJI Mini 5 Pro Fly More Combo Plus
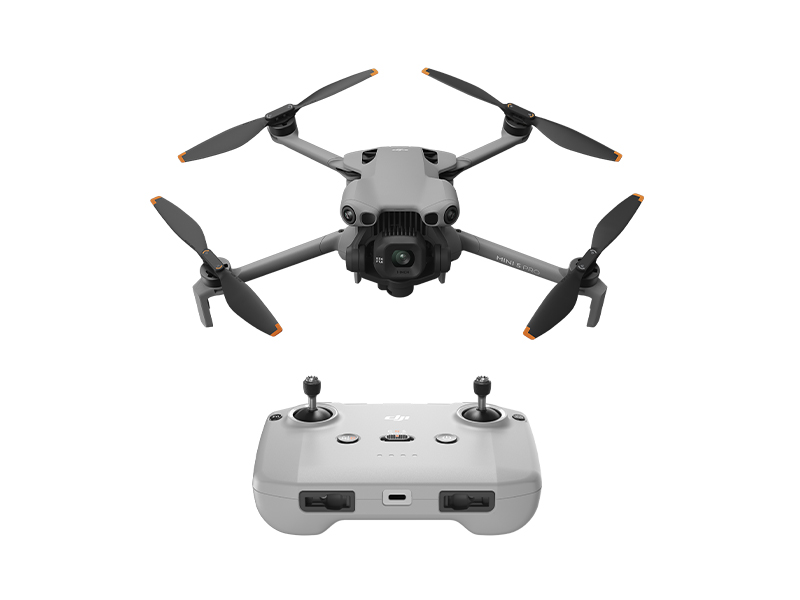 DJI Mini 5 Pro
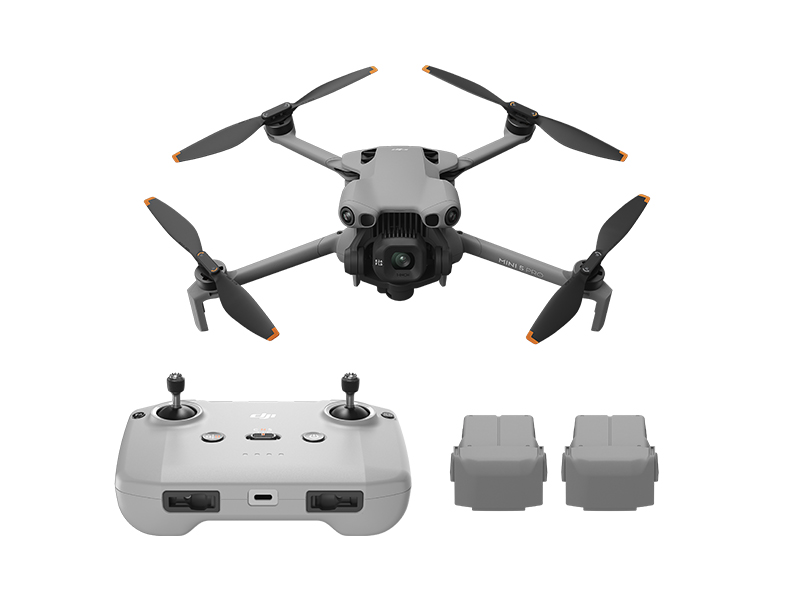 DJI Mini 5 Pro Fly More Combo w. DJI RC-N3
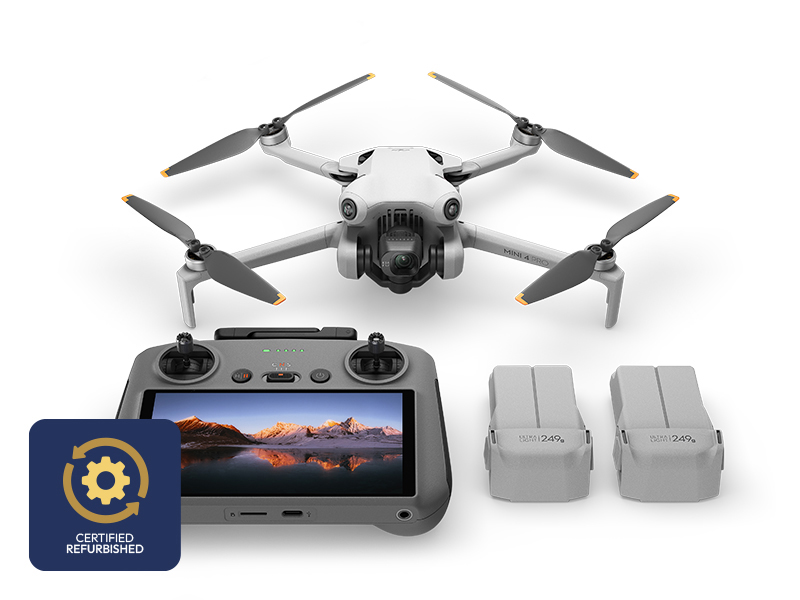 DJI Mini 4 Pro Fly More Combo (Refurbished)
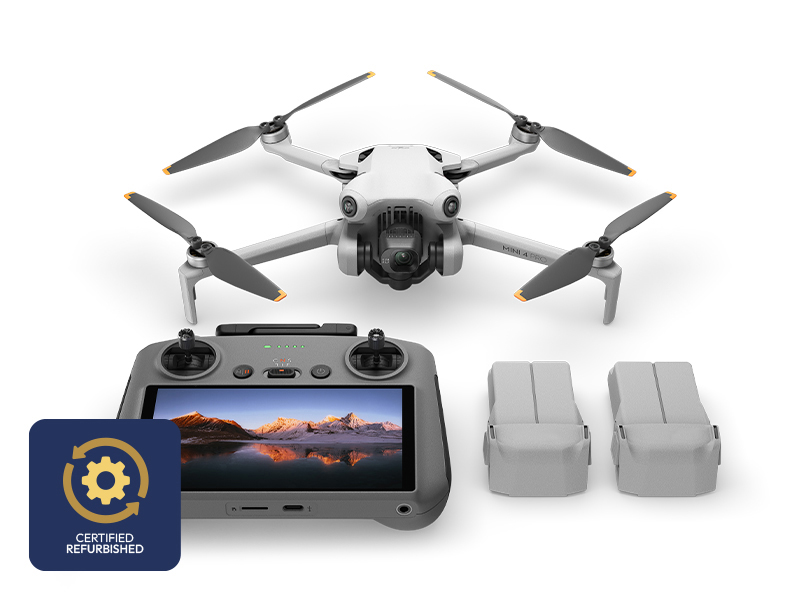 DJI Mini 4 Pro Fly More Combo Plus (Refurbished)
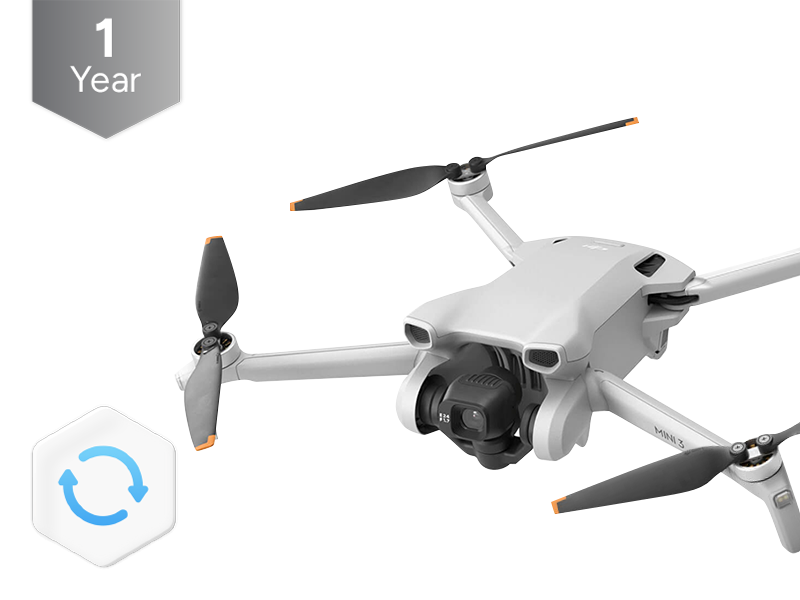 DJI Care Refresh 1-Year Plan (DJI Mini 3)
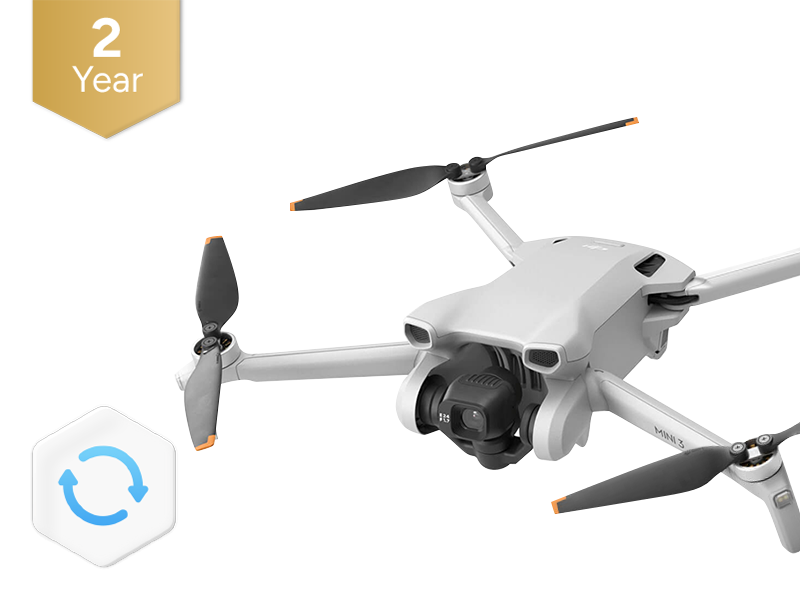 DJI Care Refresh 2-Year Plan (DJI Mini 3)
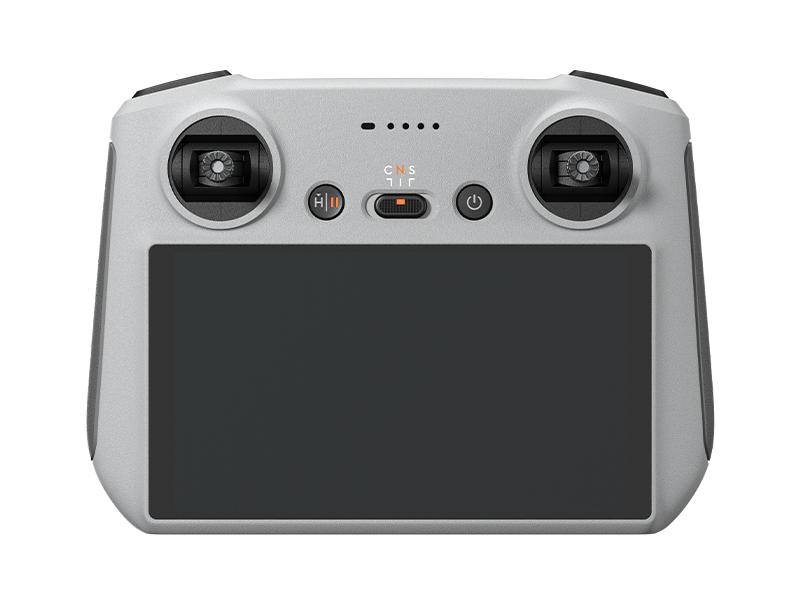 DJI RC
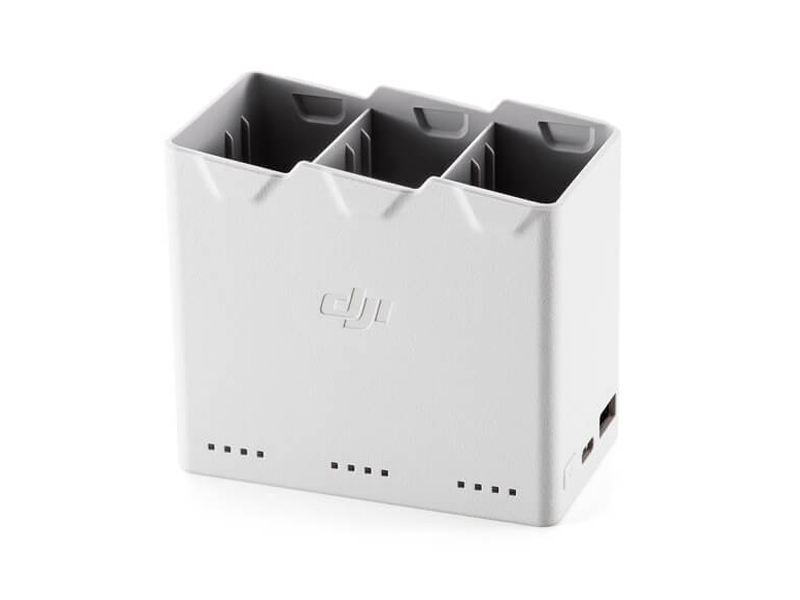 DJI Mini 4 Pro/Mini 3 Series Two-Way Charging Hub
 DJI Care Refresh 1-Year Plan (DJI Mini 2 SE & DJI Mini 4K)
 DJI Mini 2 / SE Intelligent Flight Battery
 DJI Care Refresh 2-Year Plan (DJI Mini 2 SE & DJI Mini 4K)
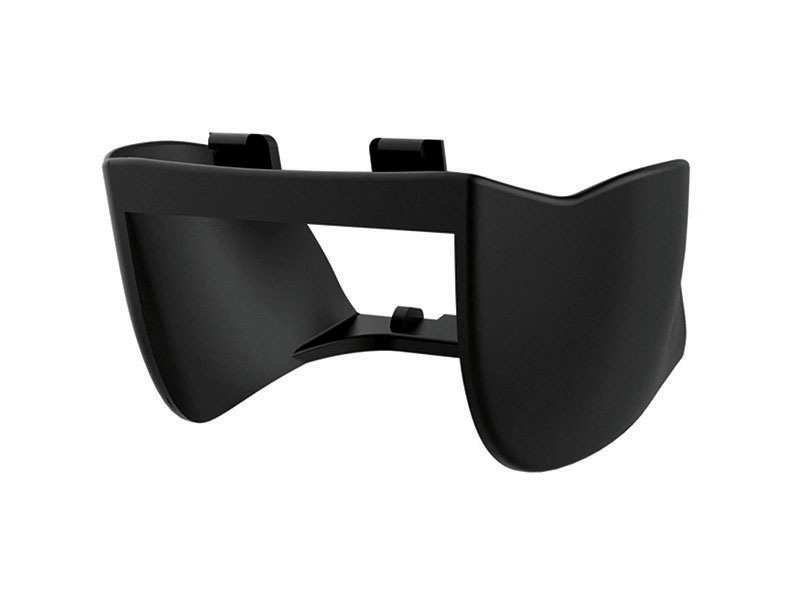 PGYTECH Lens Hood for DJI Mini Series
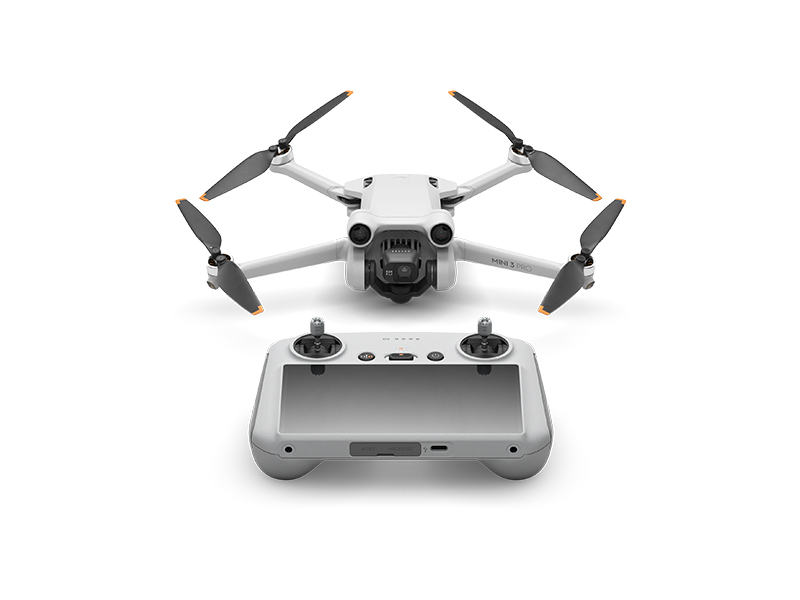 DJI Mini 3 Pro w. DJI RC
 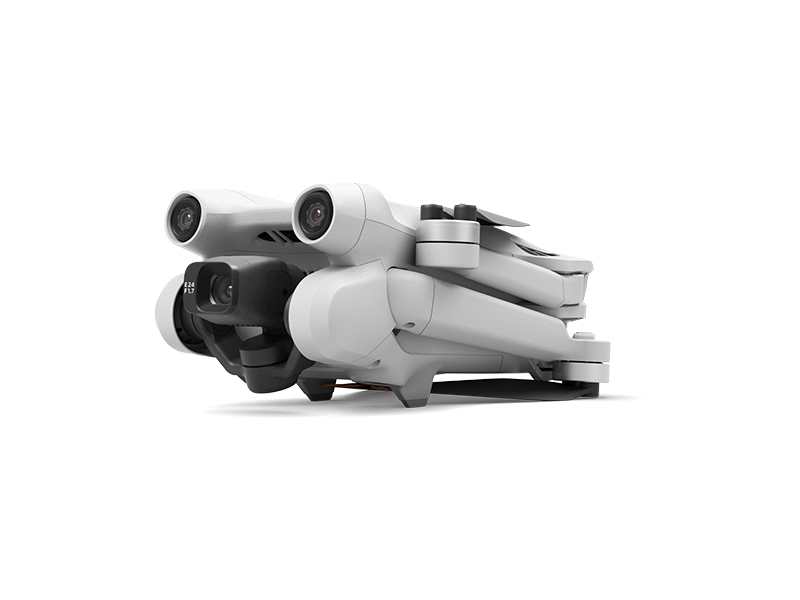 DJI Mini 3 Pro (Drone Only, No Battery)
 PGYTECH Control Stick Protector for Mavic Mini
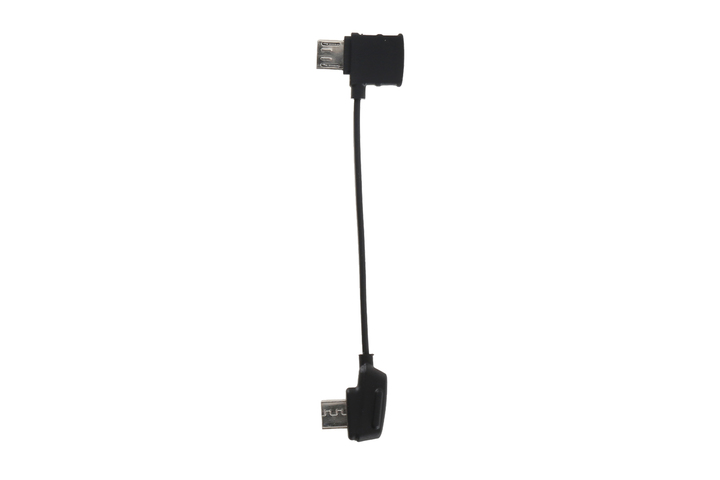 Mavic - RC Cable (Reverse Micro USB connector)
 Mavic - RC Cable (Standard Micro USB connector)
 Ex-Demo DJI Mini 2 / SE Intelligent Flight Battery
 DJI RC-N Series Remote Controller Monitor Hood
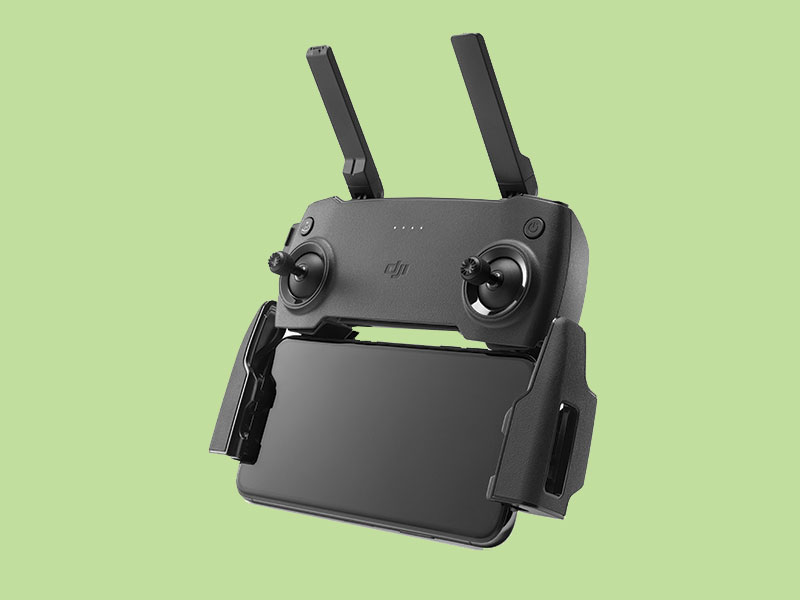 Mavic Mini Remote Controller (open box)
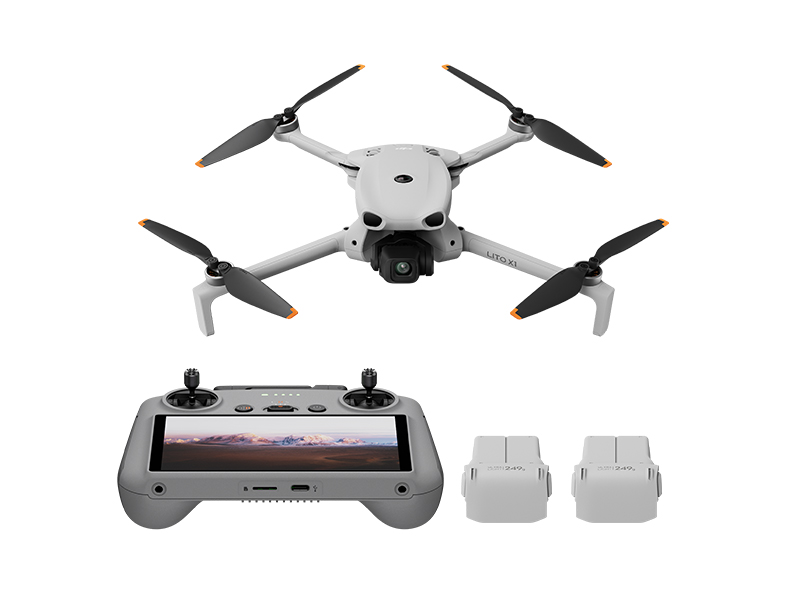 DJI Lito X1 Fly More Combo
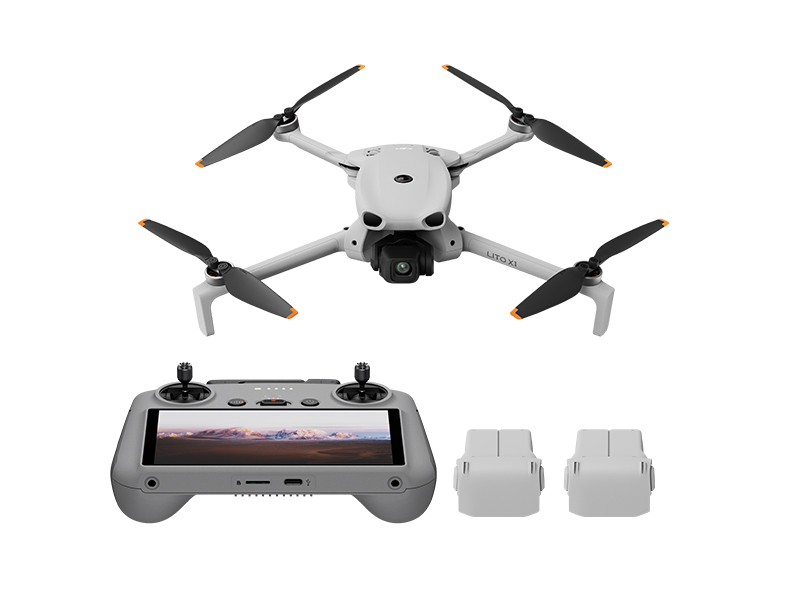 DJI Lito X1 Fly More Combo Plus
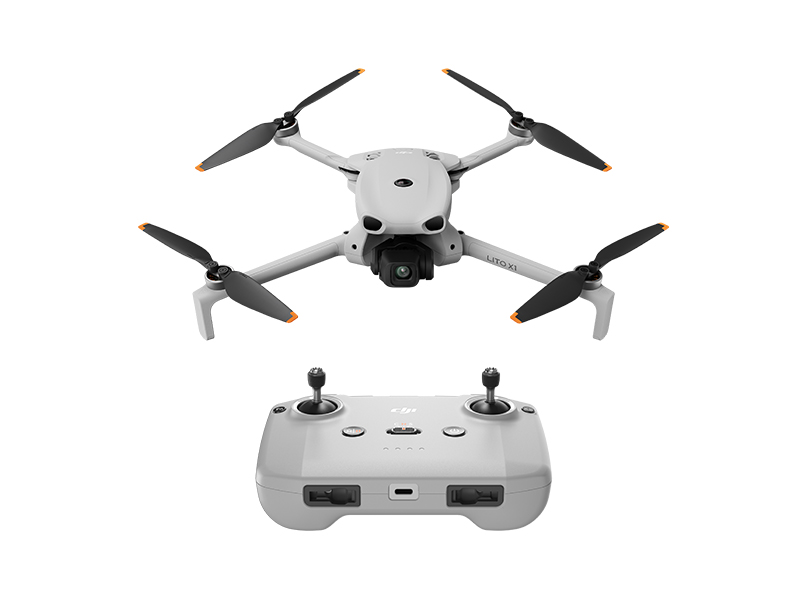 DJI Lito X1
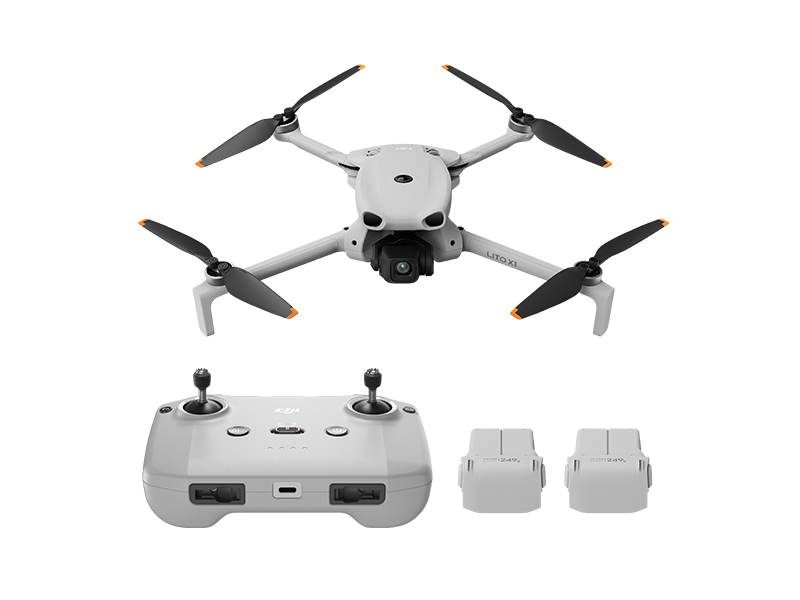 DJI Lito X1 Fly More Combo (DJI RC-N3)
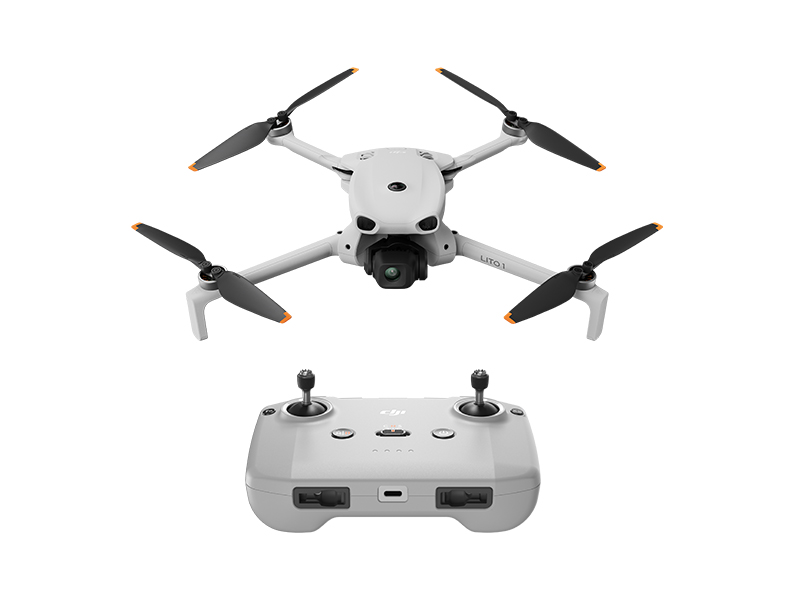 DJI Lito 1
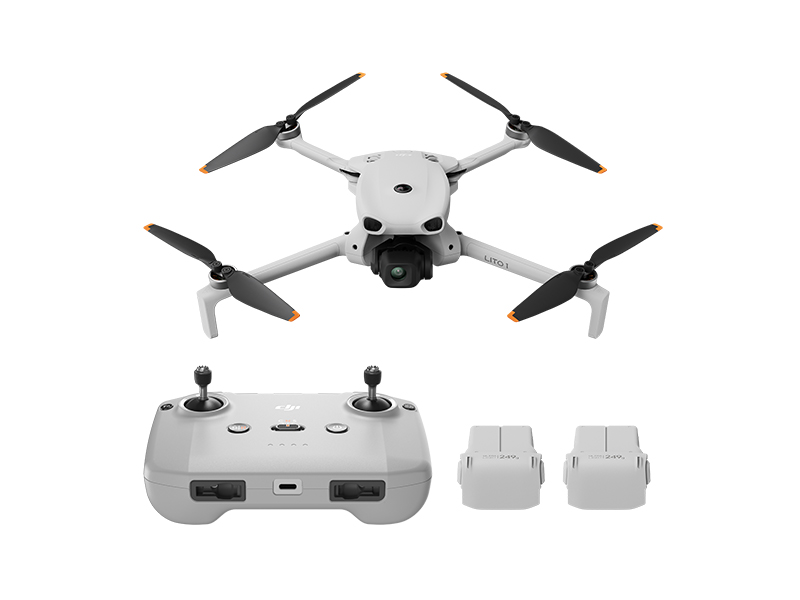 DJI Lito 1 Fly More Combo
 DJI Flip (Drone Only, No Battery)
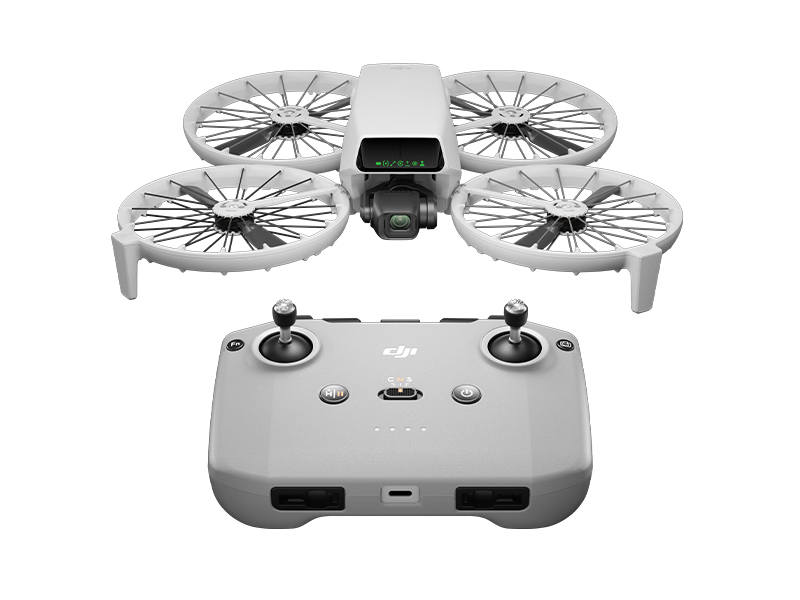 DJI Flip
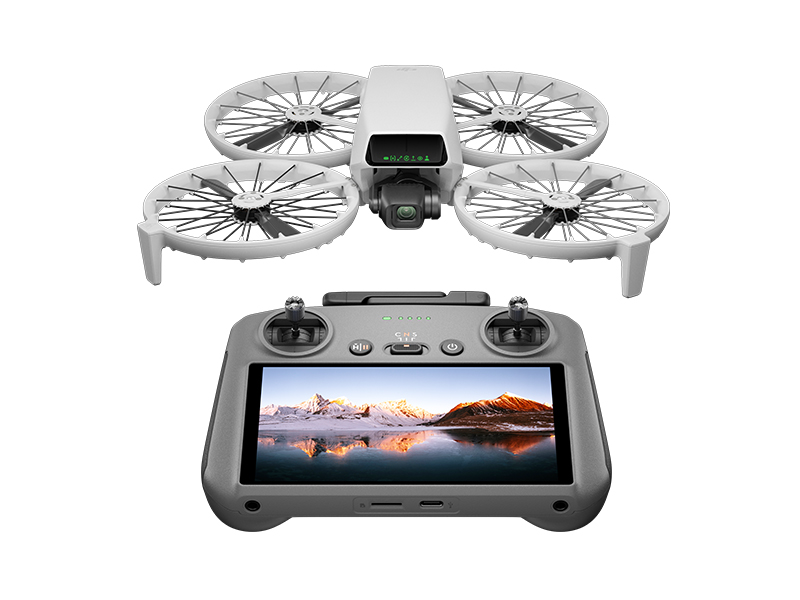 DJI Flip w. DJI RC 2
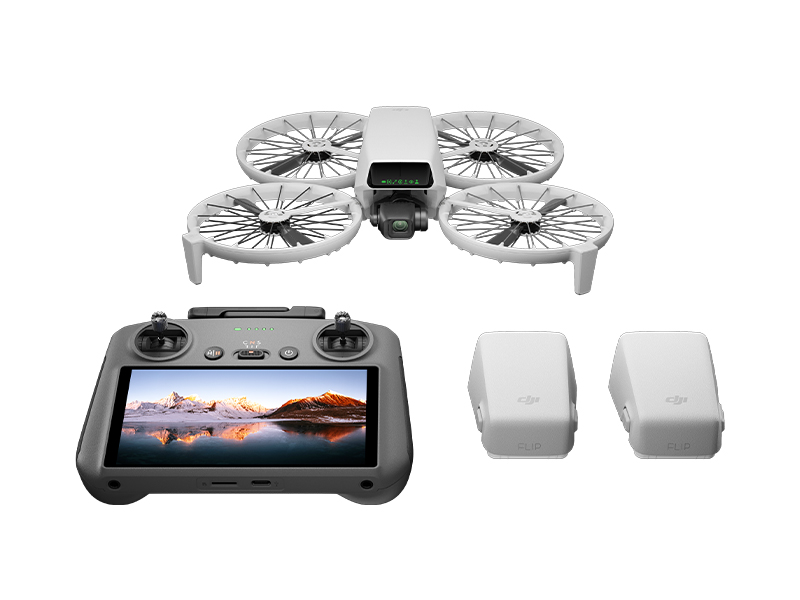 DJI Flip Fly More Combo
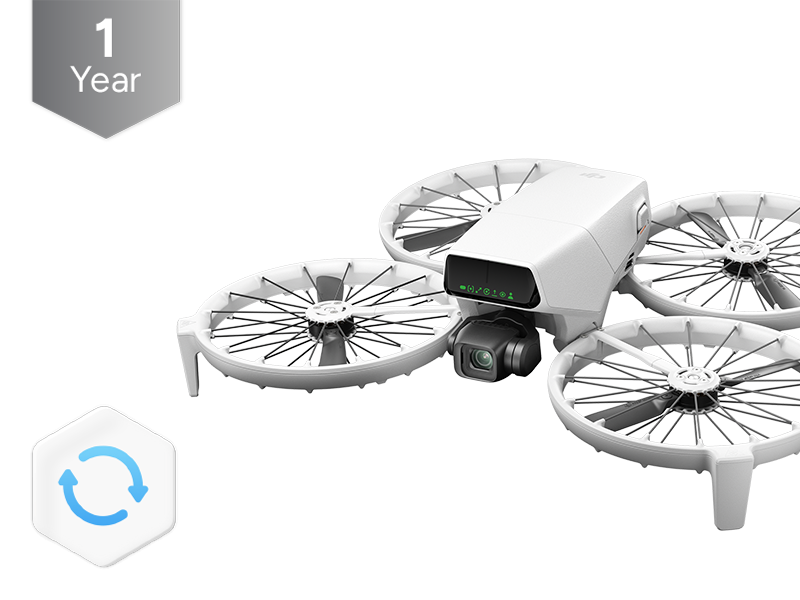 DJI Care Refresh 1-Year Plan (DJI Flip)
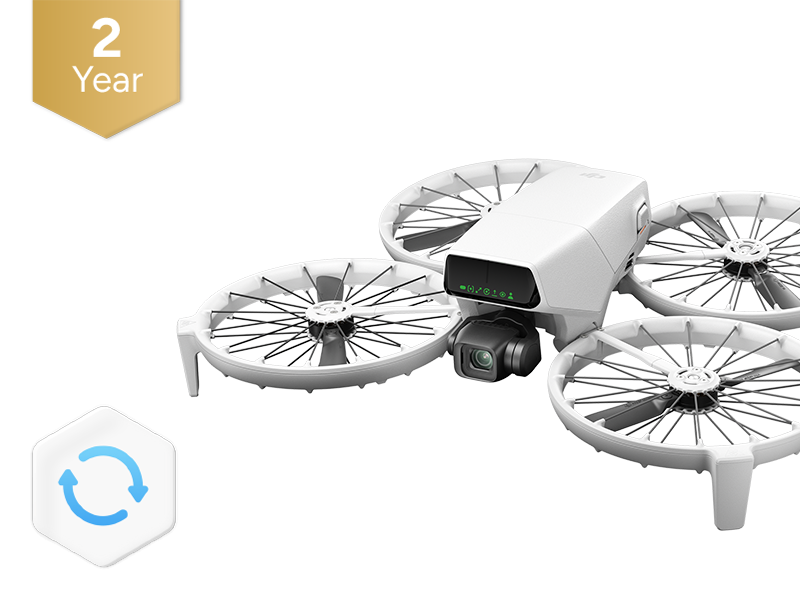 DJI Care Refresh 2-Year Plan (DJI Flip)
 DJI RC 2
 DJI RC-N3 Remote Controller
 DJI RC/RC 2 Control Sticks
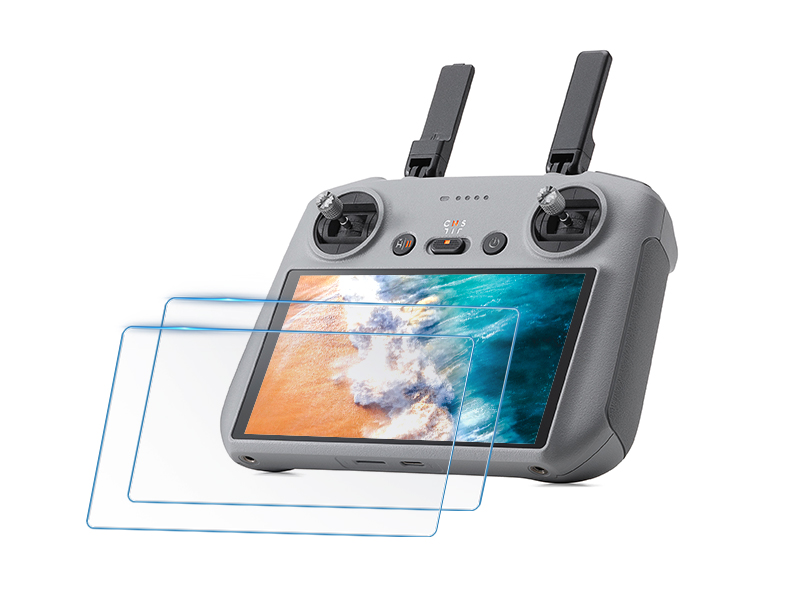 D1 Labs Screen Protector for DJI RC Series
 D1 Lens Cloth
 D1 Labs Heavy Duty Lanyard
 D1 Labs Monitor Hood for DJI RC-N Series
 D1 Labs Lanyard Kit for DJI RC-N Series
 Lexar Professional 128GB Silver Plus MicroSD Card
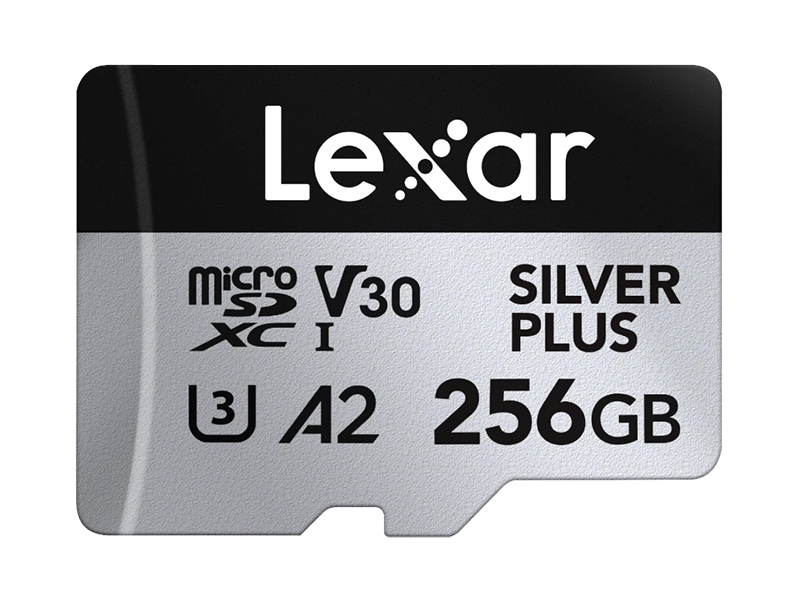 Lexar Professional 256GB Silver Plus MicroSD Card
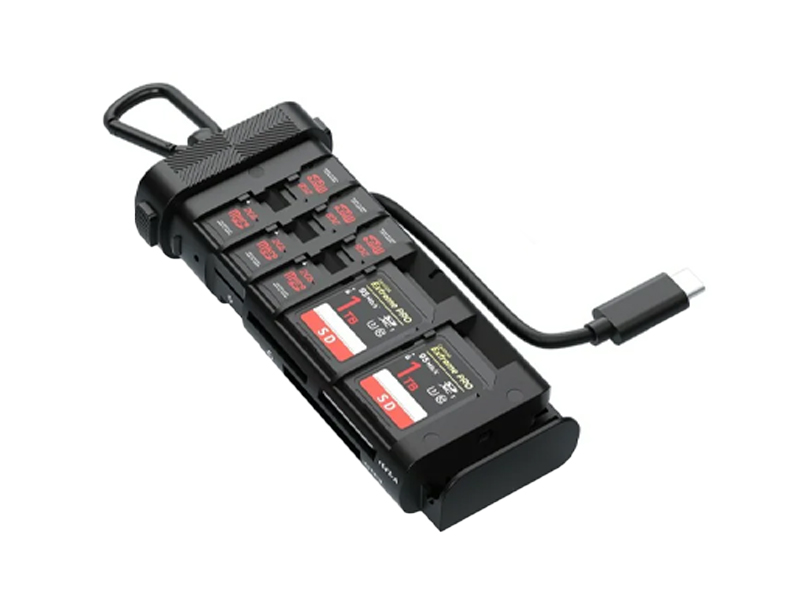 Freewell Pro Card Reader (CF A/B, SD, TF)
 D1 Labs High-Speed SD Card Reader
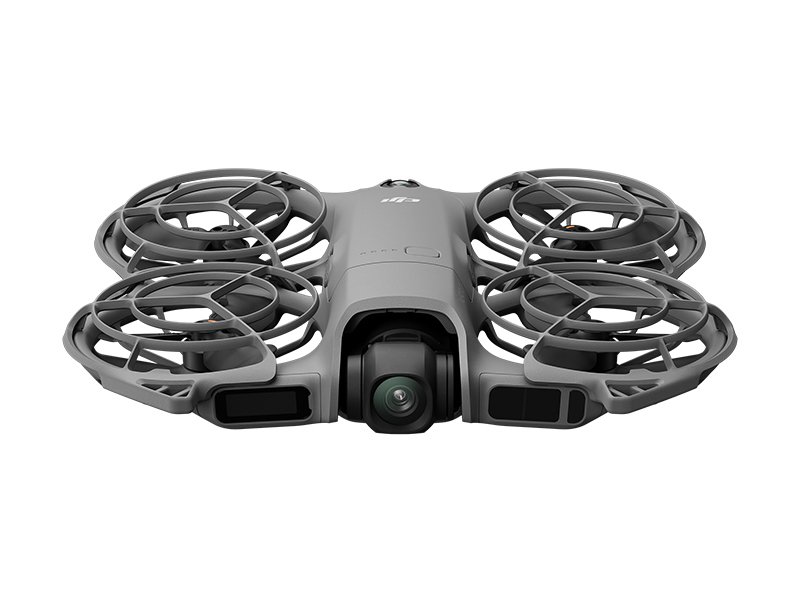 DJI Neo 2 (Drone Only)
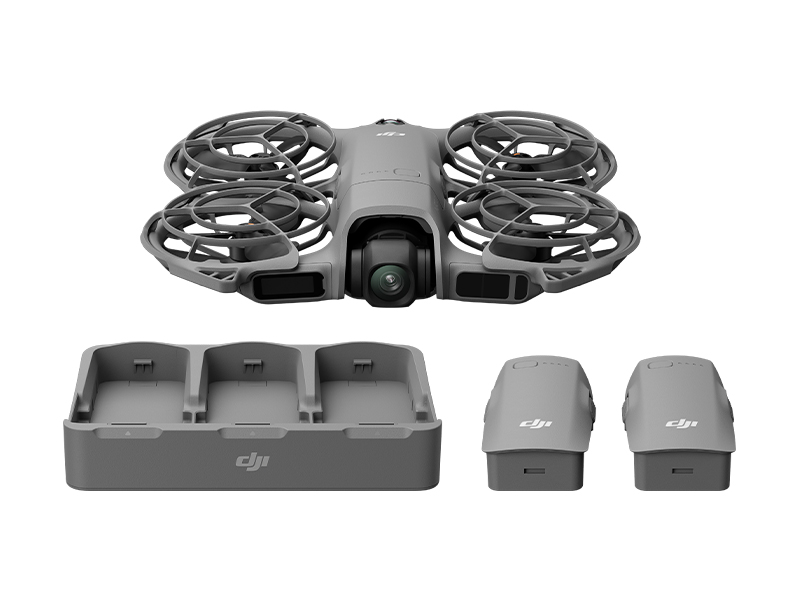 DJI Neo 2 Fly More Combo (Drone Only)
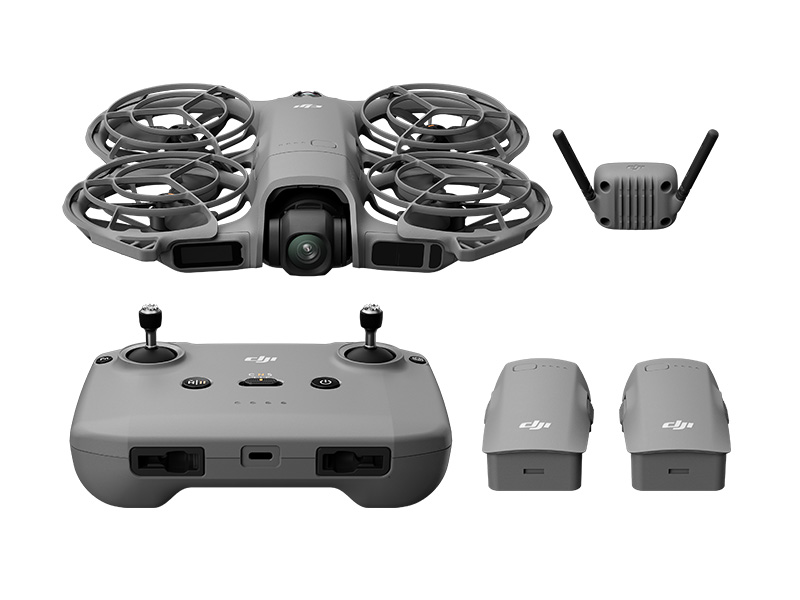 DJI Neo 2 Fly More Combo
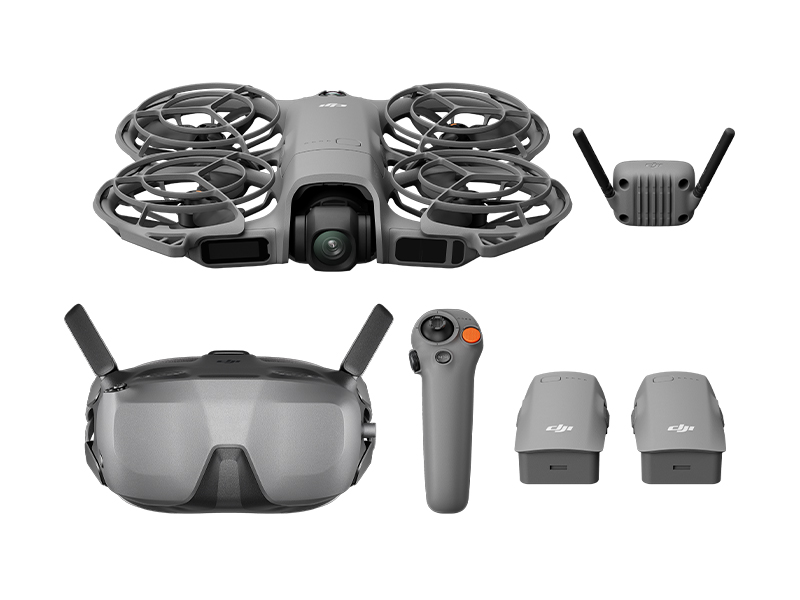 DJI Neo 2 Motion Fly More Combo
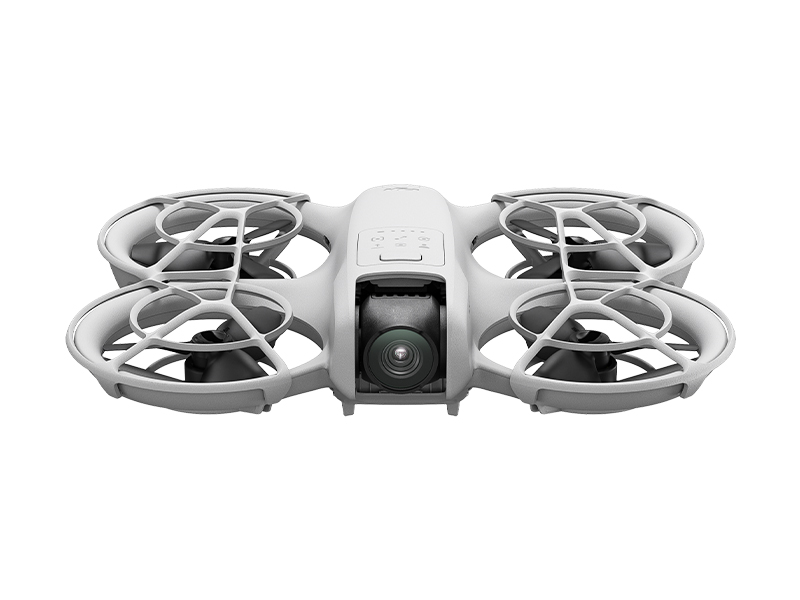 DJI Neo
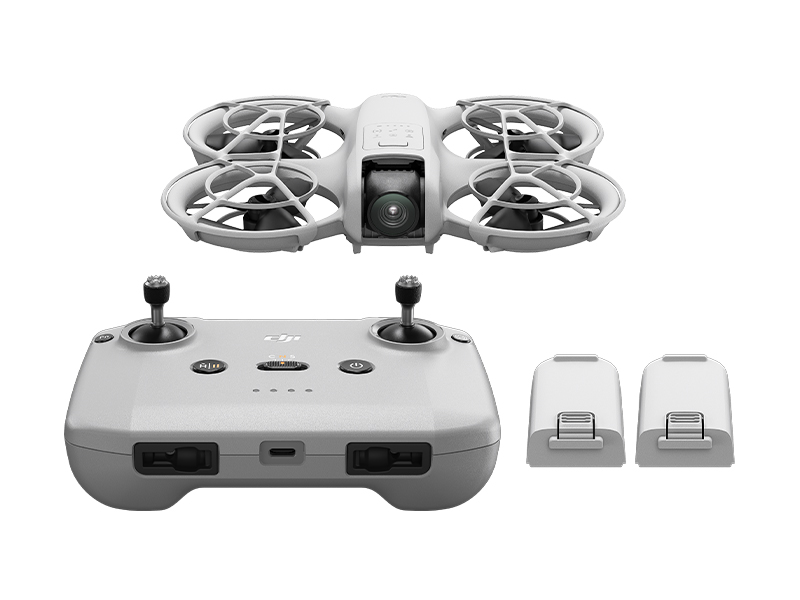 DJI Neo Fly More Combo
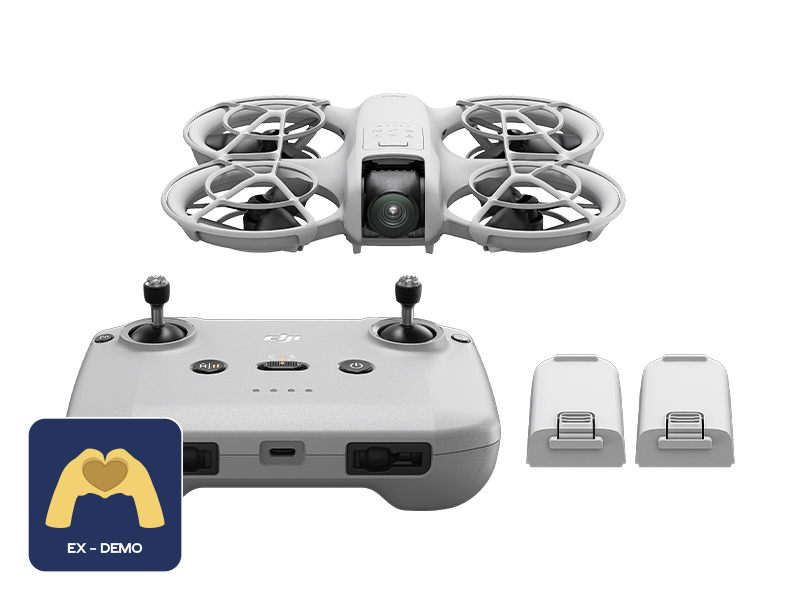 Ex-Demo DJI Neo Fly More Combo
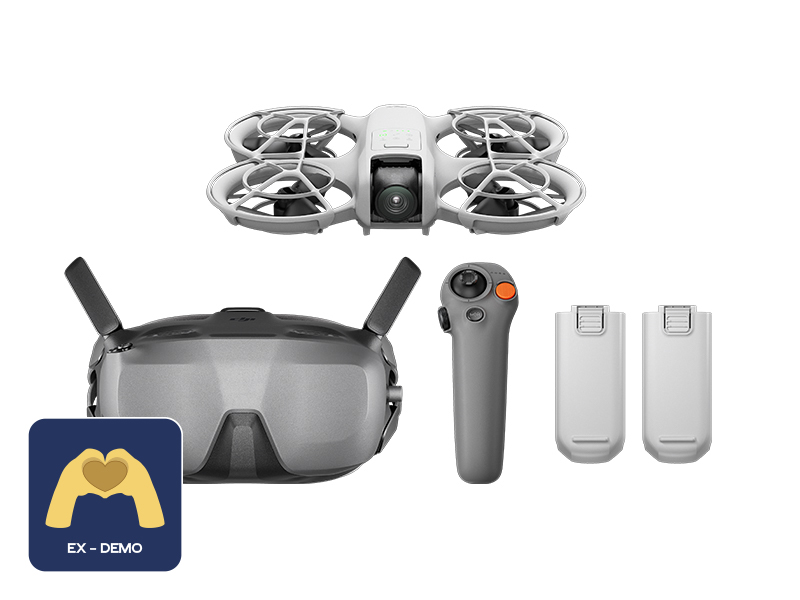 Ex-Demo DJI Neo Motion Fly More Combo
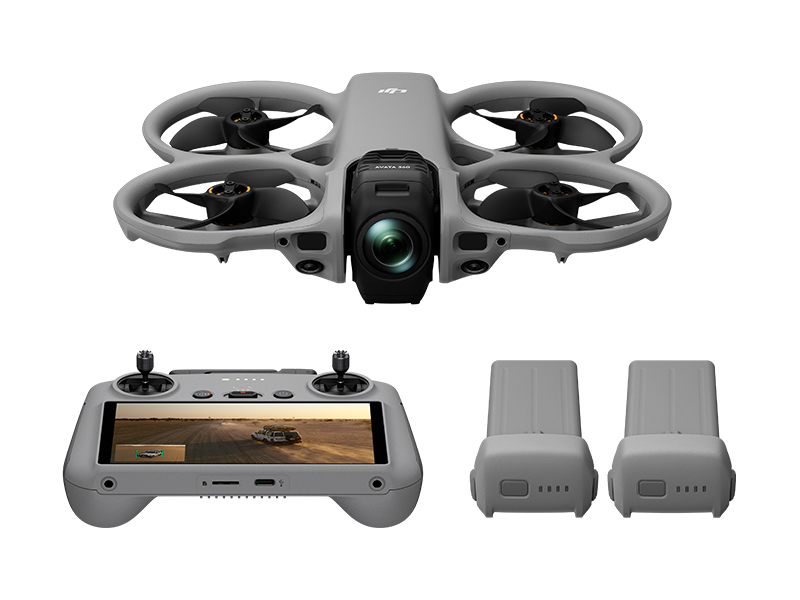 DJI Avata 360 Fly More Combo
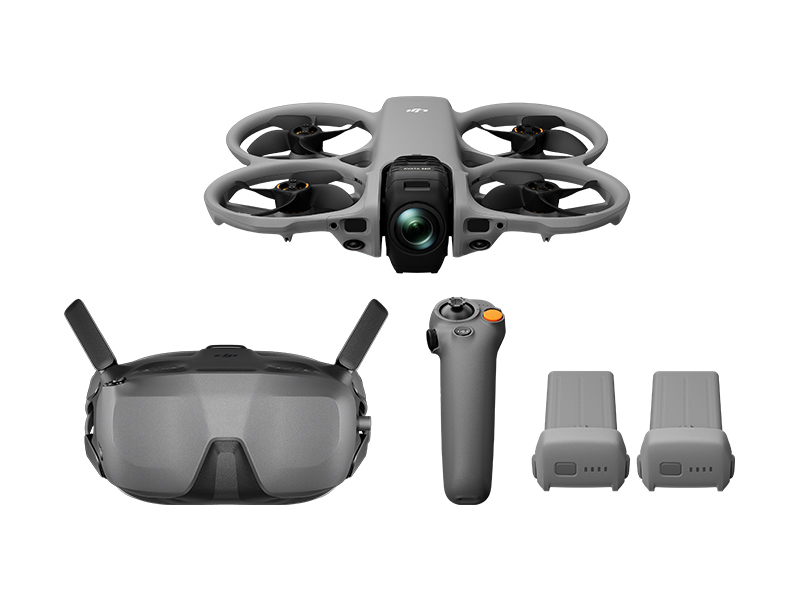 DJI Avata 360 Motion Fly More Combo
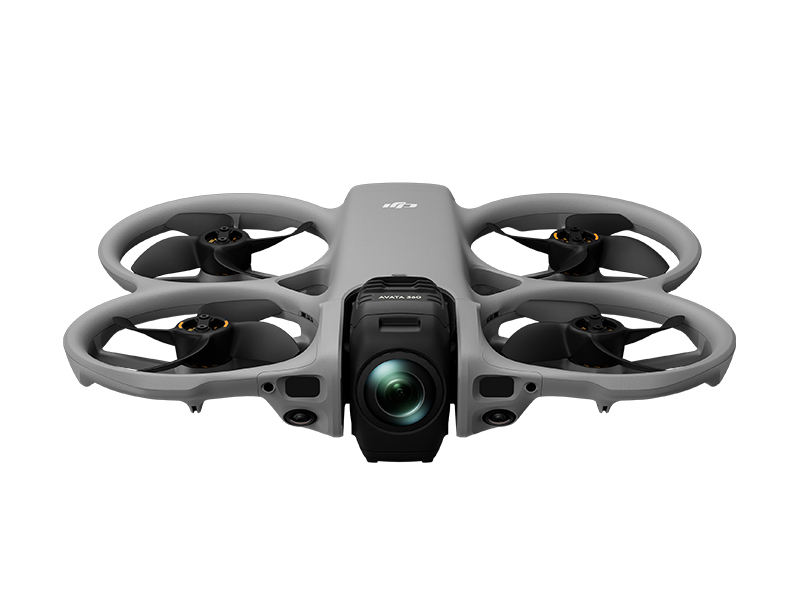 DJI Avata 360 (Drone Only)
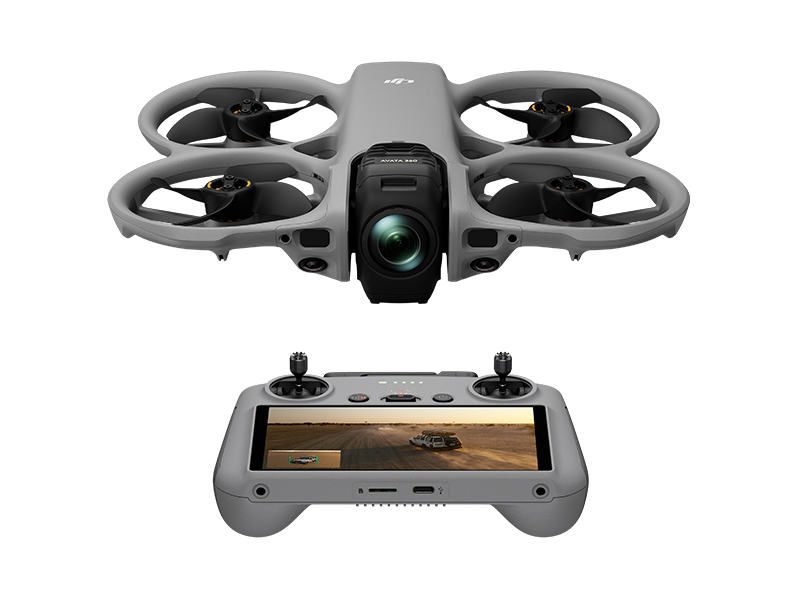 DJI Avata 360 w. DJI RC 2
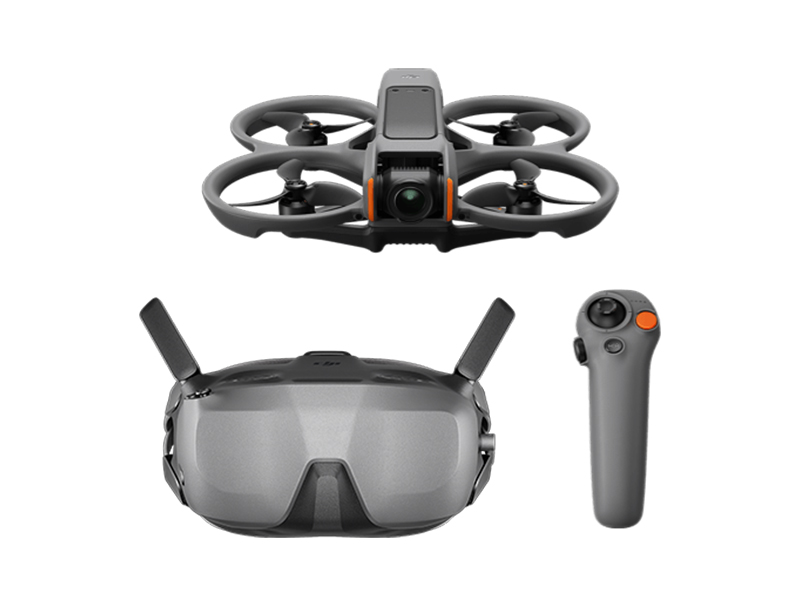 DJI Avata 2 Fly Smart Combo
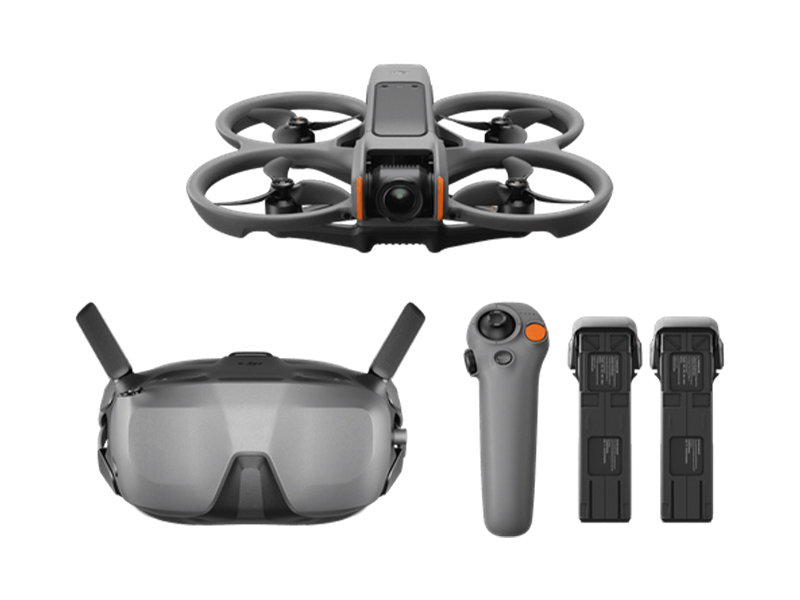 DJI Avata 2 Fly Smart Combo (Three Batteries)
 DJI Avata 2 Fly More Combo
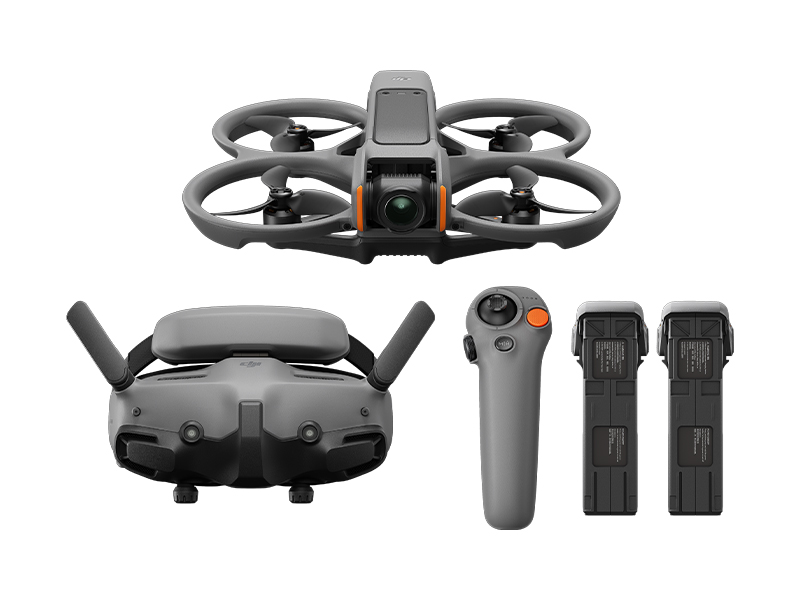 DJI Avata 2 Fly More Combo (Three Batteries)
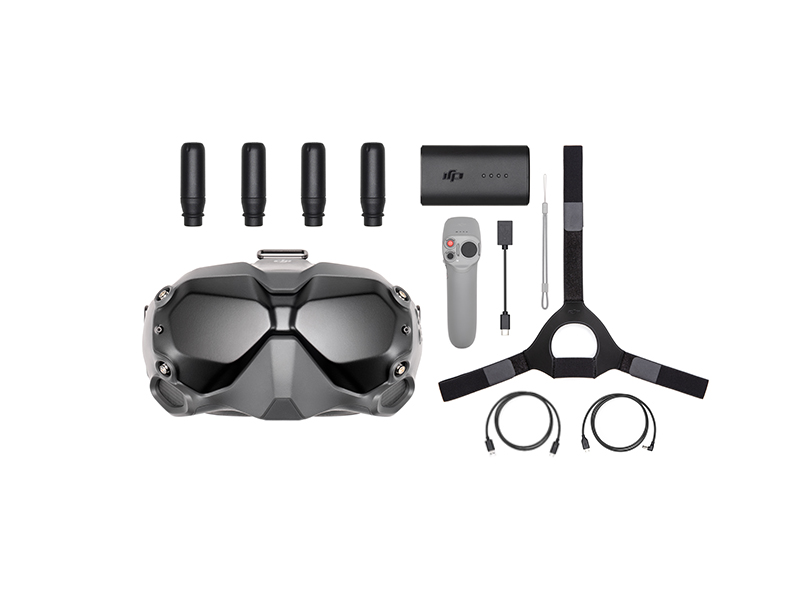 DJI FPV Goggles V2 Motion Combo
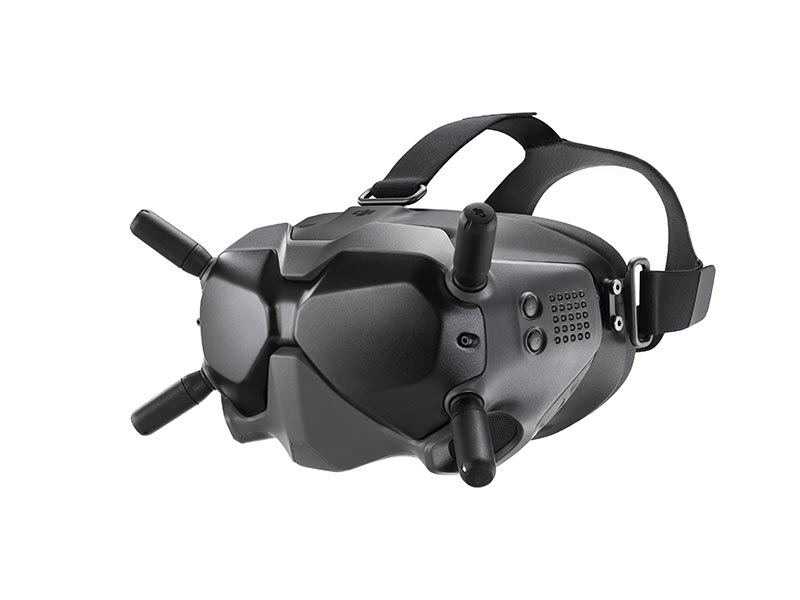 DJI FPV Goggles V2
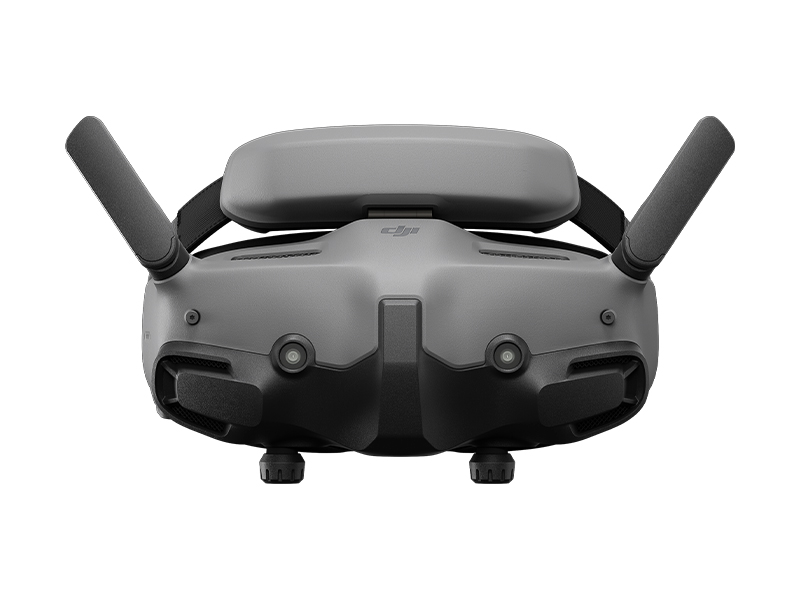 DJI Goggles 3
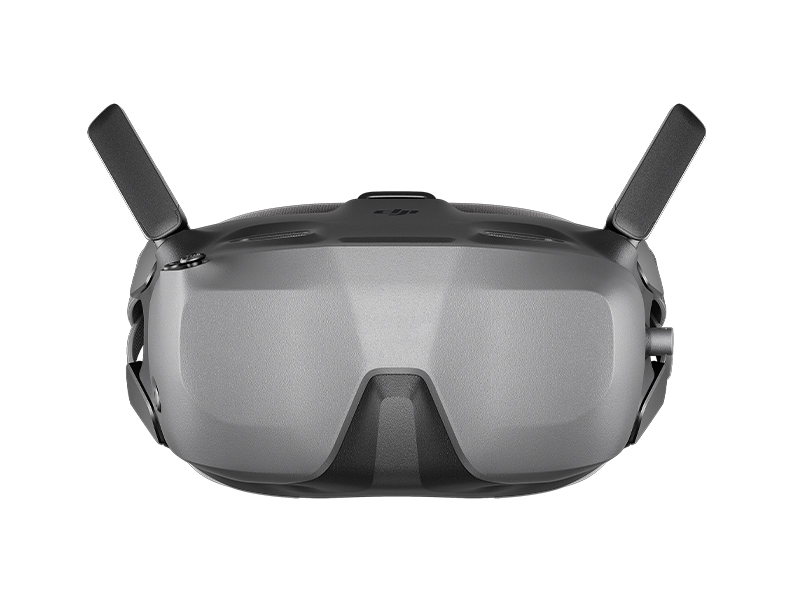 DJI Goggles N3
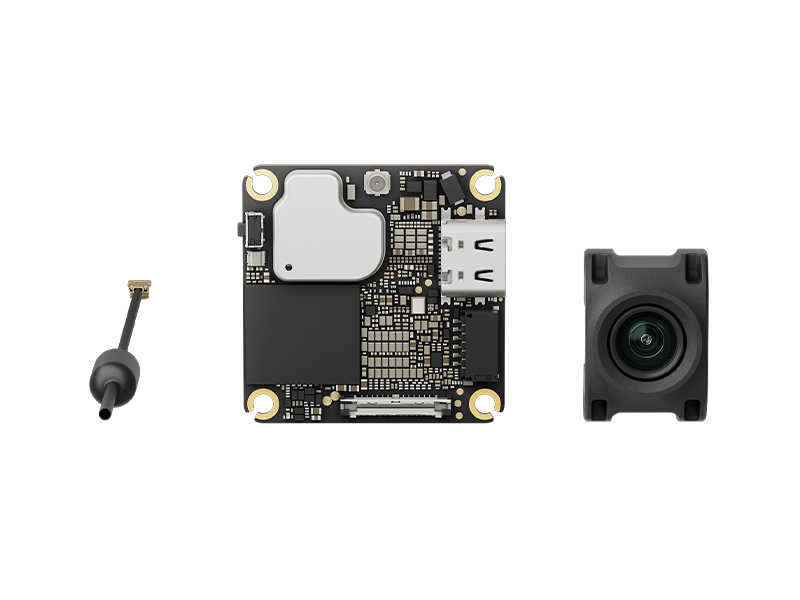 DJI O4 Air Unit
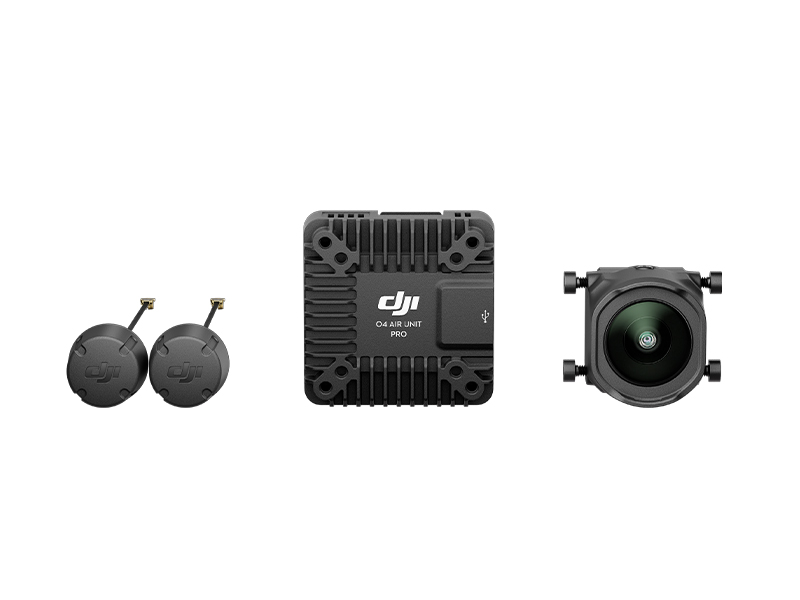 DJI O4 Air Unit Pro
 DJI Avata (Drone Only, No Battery)
 DJI Avata Intelligent Flight Battery
 DJI Avata Propeller Guard
 SunnyLife Propeller Guard Protector for DJI Avata
 DJI O3 Air Unit
 DJI FPV Remote Controller 3
 DJI O3 Air Unit 3-in-1 Cable
 DJI FPV Combo
 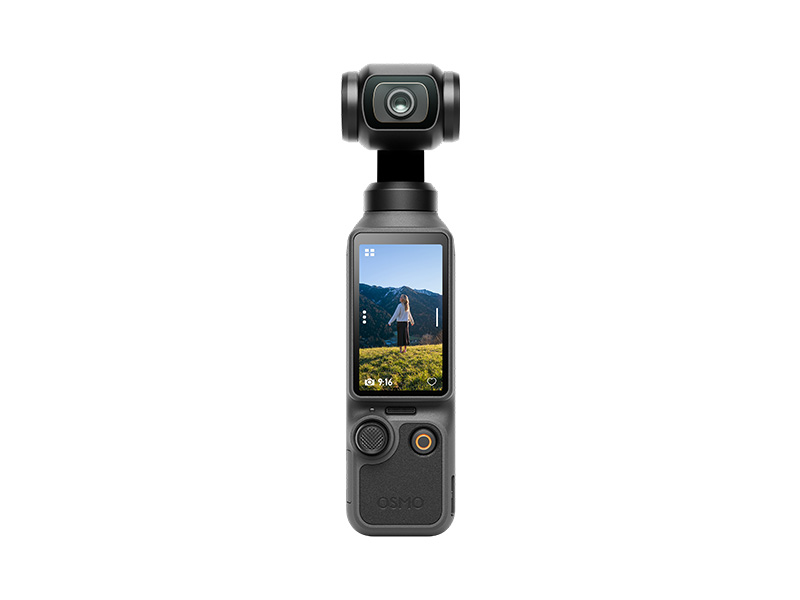 Osmo Pocket 4 Standard Combo
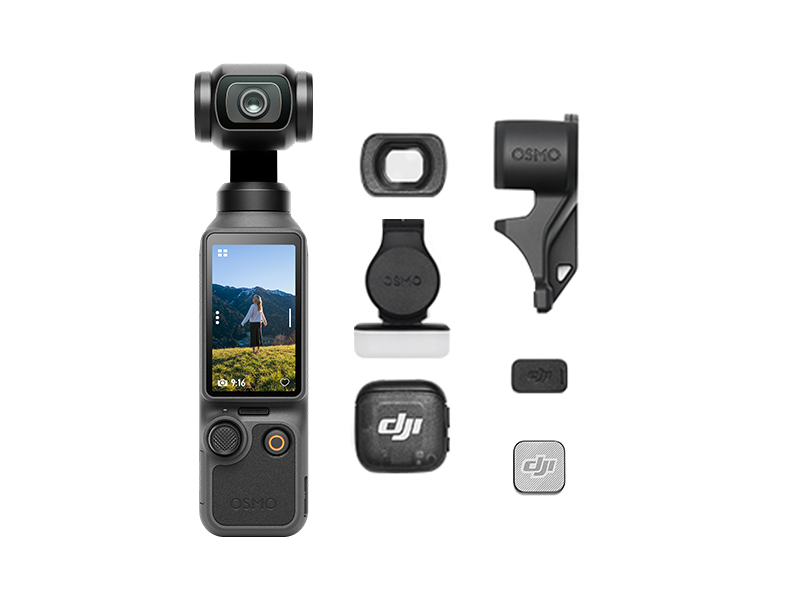 Osmo Pocket 4 Creator Combo
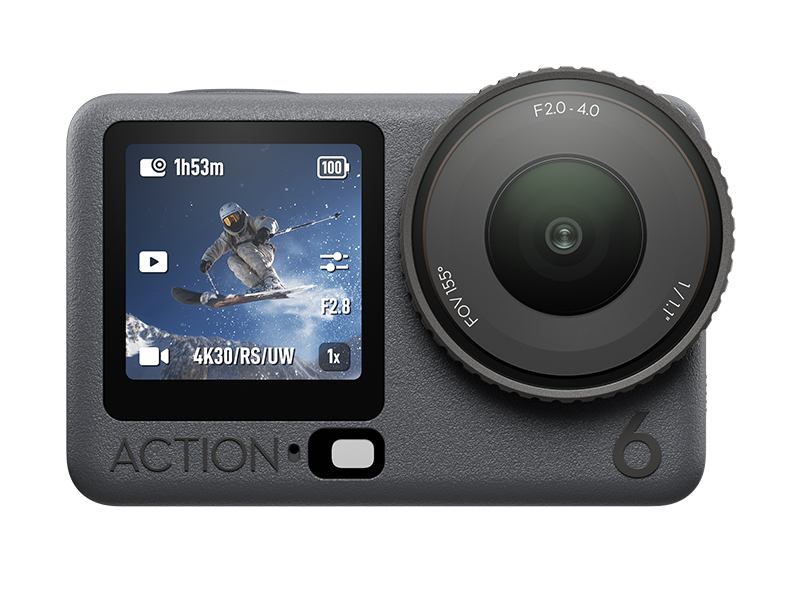 Osmo Action 6 Standard Combo
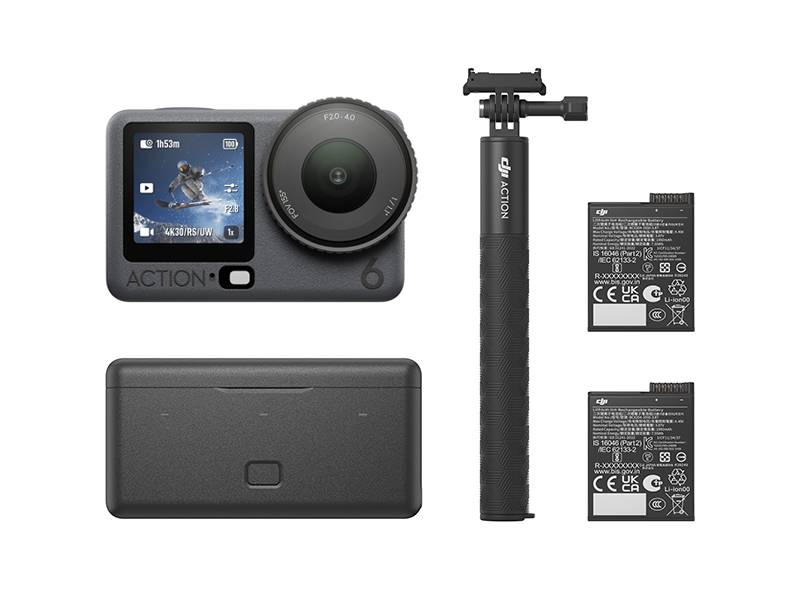 Osmo Action 6 Adventure Combo
 DJI Mic Mini 2 Dual Microphone Combo
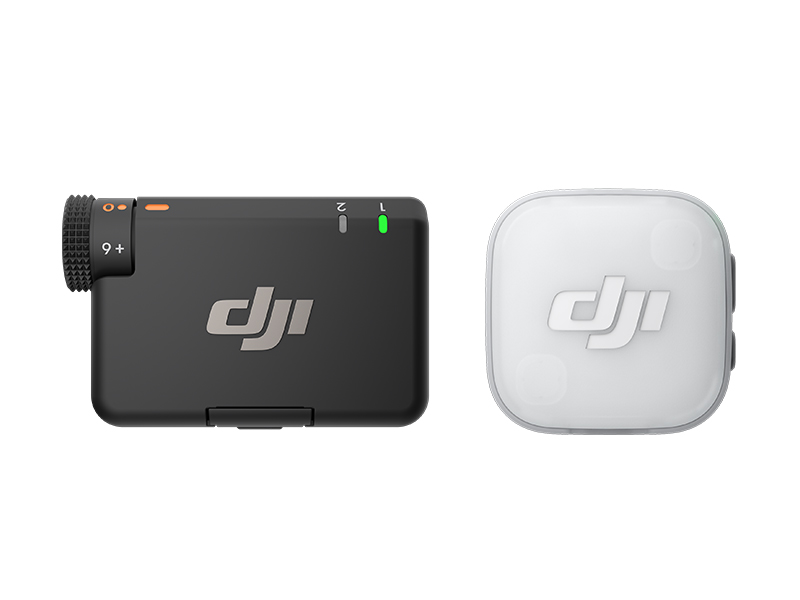 DJI Mic Mini 2 Single Microphone Kit
 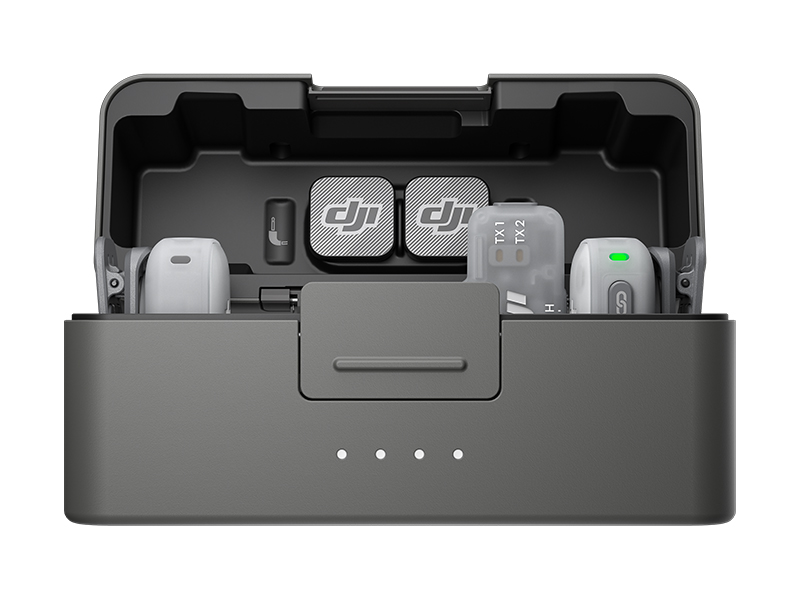 DJI Mic Mini 2 Dual Microphone Combo (Mobile)
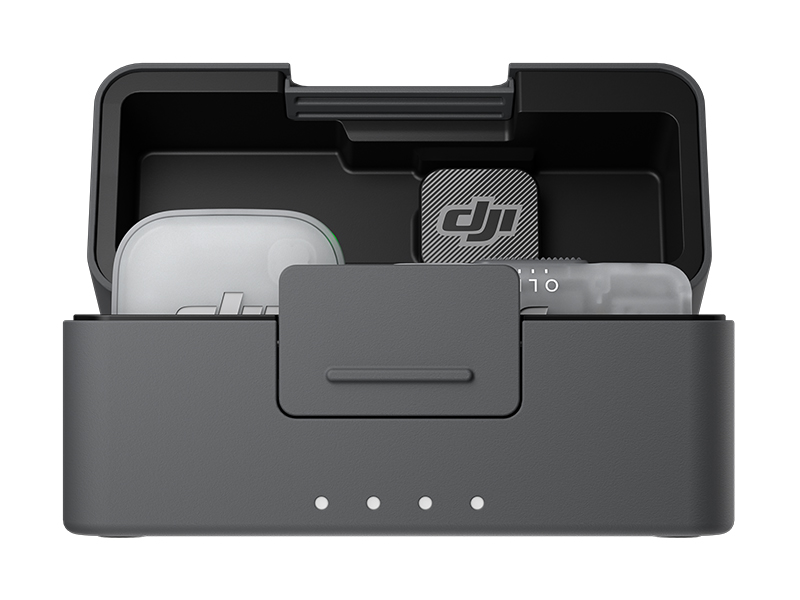 DJI Mic Mini 2 Single Microphone Kit (Mobile)
 Osmo Nano Standard Combo (64GB)
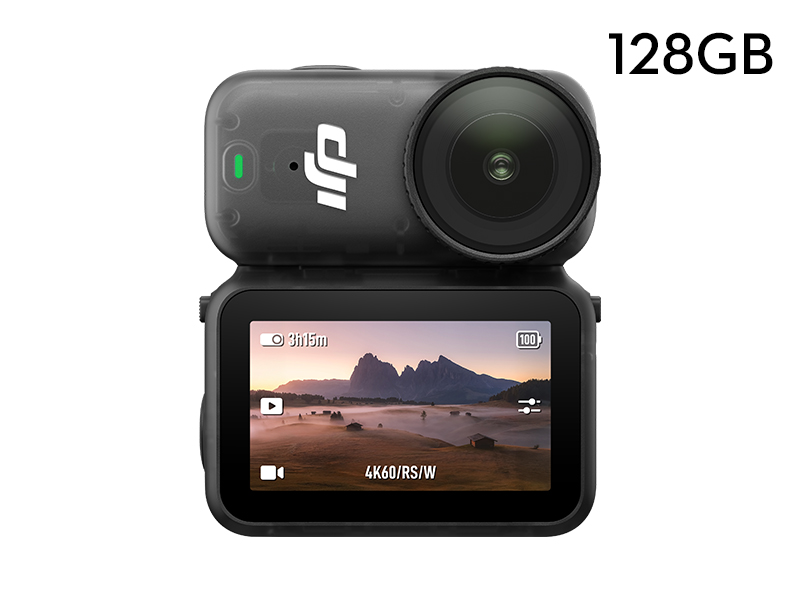 Osmo Nano Standard Combo (128GB)
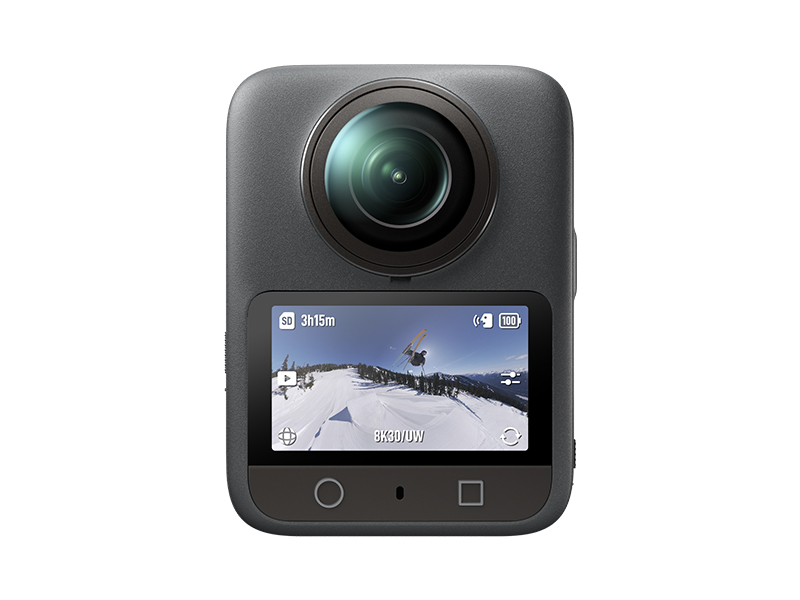 Osmo 360 Standard Combo
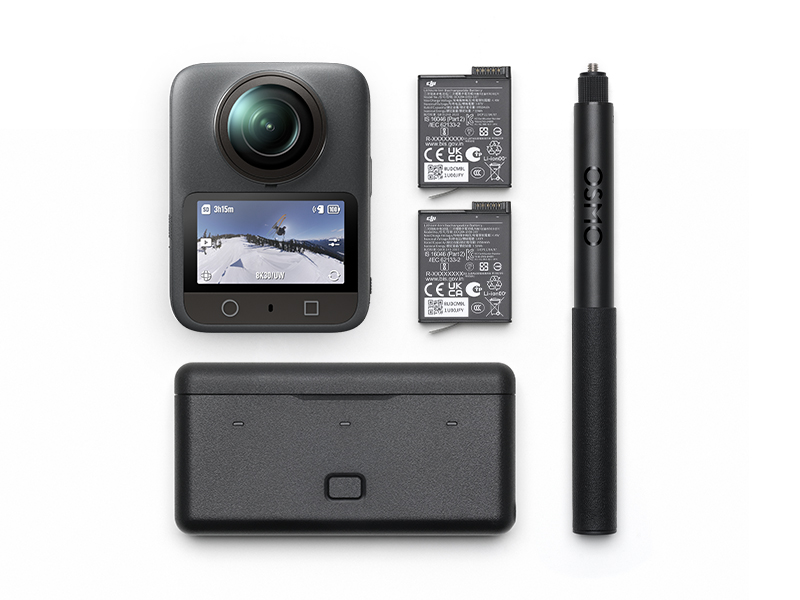 Osmo 360 Adventure Combo
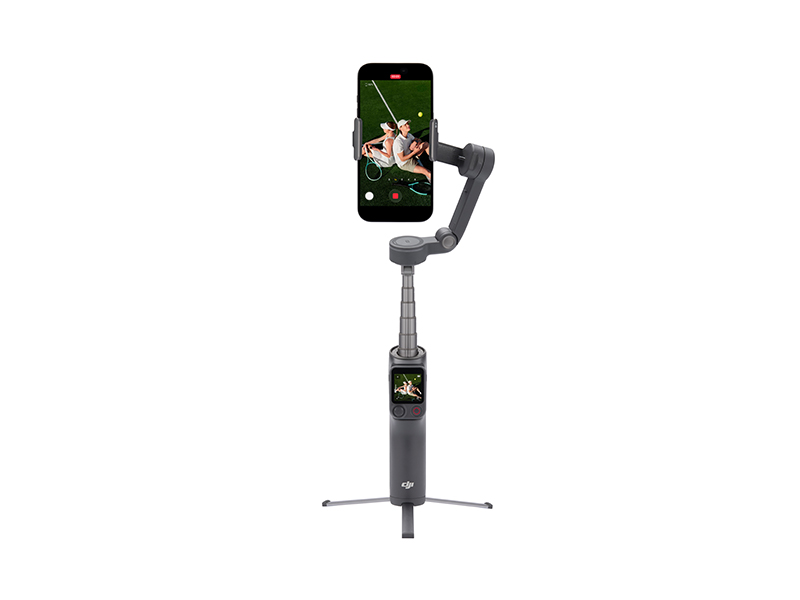 Osmo Mobile 8P Standard Combo
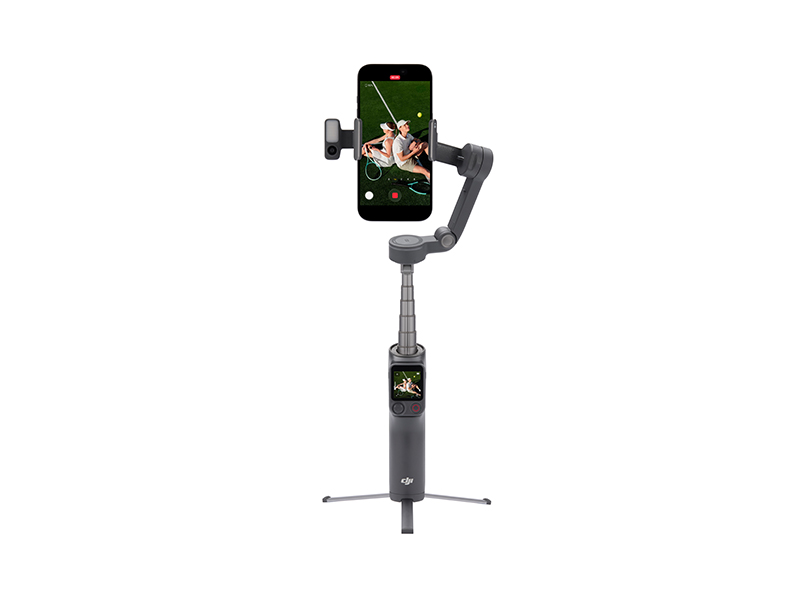 Osmo Mobile 8P Advanced Tracking Combo
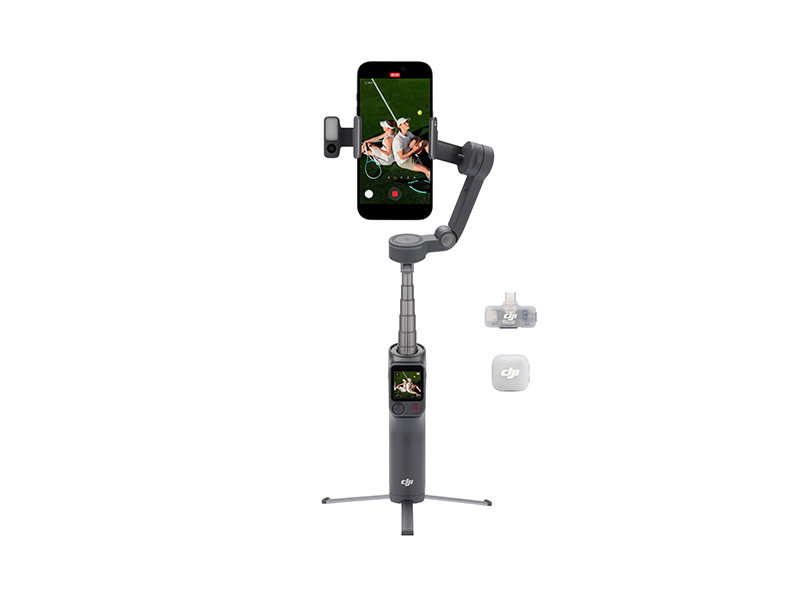 Osmo Mobile 8P Creator Combo
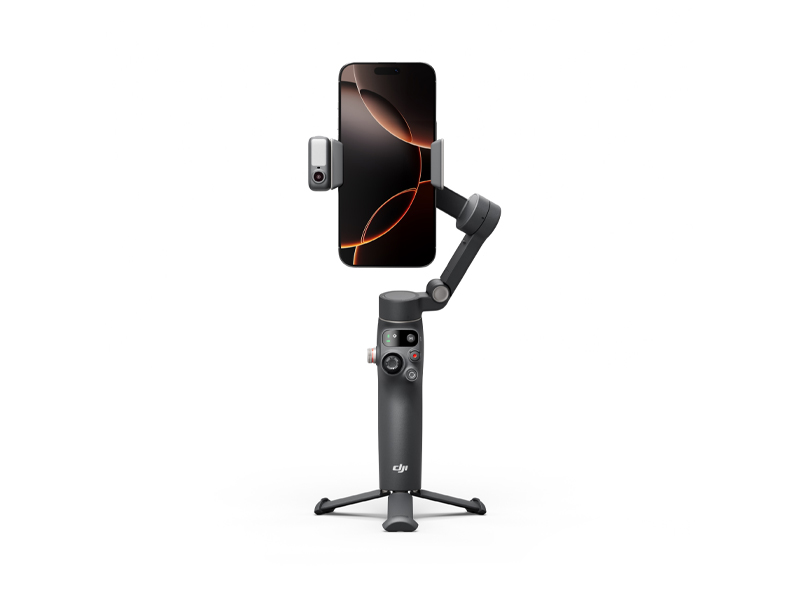 Osmo Mobile 8 Advanced Tracking Combo
 Osmo Pocket 3 Standard Combo
 Osmo Pocket 3 Creator Combo
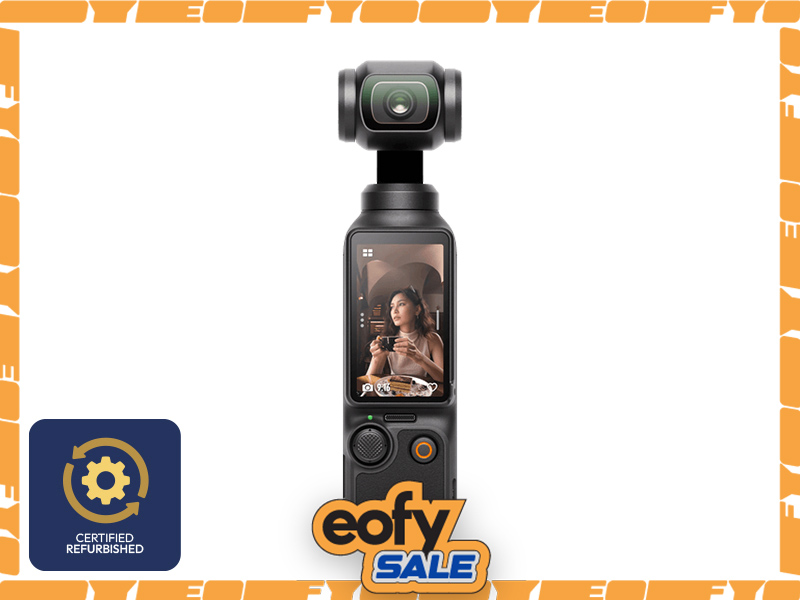 Osmo Pocket 3 (Refurbished)
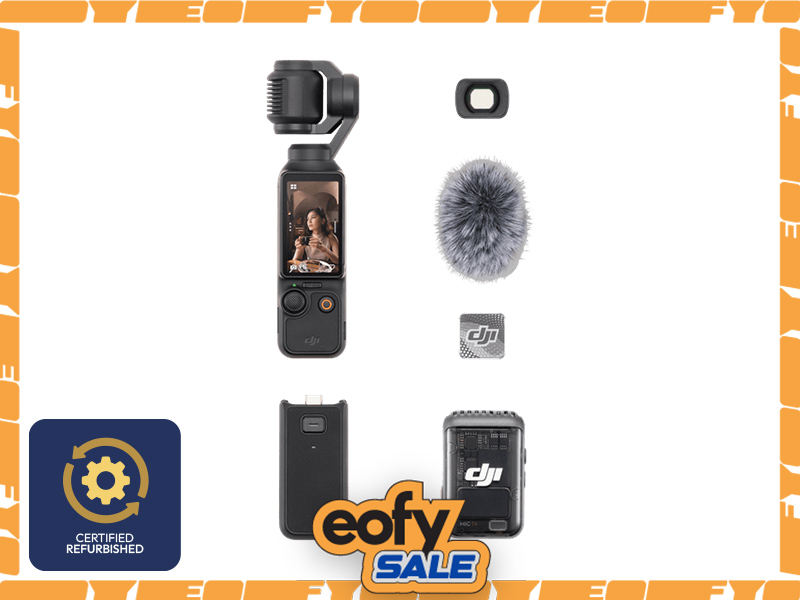 Osmo Pocket 3 Creator Combo (Refurbished)
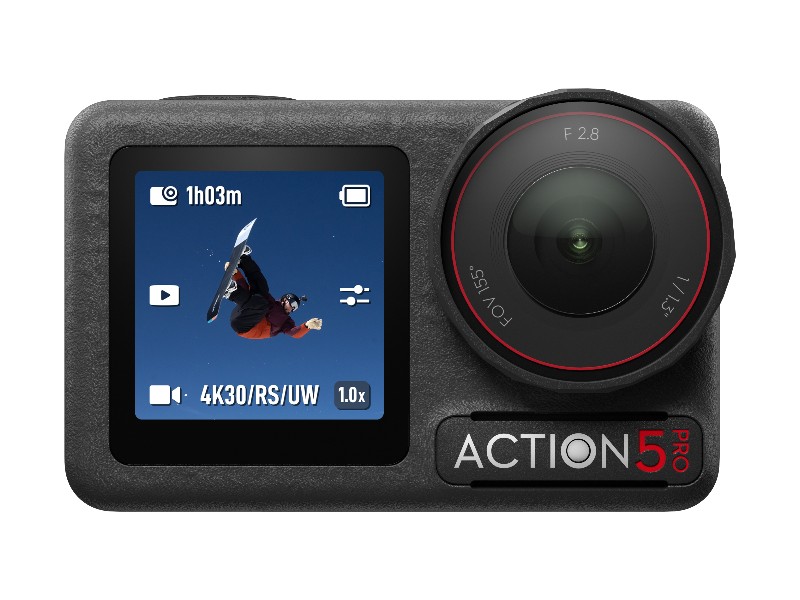 Osmo Action 5 Pro Standard Combo
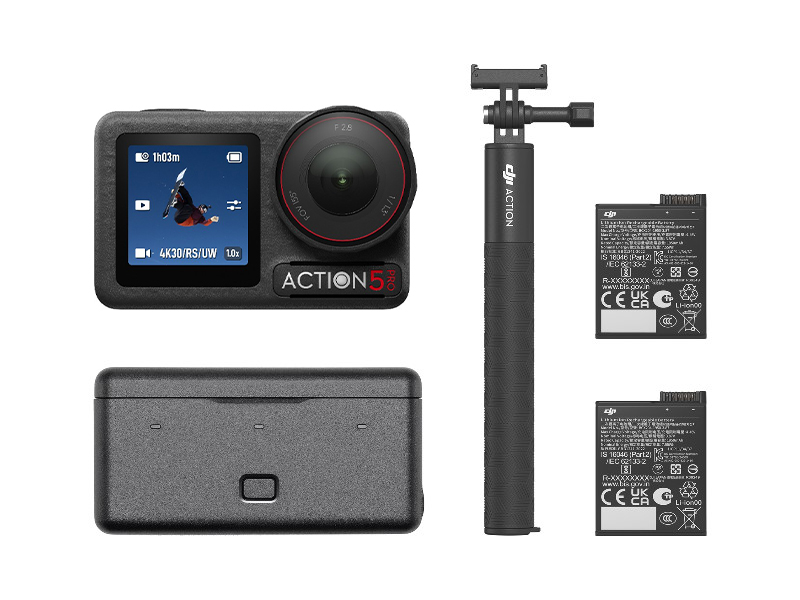 Osmo Action 5 Pro Adventure Combo
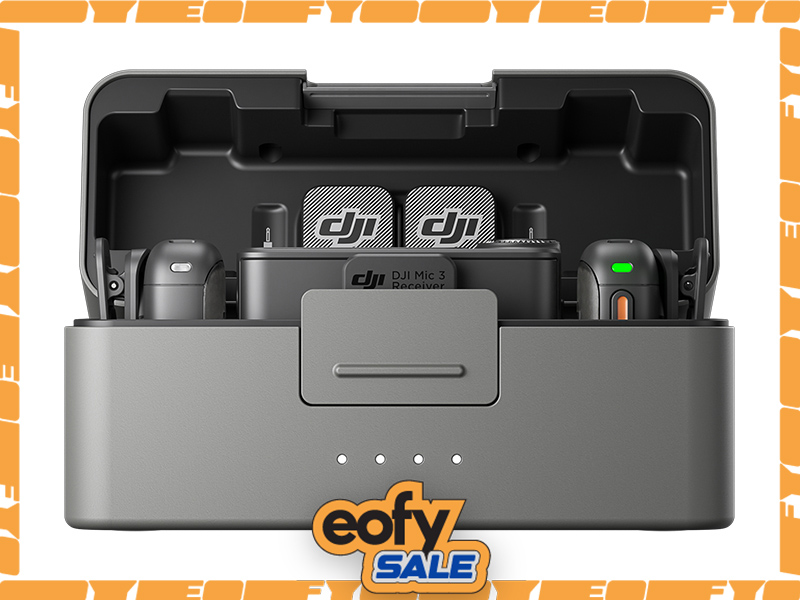 DJI Mic 3 Dual Microphone Combo
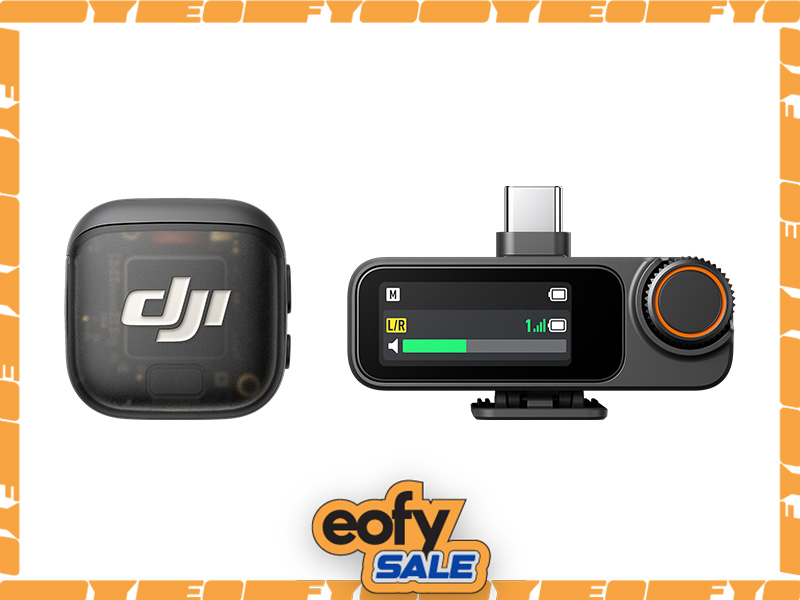 DJI Mic 3 Single Microphone Kit
 DJI Mic Mini Single Microphone Kit
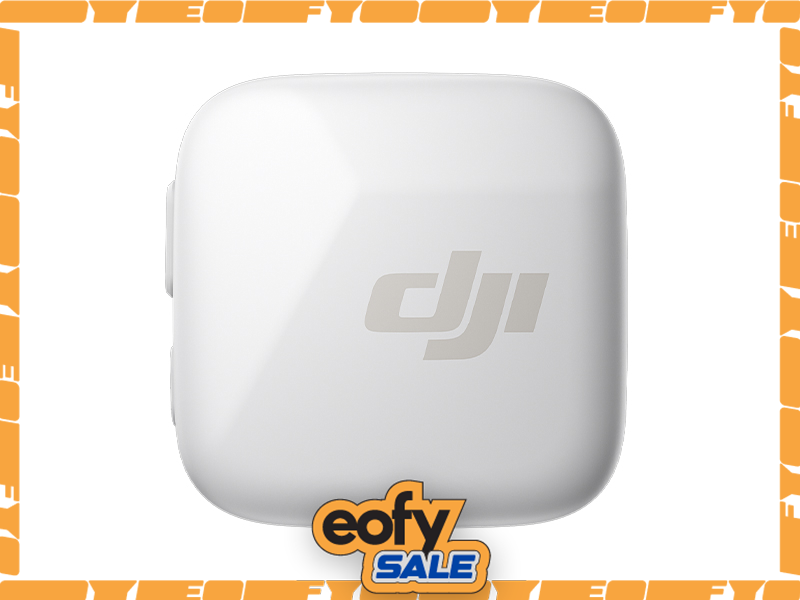 DJI Mic Mini Transmitter (Arctic White)
 Osmo Action 4 Standard Combo
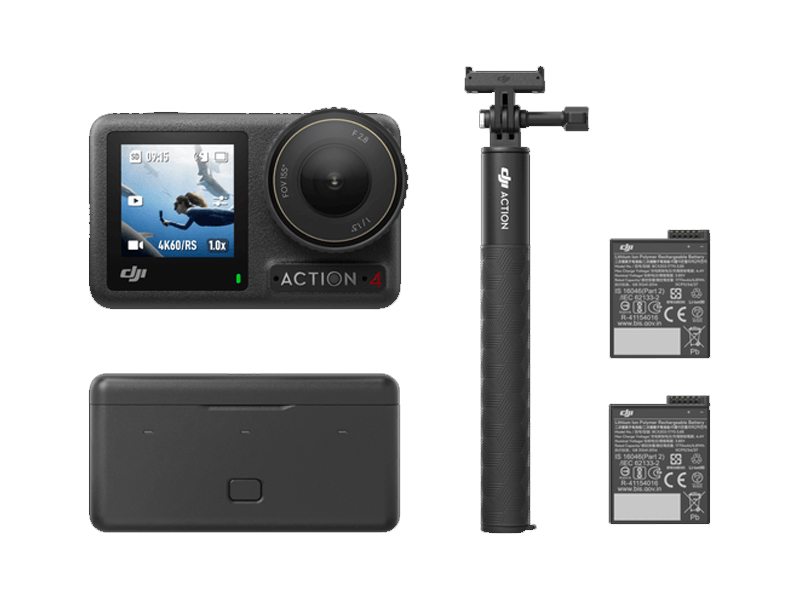 Osmo Action 4 Adventure Combo
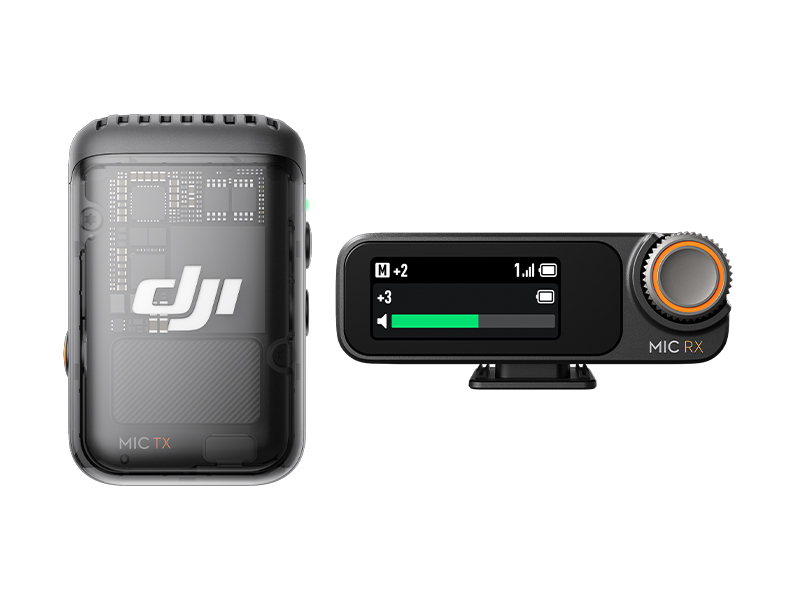 DJI Mic 2 Single Microphone Kit
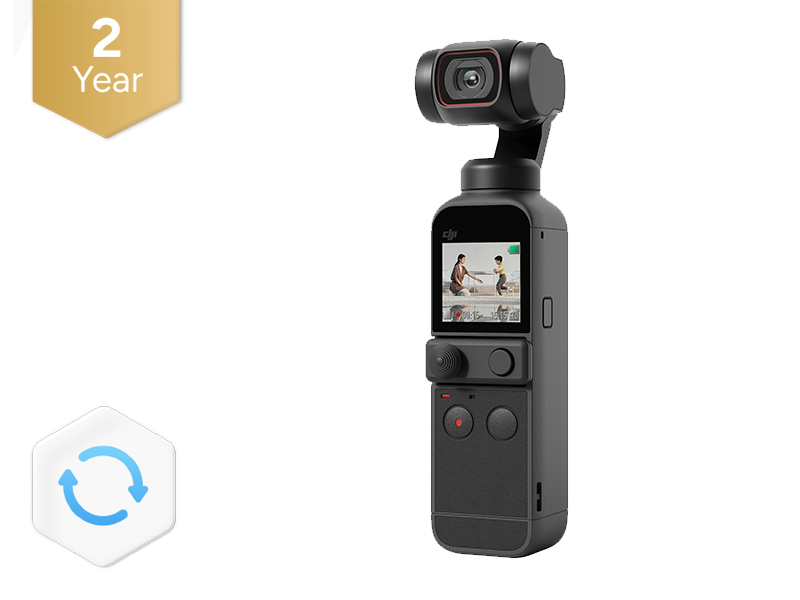 DJI Care Refresh 2-Year Plan (DJI Pocket 2)
 Osmo Pocket 3.5mm Adapter
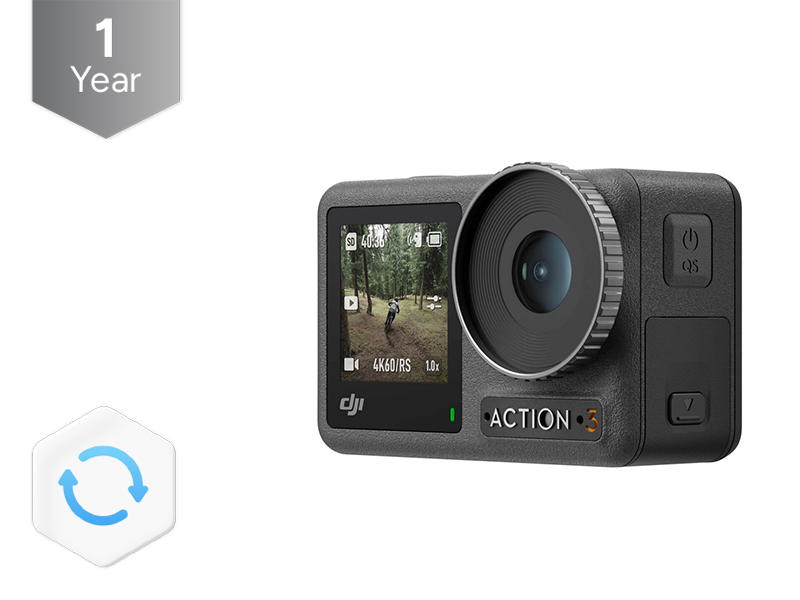 DJI Care Refresh 1-Year Plan (Osmo Action 3)
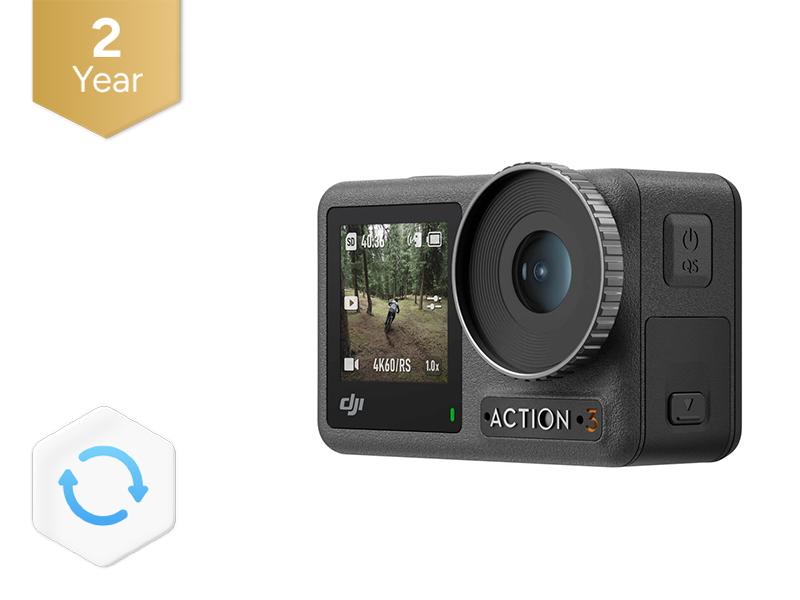 DJI Care Refresh 2-Year Plan (Osmo Action 3)
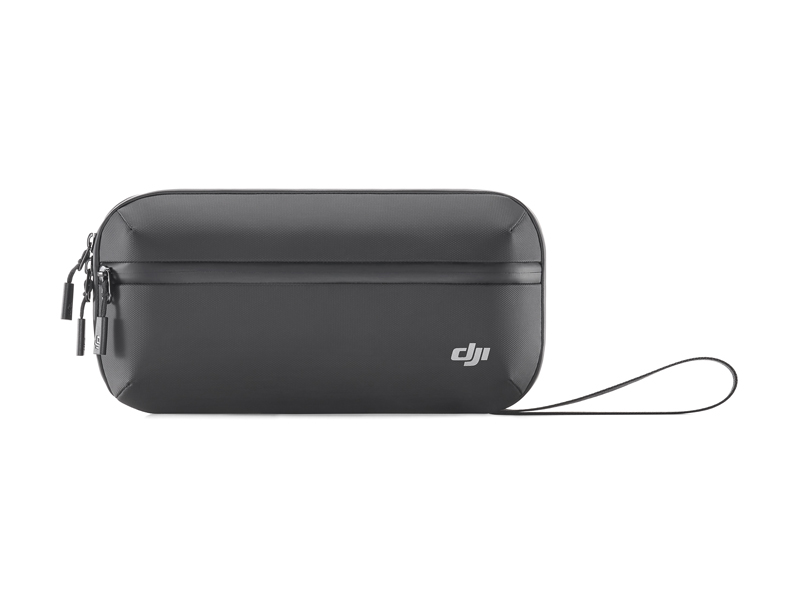 Osmo Action Carrying Bag
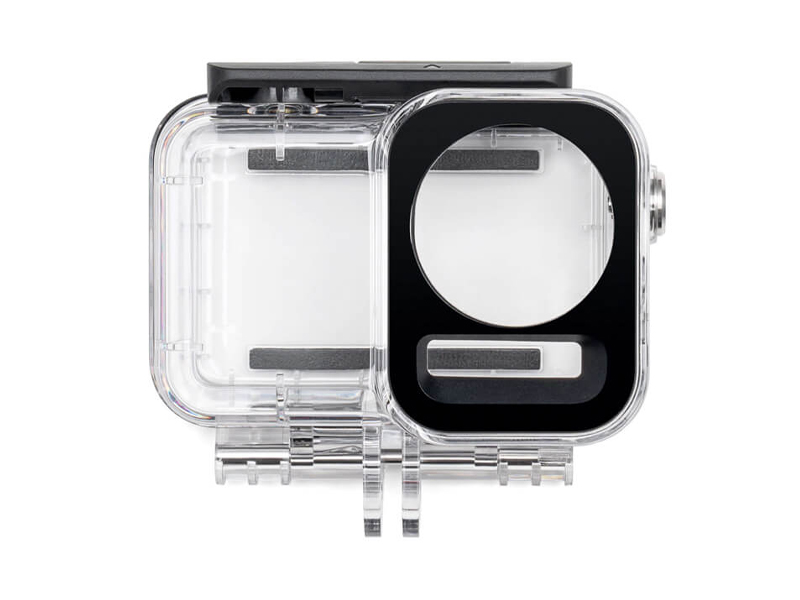 Osmo Action 60m Waterproof Case
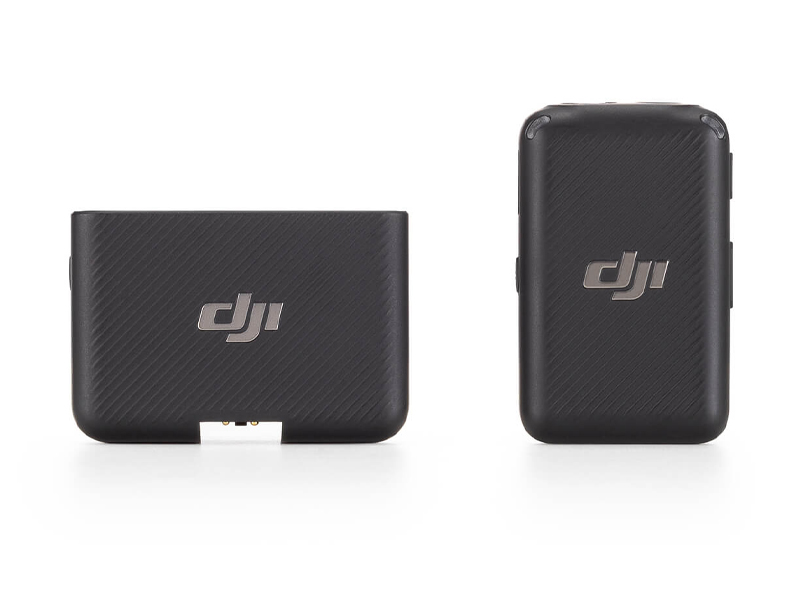 DJI Mic Single Microphone Kit
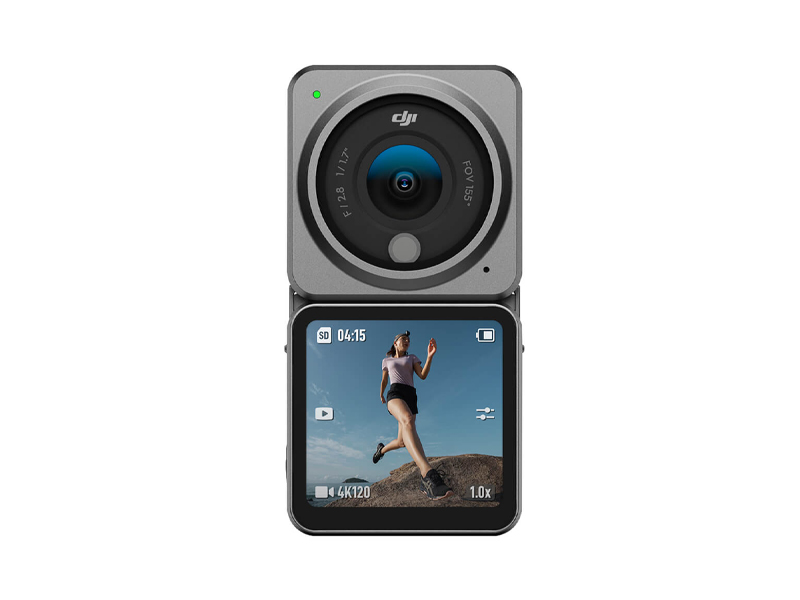 DJI Action 2 Dual Screen Combo
 DJI Osmo Action
  Osmo Pocket
 DJI RS 5
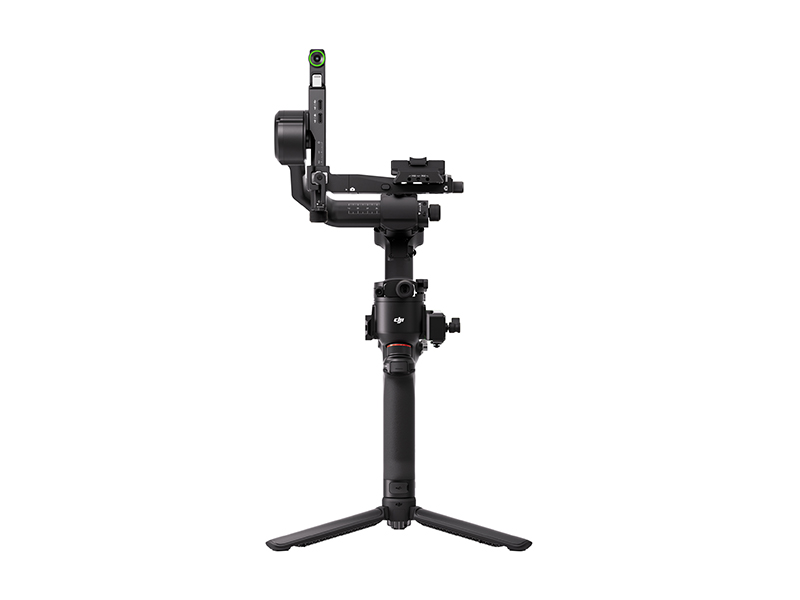 DJI RS 5 Combo
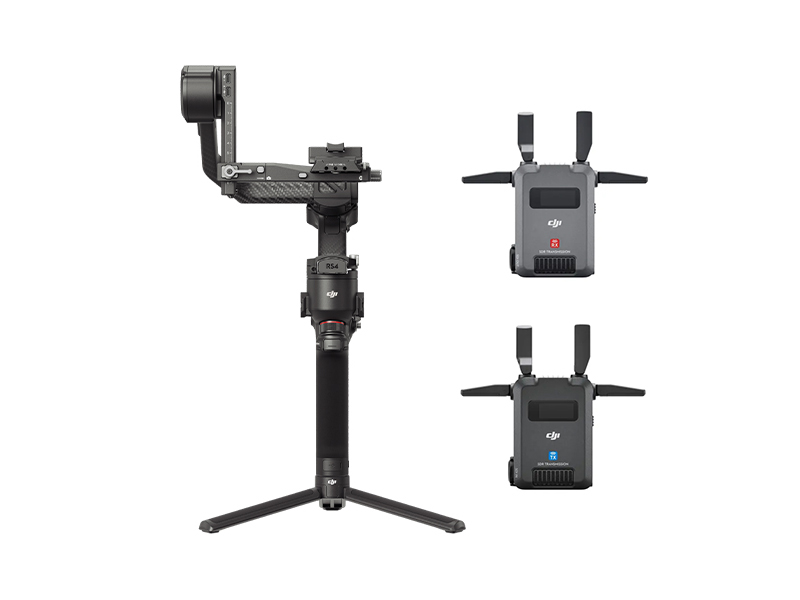 DJI RS 4 Pro Combo (2026)
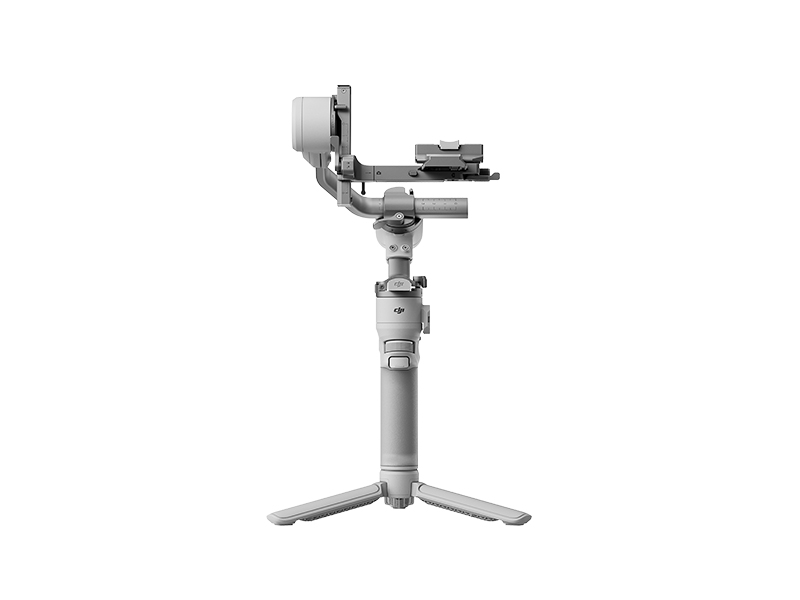 DJI RS 4 Mini
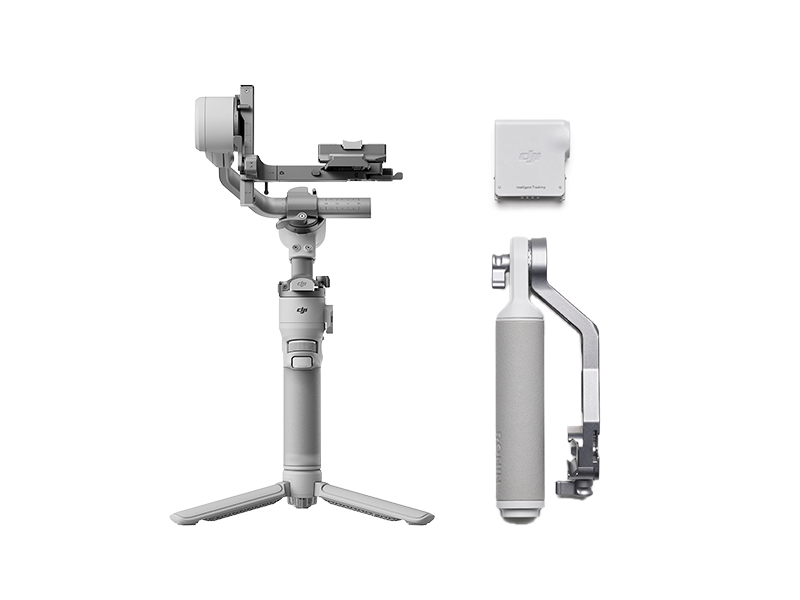 DJI RS 4 Mini Combo
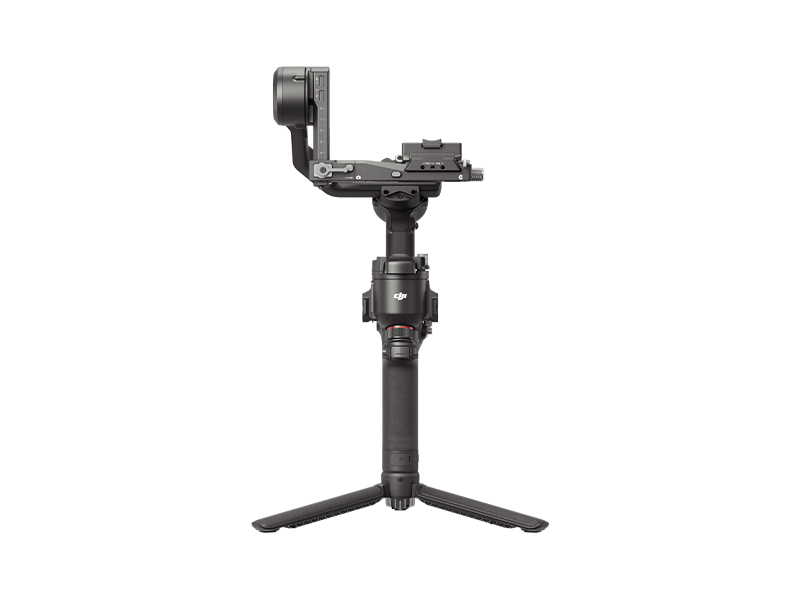 DJI RS 4
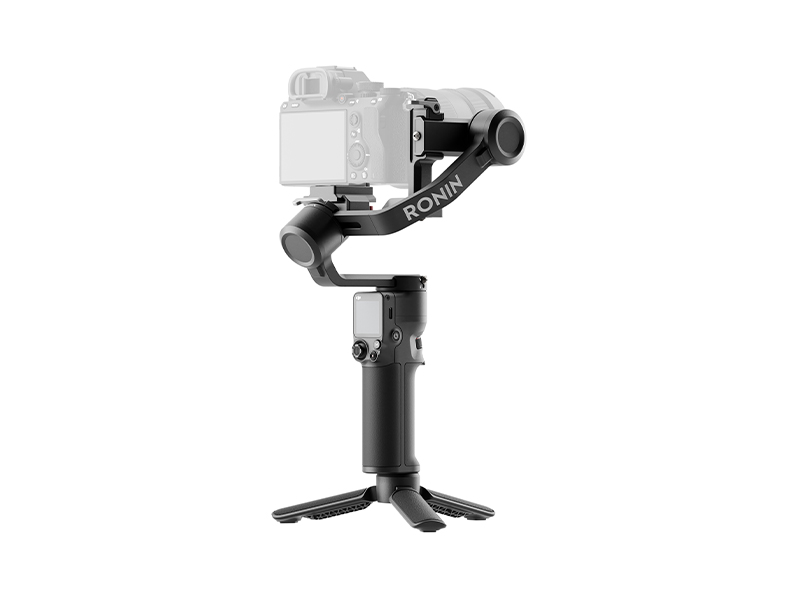 DJI RS 3 Mini
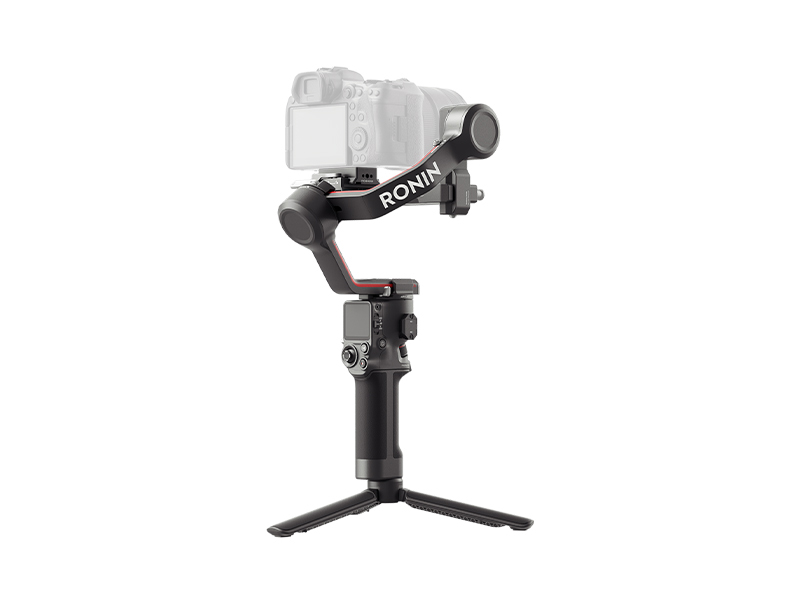 DJI RS 3
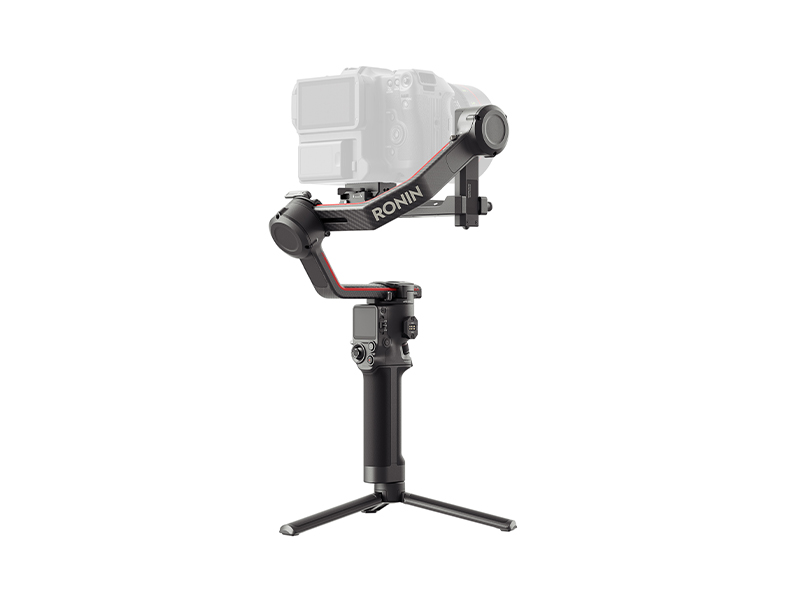 DJI RS 3 Pro
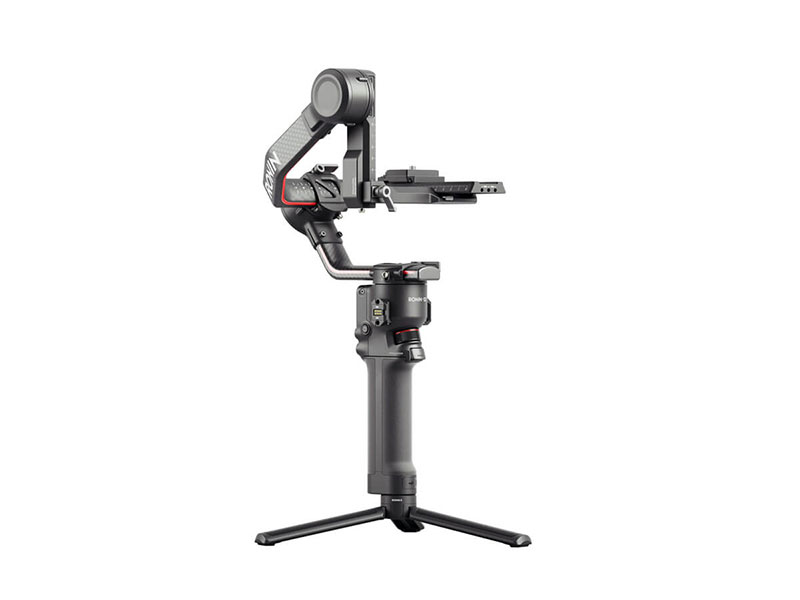 DJI RS 2
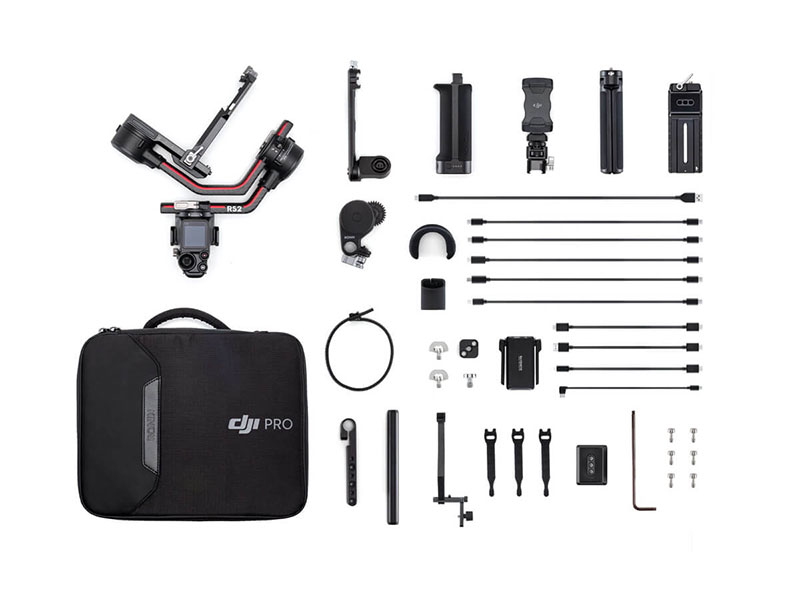 DJI RS 2 Pro Combo
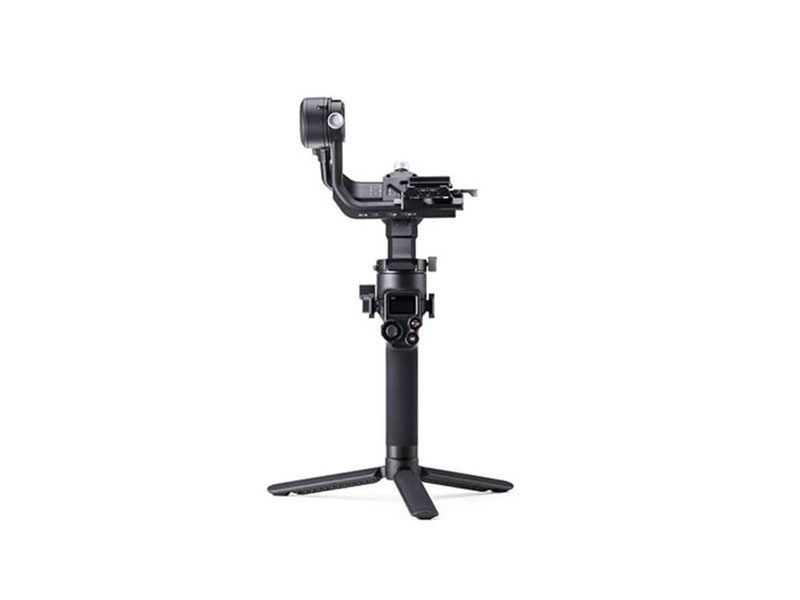 DJI RSC 2
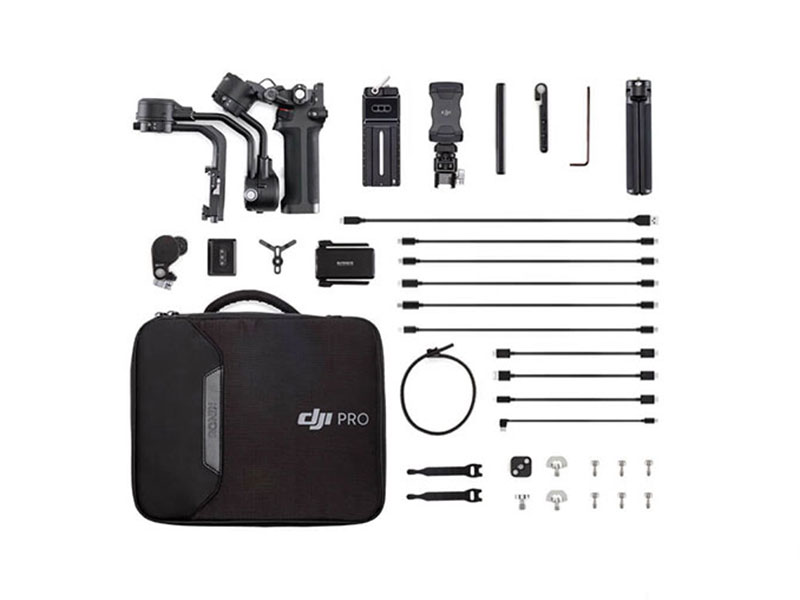 DJI RSC 2 Pro Combo
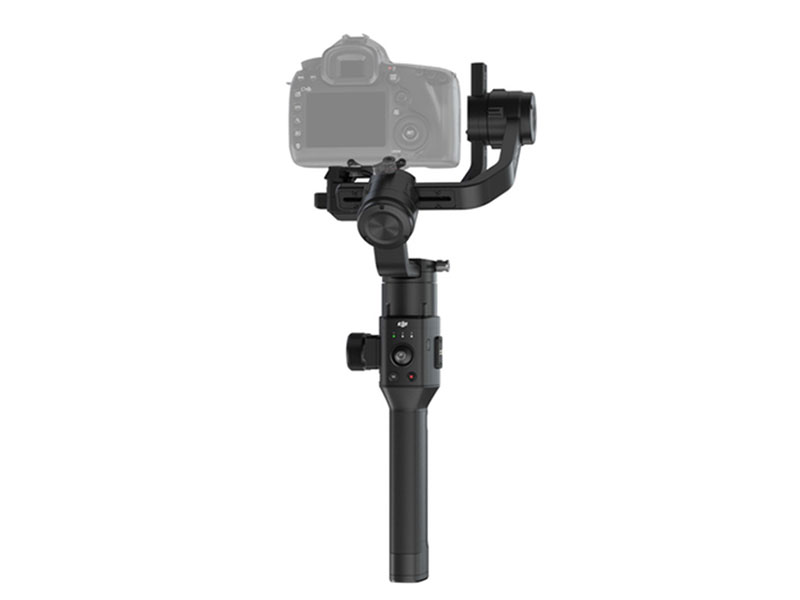 Ronin-S
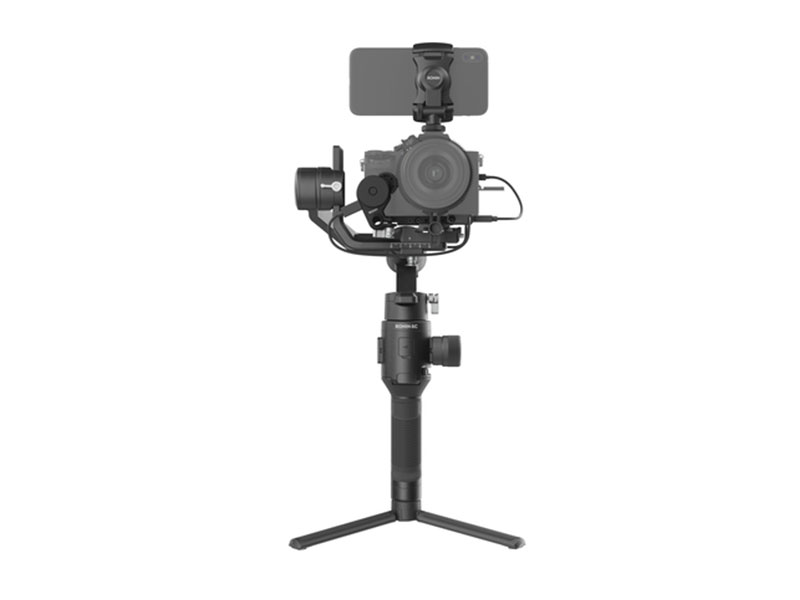 Ronin-SC
 Ronin 4D-6K
 Ronin 4D-8K
 DJI Inspire 3 Basic Package
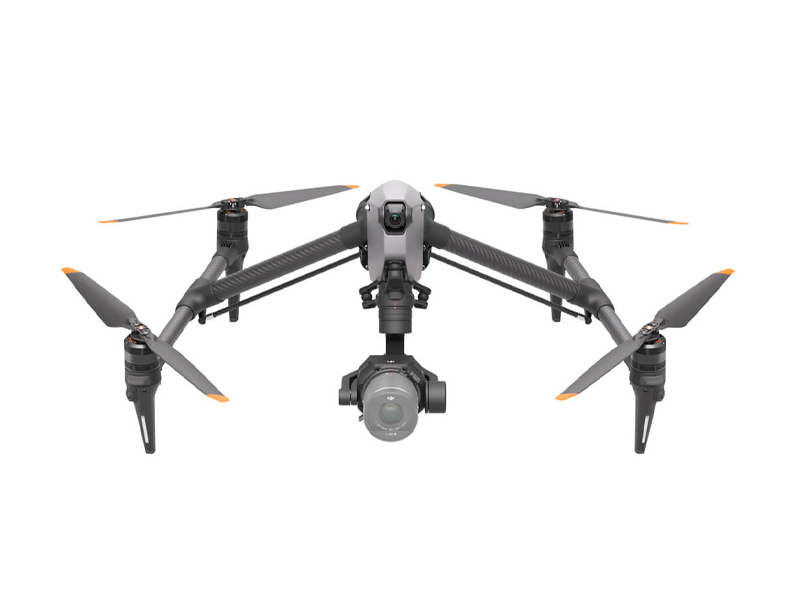 DJI Inspire 3
 DJI Focus Pro Creator Combo
 DJI Focus Pro All-In-One Combo
 DJI Transmission (High-Bright Monitor Combo)
 DJI Transmission (Standard Combo)
 DJI Video Receiver
 Inspire 2
 DJI Power 1000 Mini
 DJI Power 2000
 DJI Power 1000 V2
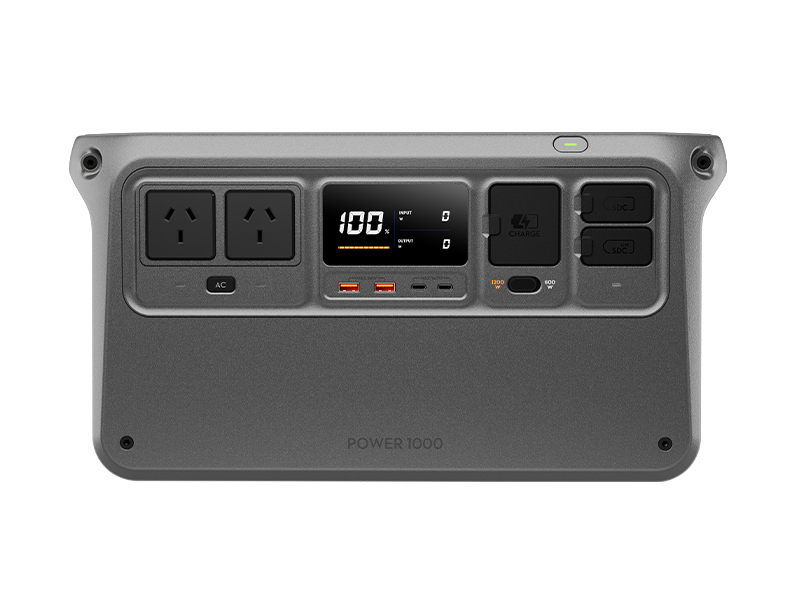 DJI Power 1000 Portable Power Station
 DJI Power Expansion Battery 2000
 DJI Power Dongle
 IBCPOWER 100W Foldable Solar Panel
 DJI Power 1000 Protective Storage Bag
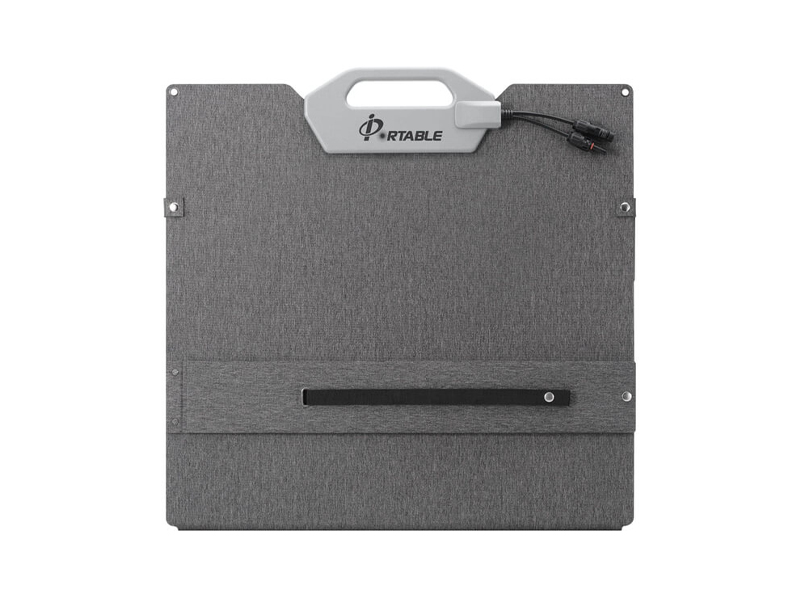 IBCPOWER 200W Foldable Solar Panel
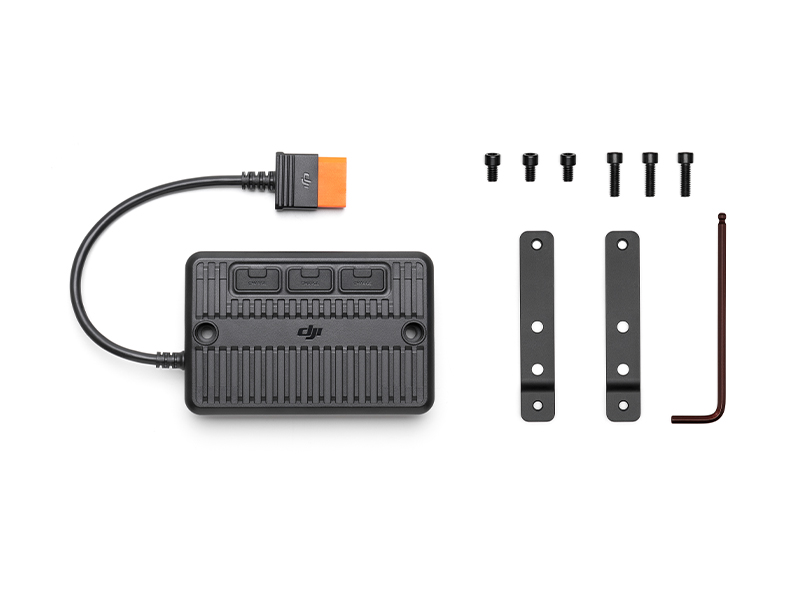 DJI Power Solar Panel Adapter Module (MPPT)
 DJI Power Series Hand Truck
 DJI Power 1.8kW Super Fast Charger 45A Car Charging Cable
 DJI Power SDC to DJI Inspire 3 Fast Charge Cable
 DJI Power SDC to XT60 Power Cable (12V)
 DJI Power SDC to Car Charger Plug Power Cable (12V)
 DJI Power 1kW Super Fast Car Charger
 Zignes 120W Solar Panel
 DJI Power 1.8kW Super Fast Charger XT90 to MC4 Adapter Cable
 DJI ROMO S (Water Tank Version)
 DJI ROMO P (Water Tank Version)
 DJI ROMO A (Water Tank Version)
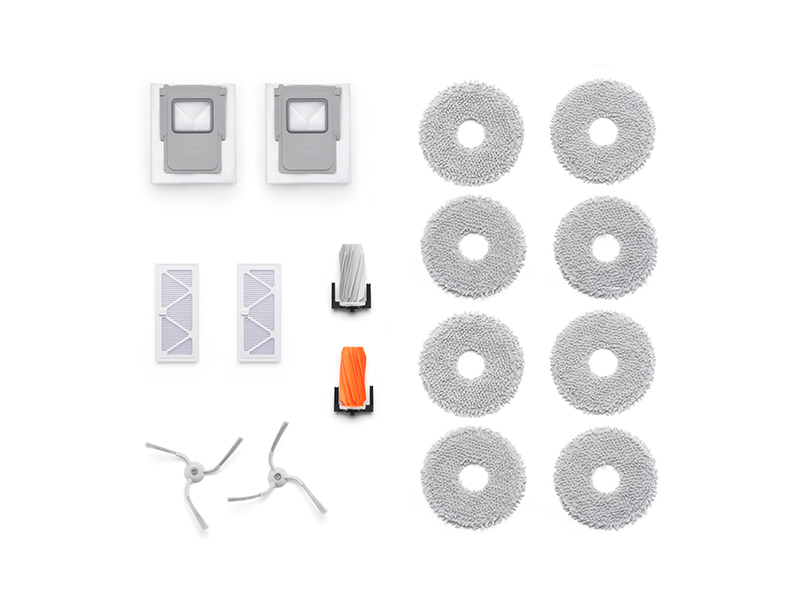 ROMO Accessory Kit
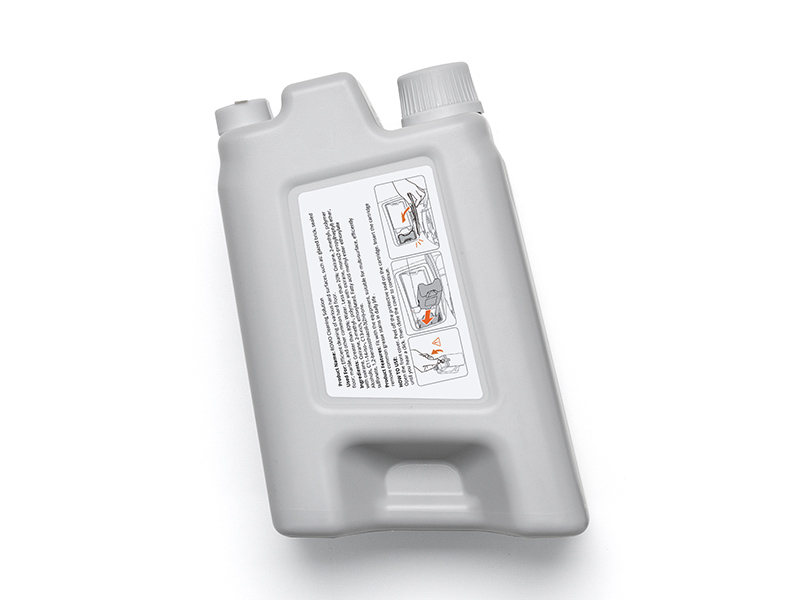 ROMO Cleaning Solution
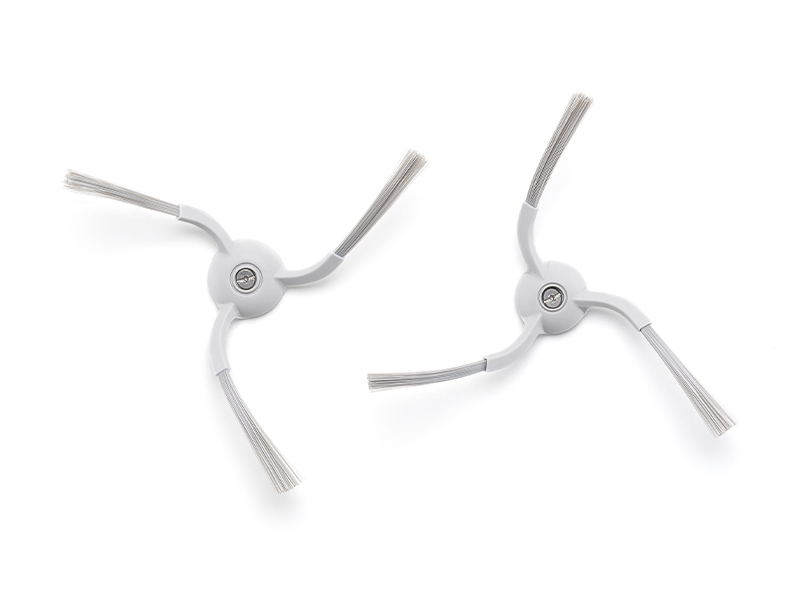 ROMO Side Brush
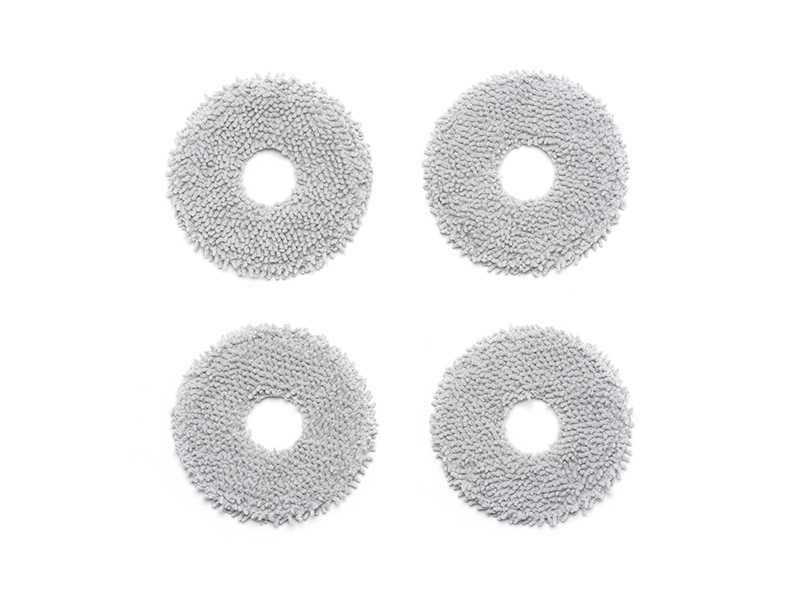 ROMO Mop Pad
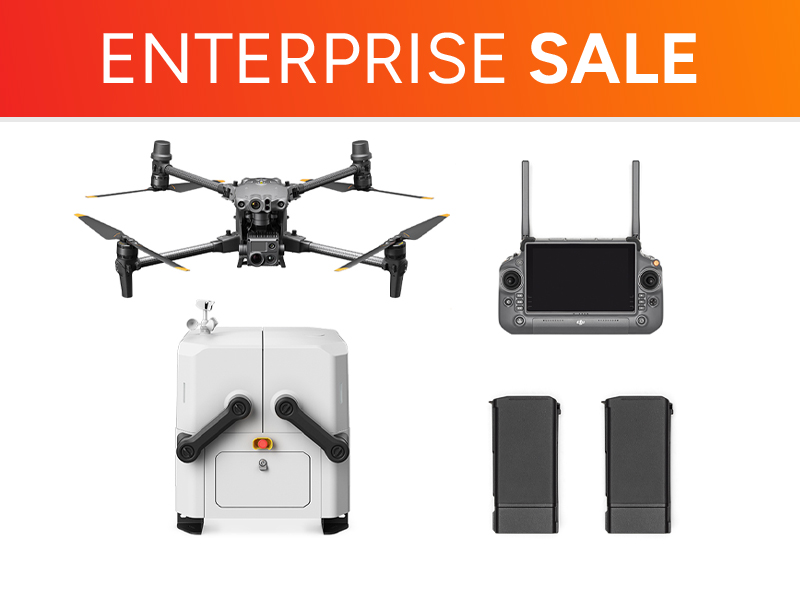 Matrice 30T Dock Bundle
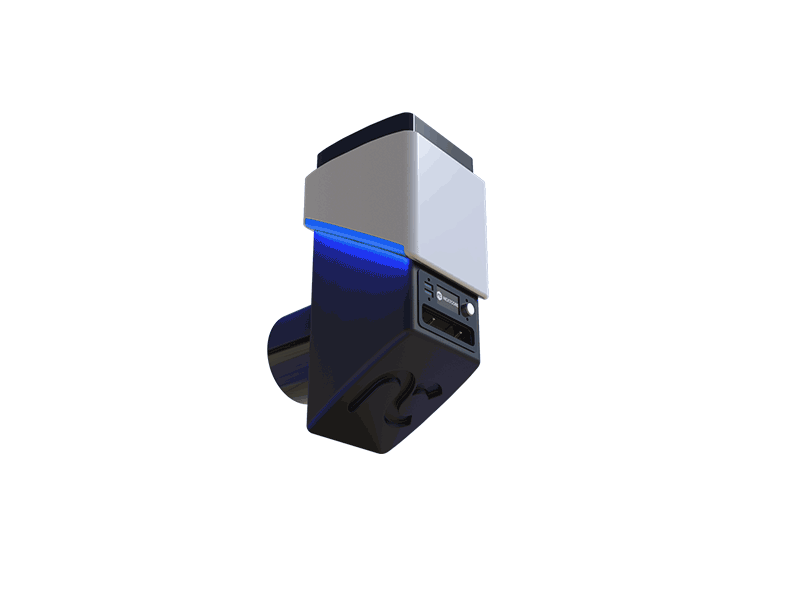 NextCore RN50 Drone LiDAR
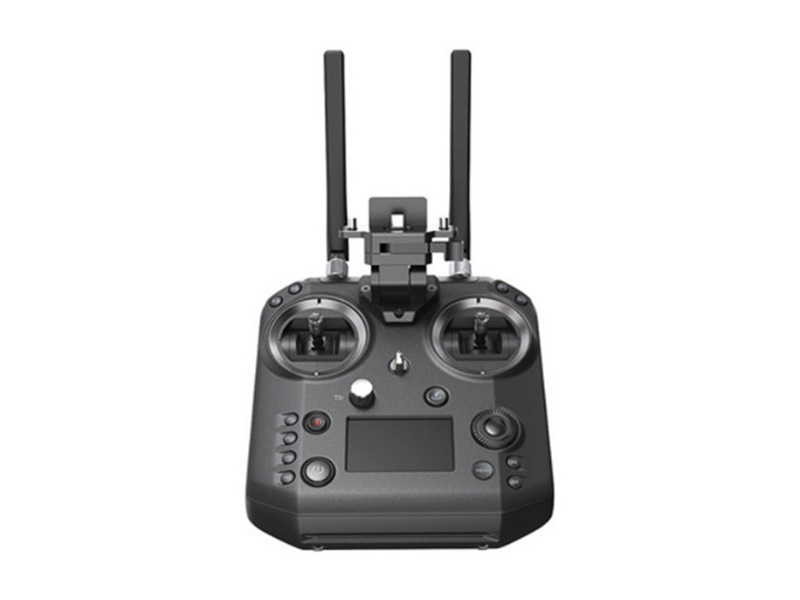 Cendence-S Remote Controller For M200 V2 Series
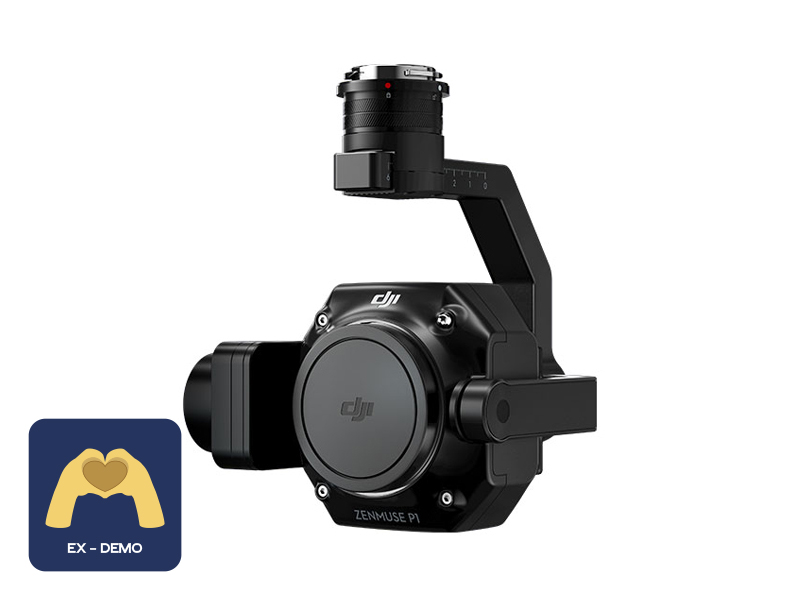 Ex-Demo Zenmuse P1
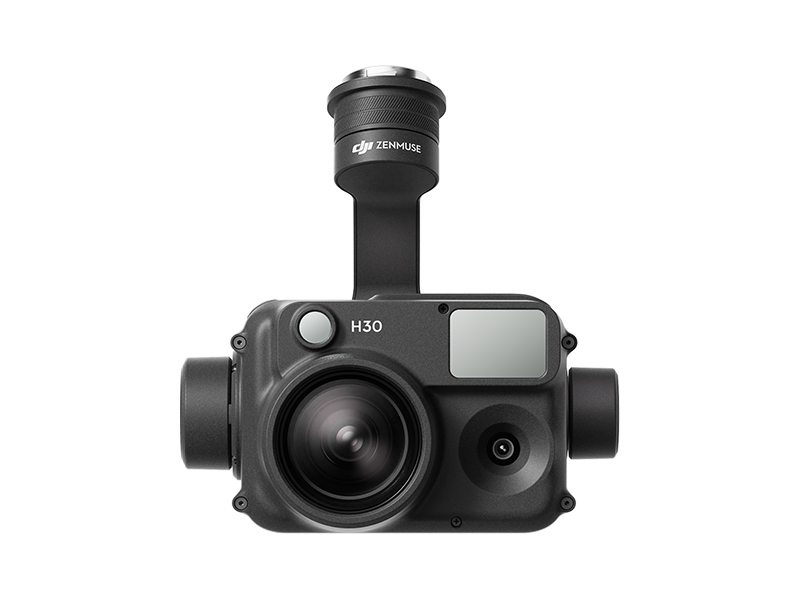 Zenmuse H30
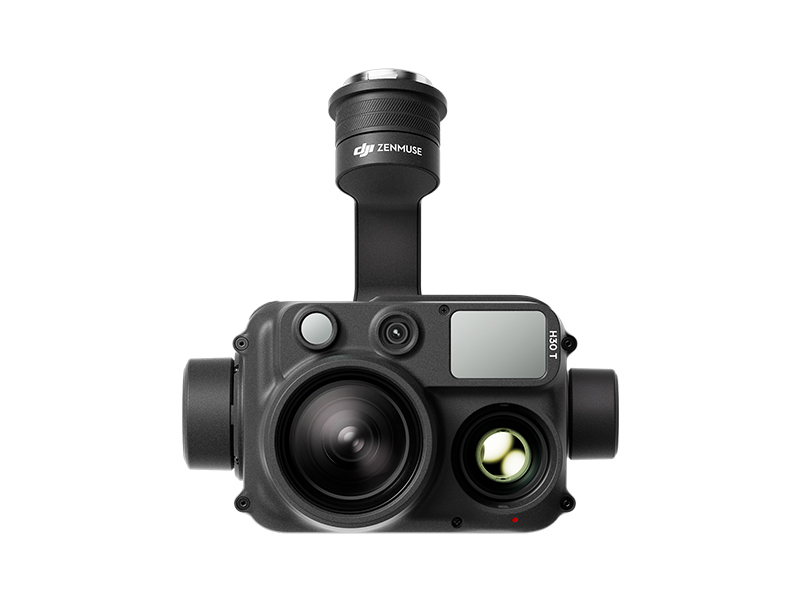 Zenmuse H30T
 ParaZero SafeAir Parachute for Matrice 30 Series
 ParaZero SafeAir Parachute for DJI Mavic 3 Series (ASTM Compliant)
 DJI Dock 2
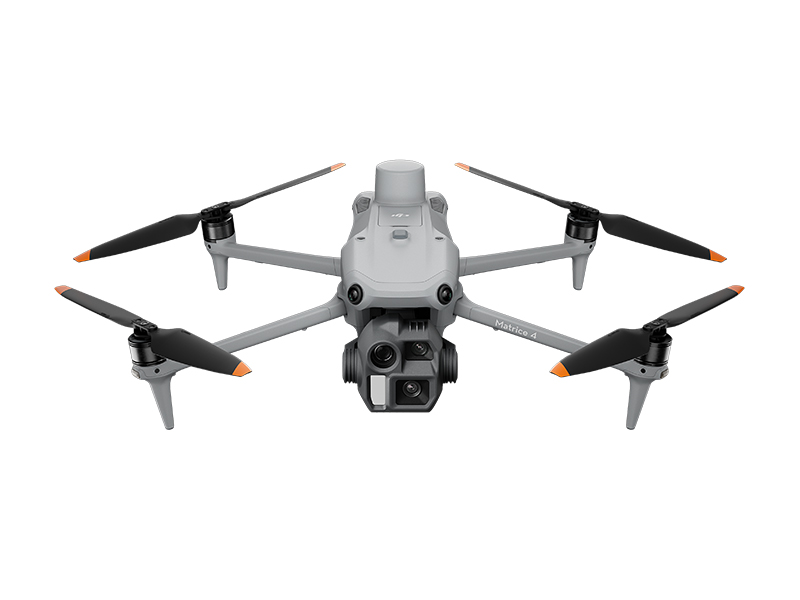 DJI Matrice 4E
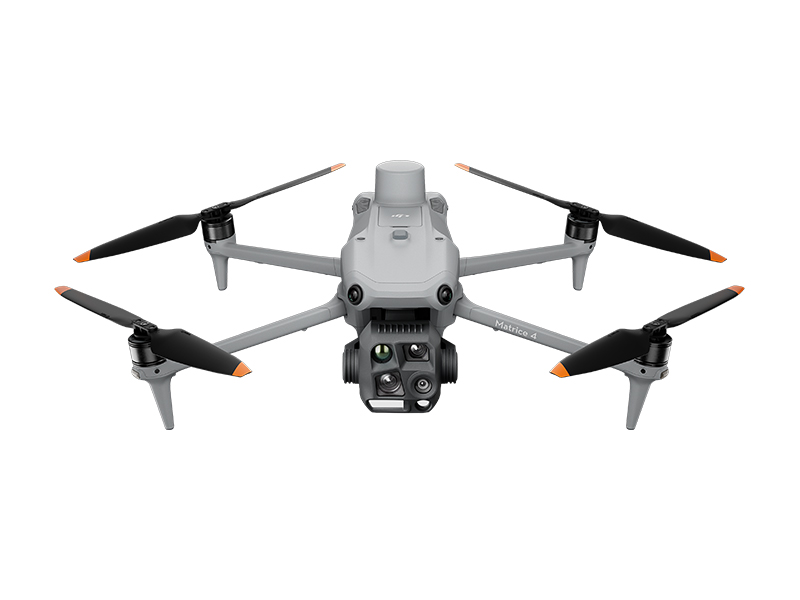 DJI Matrice 4T
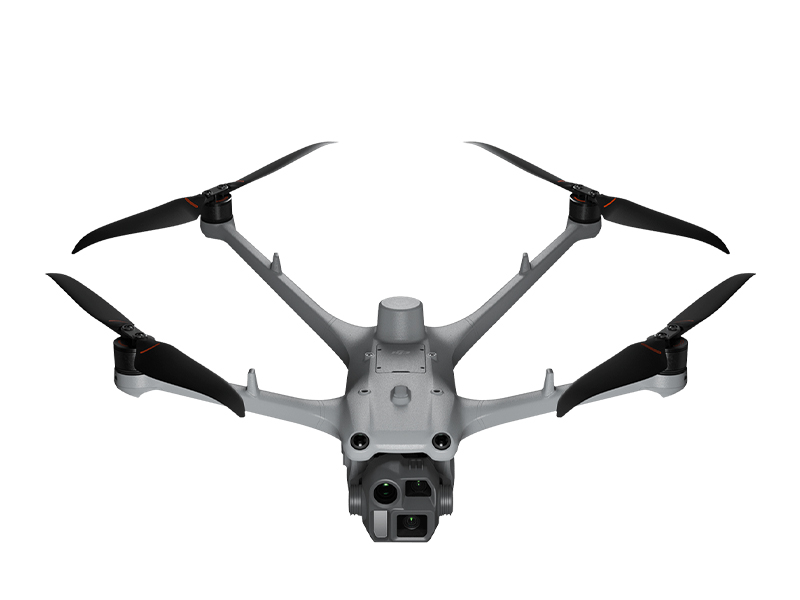 DJI Matrice 4D
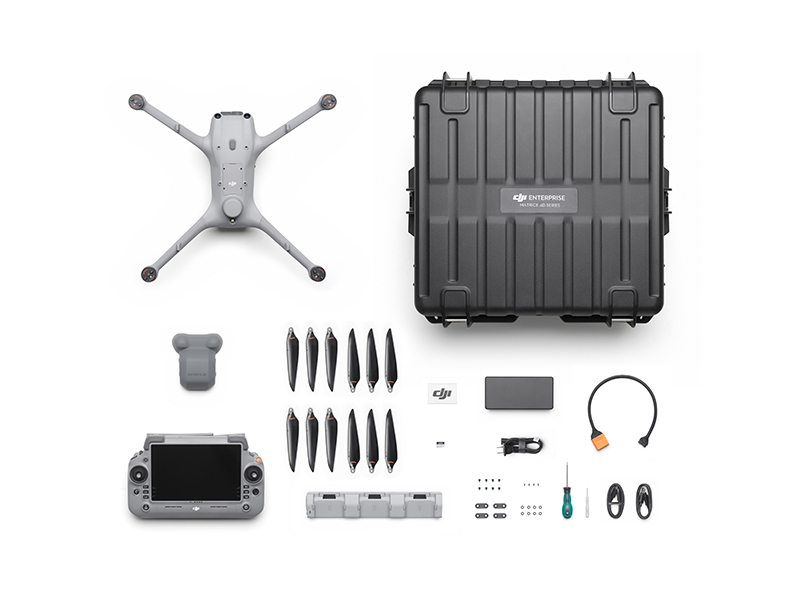 DJI Matrice 4D Combo
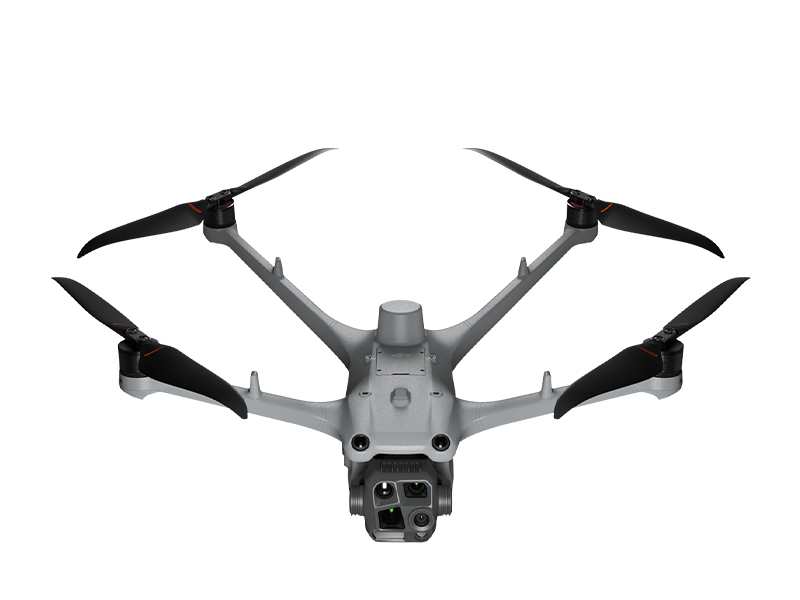 DJI Matrice 4TD
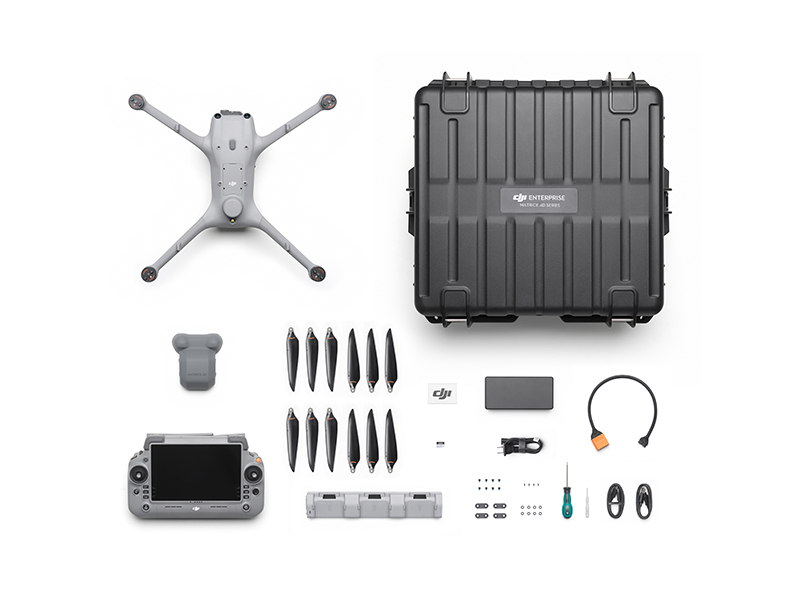 DJI Matrice 4TD Combo
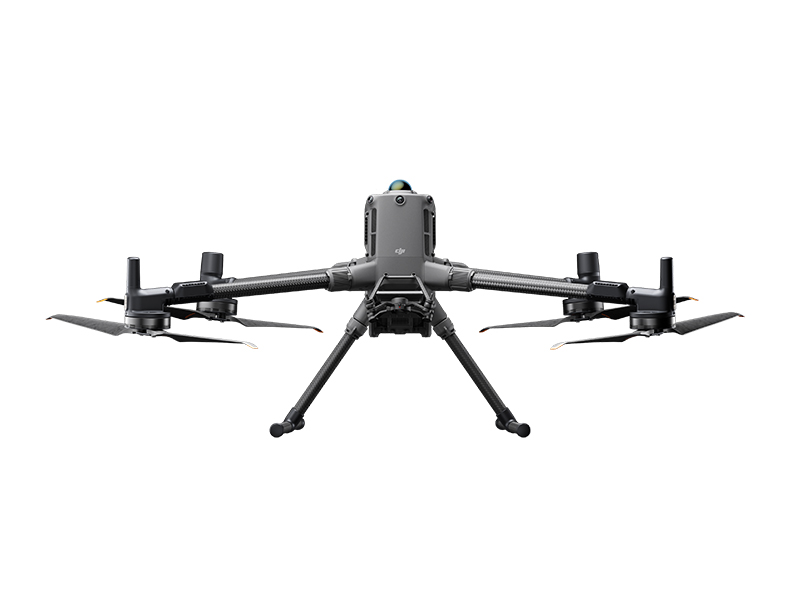 DJI Matrice 400
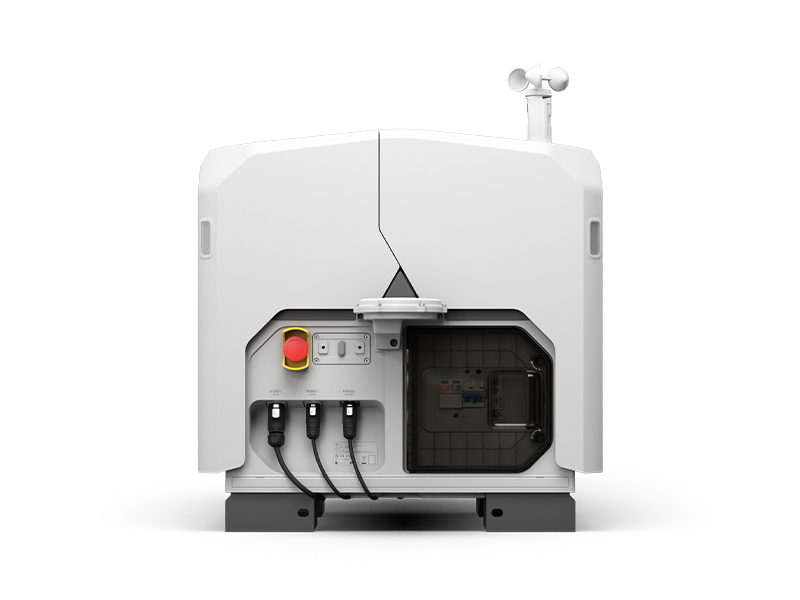 DJI Dock 3
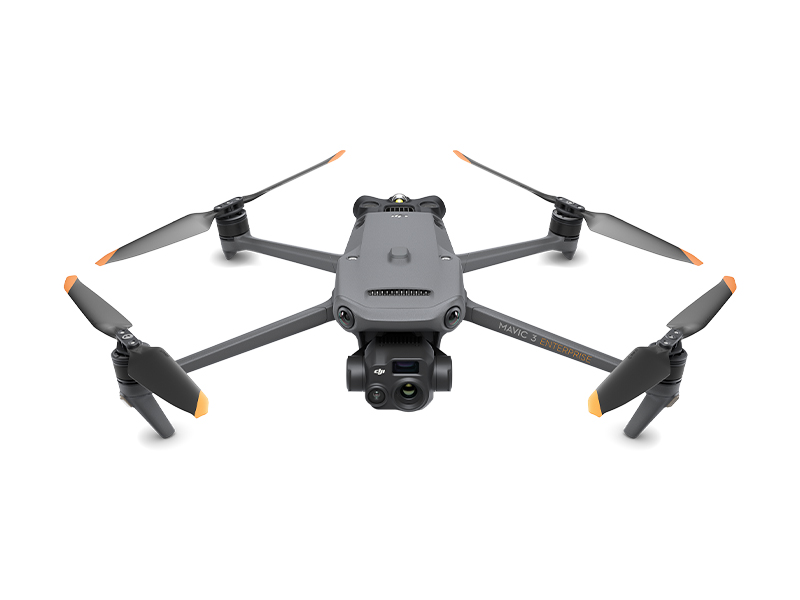 DJI Mavic 3 Thermal Advanced
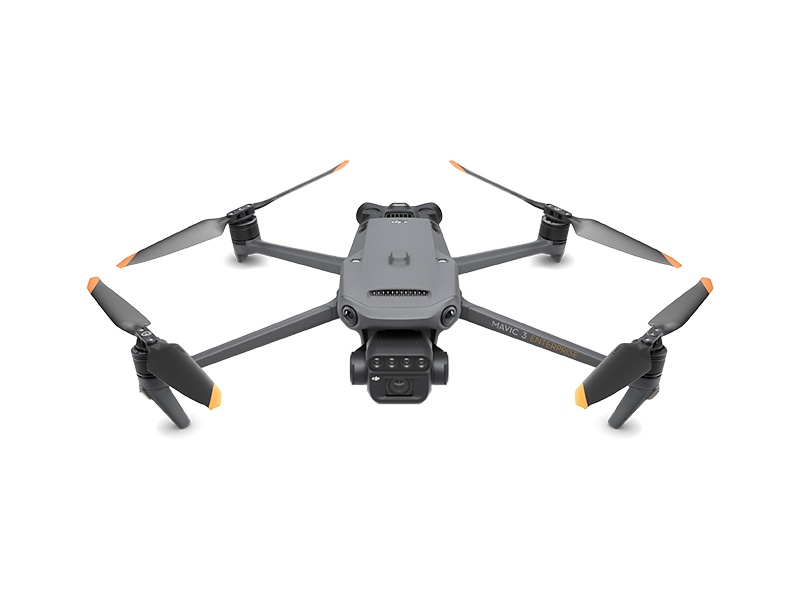 DJI Mavic 3 Multispectral
 DJI FlyCart 30
 DJI FlyCart 100
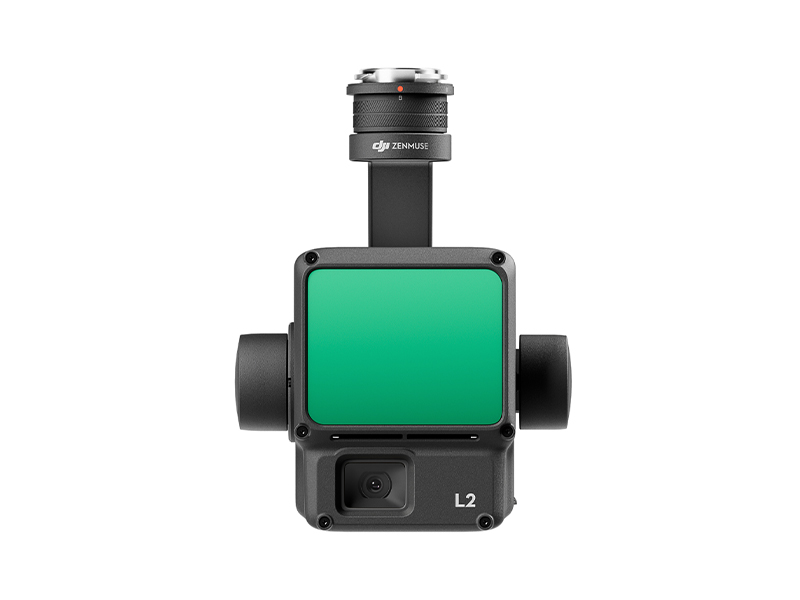 Zenmuse L2
 Zenmuse P1
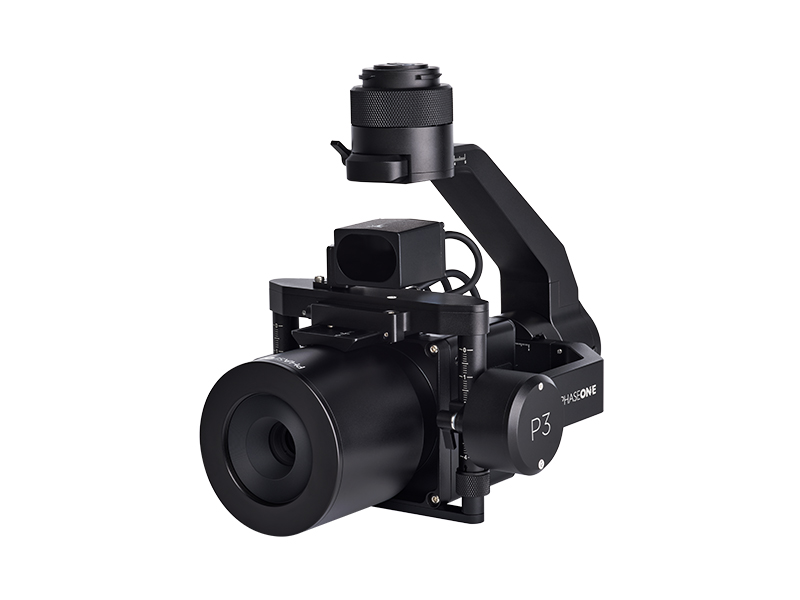 Phase One P3 Payload (iXM 120MP) with 80mm AF
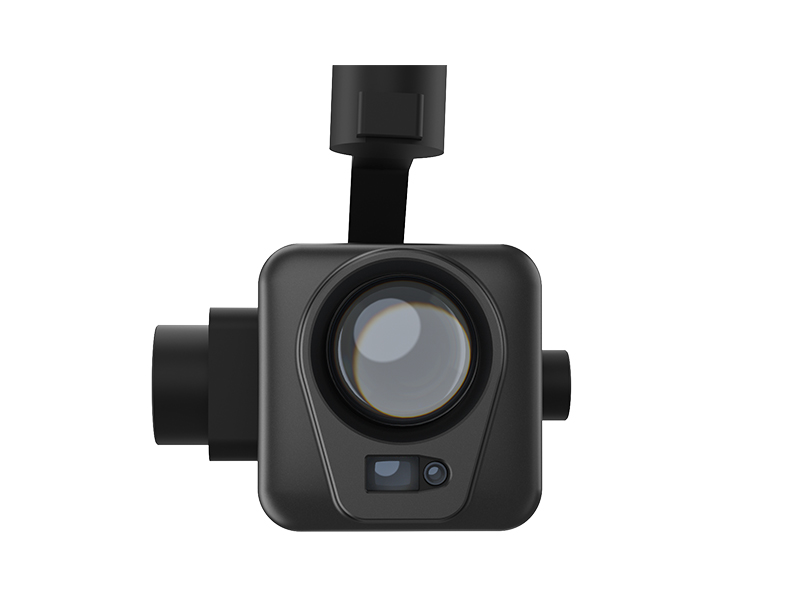 Deepthink S2 Pro Night Vision Payload
 Mavic 2 Enterprise Advanced
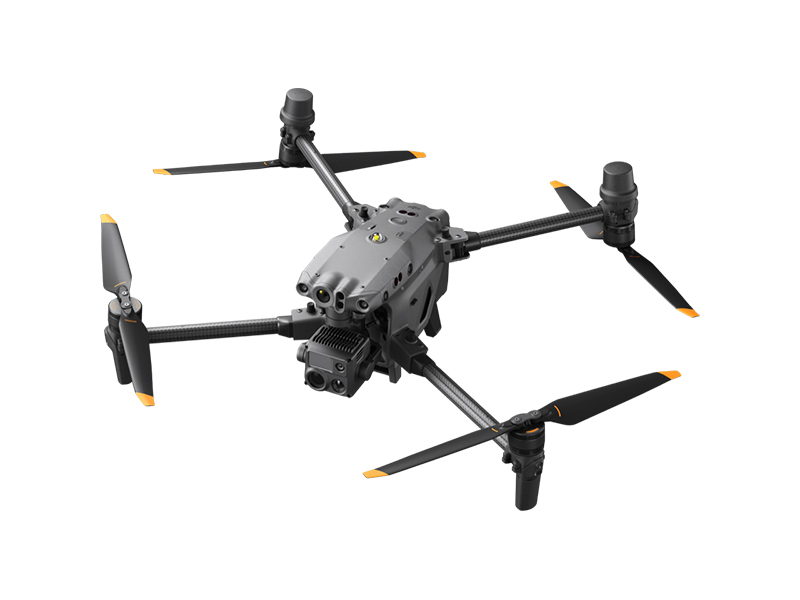 Matrice 30T
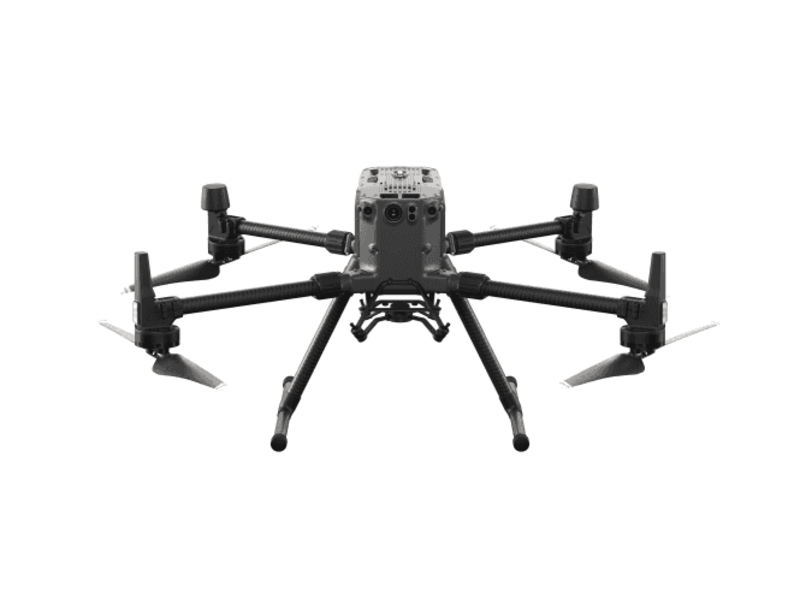 Matrice 300 RTK
 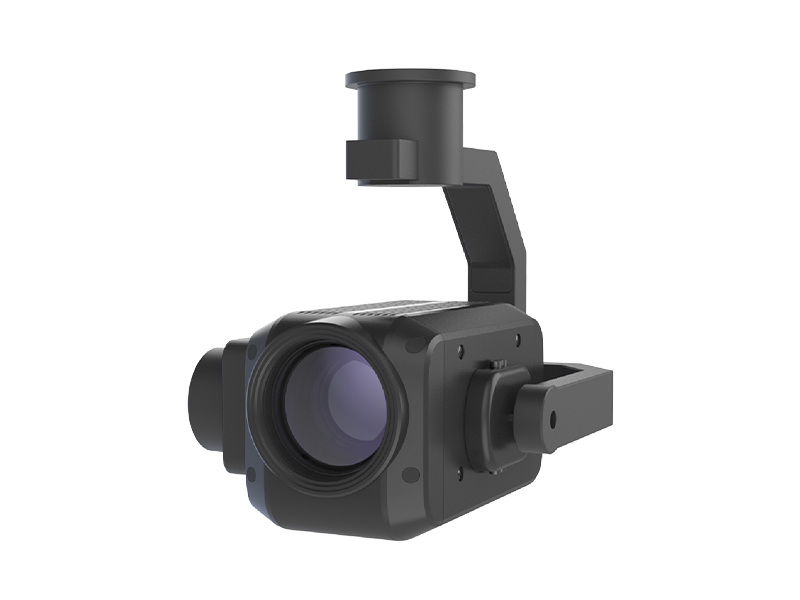 Deepthink S2 Night Vision Payload for Matrice 300 Series
 Zenmuse H20T
  DJI Care Enterprise Plus (DJI Matrice 400)
 DJI Care Enterprise Plus (DJI Matrice 4E)
 DJI Maintenance Program Basic Service (Matrice 300 RTK)
 DJI Maintenance Program Standard Service (Mavic 2 Series)
 DJI Maintenance Program Standard Service (Matrice 300 RTK)
 DJI AGRAS T100
 AGRAS T50
 DJI RC Plus for AGRAS Series
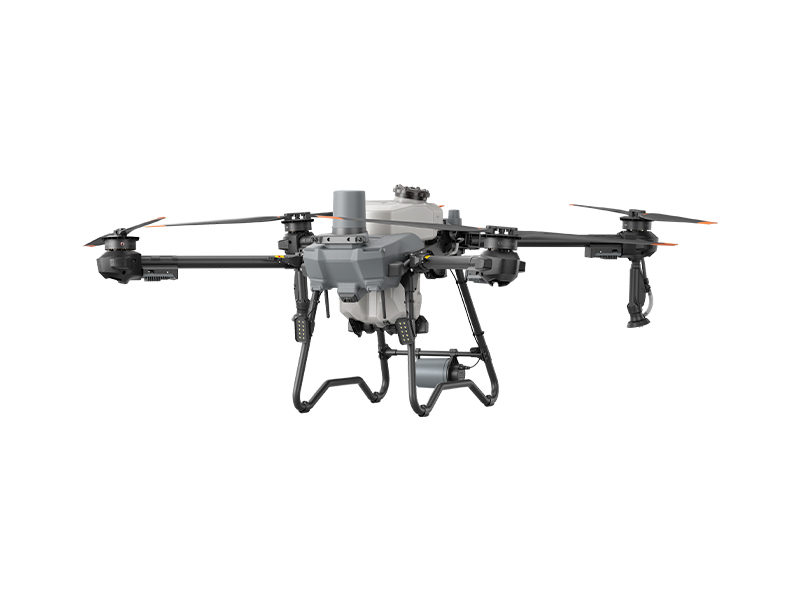 DJI AGRAS T25P
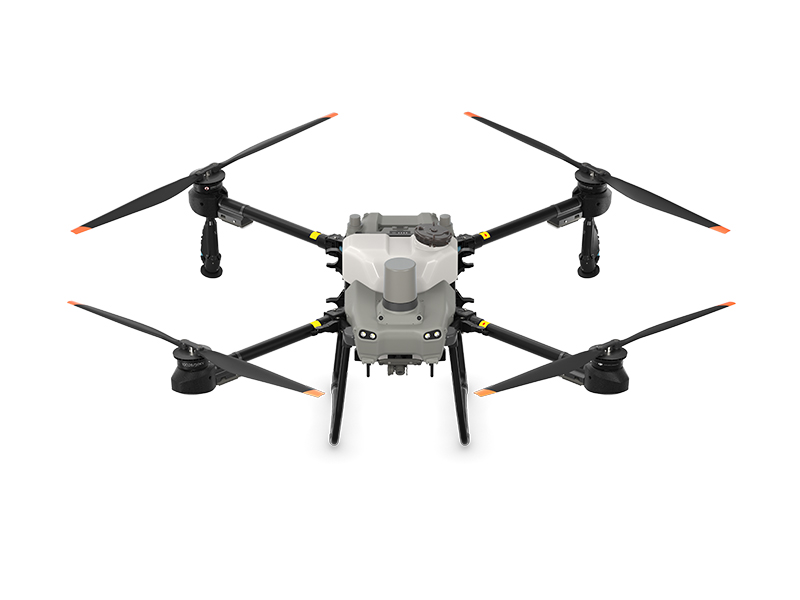 AGRAS T25
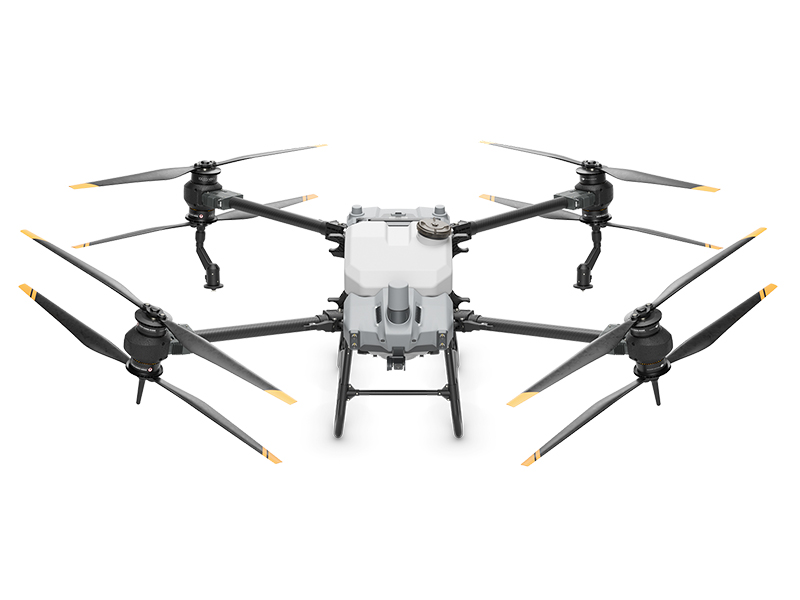 AGRAS T40 (Drone Only, No Batteries)
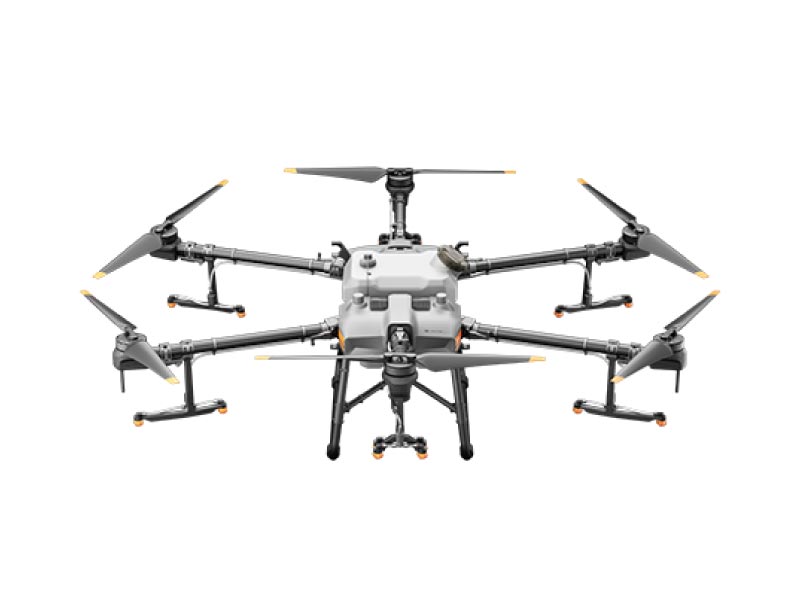 DJI AGRAS T30 (Excluding Batteries)
 X2D II 100C
 907X & CFV 100C
 XCD 45P
 XCD 2,5/25V
 XCD 2,5/38V
 XCD 2,5/55V
 UGREEN 145W 25000mAh Power Bank
 LiPO Battery Safe Bag (Medium)
 D1 Labs Landing Pad Pro (50CM)
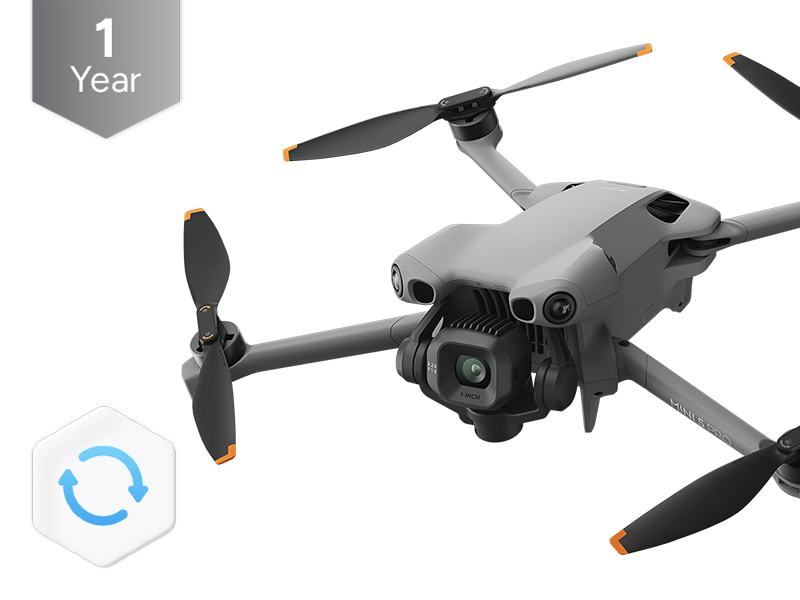 DJI Care Refresh 1-Year Plan (DJI Mini 5 Pro)
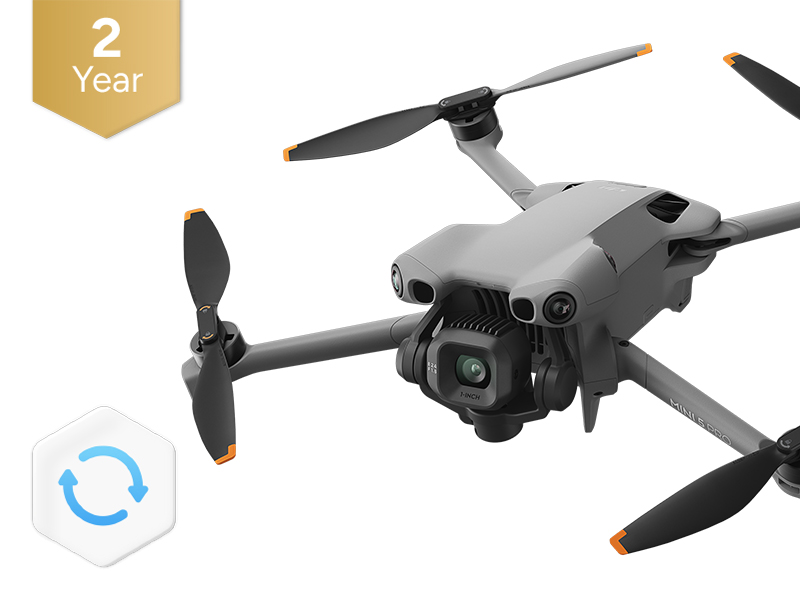 DJI Care Refresh 2-Year Plan (DJI Mini 5 Pro)
 D1 Labs Safety Case for DJI Mini 5 Pro
 DJI Mini 5 Pro Shoulder Bag
 DJI Care Refresh 1-Year Plan (DJI Neo)
 DJI Care Refresh 2-Year Plan (DJI Neo)
 DJI Care Refresh 1-Year Plan (Osmo Pocket 3)
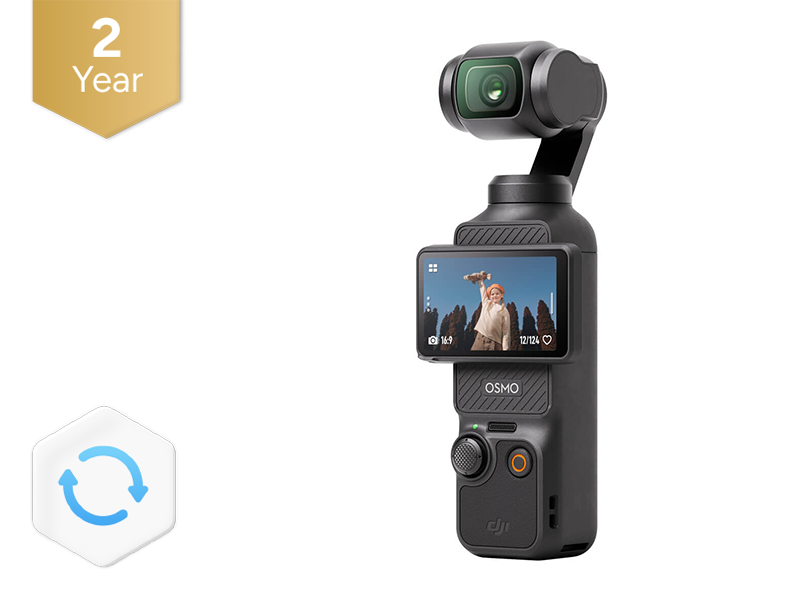 DJI Care Refresh 2-Year Plan (Osmo Pocket 3)
 D1 Labs Carry Case for Osmo Pocket 3
 Osmo Pocket 3 Carrying Bag
 DJI OM Magnetic Phone Clamp 5
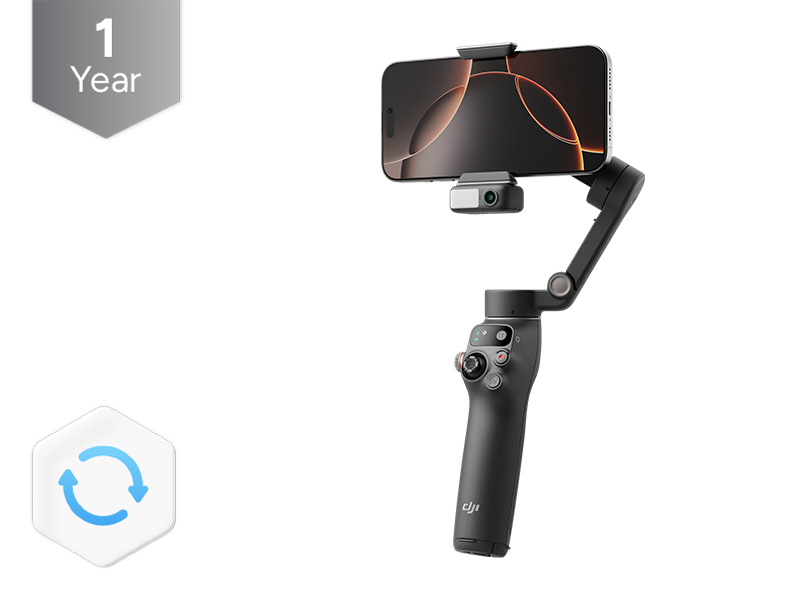 DJI Care Refresh 1-Year Plan (Osmo Mobile 7P)
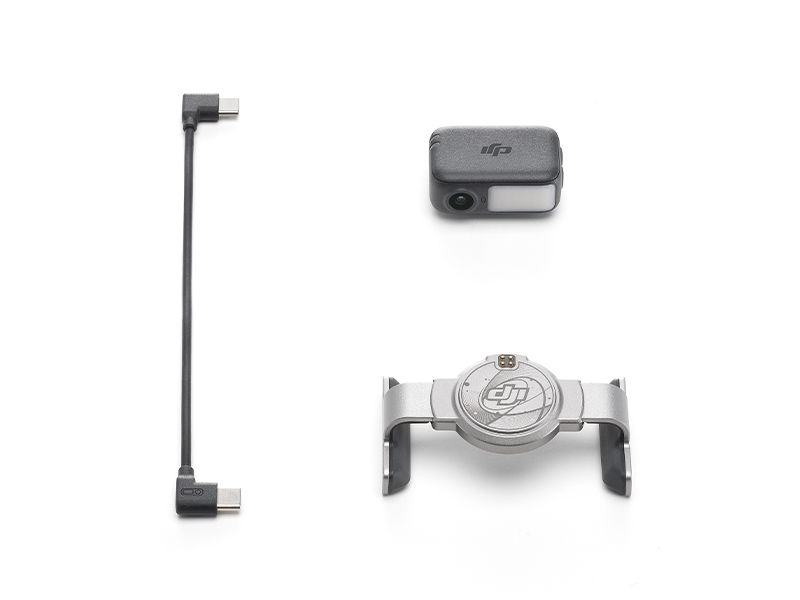 DJI OM 7 Series Tracking Kit
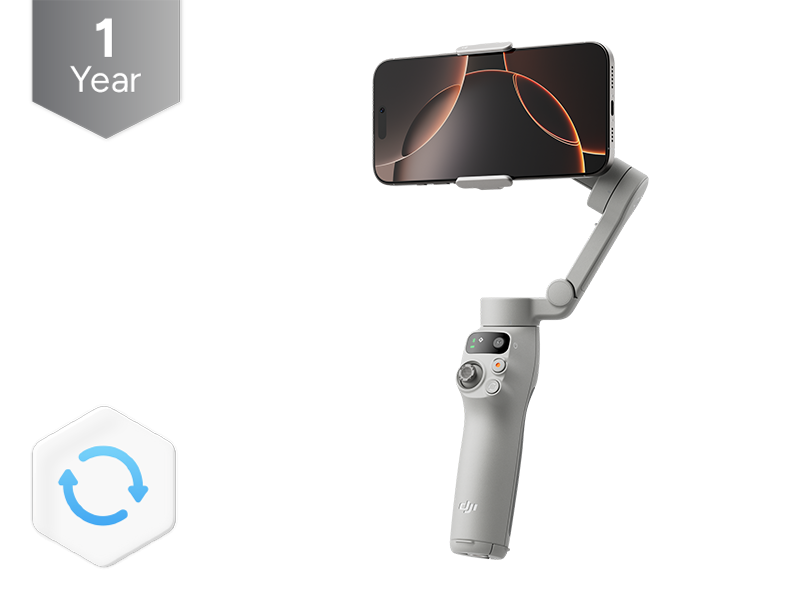 DJI Care Refresh 1-Year Plan (Osmo Mobile 7)
 Osmo 1.6m Tripod Selfie Stick
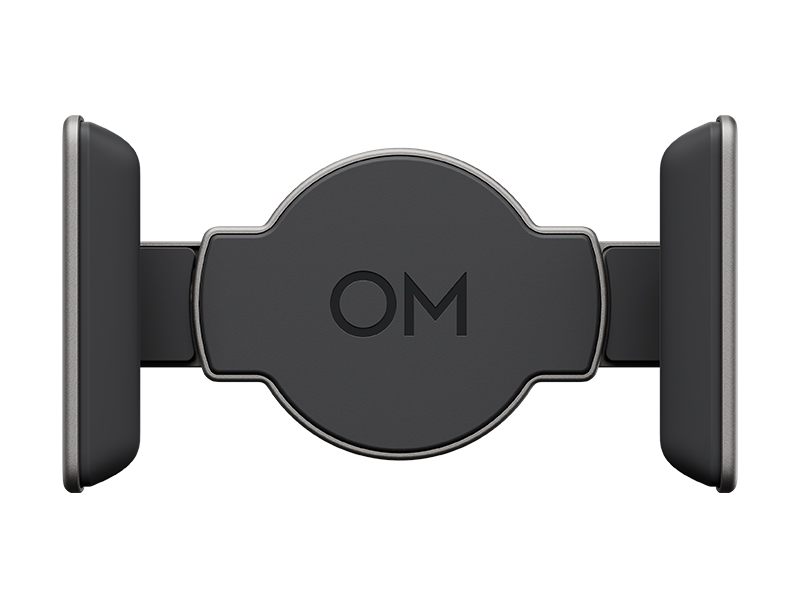 DJI OM 7 Series Magnetic Phone Clamp
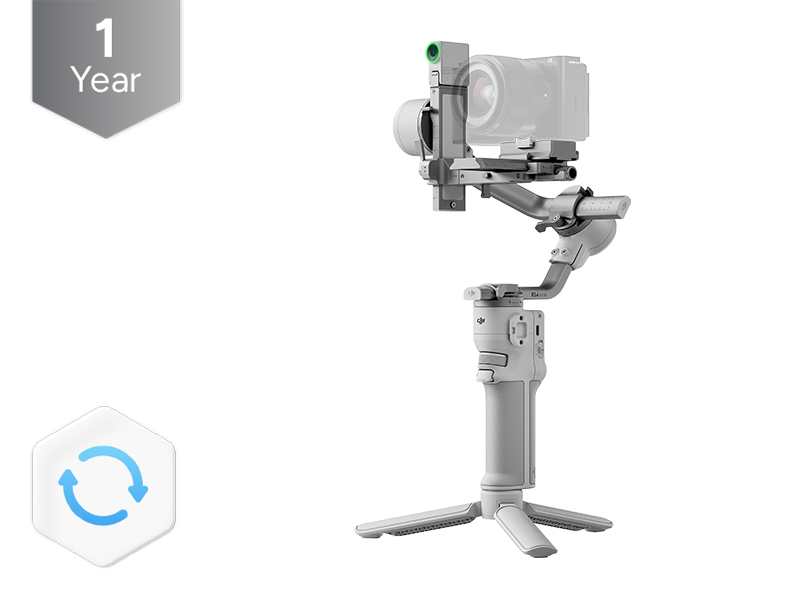 DJI Care Refresh 1-Year Plan (DJI RS 4 Mini)
 DJI Care Refresh 2-Year Plan (DJI RS 4 Mini)
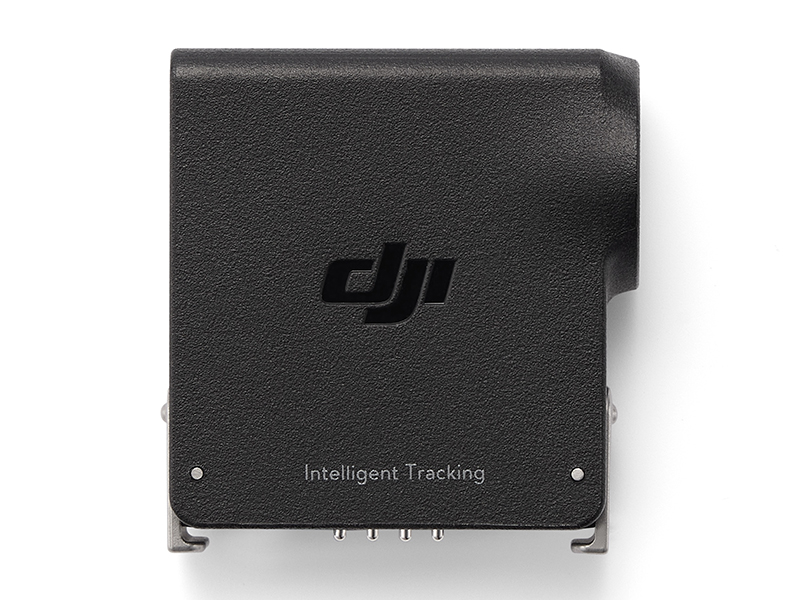 DJI RS Enhanced Intelligent Tracking Module
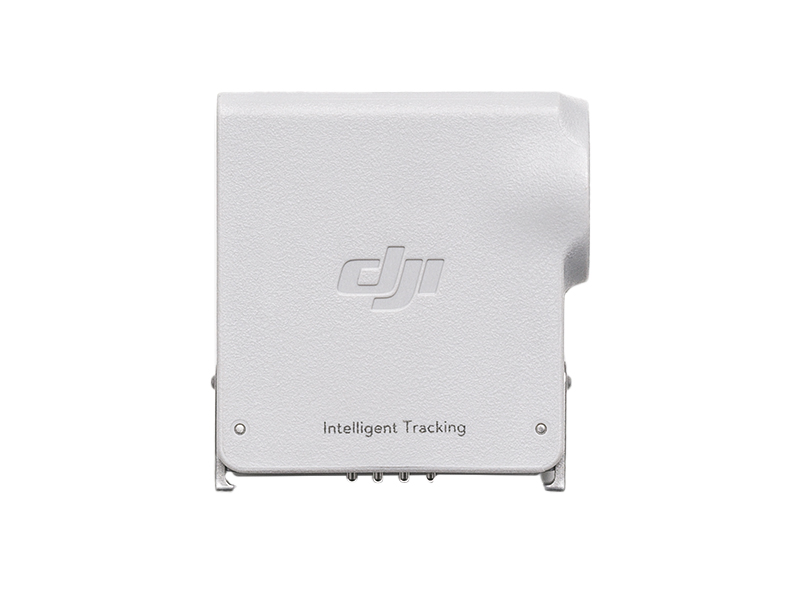 DJI RS Intelligent Tracking Module
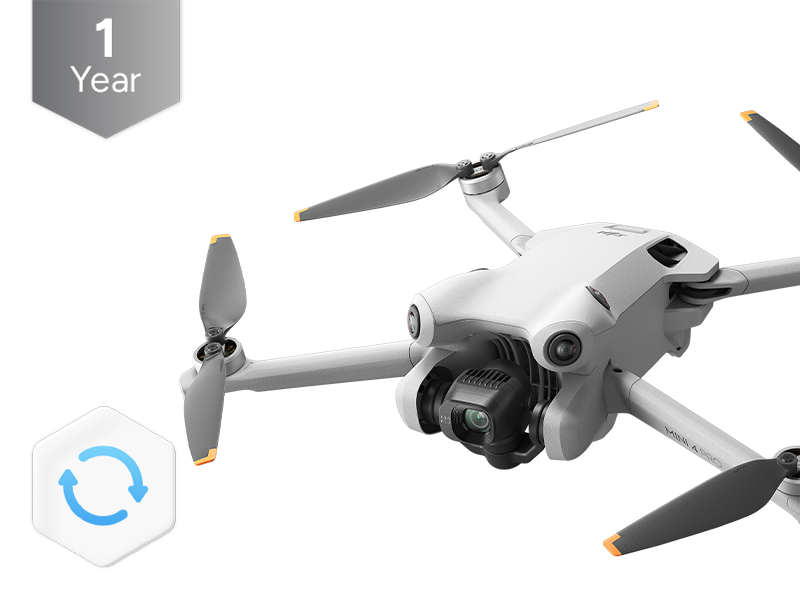 DJI Care Refresh 1-Year Plan (DJI Mini 4 Pro)
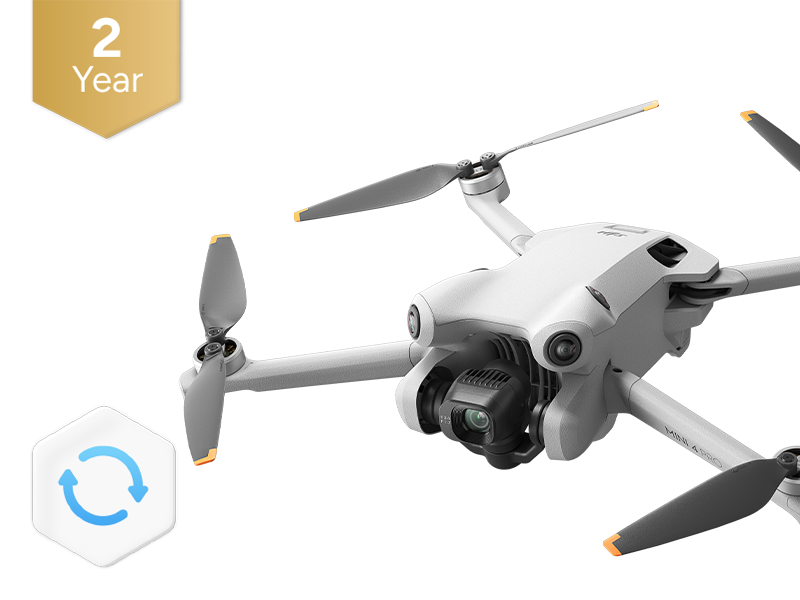 DJI Care Refresh 2-Year Plan (DJI Mini 4 Pro)
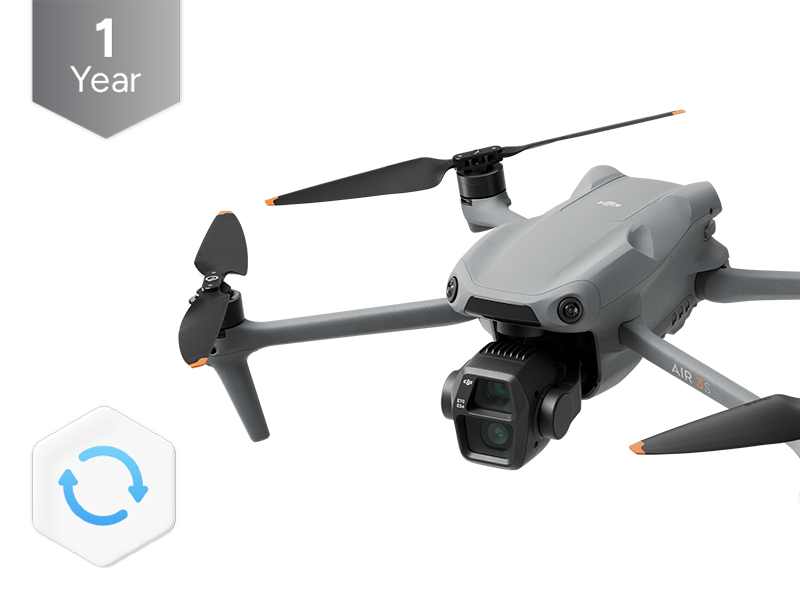 DJI Care Refresh 1-Year Plan (DJI Air 3S)
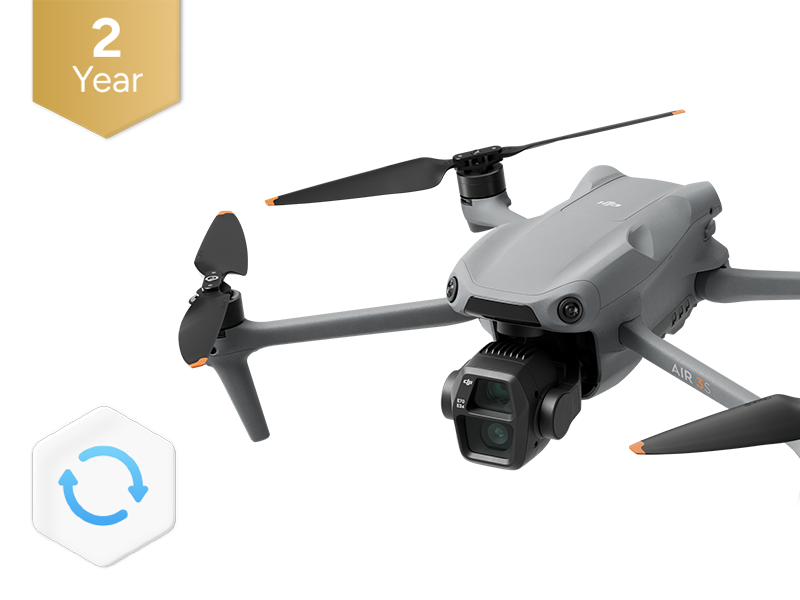 DJI Care Refresh 2-Year Plan (DJI Air 3S)
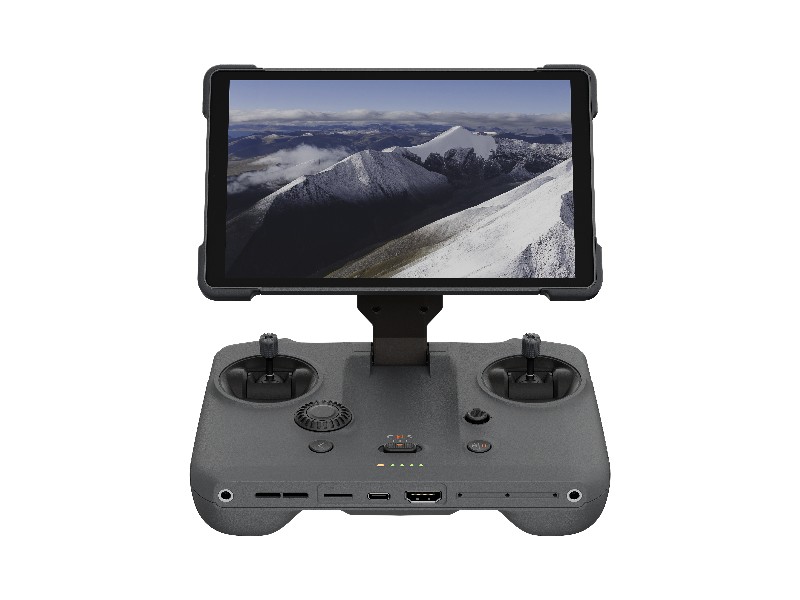 DJI RC Pro 2
 DJI Care Refresh 1-Year Plan (DJI RS 4)
 DJI Care Refresh 2-Year Plan (DJI RS 4)
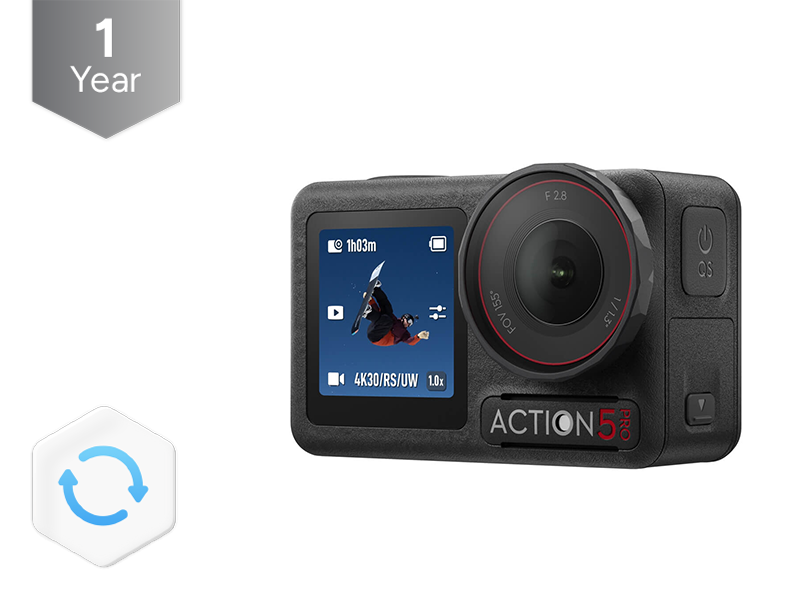 DJI Care Refresh 1-Year Plan (Osmo Action 5 Pro)
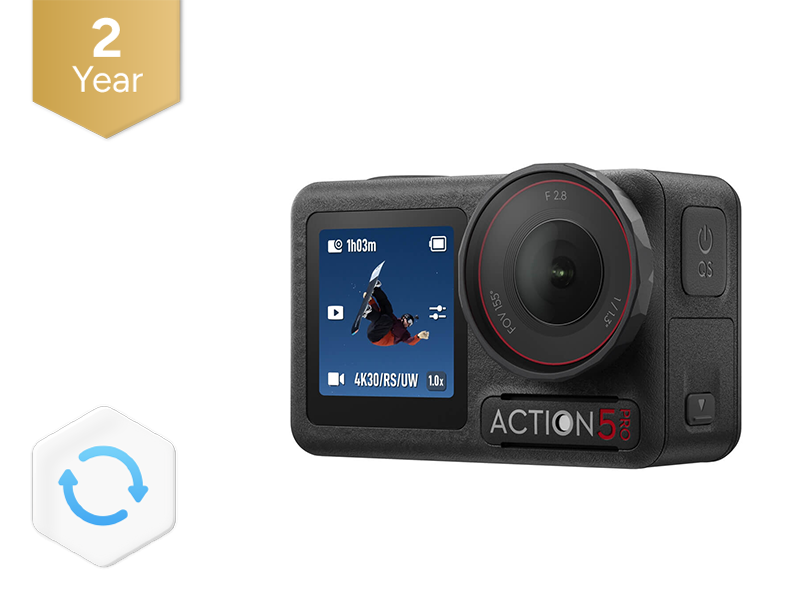 DJI Care Refresh 2-Year Plan (Osmo Action 5 Pro)
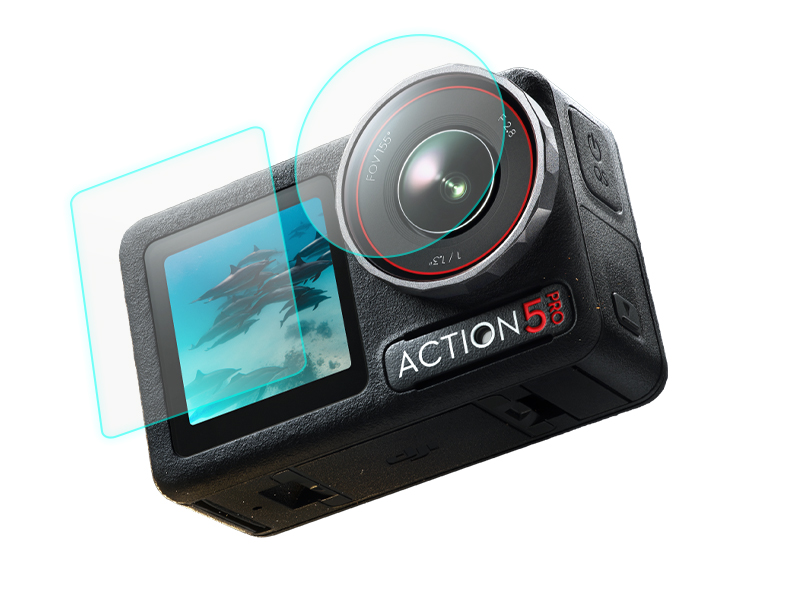 D1 Labs Screen & Lens Protector for Osmo Action 5 Pro
 DJI Care Refresh 1-Year Plan (DJI Mavic 4 Pro)
 DJI Care Refresh 2-Year Plan (DJI Mavic 4 Pro)
 PGYTECH OneGo Air Backpack 25L | Obsidian Black
 D1 Labs Safety Case for DJI Mavic 4 Pro
 DJI Care Refresh 1-Year Plan (DJI RS 4 Pro)
 DJI Care Refresh 2-Year Plan (DJI RS 4 Pro)
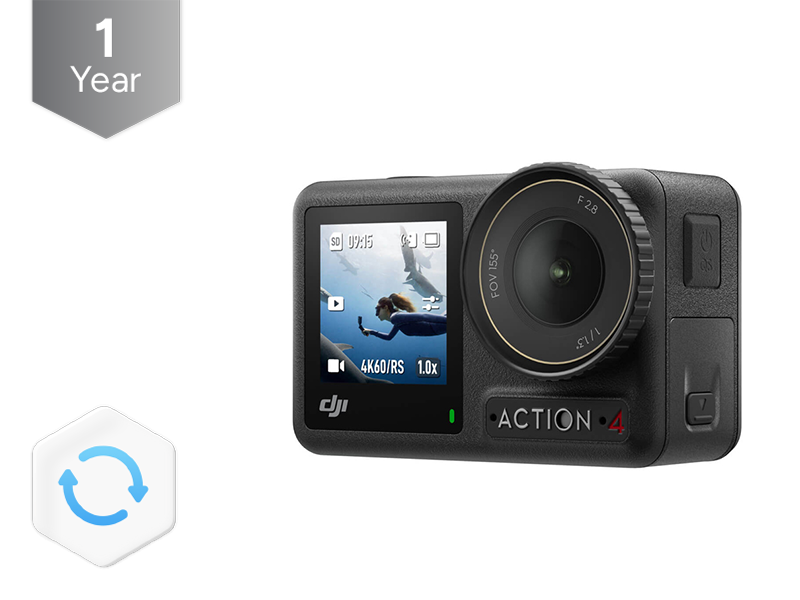 DJI Care Refresh 1-Year Plan (Osmo Action 4)
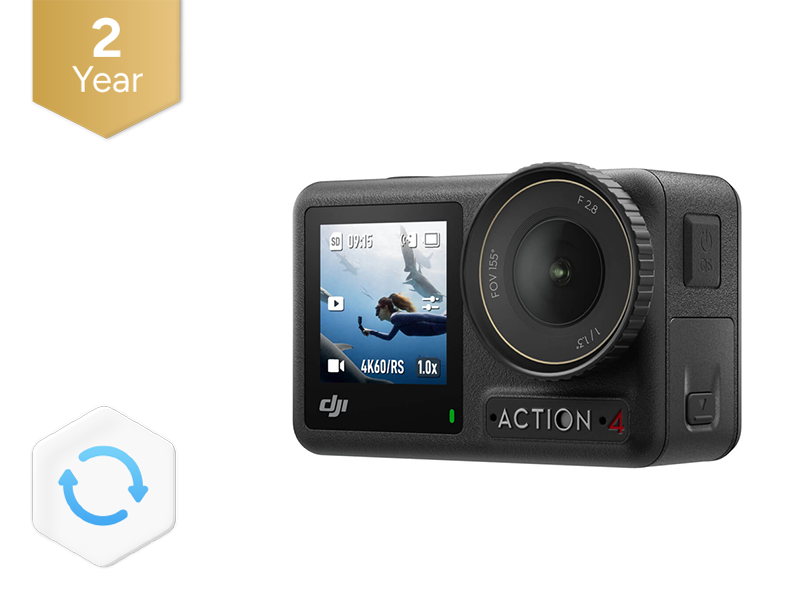 DJI Care Refresh 2-Year Plan (Osmo Action 4)
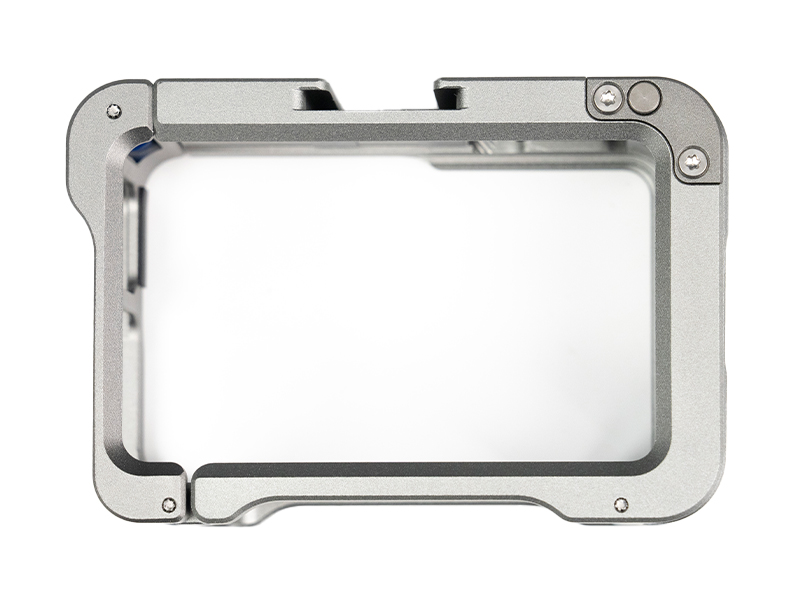 D1 Labs Camera Cage for Osmo Action 3/4/5 Pro
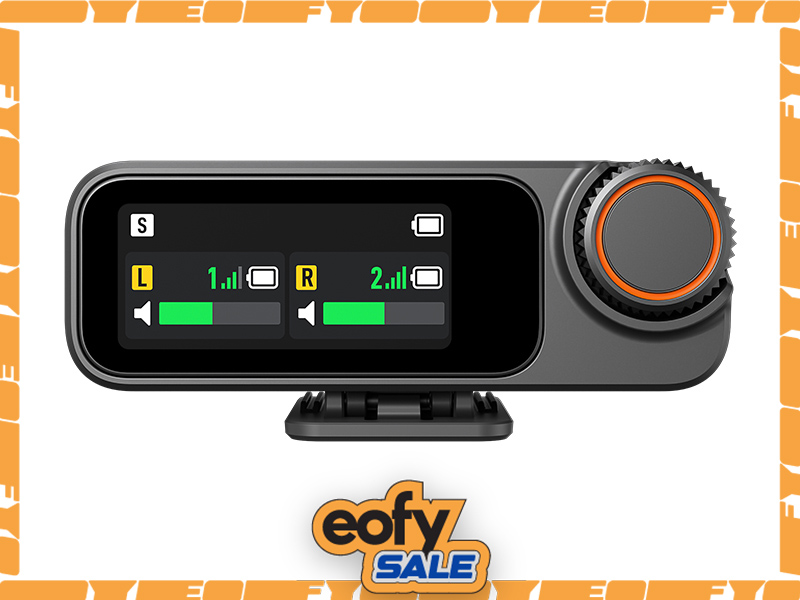 DJI Mic 3 Receiver
 DJI Mic 3 Transmitter
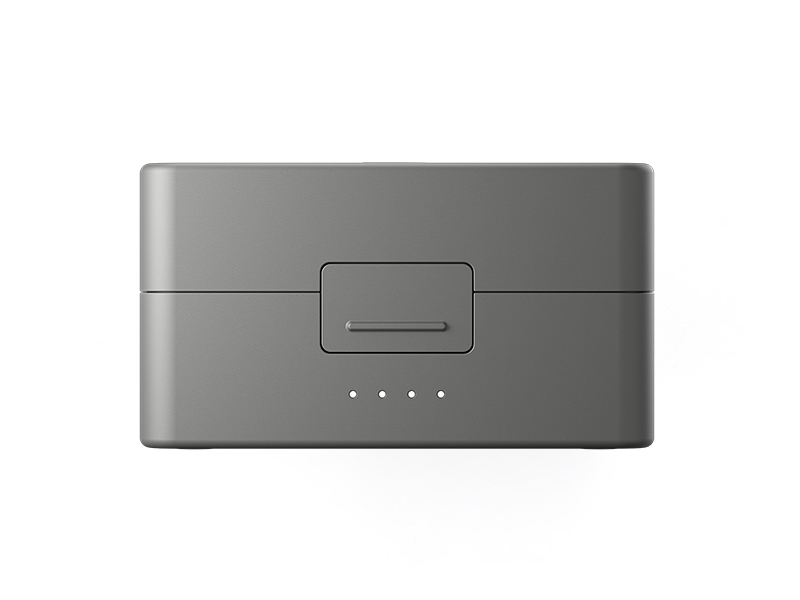 DJI Mic 3 Charging Case
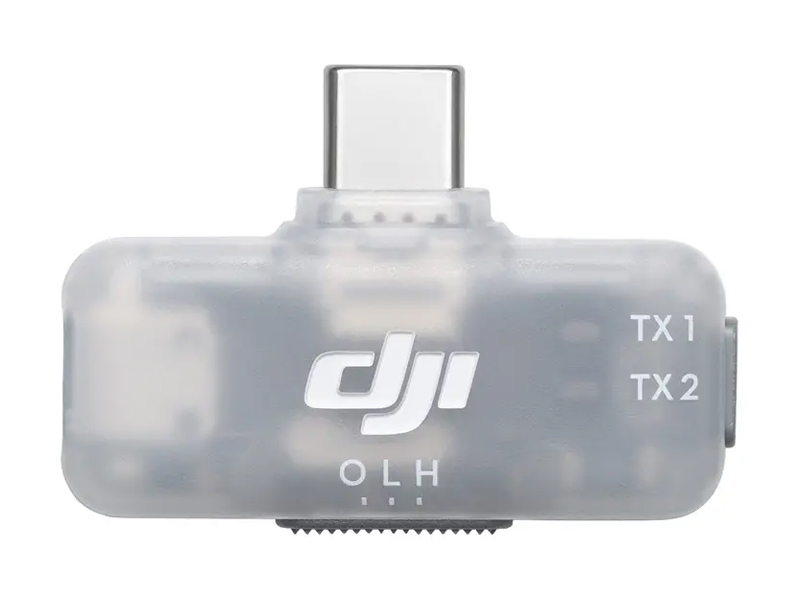 DJI Mic Series Mobile Receiver
 DJI Mic Series Carrying Pouch
 DJI Mic Mini Windscreen (Black & Grey w. Black Clip)
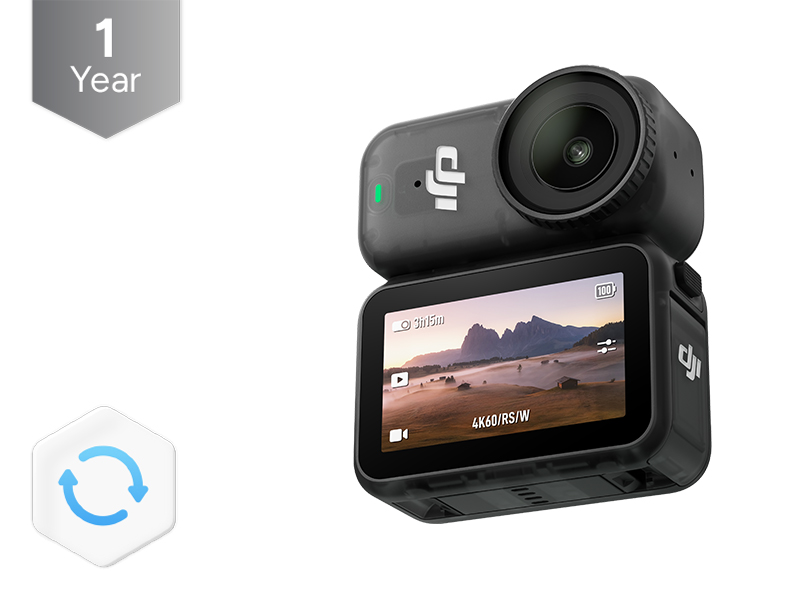 DJI Care Refresh 1-Year Plan (Osmo Nano)
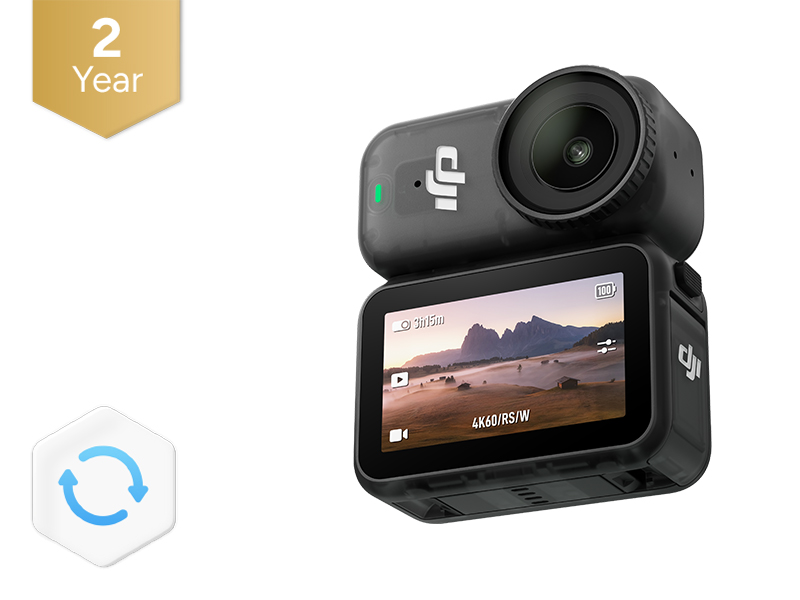 DJI Care Refresh 2-Year Plan (Osmo Nano)
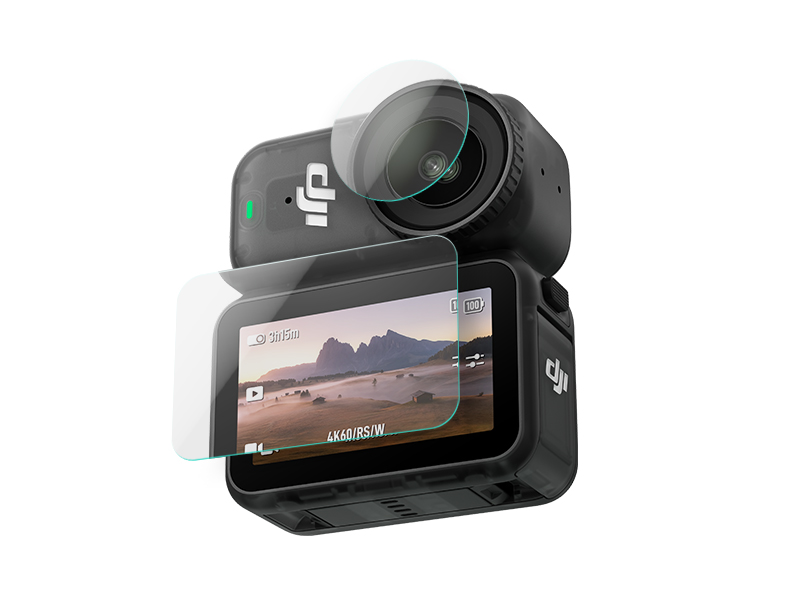 D1 Labs Screen & Lens Protector for Osmo Nano
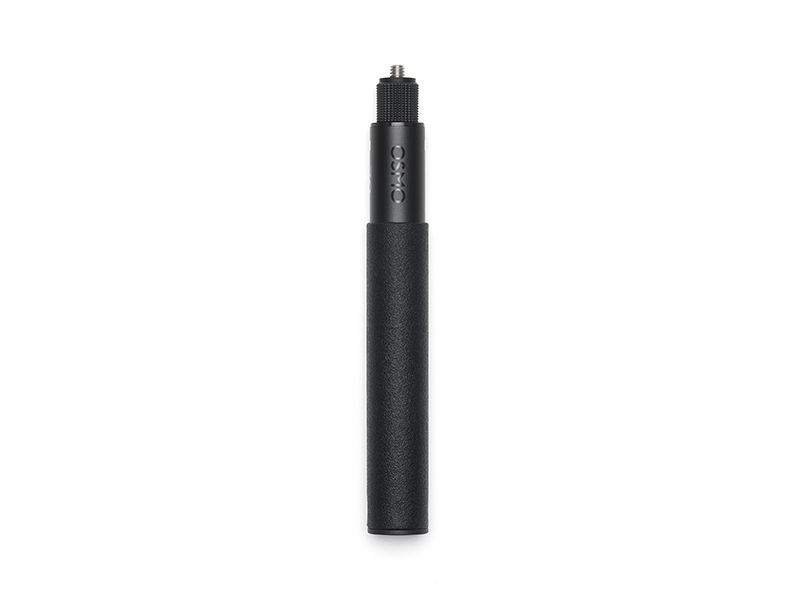 Osmo 70cm Invisible Selfie Stick
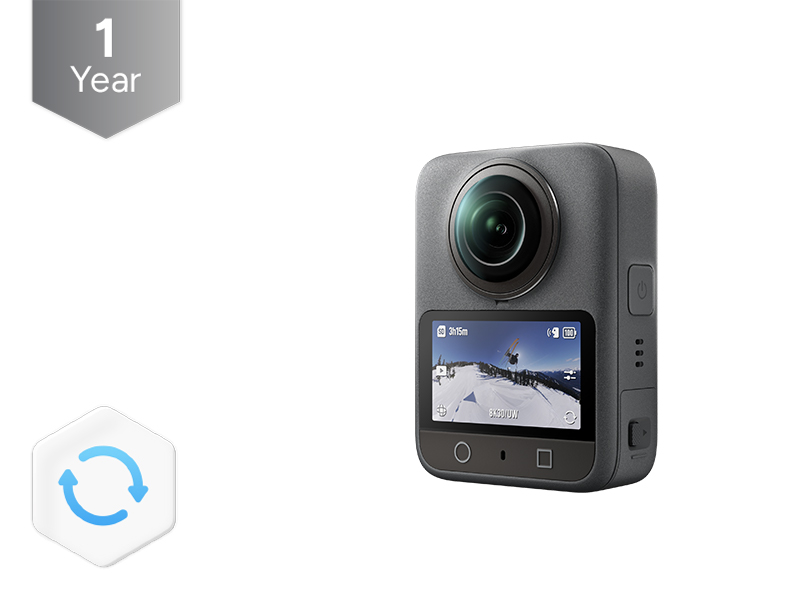 DJI Care Refresh 1-Year Plan (Osmo 360)
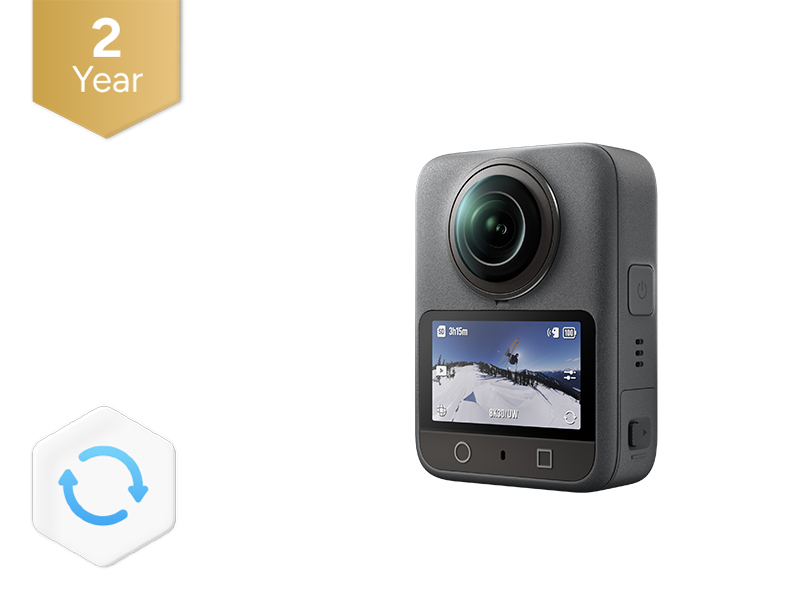 DJI Care Refresh 2-Year Plan (Osmo 360)
 Osmo 360 Carrying Bag
 D1 Labs Screen Protector for Osmo 360
 D1 Labs Tri-Colour Drone Strobe Light
 D1 Labs All-in-One Mount for Osmo Pocket 3
 UGREEN FineTrack Smart Finder
 UGREEN 65W Nexode S GaN Charger
 UGREEN 130W USB-C Car Charger
 UGREEN 100W USB-C Charging Station
 D1 Labs Landing Pad Pro (65CM)
 D1 Labs Landing Pad Pro (100CM)
 D1 Labs Weighted Drone Landing Pad (92 cm)
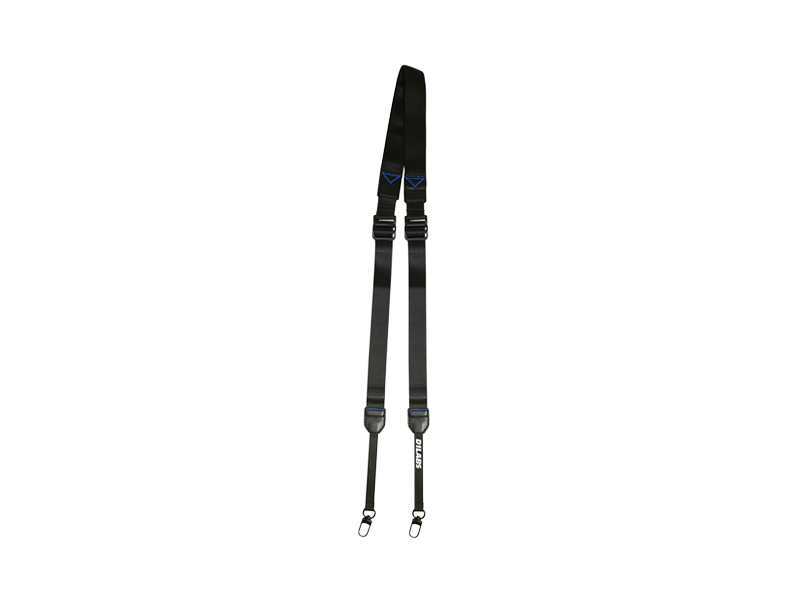 D1 Labs Dual Hook Controller Lanyard
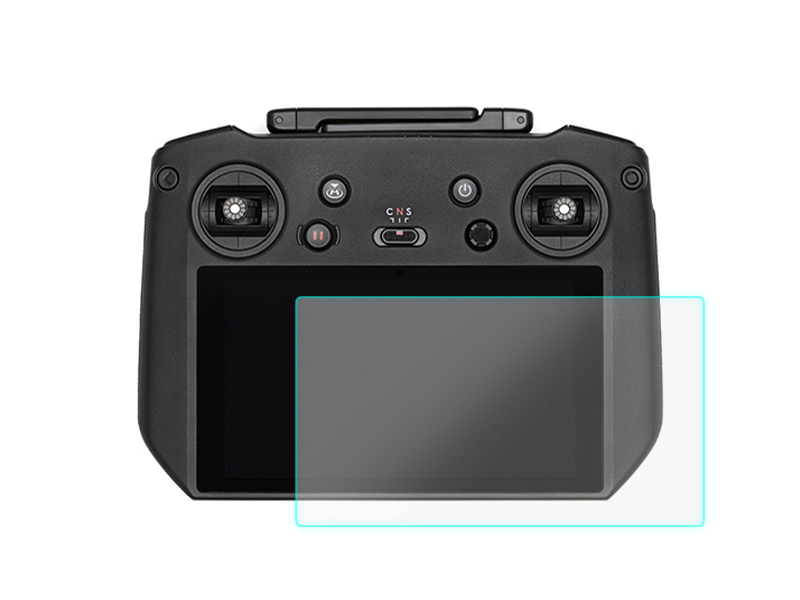 D1 Labs Screen Protector for DJI RC Pro
 SunnyLife Carrying Case for DJI RC Pro
 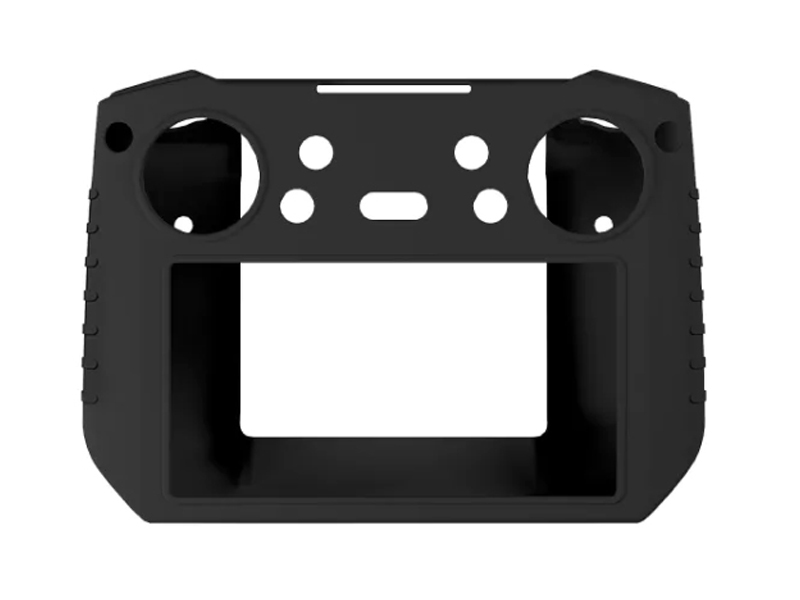 SunnyLife Protective Cover for DJI RC Pro
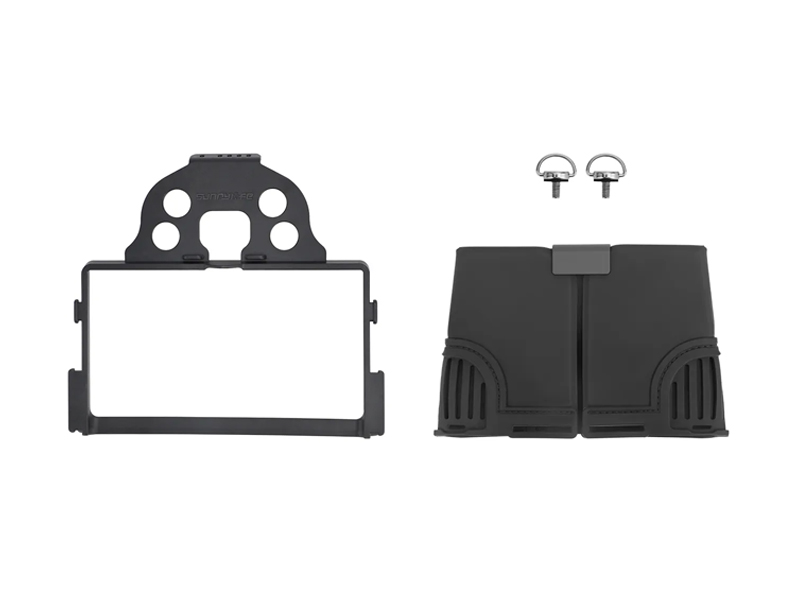 SunnyLife Sun Hood for DJI RC Pro
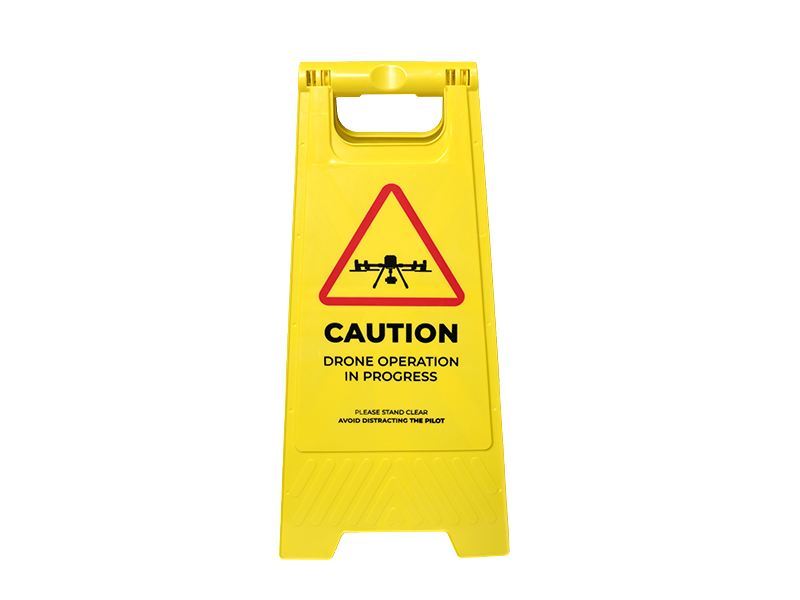 D1 Labs Drone Safety Sign
 D1 Labs Retractable Safety Cone (450 mm)
 LiPO Battery Safe Bag (Large)
 Freewell Glow Mist 1/4 Filter for Osmo Nano
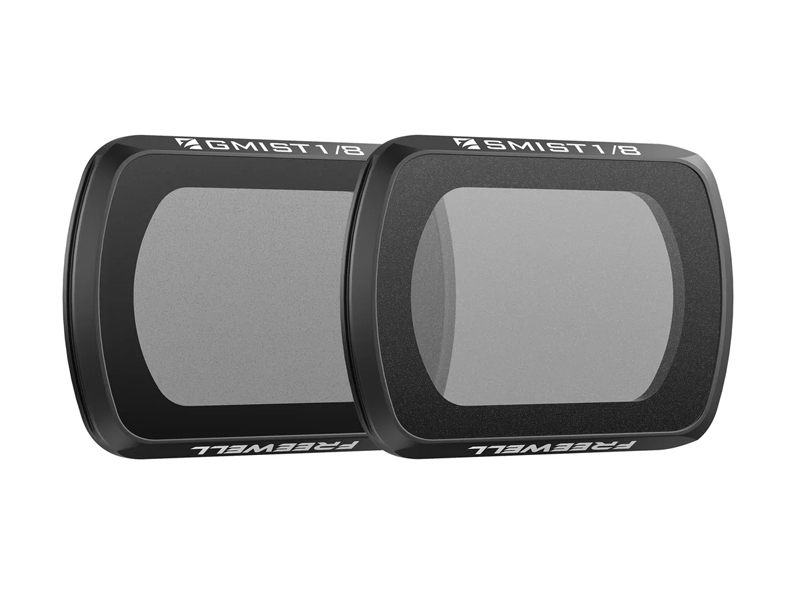 Freewell 1/8 Mist Filters for Osmo Pocket 3/4 (2 Pack)
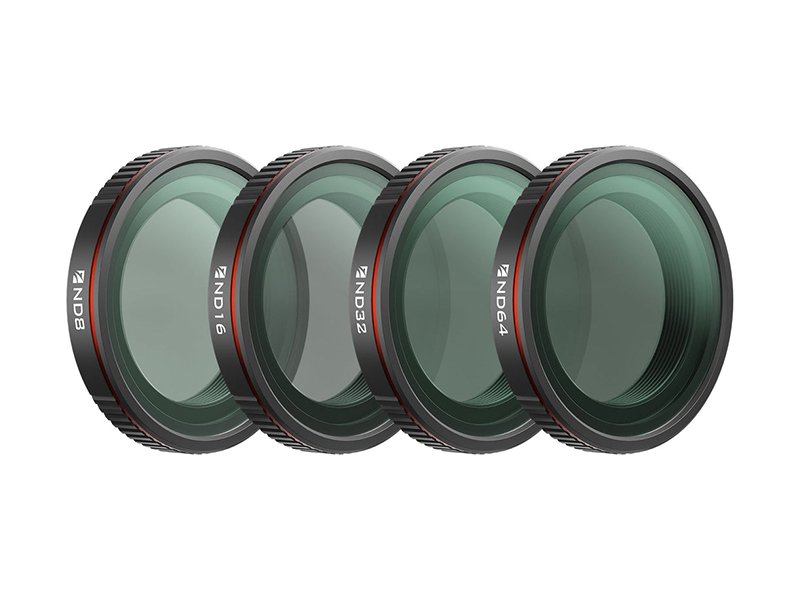 Freewell Standard Day Filters for Osmo Nano (4 Pack)
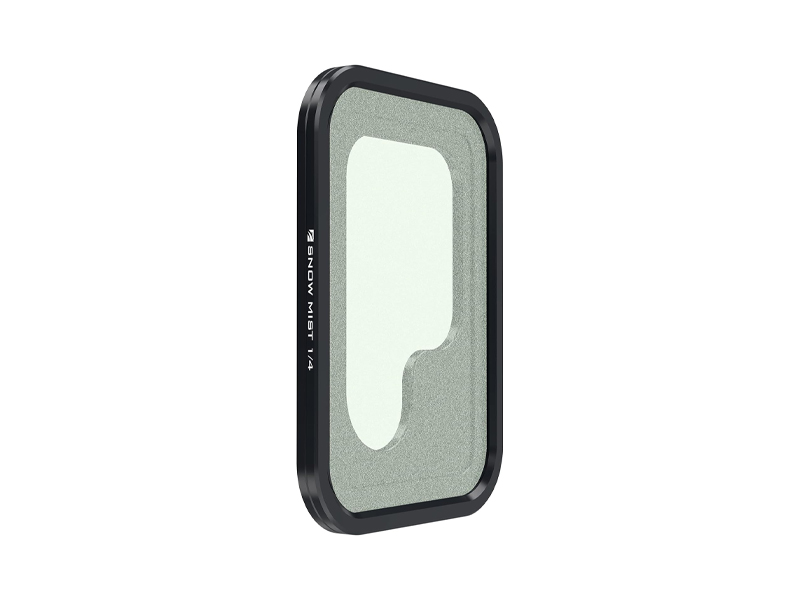 Freewell Galaxy Series Snow Mist 1/4 Filter
 Freewell Sherpa Series Case for iPhone 13 Pro
 Freewell Sherpa Series Case for iPhone 13 Pro Max
 Freewell Sherpa Series Case for iPhone 14 Pro
 Phantom 4 Pro V2.0 Remote Controller
  DJI RC Motion 3
 Cynova Protective Cover for DJI RC Pro 2
 D1 Labs Screen Protector for DJI RC Pro 2
 D1 Labs Lanyard Bracket for DJI RC Pro 2
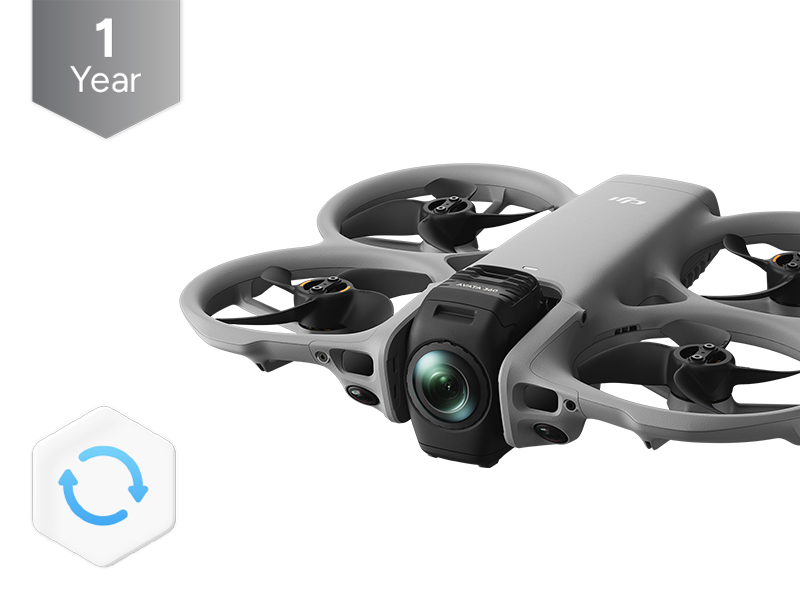 DJI Care Refresh 1-Year Plan (DJI Avata 360)
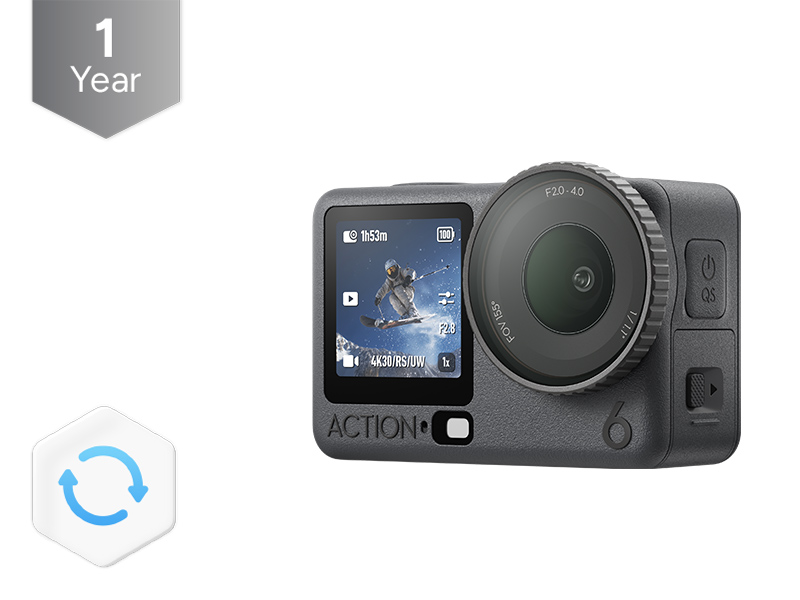 DJI Care Refresh 1-Year Plan (Osmo Action 6)
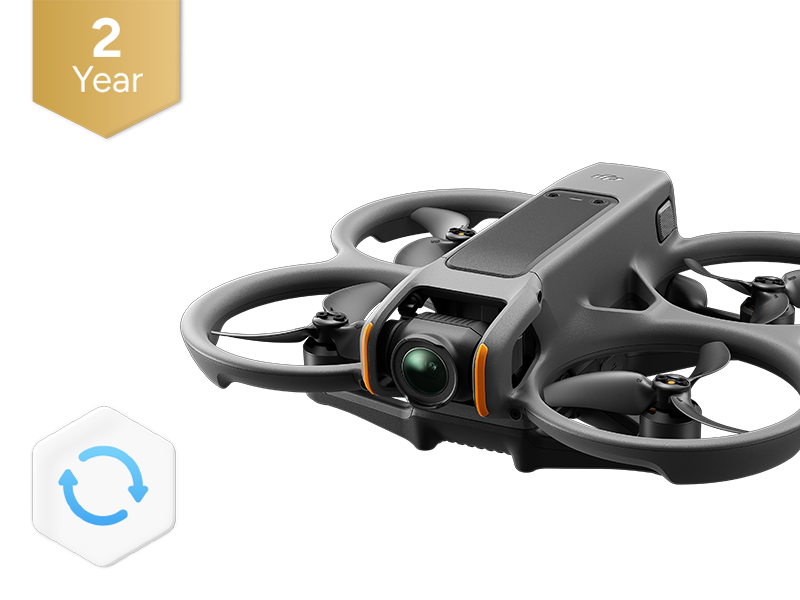 DJI Care Refresh 2-Year Plan (DJI Avata 2)
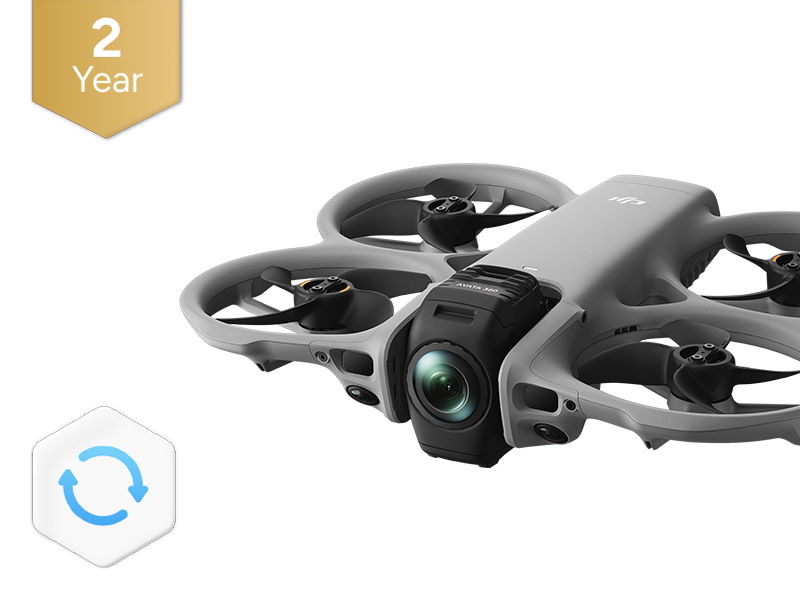 DJI Care Refresh 2-Year Plan (DJI Avata 360)
 DJI Care Refresh 2-Year Plan (Osmo Pocket 4)
 DJI Care Enterprise Basic (D-RTK 3 Multifunctional Station)
 DJI Care Enterprise Basic (DJI Mavic 3 Enterprise)
 DJI Care Enterprise Basic (Zenmuse S1)
 DJI Care Enterprise Basic (Zenmuse V1)
 DJI Care Enterprise Basic 2-Year Plan (D-RTK 3 Multifunctional Station)
 DJI Care Enterprise Basic 2-Year Plan (Zenmuse S1)
 DJI Care Enterprise Basic 2-Year Plan (Zenmuse V1)
 DJI Care Enterprise Basic 2-Year Plan (Zenmuse L2)
 DJI Care Enterprise Plus (Zenmuse P1)
 DJI Care Enterprise Plus (DJI Matrice 4T)
 Ex-Demo DJI Mini 3
 Ex-Demo DJI Mini 3 Fly More Combo Plus
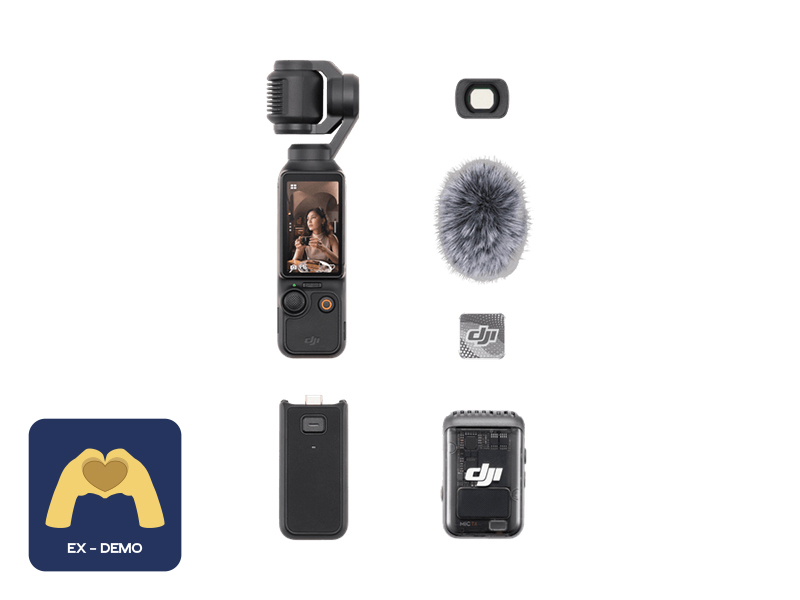 Ex-Demo Osmo Pocket 3 Creator Combo
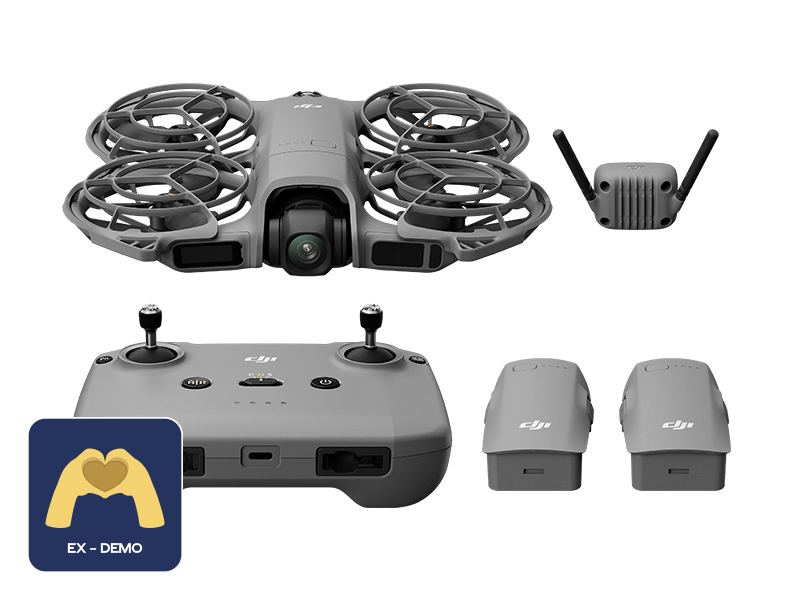 Ex-Demo DJI Neo 2 Fly More Combo
 CrystalSky Monitor Hood (For 7.85 Inch)
 Ex-Demo DJI Mic Mini Transmitter (Infinity Black)
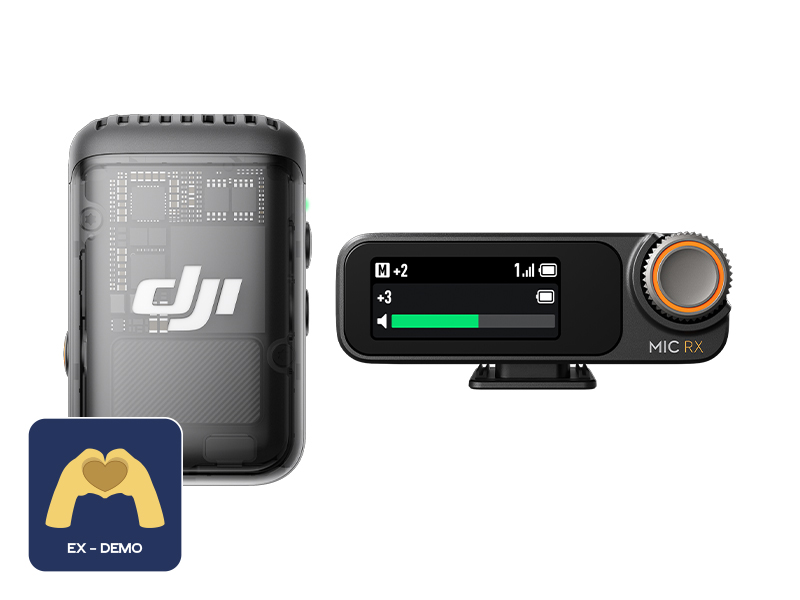 Ex-Demo DJI Mic 2 Single Microphone Kit
 Ex-Demo DJI Mic 2 Transmitter (Pearl White)
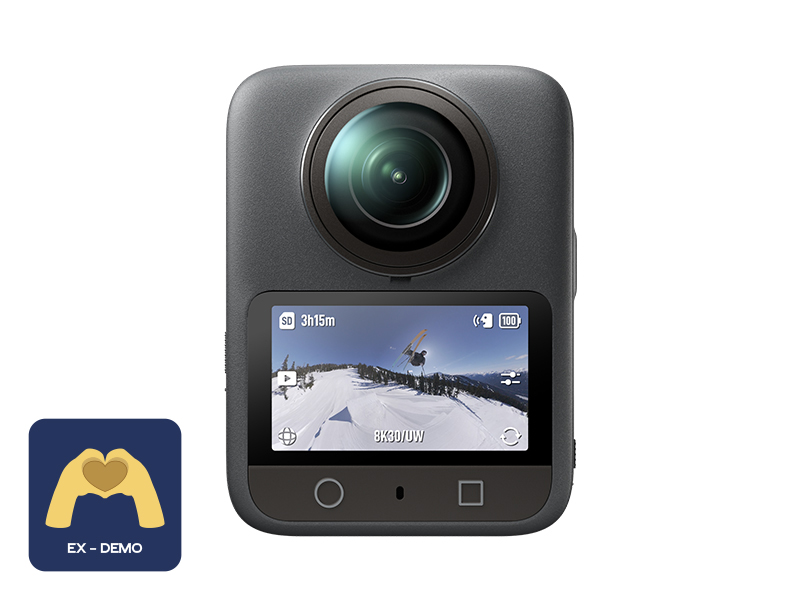 Ex-Demo Osmo 360 Standard Combo
 Ex-Demo WB37 Intelligent Battery
 Ex-Demo DJI Mic 3 Transmitter
 Ex-Demo DJI Neo Intelligent Flight Battery
 Ex-Demo DJI Goggles 3
 Ex-Demo Mavic 2 Enterprise Zoom
 Ex-Demo DJI Matrice 4D
  Ex-Demo DJI Matrice 4D Combo
 Ex-Demo DJI DL-S 16mm F2.8 ND ASPH Lens
 Ex-Demo TB60 Intelligent Flight Battery
 Ex-Demo ChengZhi FL48 Lighting System
 Ex-Demo Zenmuse X5S
 Ex-Demo Zenmuse X7
 Ex-Demo Wingsland Z15 Gimbal Spotlight