Double check the packaging for any accessories and the should bag pockets (including the inside of the top lid). Note that the lightning cable is pre-installed in the controller. Once unboxed, it is recommended to fully charge the batteries and controllers before Activation & First Use.
Activation
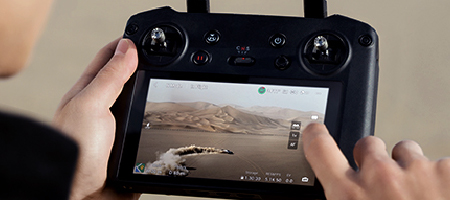
Turn on both your controller and drone then plug your phone into the controller. It should automatically open DJI Fly (Go 4 for older models) and will prompt you to activate your drone.
Ensure your phone is connected to fast internet to avoid any errors.
Note: The warranty starts upon activation.
First Flight
Pick an obstacle free area for your first flight then remove the gimbal protector before turning the drone on. Unfold the front legs first then the rear. Check to see if the propellers are installed correctly.
Wait until your home point is recorded and in GPS mode before take-off.
Firmware Update
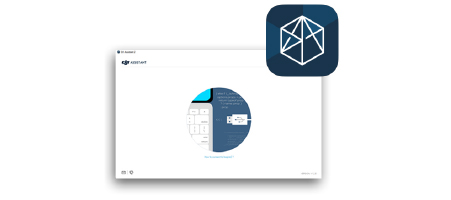
Firmware updates are released often for new features and/or fix bugs. You can update your DJI drone through DJI Assistant 2 on your computer or through the smartphone application.
Ensure your batteries are above 50% before updating along with stable and fast internet.
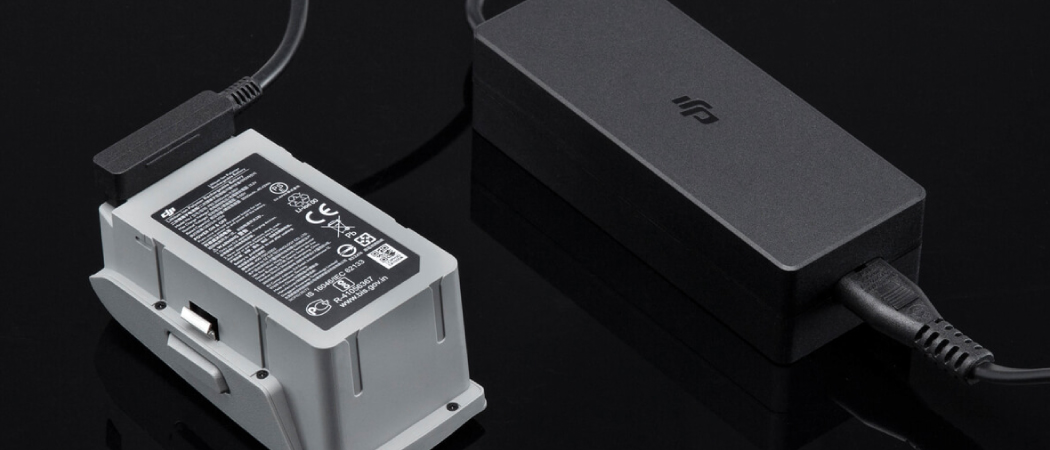
In this guide, we will go through everything you need to know about DJI's Intelligent Flight Battery and how to properly maintain it to have a long lasting battery. The batteries are the only consumable part of the drone and requires the most attention.
Every new drone pilot asks themselves the same question: How easy are they to fly? How easy is it to crash? How often do people crash? Will I crash? This isn't so surprising. Worries linger in all pilot's minds, even experienced ones.
When purchasing a brand new drone it is important to understand what the common causes of drone crashes are and how to avoid them. The last thing anyone wants is to have their brand new drone crashing within weeks of ownerships. There are some factors that may be out of your control, but it is important understand what you can control and which mistakes you can avoid for the safest flight.
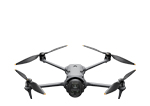
DJI Mini 5 Pro has comprehensive improvements in the camera system, vision sensing system, flight performance, and video transmission system. The main improvements include:
1. Camera System: Mini 5 Pro features a 1-inch CMOS sensor and a new image processing platform, delivering up to 14 stops of HDR video dynamic range [1]. It introduces a 48mm Med-Tele mode (2x zoom) and utilizes DJI's portrait optimization technology [2] for exceptional portrait photography. 2. Flexible Gimbal Rotation: The gimbal offers 225° of roll rotation, which can be controlled manually or through intelligent modes such as QuickShot Rotate, Timelapse, Spotlight, and Waypoint Flight, enabling effortless creation of dynamic rotational footage. 3. Sensing System: Mini 5 Pro features forward-facing LiDAR, supporting 1-lux nightscape omnidirectional obstacle sensing [3] and next-gen Smart RTH. It can actively detect and avoid obstacles such as buildings along the flight and return paths, ensuring safer urban nightscape photography. It can also memorize flight paths in well-lit conditions, enabling quick takeoffs and safe returns even without satellite signals [3]. 4. ActiveTrack: Mini 5 Pro intelligently detects different sports scenarios and automatically selects Cycling or Standard mode to ensure optimal framing and tracking. Tracking performance has been enhanced to balance speed, agility, and safety. 5. Flight Performance [4]: The Intelligent Flight Battery offers up to 36 minutes of flight time, a maximum takeoff altitude of 6000 meters, and a maximum forward flight speed of 18 m/s. The Intelligent Flight Battery Plus extends flight time to 52 minutes, with a maximum takeoff altitude of 4500 meters and a maximum forward flight speed of 19 m/s. 6. Video Transmission: DJI O4+ Video Transmission offers up to 20 km of 10-bit HDR video transmission [5], with stronger signal stability, enhanced anti-interference capabilities, and superior image quality. 7. Off-State QuickTransfer: Mini 5 Pro has 42GB of internal storage. Mini 5 Pro supports remote wake-up via the DJI Fly app within Bluetooth range, enabling high-speed file transfers at up to 100MB/s [6]. 8. Battery Charging Efficiency [7]: Using the DJI 65W Portable Charger and charging via the Two-Way Charging Hub, it takes approximately 46 minutes to fully charge a single Intelligent Flight Battery (about 56 minutes for a single Intelligent Flight Battery Plus). Fully charging three Intelligent Flight Batteries takes about 115 minutes in total (about 193 minutes for three Intelligent Flight Battery Plus units).
1. 14 stops of dynamic range are achievable for video on Auto mode but not for slow-motion video or 48mm Med-Tele mode.
2. Only available in Normal mode and not supported in HLG or D-Log M.
3. Nightscape omnidirectional obstacle sensing requires discernible textures and over 1 lux illumination; flight route memorization requires discernible textures and over 10 lux illumination. Refer to the official DJI website or the product's user manual for details.
4. The flight time and the maximum forward speed were measured in laboratory conditions, while the maximum takeoff altitude was measured in a high-altitude environment. Refer to the Spec page on the official DJI website or the product's user manual for details.
5. Measured in an outdoor, open environment, without interference, and with FCC compliance. The above data shows the farthest communication range for one-way, non-return flights. Always pay attention to reminders in the app during your flight.
6. Measured in a laboratory environment with little interference in countries/regions that support both 2.4 GHz and 5.8 GHz. Download speeds may vary depending on the actual conditions.
7. Charging time is measured in a test environment with a temperature of 25° C (77° F). Actual charging time may increase due to higher ambient temperatures or variations in mains voltage between regions.
DJI Mini 5 Pro is C0 certified by the European Union Aviation Safety Agency (EASA). To request a switch to EU C1 classification, contact DJI Support via the DJI Fly app.
No. Avoid contact with water during use, as it may damage the device. If it rains during the flight, return and land as soon as possible, and wait until the drone is fully dry inside and out before using it again.
DJI Mini 5 Pro can only be used with the DJI Fly app. You can download the latest version of DJI Fly from the DJI Mini 5 Pro Downloads page on the official DJI website.
If you use DJI RC 2 as the remote controller, it comes with the pre-installed DJI Fly app.
1. Dirt and debris can lead to false obstacle detection. Keep the forward-facing LiDAR clean to ensure accurate obstacle sensing. 2. The LiDAR works automatically in moderately lit environments, but it will not function properly in bright light. Pay attention to ambient light conditions to maintain safe flight operations.
1. Enhanced Nighttime Obstacle Sensing: Even in extremely dark conditions where the ambient light is less than 1 lux and the vision sensing system becomes ineffective, the forward-facing LiDAR can still provide forward obstacle sensing for the drone. This ensures that the drone can detect obstacles and perform timely stops at night. 2. Safer Nighttime RTH: During nighttime return-to-home operations, if the vision sensing system is ineffective, the drone can use the forward-facing LiDAR to sense forward obstacles and navigate upwards to avoid them*, making the return flight safer.
* If the drone reaches its altitude limit while ascending around obstacles, it will hover at that height.
Remote Controller
When recording video at 60fps or lower, DJI Mini 5 Pro enables HDR mode by default.
Yes. The USB-C port supports power input up to 9V/3A (with 9V/3A charger).
You can customize the C1/C2 button, the right dial, and other controls of DJI RC 2 in the DJI Fly app for more convenient control.
No.
Video Transmission
In different environments, the wireless interference level is different, and the max transmission distance will vary.
Unobstructed:
Strong Interference: Urban landscape, approx. 1.5-4 km Medium Interference: Suburban landscape, approx. 4-10 km Low Interference: Suburb/seaside, approx. 10-20 km
Obstructed:
Low Interference and Obstructed by Buildings: approx. 0-0.7 km Low Interference and Obstructed by Trees: approx. 0.7-4.5 km
Data tested under FCC standard in obstructed or unobstructed environments with typical interference. Used for reference purposes only and provides no guarantee for actual transmission distance.
Firmware Update
When the drone is connected to the remote controller and a new firmware version is available, the DJI Fly app will send you a firmware update prompt. You can follow the instructions to update the firmware for the drone, remote controller, battery, and other devices. You can also update via the DJI Assistant 2 (Consumer Drones Series) software on a computer. The latest version of the software can be downloaded from the DJI Mini 5 Pro Downloads page on the official DJI website.
1. The battery level of the drone or remote controller is below 20%. 2. The drone or the remote controller is powered off during an update. If this happens, restart the drone and remote controller, and try again. 3. The network is disconnected during a firmware download. 4. Your smartphone interface is switched to other apps during a firmware download.
The drone will restart multiple times during an update and automatically power off after completing the update.
Drone
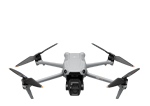
DJI Mavic 4 Pro has comprehensive improvements in the camera system, vision sensing system, flight performance, and video transmission system. The main improvements include:
1.Superior Main Camera Performance: The Hasselblad main camera features a new generation 4/3 CMOS and image processing platform, supporting 100MP photo capture and up to 6K/60fps HDR video recording, with a video dynamic range of around 16 stops*.
2. A newly upgraded 168mm tele camera featuring a 1/1.5-inch sensor, a wide f/2.8 aperture, and a high-resolution lens, capable of capturing 50MP photos.
3. The all-new Infinity Gimbal allows for 70° Upward Shooting. It also supports 360° rotations for multi-angle filming.
4. Exceptional Flight Performance: Mavic 4 Pro offers a maximum flight time of up to 51 minutes** and a top speed of 90 km/h (25 m/s).
5. DJI O4+ Video Transmission offers up to 30 km*** of 10-bit HDR video transmission with stronger signal stability, enhanced anti-interference capabilities, and superior image quality.
6. DJI Mavic 4 Pro features new forward-facing LiDAR, supporting 0.1 lux nightscape omnidirectional obstacle sensing**** and next-gen Smart RTH. It can actively detect and avoid obstacles such as buildings along the flight and return paths, ensuring safer urban nightscape photography. It can also memorize flight paths in well-lit conditions, enabling quick takeoffs and safe returns even without satellite signals*****.
* Measured in a controlled environment in D-Log mode, excluding slow-motion and cropped vertical video recording.
** Measured by the aircraft flying forward at a constant speed of 9 m/s (32.4 km/h) in a windless environment at sea level, with Obstacle Avoidance Action set to Brake, in photo mode, and from 100% battery level until 0%. Data is for reference only. Always pay attention to reminders in the app during your flight.
*** Measured in an outdoor, open environment, without interference, and with FCC compliance. The above data shows the farthest communication range for one-way, non-return flights. Always pay attention to reminders in the app during your flight.
**** This feature is only effective on surfaces with discernible textures and in lighting conditions of 0.1 lux or greater. Refer to the official DJI website or the product's user manual for details.
***** This feature is only effective on surfaces with discernible textures with illuminance that exceeds 10 lux. Refer to the official DJI website or the product's user manual for details.
DJI Mavic 4 Pro is C2 certified by the European Union Aviation Safety Agency (EASA).
No. Avoid contact with water during use, as it may damage the device.
If it rains during the flight, return and land as soon as possible, and wait until the aircraft is fully dry inside and out before using it again.
DJI Mavic 4 Pro can only be used with the DJI Fly app. You can download the latest version of DJI Fly from the DJI Mavic 4 Pro Downloads page on the official DJI website.
If you use DJI RC Pro 2 or DJI RC 2 as the remote controller, it comes with the pre-installed DJI Fly app.
1. Dirt and debris can lead to false obstacle detection. Keep the forward-facing LiDAR clean to ensure accurate obstacle sensing.
2. The LiDAR works automatically in moderately lit environments, but it will not function properly in bright light. Pay attention to ambient light conditions to maintain safe flight operations.
1. Enhanced Nighttime Obstacle Sensing: Even in extremely dark conditions where the ambient light is less than 0.1 lux and the vision sensing system becomes ineffective, the forward-facing LiDAR can still provide forward obstacle sensing for the drone. This ensures that the drone can detect obstacles and perform timely stops at night.
2. Safer Nighttime RTH: During nighttime return-to-home operations, if the vision sensing system is ineffective, the drone can use the forward-facing LiDAR to sense forward obstacles and navigate upwards to avoid them*, making the return flight safer.
* If the drone reaches its altitude limit while ascending around obstacles, it will hover at that height.
The Infinity Gimbal offers a wider roll range and greater upward-tilt angle, allowing smooth, multi-angle camera movement. However, vertical shooting is still limited in terms of gimbal angle and motion speed due to mechanical constraints.
To strike a balance between aircraft size and weight, yaw-axis travel is limited to ±22°, which narrows the gimbal's tilt range in vertical mode. This reduces the aircraft's maximum acceleration and speed and extends its braking distance. If you need to extend the gimbal's tilt range while shooting vertically, you can enable "Tilt Angle Expansion in Portrait" (note that the gimbal may reach its limit during sudden starts or stops, which may cause image jitter). For an even wider pitch range in vertical shooting, it is recommended to use 2.7K vertical shooting.
Camera
DJI Mavic 4 Pro defaults to HDR mode in most shooting specifcations.
However, HDR is not supported in the following settings:
1. Photo:
28mm Main Camera: 100MP
70mm Medium Tele Camera: 48MP
168mm Tele Camera: 50MP
In most shooting specifcations, the image sensor uses the Dual Native ISO Fusion algorithm to blend the signals from two analog gain circuits, delivering an enhanced dynamic range.
However, Dual Native ISO Fusion is not supported in the following settings:
1. Photo:
28mm Main Camera: 100MP
70mm Medium Tele Camera: 48MP
168mm Tele Camera: 50MP
In these modes, the dual native ISO values are 100 and 400. When the ISO is below 400, the low-gain analog circuit is used. At ISO 400 or higher, the high-gain analog circuit is used.
In these modes, when filming in Normal, D-Log M, or HLG color profiles, the dual native ISO values are 100 and 400. When the ISO is below 400, the low-gain analog circuit is used. At ISO 400 or higher, the high-gain analog circuit is used.
When filming in the D-Log color profile, the dual native ISO values are 400 and 1600. When the ISO is below 1600, the low-gain analog circuit is used. At ISO 1600 or higher, the high-gain analog circuit is used.
If you experience playback or editing compatibility issues on macOS, try the following solutions:
1. If your macOS version is lower than 14.7.5, please upgrade your system to version 14.7.5 and try again.
2. If your macOS version is 15 or later and you are unable to decode video properly, try disabling hardware decoding acceleration in your playback or editing software settings. For software like Final Cut Pro that does not allow disabling hardware decoding, consider transcoding your footage before importing it for editing.
Remote Controller
Yes. The USB-C port supports up to 9V/3A power input (with a 9V/3A charger). DJI RC Pro 2 supports the PD protocol and up to 65 watts fast charging.
You can customize the functions of buttons like C1, C2, and the right dial in the DJI Fly app on DJI RC 2/DJI RC Pro 2 for quick operations.
1. It features a new 7-inch large screen with higher brightness, reaching a maximum brightness of 2000 nits and a sustained brightness of 1600 nits, with more accurate color rendering.
2. The screen is collapsible, and it powers on when extended, with the joysticks also unfolding simultaneously.
3. The screen is rotatable.
4. Top-mounted screen with adjustable tilt that does not restrict holding angle.
5. A new dial button for quick parameter adjustments in Pro mode or fast browsing in the album.
6. Built-in enterprise-level multi-beam high-gain antennas enhance the transmission performance, enabling O4+ Video Transmission when used with the DJI Mavic 4 Pro.
7. It has a built-in microphone and can also connect to the DJI Mic series*, providing high-quality audio for live streaming, even on third-party apps.
* Sold separately.
Yes. You can download third-party apps through the built-in browser or install APK files from a microSD card.
DJI will not be liable for any permission or safety issues resulting from use of third-party apps. If an installed third-party app prevents optimal use of your controller, it is suggested to remove the app or restore the controller to original factory settings.
No.
Video Transmission
In different environments, the wireless interference level is different, and the max transmission distance will vary.
Unobstructed:
Strong Interference: urban landscape, approx. 1.5-6 km
Medium Interference: suburban landscape, approx. 6-15 km
Low Interference: suburb/seaside, approx. 15-30 km
Obstructed:
Low Interference and Obstructed by Buildings: approx. 0-0.7 km
Low Interference and Obstructed by Trees: approx. 0.7-4.5 km
Measured under FCC standard in obstructed or unobstructed environments with typical interference. Used for reference purposes only and provides no guarantee for actual transmission distance.
Firmware Update
When the aircraft is connected to the remote controller and a new firmware version is available, the DJI Fly app will send you a firmware update prompt. You can follow the instructions to update the firmware for the aircraft, remote controller, battery, and other devices.
You can also update via the DJI Assistant 2 (Consumer Drones Series) software on a computer. The latest version of the software can be downloaded from the DJI Mavic 4 Pro Downloads page on the official DJI website.
1. The battery level of the aircraft or remote controller is below 20%.
2. The aircraft or remote controller is powered off during an update. If this happens, restart the aircraft and remote controller, and try again.
3. The network is disconnected during a firmware download.
4. Your smartphone interface is switched to other apps during a firmware download. The aircraft will restart multiple times during an update and automatically power off after completing the update.
Accessories
When used with the DJI Mavic 240W Power Adapter, the DJI Mavic 4 Pro Parallel Charging Hub can fully charge one Mavic 4 Pro Intelligent Flight Battery in just 51 minutes. Additionally, it can fully charge three Mavic 4 Pro Intelligent Flight Batteries in parallel in just 90 minutes via the Mini SDC interface.
The Parallel Charging Hub boosts efficiency by prioritizing the battery with the lowest charge. Once all three batteries reach the same charge level, it switches to parallel charging. Charging time is measured in a test environment with a temperature of 25°C. Actual charging time may increase due to higher ambient temperatures or variations in mains voltage between regions.
Drone
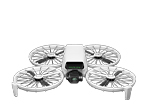
DJI Flip is an all-in-one vlog camera drone, ideal for aerial photography, everyday recording, and leisure activities. If you need a portable drone that can instantly start recording during activities like travel, camping, cycling, skateboarding, hiking, parenting, dog walking, or playing with cats, DJI Flip is your perfect choice.
DJI Flip is suitable for users aged 16 and above.
DJI Flip supports palm control, mobile app control, voice control and remote controller control*.
* The virtual joysticks on the mobile app interface are only for fine-tuning the drone's position during shooting or controlling the drone to return. It cannot provide the same control experience as a traditional remote controller. You can use a standard DJI remote controller for a professional flight control experience. To ensure flight safety, when using mobile app control, the drone is limited to a maximum height of 30 meters and a maximum distance of 50 meters.
DJI Flip offers a range of intelligent shooting modes. For palm control or mobile app control, DJI Flip supports Follow, Dronie, Circle, Rocket, Spotlight, and Custom* modes. When controlling with a remote controller, DJI Flip supports multiple QuickShots modes.
* After activating DJI Flip, the default Custom mode is DirectionTrack. The drone can connect to the DJI Fly app via Wi-Fi to select Helix or Boomerang.
To ensure transportation safety, the batteries are set to hibernation mode before shipping. Before using, insert the battery into the aircraft or charging hub, and connect the battery charger to charge and activate the battery. After activating the battery, press the power button once and then press again and hold for two seconds to turn on the aircraft.
With DJI RC-N3 Remote Controller: Connect your mobile device (connected to the internet) with the remote controller, and then connect to DJI Flip via the DJI Fly app. Follow the instructions in the app to activate DJI Flip.
With DJI RC 2: When using DJI RC 2 for the first time, connect to the internet via Wi-Fi or a smartphone hotspot, and then follow the instructions in the DJI Fly app to activate the device. After activating DJI RC 2, connect it with DJI Flip via the DJI Fly app, and then follow the instructions in the app to activate the aircraft.
DJI Flip supports wind resistance up to 38 kph (Level 5) and a maximum takeoff altitude of 3000 meters.
* Wind resistance is dependent upon propulsion. In strong winds, due to the lightweight nature of the drone, slight vibration is expected. However, the aircraft’s power margin ensures the drone hovers stably or returns to home safely. DJI Flip automatically controls the gimbal to adjust slightly to ensure that the footage is always stable and not affected by the wind.
No. Avoid contact with water during use, as it may damage the device. If it rains during the flight, return and land as soon as possible, and wait until the aircraft is fully dry inside and out before using it again.
Camera
DJI Flip can only be used with the DJI Fly app. You can download the latest version of DJI Fly from the DJI Flip Downloads page on the official DJI website. * If you use DJI RC 2 as the remote controller, it comes with the pre-installed DJI Fly app.
DJI Flip features a 1/1.3-inch sensor with dual native ISO, capable of recording 4K/60fps HDR video and offering an optional 10-bit D-Log M color profile. It also supports recording 100fps slow-motion video in 4K resolution, delivering smooth and detailed slow-motion effects to capture the highlights of action scenes.
Yes. You can manually set camera parameters like shutter speed, ISO, and white balance in the DJI Fly app.
When recording video at 60fps or lower, DJI Flip enables HDR mode by default.
In photo mode and video mode (60fps and below), the image sensor combines two sets of analog gain signals through algorithmic fusion, resulting in improved dynamic range for the final image.
QuickTransfer: DJI Flip supports connecting to a mobile phone via Wi-Fi and browsing/transferring footage through the DJI Fly app, with a maximum download speed of up to 30 MB/s.* Keep the drone and phone within 2 meters with no obstructions for the best transfer experience.
Transferring files to a computer: Without the need to power on DJI Flip, connect the drone to the computer using a data cable to browse and transfer footage.
* Measured in a laboratory environment with little interference in countries/regions that support both 2.4 GHz and 5.8 GHz. Download speeds may vary depending on the actual conditions.
Flight
Palm control is extremely simple to use. Even those with no drone experience can get started quickly. DJI Flip can take off and land from and onto your palm and perform intelligent filming by locking onto the subject using visual algorithms,* all without the need for a remote controller or any auxiliary device.
* Currently, only human subject tracking is supported; tracking other subjects is not available.
To use the DirectionTrack feature, first connect the drone to the DJI Fly app via Wi-Fi. Then, select the DirectionTrack mode and complete the in-app tutorial to unlock it. Once activated, the drone will initially move backward to a preset distance, so ensure the area behind is clear of obstacles. If you move towards the drone, it will capture footage while retreating. If you move away from the drone, it will follow you from behind. If you make a sudden turn greater than 90° during front tracking, the drone will automatically switch to follow mode, capturing from behind. You can move towards the drone again to return to front tracking mode.
* The DirectionTrack feature does not support automatic braking.
Once DJI Flip locks onto you using visual algorithms, it will follow your movement trajectory* and maintain a consistent speed** with you, achieving intelligent follow shots.
* Intelligent tracking does not support automatic braking. ** The maximum tracking speed is 12 m/s.
No.
Automatic braking is supported only when flying in the Normal mode and Cine mode and during return-to-home. Intelligent functions (including Subject Tracking) do not support obstacle avoidance.
If you use palm takeoff, the DJI Fly app, or a remote controller, the aircraft will only decelerate and automatically brake when it detects an obstacle within 1 meter ahead. The aircraft can perform an emergency brake if the following speed is less than 3m/s. However, if the follow speed is 3 m/s or faster, the braking distance may be insufficient, and the aircraft could collide with the obstacle. Please carefully observe your surroundings and use smart features in open areas.
DJI Flip supports automatic power-on when the arms are unfolded. The drone will power on automatically when any rear arm is extended. When unfolded, the drone will also power on automatically after a battery replacement, allowing for quick relaunch. If the drone is not performing an upgrade, playback, or download,* folding both rear arms will trigger an automatic shutdown countdown. During the countdown, pressing any button on the drone will cancel the shutdown. These features can be disabled in the app's settings page when the drone is connected to the remote controller.** Once disabled, the drone will no longer power on automatically when the arms are unfolded or power off automatically when the arms are folded.
* If the drone has experienced a collision during the current flight, the fold-to-shutdown feature will not be activated for that flight. ** Please update to the latest drone firmware and DJI Fly app to access these settings.
App
After connecting DJI Flip with the DJI Fly app, you can check live feeds of the drone, adjust shooting parameters, and quickly transfer footage to your mobile phone. You can also use the phone's built-in microphone for audio recording or control the drone via voice commands. Once the footage captured by DJI Flip is imported into the DJI Fly app, you can add Glamour Effects or quickly edit the footage for instant video creation.
English and Mandarin. The specific language used depends on the language setting of the DJI Fly app (English or Chinese).
There are two charging methods: using the Parallel Charging Hub or charging the aircraft body directly. 1. Using a charger of 65 W or more allows for charging two batteries simultaneously*,It takes approximately 70 minutes to fully charge two batteries from zero, and about 45 minutes to fully charge a single battery from zero. 2. When using a 30W charger to charge the aircraft body directly, it takes about 70 minutes to charge from 0% to 100%.
* The number of batteries that can be charged simultaneously depends on the power of the charger used. Using a charger of more than 65 W allows for charging two batteries at once while using a charger of less than 65 W can only charge batteries one at a time. Refer to the charging protocols supported by the charger.
Battery
1. Charging: The Parallel Charging Hub supports USB PD fast-charging protocol, and can charge up to two batteries simultaneously. 2. Storage: It can store four batteries at once, making it convenient to carry and use. 3. Power bank: With at least one battery in storage, you can use the charging hub as a power bank and output the battery power to mobile phones, tablets, and other devices through the USB-C port.
When charging via the Parallel Charging Hub, it is recommended to use the DJI 65W Portable Charger. When charging through the aircraft body, it is recommended to use the DJI 65W Portable Charger or the DJI 30W USB-C Charger.
Yes. To ensure charging speed, it is recommended to use the DJI 30W USB-C Charger or other USB Power Delivery chargers.
Before each flight, it is necessary to check the propellers for cracks, wear, warp, corrosion, and loose screws. If any of these conditions are present, the propellers should be replaced. Follow the instructions in the user manual to replace the propellers. Use the included screwdriver to change the propellers. Please follow the instructions provided. Remove the two blades and screws from the same motor, and replace with the new propellers from the same package and new screws. Attach the propellers with marks to the motors with marks, and the unmarked propellers to unmarked motors. Ensure that the propellers and motors are installed securely before each flight.
Video Transmission
Wi-Fi signals are easily affected by other wireless signals. In urban areas, interference is stronger, leading to more frequent lag and disconnection. In suburban areas, parks, and other environments with less interference, Wi-Fi transmission is more stable and provides a better experience.
The human body can significantly interfere with Wi-Fi signals. To ensure a stable Wi-Fi transmission, keep your phone facing the drone and avoid any obstructions between your phone and the drone.
In different environments, the wireless interference level is different, and the max transmission distance will vary.
Unobstructed:
Strong Interference: Urban landscape, approx. 1-1.5 km Medium Interference: Suburban landscape, approx. 2.5-7 km Low Interference: Suburb/seaside, approx. 7-13 km
Obstructed:
Low Interference and Obstructed by Buildings: Approx. 0-0.5 km Low Interference and Obstructed by Trees: Approx. 0.5-2 km
Measured under FCC standard in obstructed or unobstructed environments with typical interference. Used for reference purposes only and provides no guarantee for actual transmission distance.
Drone
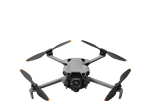
DJI Air 3S has comprehensive improvements in the camera system, vision sensing system, intelligent features, and video transmission system. The main improvements include: 1. DJI Air 3S is equipped with an upgraded 1-inch CMOS primary camera, utilizing a new image-processing platform with a video dynamic range of up to 14 stops*. It supports up to 4K/120fps video recording**. Additionally, its wide-angle and medium tele cameras support the new Free panorama feature, which allows flexible shooting-range selections. 2. DJI Air 3S features new forward-facing LiDAR, supporting nightscape omnidirectional obstacle sensing*** and next-gen Smart RTH. It can actively identify and avoid obstacles, such as buildings along the flight and return paths, ensuring safer urban nightscape photography. It can also memorize flight paths in well-lit conditions, enabling quick takeoffs and safe returns even without satellite signals****. 3. DJI Air 3S adopts the O4 video transmission system, offering more stable signals, stronger anti-interference capabilities, and better image quality.
* 14 stops of dynamic range are achievable for video on Auto mode but not for vertical or slow-motion video.
** 4K/120fps video recording is only supported in Slow Motion mode.
*** This feature is only effective on surfaces with discernible textures and in lighting conditions exceeding 1 lux. Refer to the official DJI website or the product's user manual for details.
**** This feature is only effective on surfaces with discernible textures and in lighting conditions exceeding 10 lux. Refer to the official DJI website or the product's user manual for details.
With DJI RC-N3: Connect your mobile device (connected to the internet) with the remote controller, and then connect to DJI Air 3S via the DJI Fly app. Follow the instructions in the app to activate DJI Air 3S.
With DJI RC 2: When using DJI RC 2 for the first time, connect to the internet via Wi-Fi or a smartphone hotspot, and then follow the instructions in the DJI Fly app to activate the device. After activating DJI RC 2, connect it with DJI Air 3S via the DJI Fly app, and then follow the instructions in the app to activate the aircraft.
No. Avoid contact with water during use, as it may damage the device. If it rains during the flight, return and land as soon as possible, and wait until the aircraft is fully dry inside and out before using it again.
DJI Air 3S can only be used with the DJI Fly app. You can download the latest version of DJI Fly from the DJI Air 3S Downloads page on the official DJI website.
If you use DJI RC 2 as the remote controller, it comes with the pre-installed DJI Fly app.
Camera
Both the wide-angle camera and medium tele camera support vertical shooting (9:16), and a max video resolution is 2.7K/60fps.
Compared with the camera module of DJI Air 3, DJI Air 3S has the following major improvements: 1. DJI Air 3S features an upgraded 1-inch CMOS primary camera, a new image-processing platform to enhance overall image quality, and provides a video dynamic range of up to 14 stops*. 2. DJI Air 3S supports slow-motion video recording at 1080p/240fps and 4K/120fps**. 3. DJI Air 3S introduces a new Subject Focusing feature, which can quickly and intelligently recognize the subject and maintain continuous and accurate focus. 4. The wide-angle and medium tele cameras of DJI Air 3S support the new Free panorama feature, which allows flexible shooting-range selections. 5. DJI Air 3S employs next-gen intelligent algorithms to significantly improve photo quality. 6. DJI Air 3S increases the video ISO limits: the maximum ISO in normal color mode is raised from 6,400 to 12,800***, and in D-Log M and HLG color modes, the maximum ISO is increased from 1,600 to 3,200.
* 14 stops of dynamic range are achievable for video on Auto mode but not for vertical or slow-motion video.
** Only supported in Slow Motion mode.
*** The maximum ISO for slow-motion video remains at 6,400.
Remote Controller
Keep the antennas facing the aircraft during flight for optimal transmission.
DJI Air 3S currently supports two remote controllers: DJI RC-N3 and DJI RC 2.
Yes. The USB-C port supports up to 9V/3A power input (with a 9V/3A charger). It takes 1.5 hours at the fastest speed to fully charge the battery.
You can customize the C1/C2 button of DJI RC 2 in the DJI Fly app for more convenient control.
No.
Video Transmission
In different environments, the wireless interference level is different, and the max transmission distance will vary.
Unobstructed:
Strong Interference: Urban landscape, approx. 1.5-4 km Medium Interference: Suburban landscape, approx. 4-10 km Low Interference: Suburb/Seaside, approx. 10-20 km
Obstructed:
Low Interference and Obstructed by Buildings: Approx. 0-0.5 km Low Interference and Obstructed by Trees: Approx. 0.5-3 km
Measured under FCC standard in obstructed or unobstructed environments with typical interference. Used for reference purposes only and provides no guarantee for actual transmission distance.
When the O4 video transmission is disconnected, remote takeoff or remote control from a different location is prohibited.
It is not recommended to use a SIM card from a mobile virtual network operator.
1. The DJI Cellular Dongle 2 is compatible with nano-SIM cards and eSIM. (Currently, eSIM is not supported outside of the Chinese mainland.) Please purchase and use the SIM card in accordance with local laws and regulations. 2. It is strongly recommended to purchase a SIM card that supports 4G network from an official mobile network operator. 3. Do not use an IoT card; otherwise, video transmission quality will be severely affected. 4. Do not use a SIM card provided by a mobile virtual network operator; otherwise, it may result in network connection issues. 5. Do not cut a SIM card by yourself; otherwise, the SIM card may be damaged, or the rough edges and corners may cause the SIM card to be unable to be inserted or removed properly. 6. If the SIM card is set with a password (PIN code), make sure to insert the SIM card into the smartphone and cancel the PIN code; otherwise, network connection issues may arise. 7. Do not insert or remove the SIM card after powering on the DJI Cellular Dongle 2.
No.
Firmware Update
When the aircraft is connected to the remote controller and a new firmware version is available, the DJI Fly app will send you a firmware update prompt. You can follow the instructions to update the firmware for the aircraft, remote controller, battery, and other devices. You can also update via the DJI Assistant 2 (Consumer Drones Series) software on a computer. The latest version of the software can be downloaded from the DJI Air 3S Downloads page on the official DJI website.
1. The battery level of the aircraft or remote controller is below 20%. 2. The aircraft or the remote controller is powered off during an update. If this happens, restart the aircraft and remote controller and try again. 3. The network is disconnected during a firmware download. 4. Your smartphone interface is switched to other apps during a firmware download. The aircraft will restart multiple times during an update and automatically power off after completing the update.
Accessories
The Battery Charging Hub supports the new power accumulation and external discharge functions. Power Accumulation: When you insert two or more batteries, you can long-press the function button to initiate the process where lower-charged batteries transfer their power to the higher-charged one. This helps concentrate the remaining power, providing you with longer effective flight time. External Discharge: The battery's power can be output through the USB-C port to devices such as smartphones and tablets at up to 82 watts.
* Do not connect the charger, connect external devices, or insert/remove any batteries during power accumulation.
Yes. However, to ensure charging efficiency, we recommended using the DJI 65W Portable Charger, DJI 100W USB-C Power Adapter, or other chargers with a power output of 60 watts or above that support the PD protocol.
Start by grasping the tail end of the cellular dongle compartment cover and lifting it up to remove it. Once the cover is off, you can scan the QR code inside the compartment to watch a detailed tutorial video on disassembly and usage. Follow the video instructions to properly install the DJI Cellular Dongle 2. Next, reattach the cellular dongle compartment cover, power on the aircraft, and connect to the remote controller. Once connected, confirm that the 4G function works properly on the DJI Fly app's camera view before use.
DJI Air 3S is compatible with the DJI Air 3 Low-Noise Propellers, DJI Air 3 Battery Charging Hub, and DJI Air 3 Intelligent Flight Battery*. For details, refer to the product compatibility list for the corresponding accessories at the official online DJI Store.
* Note: When using the DJI Air 3 Intelligent Flight Battery, DJI Air 3S does not support the Off-State QuickTransfer feature.
Drone
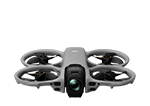
To date, DJI Neo is DJI's lightest, smallest, safest, easiest-to-use drone with the most control options. It's ideal for low-altitude filming and close-range human subject follow shots.* 1. DJI Neo is palm-sized, weighing approx. 135 g, making it easy to store and carry. It features fully enclosed propeller guards, ensuring safe flight. 2. DJI Neo is instantly intuitive. Press the Mode button on the top of the drone to quickly switch between intelligent shooting modes and initiate palm takeoff without needing to connect a remote controller and learn the operations. 3. DJI Neo offers multiple fun control methods. It can take off and land on your palm** without a remote controller. It also supports traditional drone control and immersive first-person view (FPV) flight experience. 4. DJI Neo excels at low-altitude flights and close-range follow shots (human subjects), making it a great personal videographer. It can also fly close to the ground or navigate indoors,*** providing a unique and immersive experience.
*As of September 2024. ** When using palm takeoff and landing, adhere to the following guidelines: Operate in a windless environment as much as possible; extend your palm horizontally and keep it still. Avoid contact with the propellers to prevent injury; do not attempt to grab the drone while it is flying. *** DJI Neo does not support obstacle avoidance. To ensure flight safety, fly within a visual line of sight. To fly beyond visual line of sight (BVLOS), ensure that the aircraft is in good condition, the user is qualified, and the flight is compliant with local regulations for BVLOS.
DJI Neo is a vlogging drone ideal for capturing everyday life, leisure activities, family moments, and pets. If you need a portable drone to instantly capture travel, camping, cycling, skateboarding, hiking, or important memories, DJI Neo is the perfect choice.
DJI Neo is suitable for users aged 16 and above.
DJI Neo supports palm control, mobile app control, voice control, remote controller control,* and immersive motion control.*
* Requires purchase of a specific combo or separate purchase of a specific remote controller and goggles.
"DJI Neo offers a range of intelligent shooting modes. For palm control or mobile app control, DJI Neo supports Follow, Dronie, Circle, Rocket, Spotlight, and Custom* modes. When controlling with a standard remote controller, DJI Neo supports multiple QuickShots modes.
* After activating DJI Neo, the default Custom mode is DirectionTrack. Neo can connect to the DJI Fly app via Wi-Fi to select Helix or Boomerang."
For a smoother first-person view (FPV) experience, it is recommended to use DJI Goggles 3 and select 1080p@60/50fps for video recording.
Palm control is extremely simple to use. Even those with no drone experience can get started quickly. DJI Neo can take off and land from and onto your palm and perform intelligent filming by locking onto the subject using visual algorithms,* all without the need for a remote controller or any auxiliary device.
* Currently, only human subject tracking is supported; tracking other subjects is not available.
Once DJI Neo locks onto you using visual algorithms, it will follow your movement trajectory and maintain a consistent speed with you,* achieving intelligent follow shots.
* The maximum tracking speed is 6 m/s.
Yes. DJI Neo can be used as an entry-level drone for Manual mode. It is suitable for practicing throttle control, altitude maintaining, and level flight, but not for continuous high-speed flight and high-maneuverability actions such as Dive, Split-S, Power Loop, and Yaw-Spin. Exercise caution when flying in M mode.
No. To ensure flight safety, fly in an open area or within a visual line of sight. To fly beyond visual line of sight (BVLOS), ensure that the aircraft is in good condition, the user is qualified, and the flight is compliant with local regulations for BVLOS.
Camera
DJI Neo offers 4K Ultra HD quality that meets everyday filming and sharing needs. For video recording, DJI Neo provides resolutions of 4K/30fps and 1080p@60/50/30fps, meeting the high-definition requirements for sharing content on mainstream social media platforms. DJI Neo supports up to 12-megapixel photos. When using mobile app control, it ensures everyone fits into group shots, eliminating the need to find someone to take the picture.
It supports RockSteady and HorizonBalancing. When controlling Neo with the DJI Fly app or a standard remote controller, RockSteady and HorizonBalancing are enabled simultaneously and cannot be turned off. For immersive motion control, you can choose to enable RockSteady, HorizonBalancing, or turn off stabilization. For palm control and mobile app control, the HorizonBalancing angle is ±30°. When controlling the drone with a remote controller or using motion control, the HorizonBalancing angle is ±45°.
Yes. When using the 4:3 aspect ratio, footage recorded by DJI Neo is not stabilized but supports offline stabilization with Gyroflow.
QuickTransfer: DJI Neo supports connecting to a mobile phone via Wi-Fi and browsing/transferring footage through the DJI Fly app, with a maximum download speed of up to 25 MB/s.* Keep the drone and phone within 2 meters with no obstructions for the best transfer experience.
Transferring files to a computer: Without needing to power on Neo, connect the drone to the computer using a data cable to browse and transfer footage.
* Measured in a laboratory environment with little interference in countries/regions that support both 2.4 GHz and 5.8 GHz. Download speeds may vary depending on the actual conditions.
App
After connecting DJI Neo with the DJI Fly app, you can check live feeds of the drone, adjust shooting parameters, and quickly transfer footage to your mobile phone. You can also use the phone's built-in microphone for audio recording or control the drone via voice commands. Once the footage captured by DJI Neo is imported into the DJI Fly app, you can add Glamour Effects or quickly edit the footage for instant video creation.
English and Mandarin. The specific language used depends on the connected phone's system language (English or Chinese).
Yes.
Battery
There are two charging methods: using the Two-Way Charging Hub or charging via the aircraft body. 1. When using a 60W charger with the Two-Way Charging Hub, you can charge up to three batteries simultaneously.* It takes approximately 60 minutes to charge them from 0% to 100%. 2. When using a 30W charger to charge via the aircraft body, it takes about 50 minutes to charge from 0% to 100%.
* The number of batteries that can be charged simultaneously depends on the power of the charger used. Using a charger of more than 45 W allows for charging three batteries at once while using a charger of less than 45 W can only charge two batteries simultaneously. Refer to the charging protocols supported by the charger.
1. Charging: The Two-Way Charging Hub supports USB PD fast-charging protocol and can charge up to three batteries simultaneously. 2. Storage: It can store three batteries at once, making it convenient to carry and use. 3. Power bank: With at least one battery in storage, you can use the charging hub as a power bank and output the battery power to mobile phones, tablets, and other devices through the USB-C port.
When charging via the Two-Way Charging Hub, it is recommended to use the DJI 65W Portable Charger. When charging via the aircraft body, it is recommended to use the DJI 65W Portable Charger or the DJI 30W USB-C Charger.
Drone
DJI Avata 2 features comprehensive enhancements across various aspects, including flight noise, the visual perception system, imaging, video transmission, battery life, and smart functions. The specific improvements are: 1. The flight noise is significantly reduced to only 81 decibels, providing a gentler auditory experience. 2. Building upon the integrated propeller guard design, it has been upgraded with a binocular fisheye visual positioning system, which accommodates both downward and backward vision for more precise flight positioning. 3. Equipped with a new image processing platform and incorporating the latest video stabilization algorithms, it supports recording at 4K/60fps. 10-bit D-Log M color mode is optional to greatly enhance the dynamic range of the video. 4. Featuring the brand-new DJI O4 HD video transmission system, the max transmission distance reaches up to 13 km* with a max video bitrate of 60Mbps. 5. The max flight time extends to 23 minutes**, and the aircraft supports PD fast charging. The charging hub includes power accumulation, significantly alleviating battery concerns for users. 6. New Easy ACRO function that enhances the immersive flight experience with motion control.
* Measured in an unobstructed outdoor environment free of interference. The above data shows the farthest communication range for one-way, non-return flights under the FCC standard. Always pay attention to RTH reminders on the goggles screen during your flight. ** Measured when flying forward at a speed of 21.6 kph in a windless environment at sea level, with camera parameters set to 1080p/30fps, video mode off, and from 100% battery level until 0%. Data is for reference only. Always pay attention to reminders on the goggles' screen during your flight.
The DJI Avata 2 is an FPV (first-person view) drone that requires a DJI Goggles series product, a DJI RC Motion series product, or a DJI FPV Remote Controller product to operate. This immersive flight experience captures the fun of freely navigating the environment. DJI Avata 2 offers unique camera angles and an enjoyable, playful control experience, unlike other consumer drones. The unique recording perspective: With its integrated propeller guard designed for safety, DJI Avata 2 can fly in low-altitude, indoor, and wooded areas or even under bridges and get incredibly close to subjects. These images and videos are from unique angles. Fun control experience: When paired with DJI RC Motion 3, users can quickly learn to fly without complicated and extensive instructions. There is a beginner’s mode to ensure safety and an Easy ACRO function that adds to the flying fun. When used with DJI FPV Controller 3, users can fly in manual mode (M mode), giving them total freedom to soar through the skies.
C1, certified by the European Union Aviation Safety Agency (EASA).
DJI Goggles 3.
DJI RC Motion 3 and DJI FPV Remote Controller 3.
DJI Avata 2 comes with 46 GB of internal storage and also supports SD cards. Note: The write speed of the drone's built-in storage may decrease after prolonged use, which could potentially affect the shooting experience. Transfer data according to the prompts on the goggles screen, and then format the internal storage to ensure a seamless video recording experience for subsequent uses.
No. In N mode (Normal mode) and S mode (Sport mode), DJI Avata 2 supports downward and backward visual positioning to enhance flight safety.
No.
It supports M mode (Manual mode)* flying.
* Requires DJI FPV Remote Controller 3.
1. The light-sensitive area of the image sensor has been increased, which leads to higher sensitivity and significantly better imaging results, also making it more suitable for low-light shooting. 2. The dynamic range of the image sensor has been improved, making it more suitable for scenes with a high dynamic range. 3. EIS has been enhanced. When used with DJI RC Motion 3, RockSteady is enabled at normal shooting angles and video recording at frame rates up to 60fps, resulting in smoother and more stable footage. 4. It supports a 10-bit D-Log M color profile, providing users with more post-processing and video editing flexibility.
Yes, it offers three selectable modes: RockSteady, HorizonSteady, and Off. * With stabilization turned off, footage captured with the wide-angle view supports Gyroflow offline stabilization . The default electronic stabilization mode for Avata 2 out of the box is RockSteady. Users can adjust the settings via the Settings > Camera > EIS in the goggles menu.
Yes. Disable EIS in the DJI Goggles 3 menu and set the shooting to Wide. The footage captured will support Gyroflow offline stabilization.
Transferring files to a phone: Avata 2 allows for Wi-Fi transfer to phones via the DJI Fly app, with download rates up to 30 MB/s*. Power on the drone, open the DJI Fly app and use the QuickTransfer function by following the instructions. Keep the drone and phone within 2 meters with no obstructions for the best transfer experience.
Transferring files to a computer: Connect the drone to your computer with a USB cable without powering on Avata 2. When using a memory card, insert the card directly into the computer.
* Measured in a laboratory environment with little interference in countries/regions that support both 2.4 GHz and 5.8 GHz. Download speeds may vary depending on the actual conditions.
Video Transmission
1. It utilizes a new hardware solution. The aircraft antennas have upgraded from two (2T2R) to four (2T4R). 2. It includes a new frequency band, extending the maximum transmission distance of the high-definition live feed to 13 km*, with up to 60 MHz in communication bandwidth. 3. The maximum transmission bitrate has been increased to 60Mbps. 4. When paired with DJI Goggles 3, the latency is as low as 24 ms for 1080p/100fps live feeds and as low as 40 ms for 1080p/60fps live feeds.
Measured in an unobstructed outdoor environment free of interference. The above data shows the farthest communication range for one-way, non-return flights under FCC standards and is for reference only. Always pay attention to RTH reminders on the goggles screen during your flight.""1. It utilizes a new hardware solution. The aircraft antennas have upgraded from two (2T2R) to four (2T4R). 2. It includes a new frequency band, extending the maximum transmission distance of the high-definition live feed to 13 km*, with up to 60 MHz in communication bandwidth. 3. The maximum transmission bitrate has been increased to 60Mbps. 4. When paired with DJI Goggles 3, the latency is as low as 24 ms for 1080p/100fps live feeds and as low as 40 ms for 1080p/60fps live feeds.
Measured in an unobstructed outdoor environment free of interference. The above data shows the farthest communication range for one-way, non-return flights under FCC standards and is for reference only. Always pay attention to RTH reminders on the goggles screen during your flight.
There are three ways to share the live feeds. 1. Wi-Fi wireless sharing*: You can enable screen sharing from the DJI Goggles 3 to a mobile phone via Wi-Fi in the goggles' menu. A mobile device can be connected to the Goggles 3 via Wi-Fi, and the DJI Fly app on the device will display the live feed of the drone. The wireless sharing supports connection to only one mobile device. 2. Wired sharing: You can connect a mobile device to DJI Goggles 3 using a data cable and an OTG adapter cable. The DJI Fly app on the connected mobile device will then display the live feed of the drone. Wired sharing also supports only one mobile device. 3. Audience mode: You can enable the broadcast function in the DJI Goggles 3 menu, allowing multiple DJI Goggles 3 to tune into the broadcast channel. This outputs live feeds in multiple channels. There is no upper limit to the number of DJI Goggles 3 that can connect in Audience mode. Note: Whether it is the goggles or a mobile device, only one type of connection is supported at a time.
* Some countries and regions prohibit the use of the 5.1GHz or 5.8GHz frequency band, or both. In some countries and regions, the 5.1GHz frequency is only allowed for indoor use. If the 5.1/5.8GHz frequency band is unavailable (such as in Japan), screen sharing to a smartphone via Wi-Fi is unavailable. A wired connection is recommended to achieve screen sharing. Before flying, make sure to check and comply with local regulations.
Flight
Yes, it supports Smart RTH, Low Battery RTH, and Failsafe RTH.
Yes.
Yes.
Yes. In the goggles menu, go to Settings > Safety > Find My Drone, and you can view the video from the 30 seconds before the drone was lost to help locate the lost drone. If the aircraft still has battery power, go to Settings > Safety > ESC Beeping to activate the drone's motor beeping function and help find the aircraft via the sound.
When using DJI Avata 2 in other countries or regions, make sure that you check and follow local radio frequency laws and regulations. Connect the aircraft to the DJI Fly app, and the software will automatically tune the system settings of DJI Avata 2 according to local laws and regulations.
Battery
There are two charging methods: using the Two-Way Charging Hub or charging the aircraft body directly. 1. When using the Two-Way Charging Hub (60W max charging power), it takes approx. 45 minutes to charge from 0% to 100%, and approx. 30 minutes from 10% to 90%. 2. When directly charging the aircraft body (30W max charging power), it takes approx. 88 minutes to charge from 0% to 100%, and approx. 60 minutes from 10% to 90%.
1. Charging: The Two-Way Charging Hub supports USB PD fast-charging protocol and charges three batteries in sequence from high to low power level. 2. Storage: It can store three batteries at once, making it convenient to carry and use. 3. Power accumulation: By pressing and holding the function button with at least two batteries inserted, you can transfer the remaining power from multiple batteries to the battery with the highest remaining power, enabling a longer effective flight time. 4. Power bank: With at least one battery in storage, you can use the charging hub as a power bank and output the battery power to mobile phones, tablets, and other devices through the USB-C port.
Yes.
LightCut App
Once connected to the LightCut app, users can access features such as One-Tap Edit, flexible editing, templates, Sky VFX, and intelligent sound effects.
DJI FPV Remote Controller 3
We recommend practicing with the following four simulators: Liftoff, Uncrashed, The Drone Racing League, and DCL.
Drone
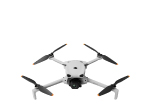
DJI Mini 4 Pro features comprehensive upgrades in its vision sensing system, imaging system, video transmission system, and intelligent features.
Details are as follows: While maintaining a 249g lightweight design, DJI Mini 4 Pro boasts an omnidirectional vision sensing system to achieve omnidirectional obstacle sensing. It uses a new image-processing platform and supports recording 4K/60fps HDR videos, with optional 10-bit D-Log M and HLG color modes, elevating the multiple shooting specifications. It is equipped with the DJI O4 FHD digital video transmission system, which provides a max transmission distance of up to 20 km*. It comes with the newly upgraded ActiveTrack 360°, Waypoint Flight, Advanced RTH, Cruise Control, and other intelligent features. Data tested under FCC standard in an unobstructed environment without interference. Used for reference purposes only and provides no guarantee for actual transmission distance.
DJI Mini 4 Pro batteries are set to hibernation mode before shipping to ensure safe transportation.
Before use, insert the battery into the aircraft or charging hub, and connect the charger to charge and activate the battery.
After activating the battery, press the power button once, and then press again and hold for two seconds to turn on the aircraft.
With DJI RC-N2:
Connect your mobile device (connected to the internet) with the remote controller, and then connect to DJI Mini 4 Pro via the DJI Fly app. Follow the instructions in the app to activate DJI Mini 4 Pro.
With DJI RC 2:
When using DJI RC 2 for the first time, connect to the internet via Wi-Fi or a smartphone hotspot, and then follow the instructions in the DJI Fly app to activate the device. After activating DJI RC 2, connect it with DJI Mini 4 Pro via the DJI Fly app, and then follow the instructions in the app to activate the aircraft.
The max wind speed resistance of DJI Mini 4 Pro is 10.7 m/s. Wind resistance is dependent upon propulsion. In strong winds, slight vibration is expected due to the drone’s lightweight nature. High-powered propulsion ensures the drone hovers stably or returns to home safely. DJI Mini 4 Pro automatically controls the gimbal to adjust slightly to ensure the footage is always stable and not affected by the wind.
No. Avoid contact with water during use, as it may damage the device.
If it rains during the flight, return and land as soon as possible, and wait until the aircraft is fully dry inside and out before using it again.
DJI Mini 4 Pro can only be used with the DJI Fly app. You can download the latest version of DJI Fly from the DJI Mini 4 Pro Downloads page on the official DJI website.
* If you use DJI RC 2 as the remote controller, it comes with the pre-installed DJI Fly app.
Gimbal
Compared with the camera module of DJI Mini 3 Pro, DJI Mini 4 Pro has the following major upgrades:
1. A new image-processing platform is used to improve the overall imaging performance.
2. The HDR video specification has been upgraded from 4K/30fps to 4K/60fps.
3. The Slow Motion specification has been upgraded from 1080p to 4K.
4. The new 10-bit D-Log M and HLG color modes record colors and details with a high dynamic range.
5. The new Night video mode (Night Shots) delivers enhanced low-light performance.
6. The simulated long exposure (shutter speed of up to 8 s) enables more creative possibilities.
7. A next-gen SmartPhoto algorithm is adopted to effectively improve photo quality.
8. The resolution of panorama photos is higher.
Yes. You can manually set camera parameters like shutter speed, ISO, and white balance in the DJI Fly app.
When recording video at 60fps or lower, DJI Mini 4 Pro enables HDR mode by default.
Photo mode and video mode (60fps and lower): The sensor will algorithmically integrate the images gained by the two sets of analog amplifier circuits for a better dynamic range of actual imaging.
Propulsion & Battery
Before each flight, it is necessary to check the propellers for cracks, wear, warp, corrosion, and loose screws. If any of these conditions are present, the propellers should be replaced. Follow the instructions in the user manual to replace the propellers.
Use the included screwdriver to replace the propellers. Please follow the instructions provided. Remove the two blades and screws from the motor, and replace with the new propellers and screws. Attach the marked propellers to the marked motors, and the unmarked propellers to the unmarked motors. Ensure that the propellers and motors are installed securely before each flight.
Yes. To ensure charging speed, it is recommended to use the DJI 30W USB-C Charger or other USB Power Delivery chargers.
The Two-Way Charging Hub supports USB PD fast-charging protocols, and can charge up to three batteries in sequence. You can also use it for battery storage or as a power bank (storing at least one battery with ample power) to charge your mobile device or remote controller via the USB-A port.
Remote Controller
DJI Mini 4 Pro currently supports two remote controllers: DJI RC-N2 and DJI RC 2.
The video transmission solution has been upgraded, and the antenna system has been upgraded from 1T2R to 2T2R. With DJI Mini 4 Pro, the O4 video transmission can be used.
DJI RC 2 focuses on your flight and control experience. For footage management and video sharing, it is recommended to install the DJI Fly app on your smartphone and connect it directly with the aircraft through Wi-Fi. Then, you can use the QuickTransfer feature to download footage directly from the aircraft to your smartphone.
The performance of the processor has been improved for smoother operation. The video transmission system has been upgraded, and the antenna system has been upgraded from 1T2R to 2T4R. With DJI Mini 4 Pro, the O4 video transmission can be used. DJI RC 2 features two built-in antennas and two external antennas, and also supports manual angle adjustments for the two external antennas to achieve better video transmission effects.
Yes. The USB-C port supports up to 9V/3A power input (with a 9V/3A charger). It takes 1.5 hours at the fastest speed to fully charge the battery.
The optimal transmission range occurs when the antennas are facing the aircraft, with the angle between the antennas and the back of the remote controller at 180° or 270°.
You can customize the C1/C2 button of DJI RC 2 in the DJI Fly app for more convenient control.
No.
Video Transmission
In different environments, the wireless interference level is different, and the max transmission distance will vary.
Unobstructed:
Strong Interference: urban landscape, approx. 1.5-4 km
Medium Interference: suburban landscape, approx. 4-10 km
Low Interference: suburb/seaside, approx. 10-20 km
Obstructed:
Low Interference and Obstructed by Buildings: approx. 0-0.5 km
Low Interference and Obstructed by Trees: approx. 0.5-3 km
Data tested under FCC standard in obstructed or unobstructed environments with typical interference. Used for reference purposes only and provides no guarantee for actual transmission distance.
The O4 video transmission system adopts an all-new hardware solution, and a new frequency band* has been added. The communication algorithm has also been upgraded, which not only delivers an FHD video transmission from a max range of 20 km**, but also features enhanced anti-interference capabilities, further improving the transmission stability in complex environments like urban settings. The remote controller also supports a 1080p/60fps max real-time live feed, with the higher frame rate delivering a smoother viewing experience.
* Can be used only in countries and regions where it is allowed by local laws and regulations. ** Measured in an outdoor, open environment, without interference, and with FCC compliance. The above data shows the farthest communication range for one-way, non-return flights. Always pay attention to reminders in the app during your flight.
Firmware Update
Connect the aircraft with the remote controller. The DJI Fly app will send you a prompt for firmware updates (if new firmware is available). Follow the instructions to update the firmware of the aircraft, remote controller, battery, and other modules.
1. The battery level of the aircraft or remote controller is below 20%.
2. The aircraft or remote controller is powered off during an update. If this happens, restart the aircraft and remote controller, and try again.
3. The network is disconnected during a firmware download.
4. Your smartphone interface is switched to other apps during a firmware download. The aircraft will restart multiple times during an update and automatically power off after completing the update.
Accessory Compatibility
DJI Mini 4 Pro is compatible with the DJI 30W USB-C Charger, DJI 18W USB Charger, DJI Mini 3 Pro Intelligent Flight Battery Plus*, DJI Mini 3 Pro Intelligent Flight Battery**, and DJI Mini 3 Pro Two-Way Charging Hub.
For details, please check the product compatibility list of the corresponding accessories at the official online DJI Store.
* The Intelligent Flight Battery Plus is not sold in Europe. ** When using the DJI Mini 3 Pro Intelligent Flight Battery, DJI Mini 4 Pro’s propulsion performance and flight time will be reduced, and the total weight will exceed 249 g. Always check local laws and regulations before use.
Drone
Compared with Mavic 3 and Mavic 3 Classic, we've significantly upgraded the imaging performance of the Mavic 3 Pro Series:
The Mavic 3 Pro Series includes DJI’s first tri-camera flagship drones with multiple focal lengths. It uses the same wide-angle 4/3 CMOS Hasselblad camera as Mavic 3 and Mavic 3 Classic. Compared with Mavic 3, it adds a 1/1.3-inch CMOS 70mm medium tele camera with 48MP effective pixels. It also has an upgraded 1/2-inch CMOS 166mm tele camera with 12MP effective pixels, providing more flexible aerial photography perspectives while enhancing creative efficiency and freedom.
All three cameras of the Mavic 3 Pro Series drones support shooting 4K/60fps video, and all three cameras of the Cine version support Apple ProRes 422/422 HQ/422 LT codecs. No matter which version you choose, you will enjoy high-level professional creation.
If you need more focal length options, better creative effects, and work that has more expressive composition and storytelling details, the Mavic 3 Pro Series is here to meet your shooting needs.
In addition, the Mavic 3 Pro Series also supports the Hasselblad Natural Colour Solution (HNCS), D-Log, D-Log M, HLG, and other color modes, which retain more image details and facilitate more efficient color grading in post-production.
The 70mm medium tele camera is equipped with a 1/1.3″ CMOS sensor. Compared with the wide-angle Hasselblad camera, the 70mm medium tele camera captures footage with a stronger sense of spatial compression, which can better capture the relationship between the subject and the surroundings, highlight the subject in a complex environment, and create a visual focus in the image or video.
Compared with the 166mm tele camera, using the medium tele camera may be better in some scenarios. It enables new aerial photography perspectives and can help to achieve different camera movements. You don't need to replace the camera on the drone during shooting. Just tap the screen to switch between different focal lengths, making transitions smoother and more natural.
The medium tele camera supports a 3x optical zoom and the new D-Log M color mode, further reducing the difficulty of color grading in post-production. It also supports FocusTrack, Hyperlapse, and 3x-7x digital zoom to help you create cinematic footage effortlessly.
The Mavic 3 Pro Series includes two versions: Mavic 3 Pro and Mavic 3 Pro Cine.
Mavic 3 Pro inherits DJI’s flagship imaging and flight performance. It is portable, powerful, and suitable for photography enthusiasts, professional photographers, and film/television studios.
Mavic 3 Pro Cine boasts a built-in 1TB SSD and supports professional video encoding like Apple ProRes 422, Apple ProRes 422 HQ, and Apple ProRes 422 LT. It is a perfect choice for professional film/television production.
Both remote controllers come with a 5.5-inch HD screen, so you can power on and use them directly without the need to connect to a mobile device.
DJI RC Pro features a screen brightness of up to 1000 nits and supports the installation of third-party apps and the live stream function, allowing you to live stream the real-time camera view during flight.
DJI RC Pro is equipped with the latest-generation processor, offering stronger performance and lower power consumption. This results in 4x improved CPU performance, 7x improved GPU performance, and 20% lower power consumption over its predecessor. DJI RC Pro brings a more durable, stable, and smooth system that simply enhances flying.
If you purchase the Mavic 3 Pro Series for the first time, choosing the Fly More Combo is highly recommended.
Compared with Mavic 3 Pro (DJI RC), the Fly More Combo provides two additional Intelligent Flight Batteries and practical accessories like the Battery Charging Hub (100W) and the ND Filters Set (ND8/16/32/64). Whether for travel or professional shooting, the Fly More Combo can assist aerial photography, eliminating low battery anxiety and help you fully enjoy the creative process.
Compatibility
The DJI Mavic 3 Series is only compatible with DJI Goggles 2, DJI Goggles Integra, and DJI RC Motion 2.
1. Before first use, please make sure that the goggles and motion controller have been updated to the latest firmware version. Additionally, use DJI RC-N1, DJI RC, or DJI RC Pro to update the drone to the latest firmware version. Otherwise, the linking between the aircraft and the goggles and motion controller will fail. 2. FPV flight control is only supported when the goggles are used with DJI RC Motion 2. 3. When the goggles are used with the DJI Mavic 3 Series, the drone supports omnidirectional obstacle sensing and APAS 5.0, 4K/60fps and 1080p/60fps normal video recording, and Explore mode. For intelligent features like MasterShots, QuickShots, and Panorama, only DJI RC-N1, DJI RC, or DJI RC Pro are compatible. 4. When the goggles are used with DJI Mini 3 Pro, the drone supports forward and backward obstacle sensing and APAS 4.0, 4K/60fps, 2.7K/60fps, and 1080p/60fps normal video recording. For vertical shooting and intelligent features like MasterShots, QuickShots, and Panorama, only DJI RC-N1, DJI RC, or DJI RC Pro are compatible.
The lowest latency of the gimbal camera was measured when recording 4K/60fps ProRes RAW video. The lowest latency of the FPV camera was measured with strong video transmission signals.
Yes.
1. Once linked with a DJI Mavic 3 Series aircraft, the DJI RC-N1 remote controller will automatically update the firmware if necessary. The DJI RC-N1 supports the O3+ video transmission like the DJI RC Pro and DJI RC. 2. In an unobstructed environment free of interference, these remote controllers can support a max transmission range of 15 km with FCC compliance. 3. These remote controllers support 1080p/60fps live feeds.
When used with different aircraft, These remote controllers will automatically select the corresponding firmware version for updating and support the following transmission technologies enabled by the hardware of the linked aircraft: a. DJI Mini 3/DJI Mini 2/DJI Mavic Air 2: O2 b. DJI Mini 3 Pro/DJI Air 2S: O3 c. DJI Mavic 3 Series: O3+
The following accessories are currently compatible:
1. DJI RC
2. DJI RC Pro
3. DJI RC-N1
4. DJI Mavic 3 Series Intelligent Flight Battery
5. DJI Mavic 3 Series Low-Noise Propellers
6. DJI Mavic 3 Series Battery Charging Hub
7. DJI 65W Car Charger
8. DJI 65W Portable Charger
9. DJI Convertible Carrying Bag
10. DJI 10Gbps Lightspeed Data Cable
The following accessories are not compatible:
1. DJI Mavic 3 Storage Cover
2. DJI Mavic 3 Classic Storage Cover
3. DJI Mavic 3 Series Propeller Guard
4. DJI Mavic 3 Series Protector Case
5. DJI Mavic 3 ND Filters Set and DJI Mavic 3 Classic ND Filters Set
6. DJI Mavic 3 Wide-Angle Lens and DJI Mavic 3 Classic Wide-Angle Lens
Compatability
The gimbal camera and TB50 battery are not interchangeable. The storage card is interchangeable.
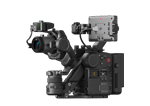
To improve DJI Inspire 3’s battery life, flight experience, and performance and stability at all attitudes and speeds, Inspire 3’s X9-8K Air gimbal camera has been optimized specially for aerial photography. Compared with the X9-6K and X9-8K gimbal cameras of Ronin 4D, the X9-8K Air’s weight is reduced by approximately 50% with a centralized center of gravity, ensuring an improved flight time and flight experience. Additionally, the gimbal axis arms and lens locking design adopt optimized vibration-proof designs for aerial photography so that the aircraft can stay stable even during dramatic or high-speed flight maneuvers.
The new TB51 battery features higher energy density with reduced weight, and size, which is beneficial for the total flight time and wind resistance when flying forward, and is more advantageous than TB50 in terms of discharge voltage and reliability.
The DJI PROSSD 1TB of DJI Ronin 4D is interchangeable with Inspire 3.
Both the X9-6K and X9-8K gimbal cameras of DJI Ronin 4D weigh approximately 1.04 kg, while the X9-8K Air of DJI Inspire 3 weighs approximately 516 g, for a weight reduction of approximately 50%.
No.
All modules of DJI Inspire 3 have been redesigned to deliver fully upgraded performance in terms of flight, imaging, video transmission, storage, and battery life.
Gimbal Camera: DJI Inspire 3 comes with the X9-8K Air gimbal camera with a newly designed gimbal camera quick-release port that meets the data transmission requirements of 8K CinemaDNG videos, and further ensures stable gimbal connection during flight.
Remote Controller: DJI Inspire 3 comes with the professional-level DJI RC Plus and professional accessories such as a strap and waist support. The DJI RC Plus supports O3 Pro, a cinema-grade video transmission system that has taken a generational leap in transmission distance, latency, and overall stability. The 7-inch high-bright screen delivers up to 1,200-nits of brightness to provide an extraordinary outdoor monitoring experience. It also features several buttons and dials on the front, back, and top, which enable fast and intuitive operation. Button functions can also be customized. The built-in battery of RC Plus provides an operating time of approximately 3.3 hours, and extends to 6 hours with an external WB37 battery. It also supports battery hot-swapping to improve creative efficiency. On top of the classic flight control interface, the new DJI Pilot 2 app for Inspire adds a cinema-grade monitoring interface, which allows simple and convenient checking of information like camera exposure, video specifications, focal length, and gimbal angle, easily meeting the monitoring requirements of gimbal operators and DPs.
Storage: The included DJI PROSSD 1TB supports a max read speed of 900MBps for recording high-frame-rate videos of 8K CinemaDNG, and the footage can be read on a computer directly through the provided USB-C to USB-C cable without the need for a card reader, convenient for DITs.
Battery: DJI Inspire 3 is equipped with six TB51 intelligent batteries and an all-new battery charging hub. TB51 batteries utilize the latest battery chemistry technology for optimized reliability and performance, and are smaller, lighter, more streamlined, and higher voltage compared to TB50. They provide a 28-minute max flight time and support hot swapping. The all-new foldable battery charging hub can accommodate eight batteries. In Fast mode, it can charge two batteries to 90% in just 35 minutes and eight batteries to 100% in only 160 minutes. The included 65W USB-C port can also be used to charge an RC Plus.
Measured using the included USB-C to USB-C data cable with an Apple MacBook Pro 2021 (Apple M1 Max chip). Measured when flying forward at a constant speed of 36 kph with the landing gear down in a windless environment at sea level, with gimbal camera and lens attached to the aircraft and without other accessories, and recording 4K/24fps H.264 (S35) video until the battery reached 0%. This data is for reference only. Please refer to the actual values in the app. Tested when charging two batteries to 90% and to 100% with the battery charging hub at a room temperature of 25° C (77° F) in a well-ventilated environment. This data is for reference only.
DL 18 mm F2.8 ASPH Lens
DL 24 mm F2.8 LS ASPH Lens
DL 35 mm F2.8 LS ASPH Lens
DL 50 mm F2.8 LS ASPH Lens
Yes. DJI High-Bright Remote Monitor can pair directly with Inspire 3 to receive live feeds, and can even control gimbal and focus when the Ronin 4D Hand Grips are attached. HDMI and SDI ports on the remote monitor can also output live feeds to other monitoring devices.
Drone
Zenmuse X9-8K Air is equipped with a full-frame image sensor that can record video at up to 8K RAW. It supports 14+ stops of dynamic range and dual native ISO to retain more details, meeting the needs of a wide variety of cinematography scenarios.
DJI Inspire 3 adopts the all-new O3 Pro video transmission system, which supports simultaneous video transmission of the gimbal camera and the FPV camera. Both the gimbal camera and FPV camera support HD, 1080p/60fps live feeds with latency as low as 90 ms. 4K/30fps UHD live feeds are also supported to meet the needs of monitoring and livestreaming on set.
The lowest latency of the gimbal camera was measured when recording 4K/60fps ProRes RAW video. The lowest latency of the FPV camera was measured with strong video transmission signals.
Yes. In the new dual-control mode, two remote controllers can receive live feeds and control the drone independently, so the pilot and gimbal operator can be at different positions on set during flight. Check the DJI Inspire 3 User Manual for more details.
When the landing gear of DJI Inspire 3 is raised, it supports 360° pan shooting obstruction-free. When the landing gear is lowered and the gimbal camera faces forward, it can achieve 80° tilt shooting obstruction-free.
Yes. The capacity of a DJI Inspire 3 Intelligent Battery is 4280 mAh and the energy is 98.8 Wh. Most aviation companies regulate that batteries under 100 Wh can be transported in carry-on baggage.
Regulations regarding LiPo batteries in carry-on baggage can vary by country and region. Consult your local airline and the relevant authorities of the departure and destination locations.
Drone
Compared with DJI Mini 2, DJI Mini 3 has comprehensively improved the imaging system, battery life, and other aspects: With a lightweight and compact body under 249 g, DJI Mini 3 features a 1/1.3-inch image sensor that supports dual native ISO and chip-level HDR technology and supports shooting 4K HDR video. The new gimbal design allows for True Vertical Shooting and large-angle tilt.
The design of DJI Mini 3 has the following advantages:
1. Longer flight time at the same compact size: DJI Mini 3's design allows the drone to carry larger propellers and improves the propulsion efficiency of the propellers and aircraft, providing longer flight time.
2. True Vertical Shooting and expanded axes: The new design allows users to get portrait shots without needing to crop digitally. A larger gimbal range means more shooting angles and added creative freedom.
DJI Mini 3 combines powerful imaging performance with intelligent features, allowing even beginners to create cinematic footage effortlessly. It is equipped with a 1/1.3-inch sensor, 2.4μm (4-in-1) large pixels, an f/1.7 aperture, dual native ISO, chip-level HDR technology, and can record 4K HDR videos. It also supports QuickShots (Dronie/Circle/Helix/Rocket/Boomerang) and True Vertical Shooting.
The max wind speed resistance of DJI Mini 3 is 10.7 m/s (Level 5). The drone can hover steadily and keep the image stable at wind speeds up to 10.7 m/s (Level 5). It can detect the wind speed in real-time and notify users to return if there are strong winds.
* Wind resistance is dependent upon propulsion. With strong winds, slight vibration is expected due to the lightweight nature of the drone. High-powered propulsion ensures the drone hovers stably or returns home safely. DJI Mini 3 automatically controls the gimbal to make slight adjustments to ensure that the footage is always stable and not affected by the wind.
The main differences between each product combination are the remote controller and battery life.
Remote Controller: DJI Mini 3 supports DJI RC-N1 (normal remote controller) and DJI RC (remote controller with screen).
If you already have either of the above remote controllers, you can purchase DJI Mini 3 (Drone Only).
If you need DJI RC-N1 Remote Controller, you can purchase DJI Mini 3 or DJI Mini 3 Fly More Combo.
If you need DJI RC, you can purchase DJI Mini 3 (DJI RC) or DJI Mini 3 Fly More Combo (DJI RC).
Battery: Fly More Combo comes with two additional Intelligent Flight Batteries.
In most countries and regions, drones under 250 g can fly without registration or certification. For details, please refer to local policies and regulations.
Compatibility
DJI Mini 3 currently supports two remote controllers: DJI RC-N1 Remote Controller and DJI RC. Use DJI RC-N1 Remote Controller with a smartphone. With a built-in 5.5-inch HD display, the new DJI RC provides crisp viewing even under direct sunlight. With the DJI Fly app pre-installed, it can directly link with your drone after powering on without connecting to a smartphone, allowing you to start shooting right away.
DJI Mini 3 is compatible with DJI RC-N1 Remote Controller and its related accessories, DJI RC, DJI 30W USB-C Charger, DJI 18W USB Charger, DJI Mini 3 Pro Intelligent Flight Battery, DJI Mini 3 Pro Intelligent Flight Battery Plus, DJI Mini 3 Pro Two-Way Charging Hub, DJI Mini 3 Pro Propeller Holder, DJI Mini 3 Pro ND Filters Set, and DJI Mini 3 Pro Shoulder Bag. The above accessories can be purchased at D1 Store.
Recommended models:
SanDisk Extreme 32GB V30 A1 microSDXC
SanDisk Extreme 64GB V30 A1 microSDXC
SanDisk Extreme 128GB V30 A2 microSDXC
SanDisk Extreme 256GB V30 A2 microSDXC
SanDisk Extreme Pro 32GB V30 A1 microSDXC
Kingston Canvas Go!Plus 64GB V30 A2 microSDXC
Kingston Canvas Go!Plus 256GB V30 A2 microSDXC
Kingston Canvas React Plus 64GB V30 A1 microSDXC
Kingston Canvas React Plus 128GB V30 A1 microSDXC
Samsung PRO Plus 256GB V30 A2 microSDXC
Drone
To ensure transportation safety, the DJI Mini 4K batteries are set to hibernation mode before shipping. Before using, insert the battery into the aircraft or charging hub, and connect the battery charger to charge and activate the battery. After activating the battery, press the power button once and then press again and hold for two seconds to turn on the aircraft.
Connect your mobile device (connected to the internet) with the remote controller, and then connect to DJI Mini 4K via the DJI Fly app. Follow the instructions in the app to activate DJI Mini 4K.
No. Avoid contact with water during use as it may lead to damage of the device. If it rains during flight, please return and land as soon as possible, and wait until the aircraft is fully dry inside before using it again.
DJI Mini 4K can only be used with the DJI Fly app. You can download the latest version of DJI Fly from the DJI Mini 4K Downloads page of on the DJI official website.
The max wind speed resistance of DJI Mini 4K is 10.7 m/s (Level 5). * Wind resistance is dependent upon propulsion. In strong winds, due to the lightweight nature of the drone, slight vibration is expected. High-powered propulsion ensures the drone hovers stably or returns to home safely. DJI Mini 4K automatically controls the gimbal to adjust slightly to ensure that the footage is always stable and not affected by the wind.
1. Fully upgraded video transmission. Enhanced Wi-Fi transmission has been upgraded to DJI O2, delivering better anti-interference and video transmission performance and up to 10 km of transmission distance (when unobstructed, free of interference, and FCC-compliant). 2. More creative options. DJI Mini 4K supports more shooting functions, including Panorama, AEB, 4× digital zoom, RAW photos and Boomerang mode of QuickShots. 3. Upgraded propulsion. DJI Mini 4K supports up to 10.7 m/s (Level 5) wind resistance and a max takeoff altitude of 4000 m.
The DJI Fly app comes with clear instructions and flying tutorials covering all tips useful for beginners. Tap the icon in the top right corner to enter Academy and view product tutorials, flight tips, flight safety notices, and user manuals.
DJI Mini 4K Fly More Combo includes some must-have accessories that will make flying easier and more enjoyable. Compared to the standard combo, the combo additionally offers two Intelligent Flight Batteries, two pairs of spare propellers, 12 screws, a Two-Way Charging Hub, a Propeller Holder, and a Shoulder Bag, improving your experience with storage, carrying, and use.
microSD card: DJI Mini 4K does not have internal storage. Without a microSD card inserted, users can only capture single, low-quality photos or record 720p videos. The files will be directly stored on the mobile device. A microSD card can expand the storage of Mini 4K and unlock all its creative functions while providing space for the original photos and videos captured. 360° Propeller Guard*: Fully wraps the propellers for added safety, suitable for flying indoors and in scenarios with obstacles. Two-way Charging Hub: Holds three batteries and charges them in sequence, and can be used as a mobile power source to charge a remote controller, smartphone, and other devices. * Only available in certain countries and regions.
DJI Mini 4K provides several intelligent shooting modes like QuickShots and Panorama, allowing beginners to create impressive aerial imagery effortlessly. QuickShots modes include Dronie, Helix, Rocket, Circle, and Boomerang. With just a few taps, DJI Mini 4K automatically shoots and generates videos with soundtracks and filters, letting you share directly or further edit in the app. Select from Sphere, Wide-Angle, and 180° panoramas, tap start, and DJI Mini 4K automatically generates a panoramic masterpiece from scratch to post.
Camera
Yes. You can manually set camera parameters like shutter speed, ISO, and white balance in the DJI Fly app.
Yes. It supports Sphere, 180°, and Wide-Angle.
Yes. The QuickShots modes include Dronie, Helix, Rocket, Circle, and Boomerang.
Battery
The maximum flight altitude is 500 m for safety reasons. Due to local laws and regulations, the maximum flight altitude may vary in different countries and regions. Before flying, please always check local laws and regulations.
Before each flight, it is necessary to check the propellers for cracks, wear, warp, corrosion, and loose screws. If any of these conditions are present, the propellers should be replaced. Follow the instructions in the user manual to replace the propellers. Use the included screwdriver to change the propellers. Please follow the instructions provided. Remove the two blades and screws from the motor, and replace with the new propellers and screws. Attach the marked propellers to the marked motors, and the unmarked propellers to the unmarked motors. Ensure that the propellers and motors are installed securely before each flight.
Yes. To ensure charging speed, it is recommended to use USB PD or QC chargers.
The Two-Way Charging Hub supports QC and USB PD fast-charging protocols, and can charge up to three batteries in sequence. You can also use it for battery storage or as a power bank (storing at least one battery with ample power) to charge your mobile device or remote controller via the USB-A port.
Remote Controller and Image Transmission
DJI O2 supports both 2.4 GHz and 5.8 GHz frequency bands. It features stronger interference resistance due to automatic frequency switching, delivering video transmission feeds at up to 10 km (when unobstructed, free of interference, and FCC-compliant).
DJI Mini 4K supports the DJI RC-N1C Remote Controller and the DJI RC-N1 Remote Controller.
The smartphone clamp of the remote controller houses the antennas. Make sure that the antennas are pointed toward the aircraft. Check the user manual for more information about setting the antenna direction. Additionally, 2.4/5.8 GHz wireless devices can cause interference to the signal. Please avoid high-density Wi-Fi signal sources, and consider turning off the Bluetooth on your mobile devices, as well as idle Bluetooth devices.
Firmware Update
Connect the aircraft with the remote controller. The DJI Fly app will send you a prompt for firmware updates (if new firmware is available). Follow the instructions to update the firmware of the aircraft, remote controller, battery, and other modules.
1. The battery level of the aircraft or remote controller is below 20%. 2. The aircraft or the remote controller is powered off during an update. If this happens, restart the aircraft and remote controller, and try again. 3. The network is disconnected during a firmware download. 4. Your smartphone interface is switched to other applications during a firmware download. * The aircraft will restart multiple times during an update and automatically power off after completing the update.
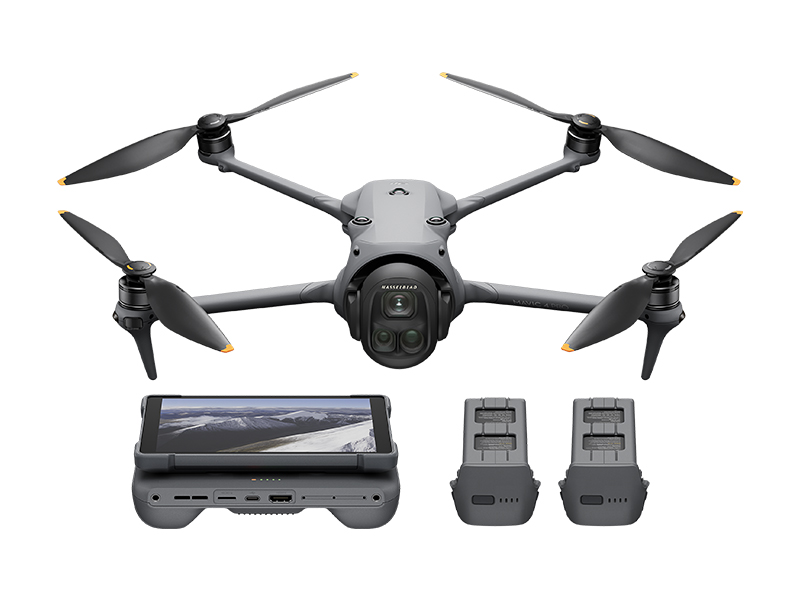 DJI Mavic 4 Pro Creator Combo (512GB)
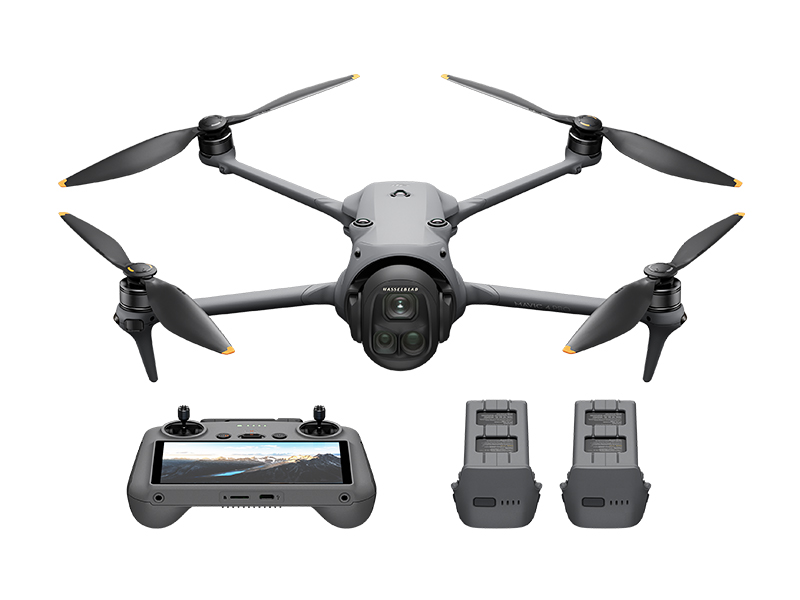 DJI Mavic 4 Pro Fly More Combo
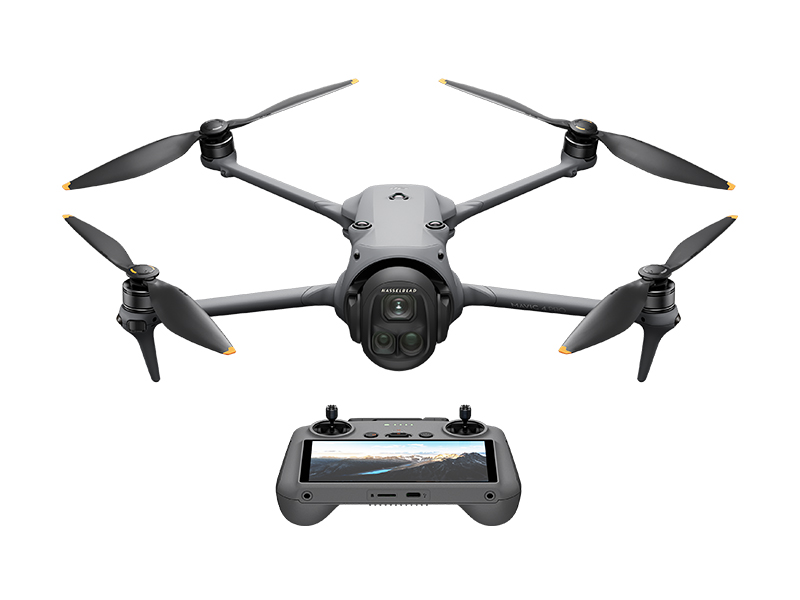 DJI Mavic 4 Pro
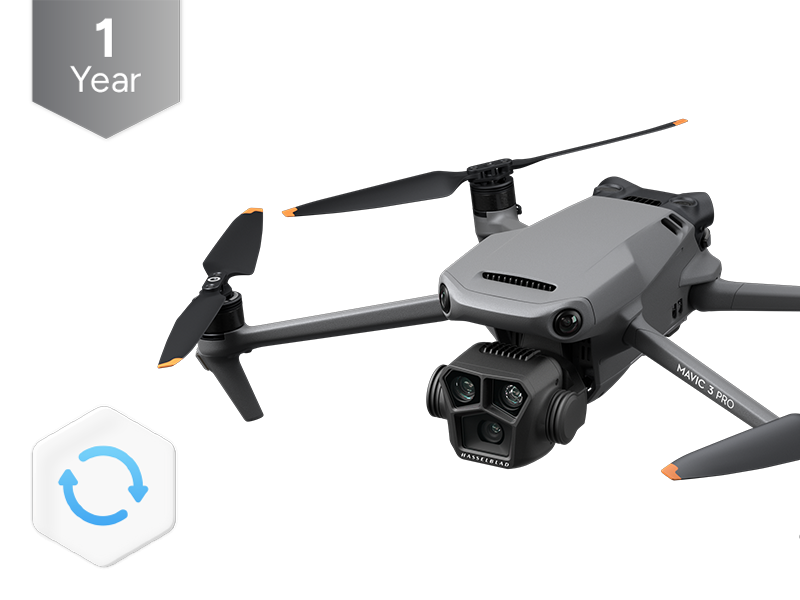 DJI Care Refresh 1-Year Plan (DJI Mavic 3 Pro)
 DJI Care Refresh 2-Year Plan (DJI Mavic 3 Pro)
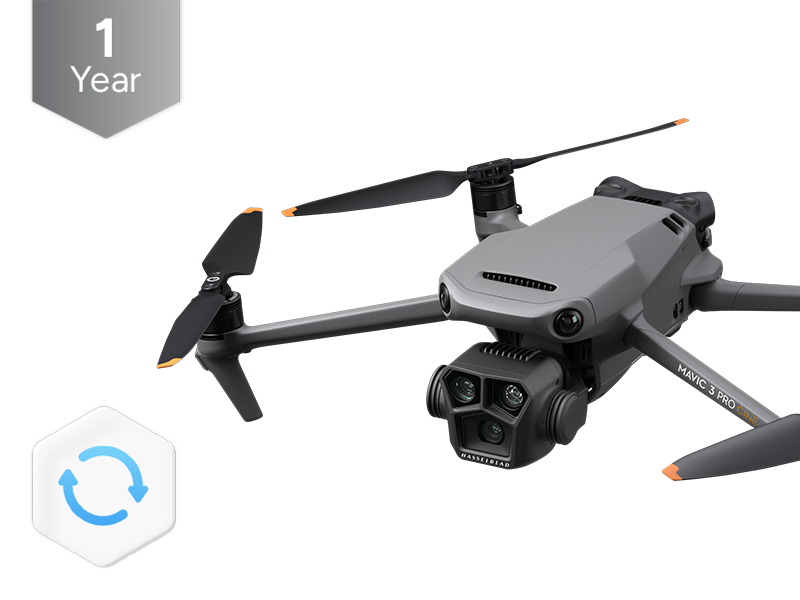 DJI Care Refresh 1-Year Plan (DJI Mavic 3 Pro Cine)
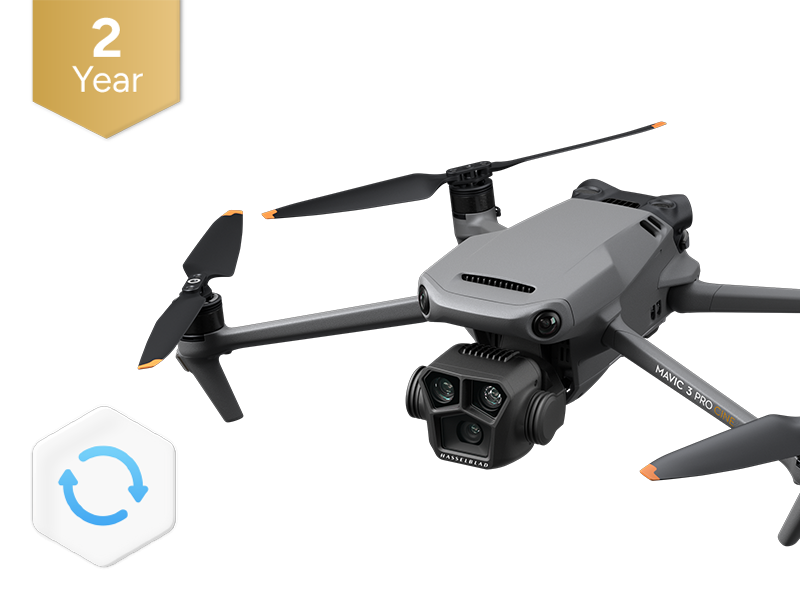 DJI Care Refresh 2-Year Plan (DJI Mavic 3 Pro Cine)
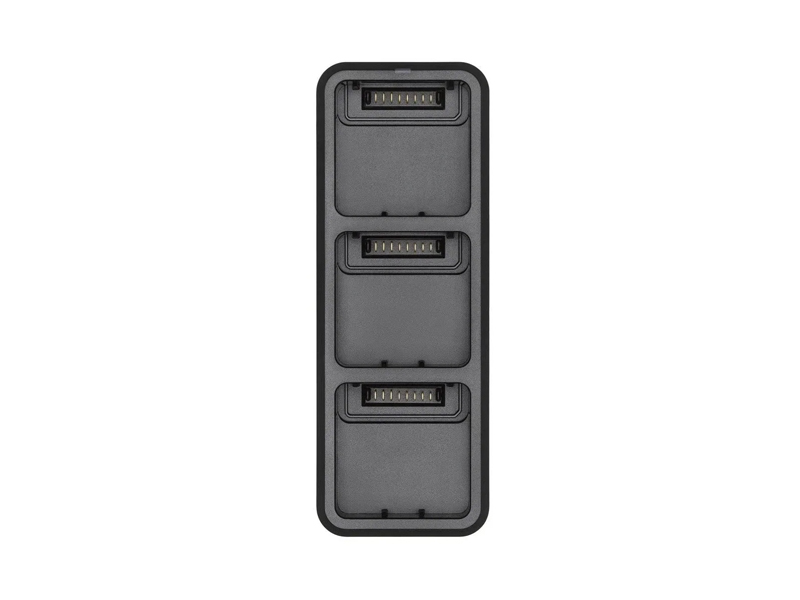 DJI Mavic 3 Series 100W Battery Charging Hub
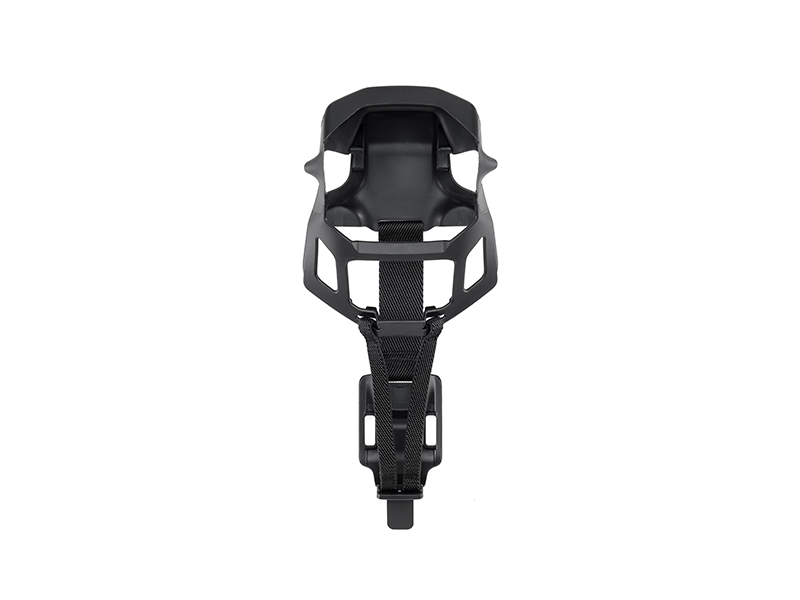 DJI Mavic 3 Classic Storage Cover
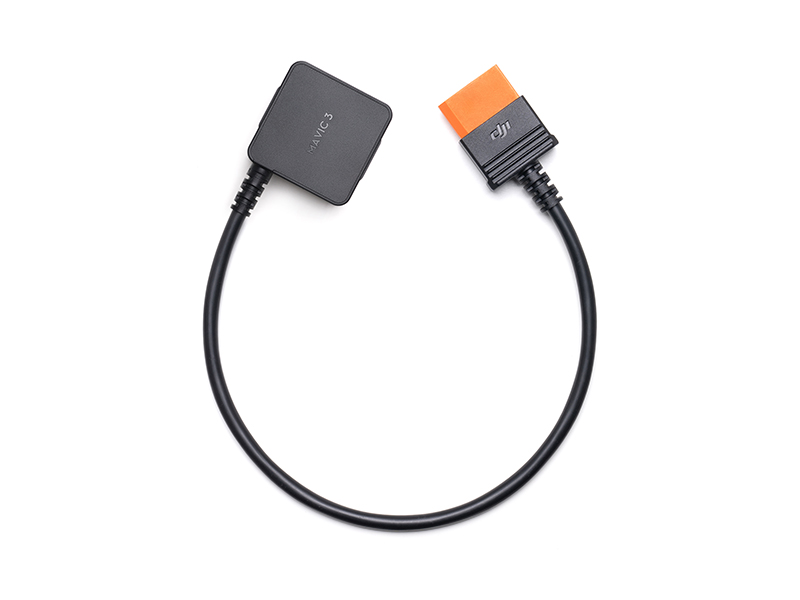 DJI Power SDC to DJI Mavic 3 Series Fast Charge Cable
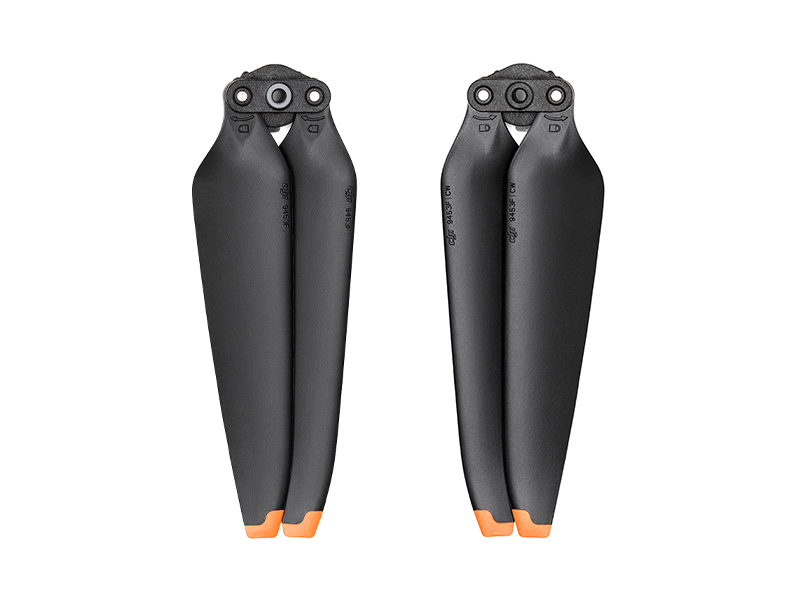 DJI Mavic 3 Series Low-Noise Propellers
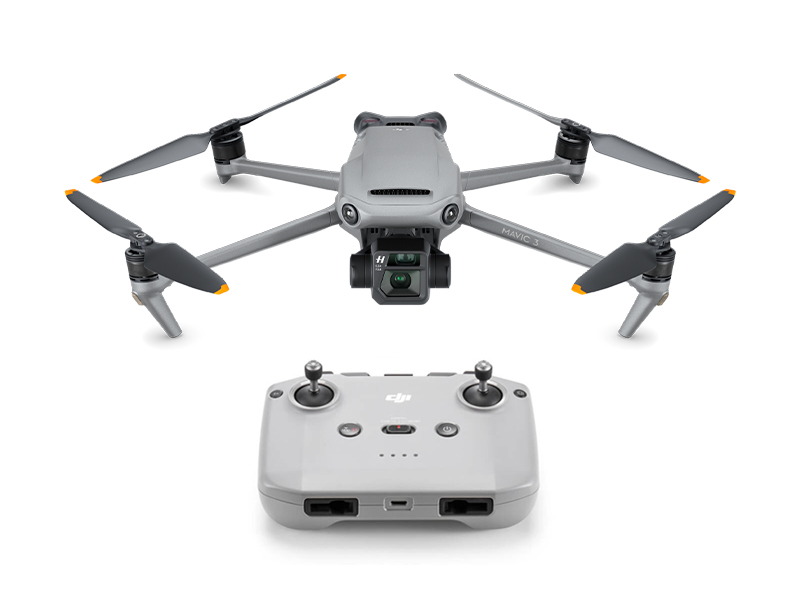 DJI Mavic 3
 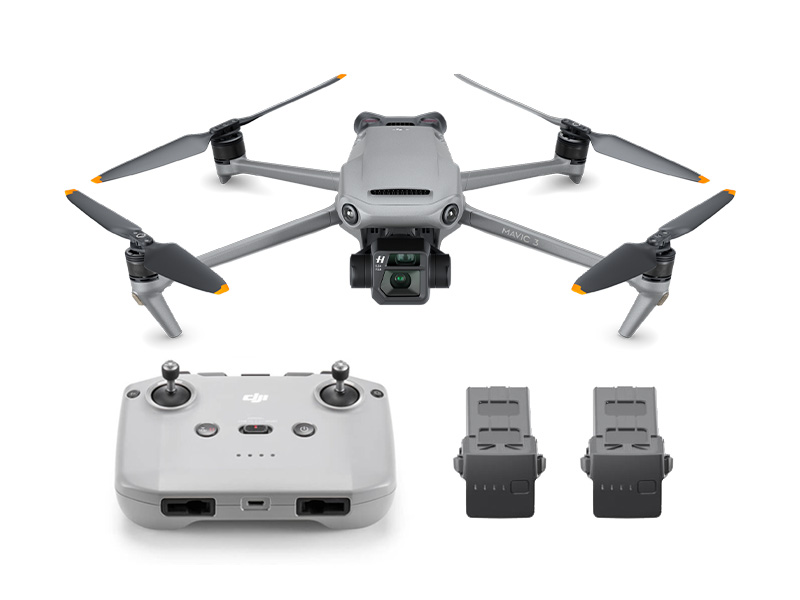 DJI Mavic 3 Fly More Combo
  DJI Mavic 3 Cine Premium Combo (Open Box)
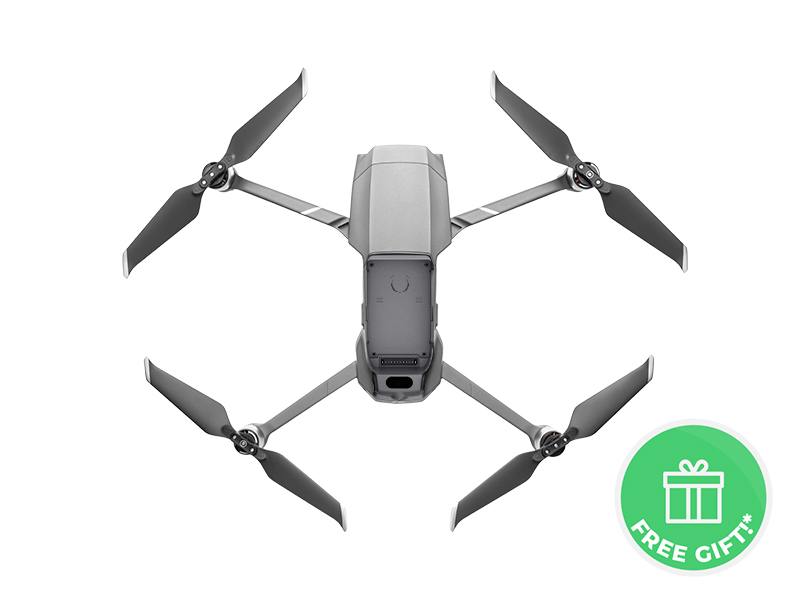 Mavic 2 Pro (Drone Only, No Battery)
.jpg) Mavic 2 Zoom (Drone Only)
Mavic 2 Zoom (Drone Only)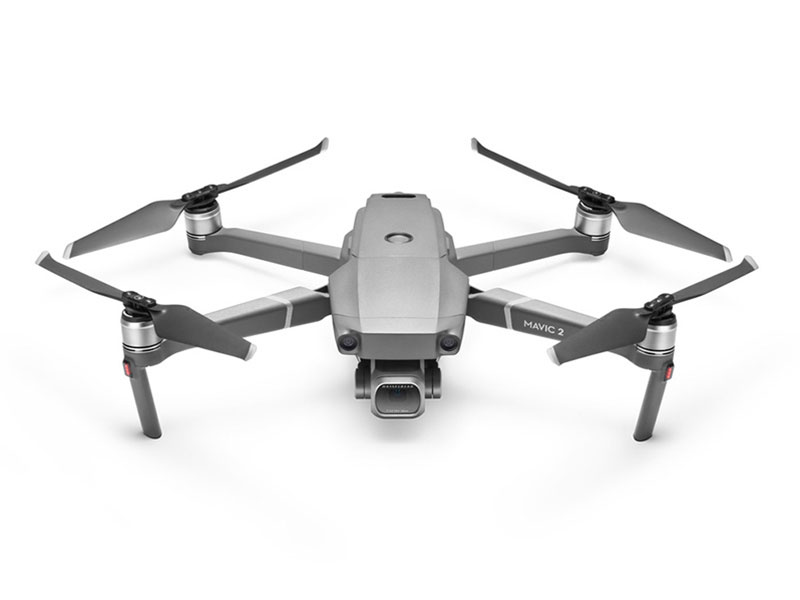 Mavic 2 Pro
 PolarPro CrystalSky Mount for Mavic Series
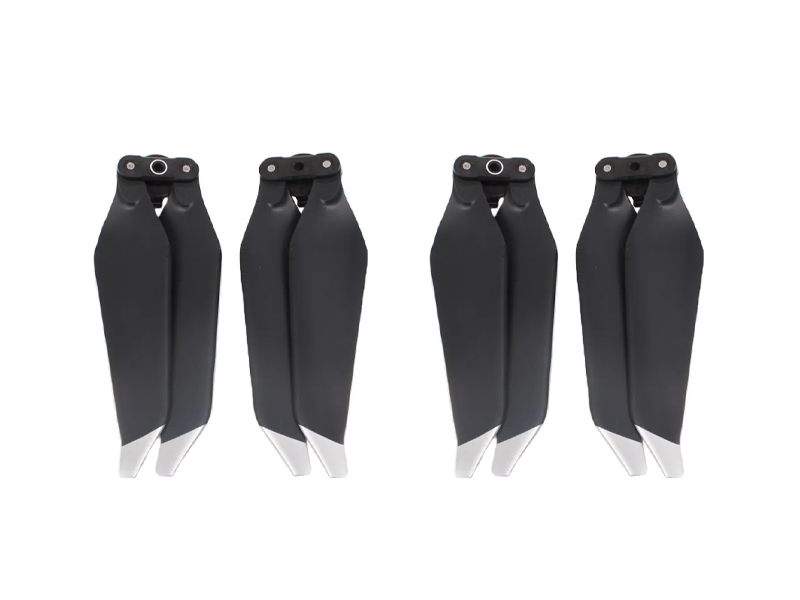 SunnyLife Low-Noise Propellers for Mavic Pro (2 Pairs)
 CrystalSky Mavic/Spark Remote Controller Mounting Bracket
 D1 Aircraft Sleeve
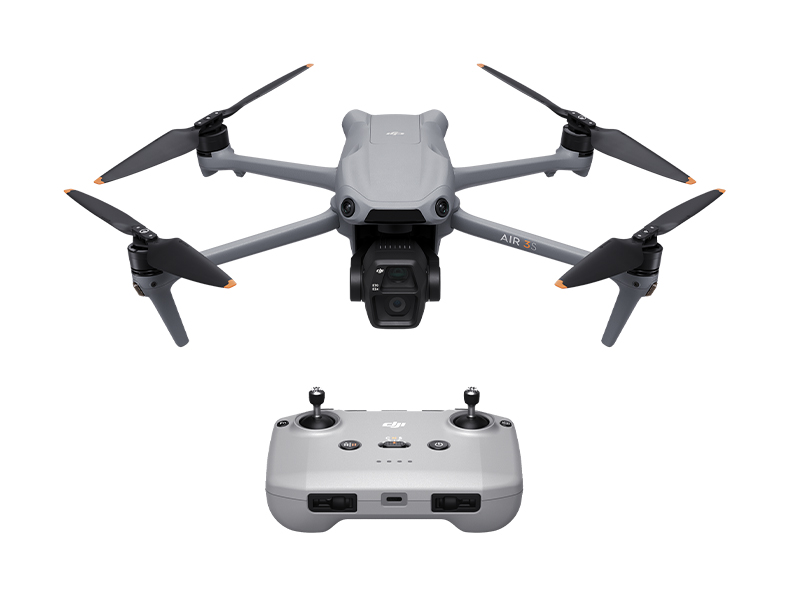 DJI Air 3S
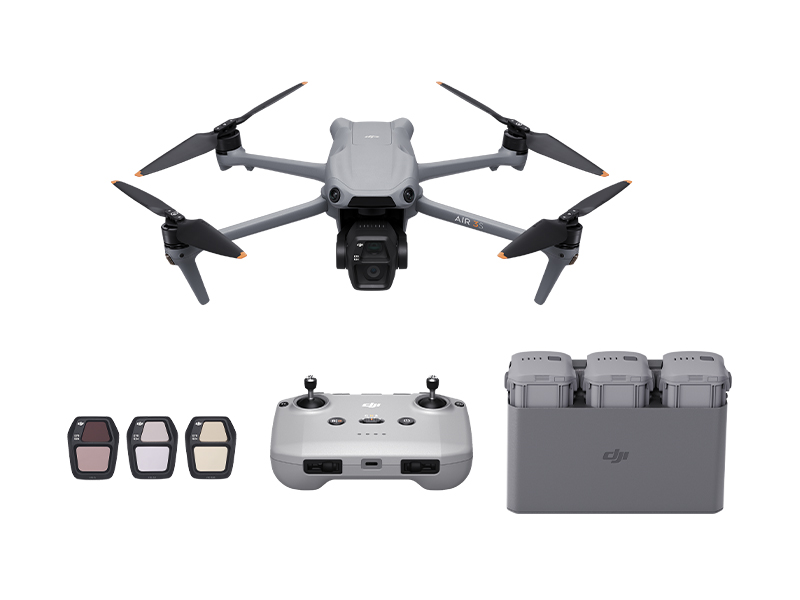 DJI Air 3S Fly More Combo w. DJI RC-N3
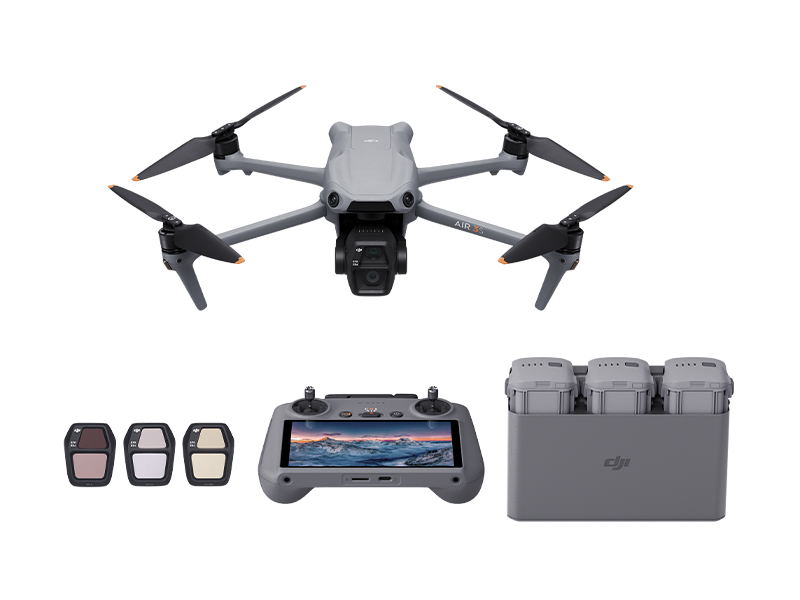 DJI Air 3S Fly More Combo w. DJI RC 2
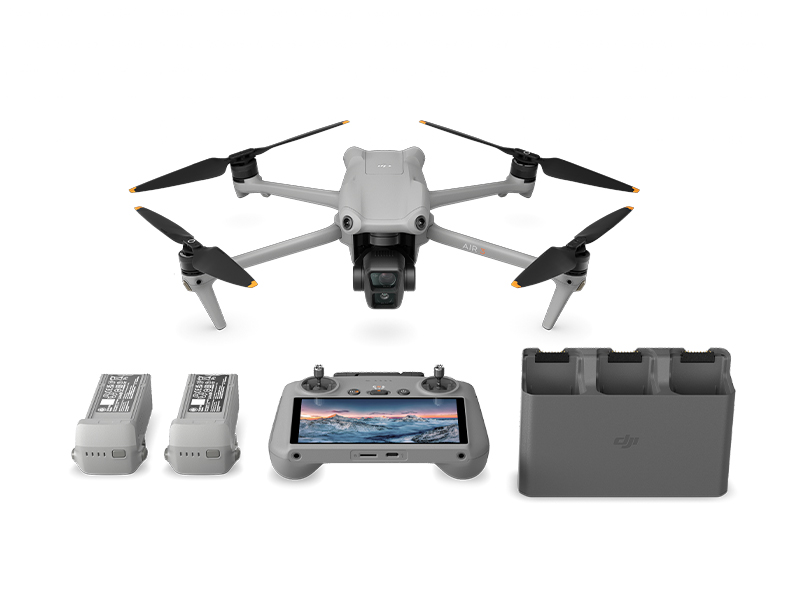 DJI Air 3 Fly More Combo w. DJI RC 2
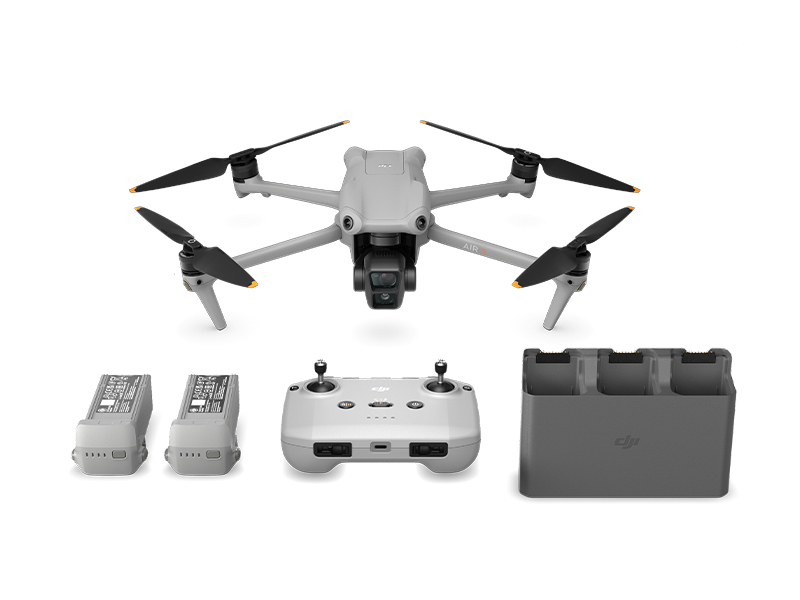 DJI Air 3 Fly More Combo
 Ex-Demo DJI Air 2S
 DJI Air 2S Fly More Combo
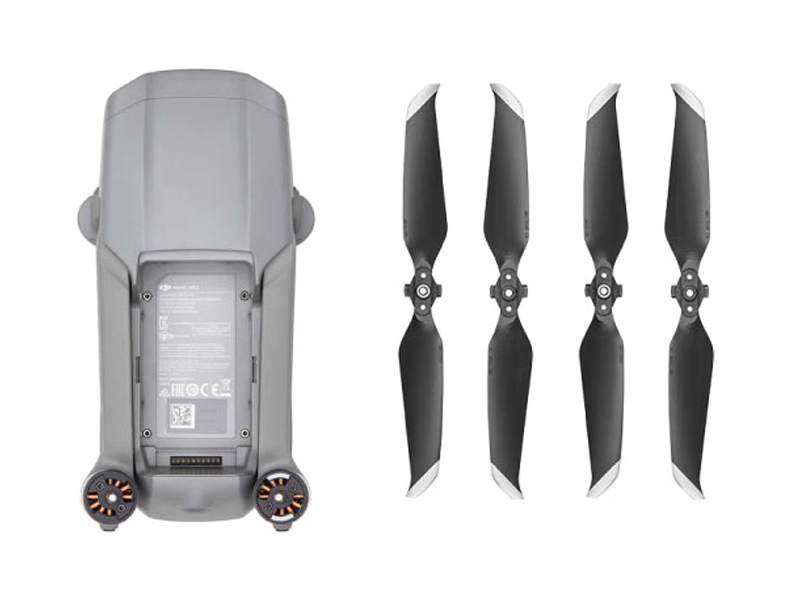 Mavic Air 2 (Drone Only)
 GPC Safety Case V2 for Mavic Air 2
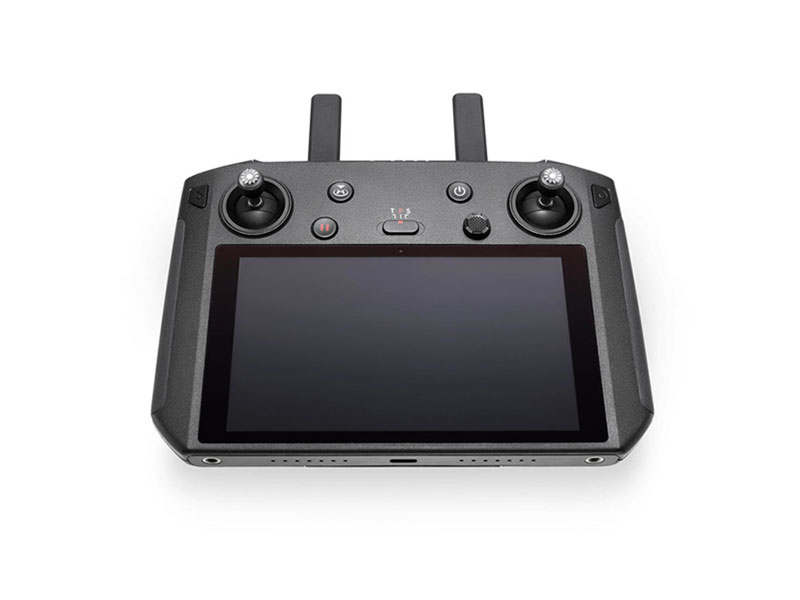 DJI Smart Controller
  Mavic Air 2 Battery to Power Bank Adaptor
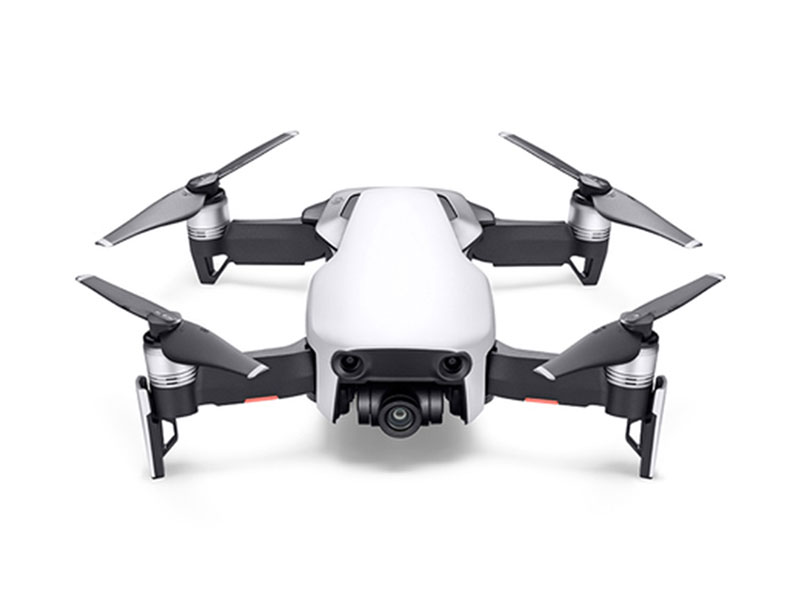 Mavic Air
 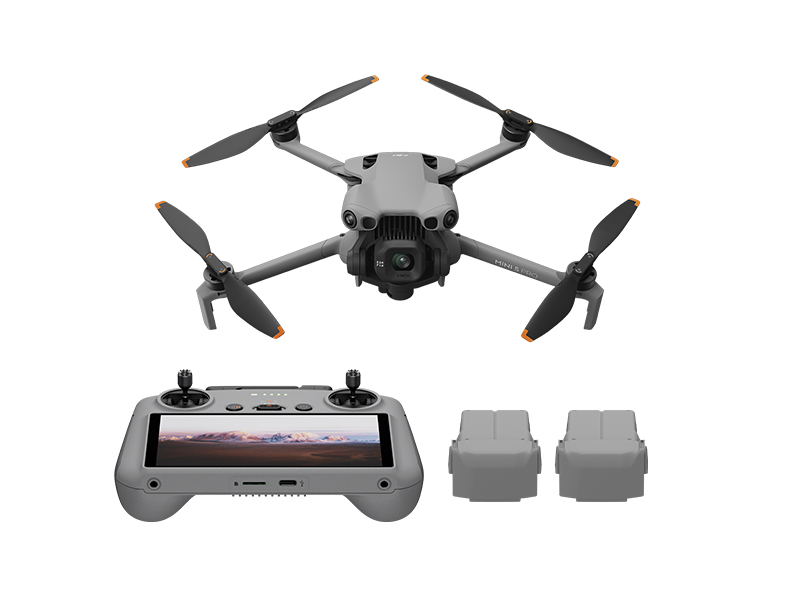 DJI Mini 5 Pro Fly More Combo
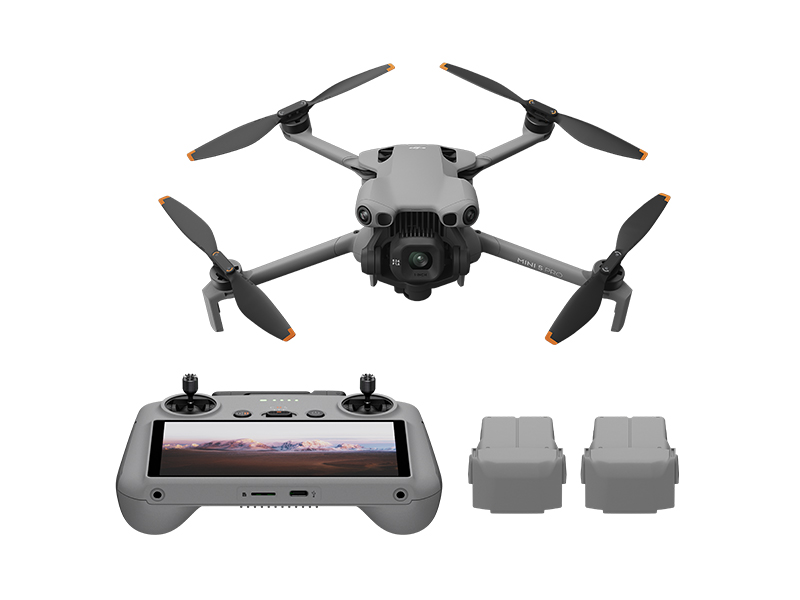 DJI Mini 5 Pro Fly More Combo Plus
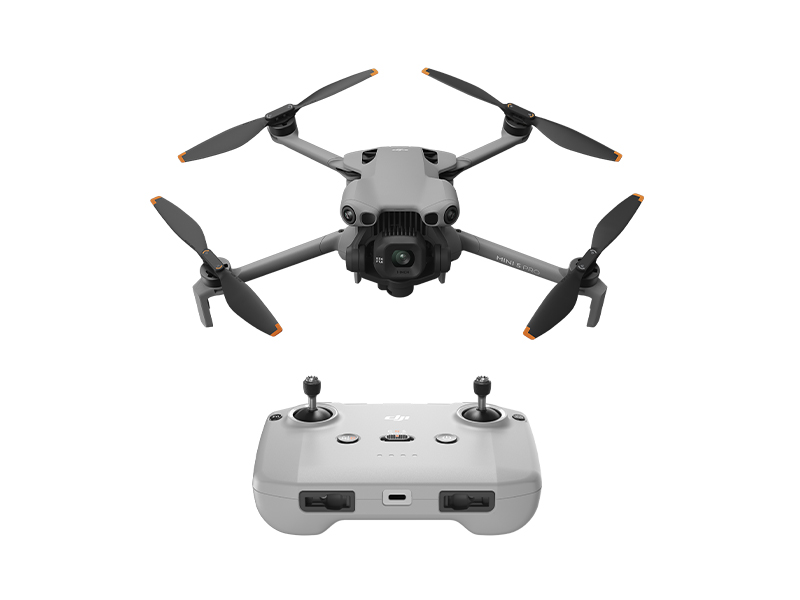 DJI Mini 5 Pro
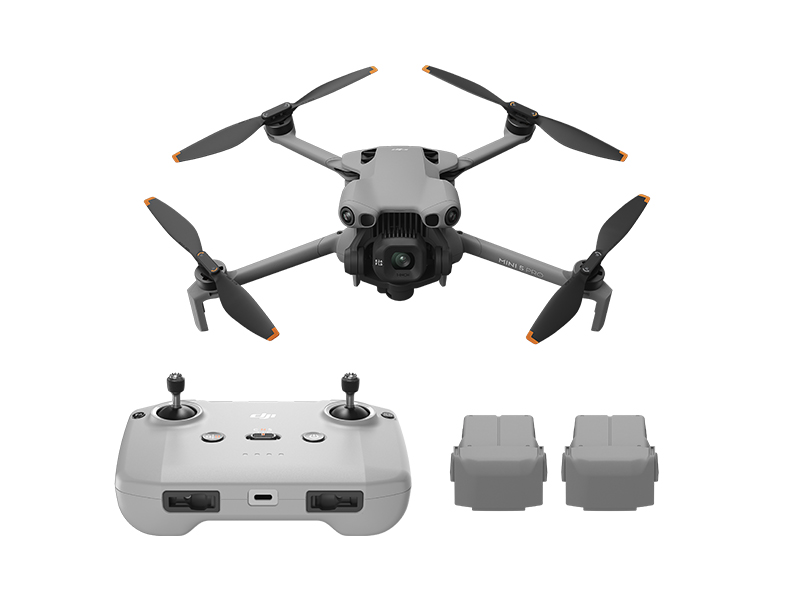 DJI Mini 5 Pro Fly More Combo w. DJI RC-N3
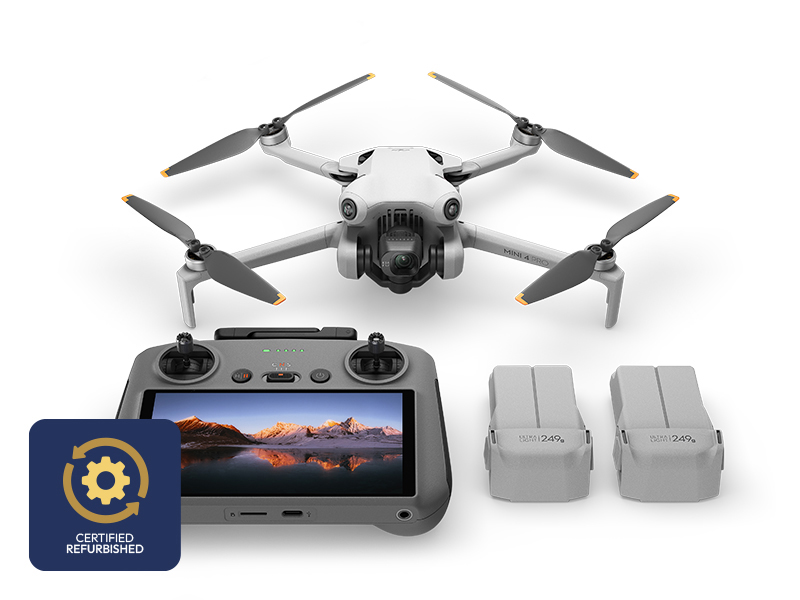 DJI Mini 4 Pro Fly More Combo (Refurbished)
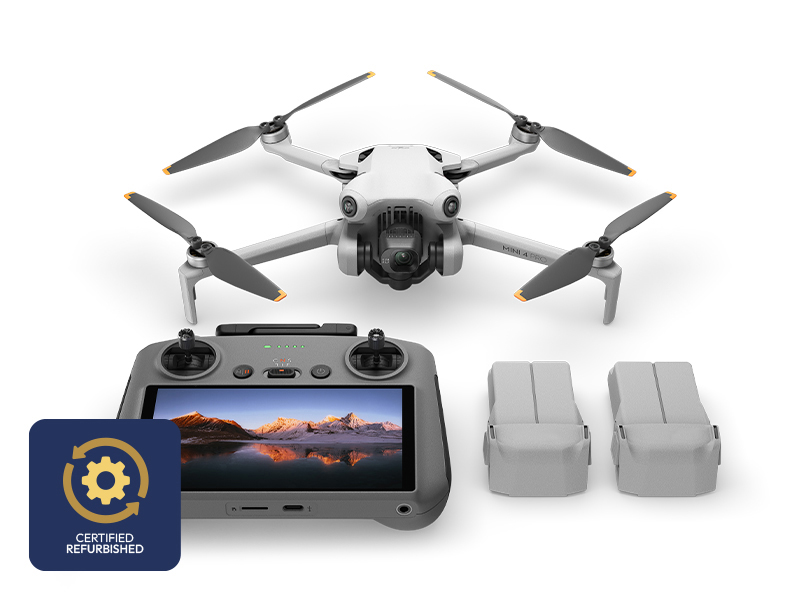 DJI Mini 4 Pro Fly More Combo Plus (Refurbished)
 DJI Care Refresh 1-Year Plan (DJI Mini 3)
 DJI Care Refresh 2-Year Plan (DJI Mini 3)
 DJI RC
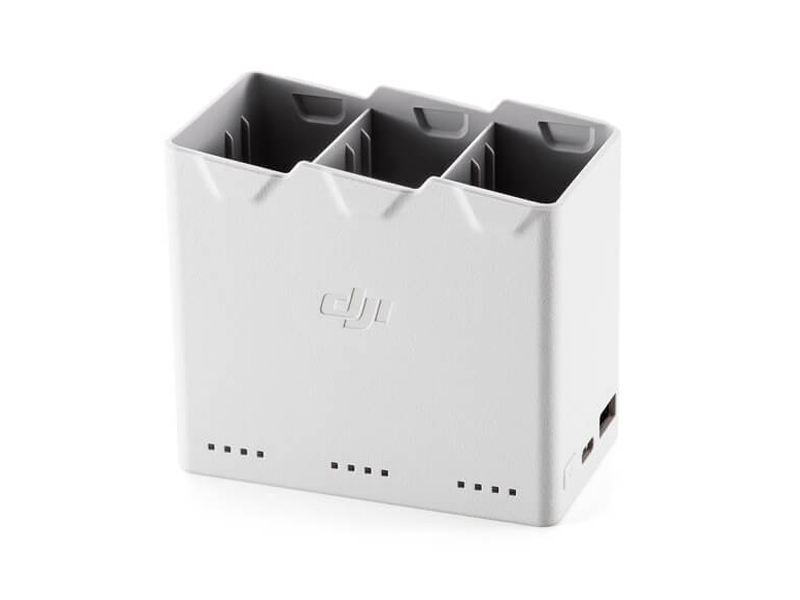 DJI Mini 4 Pro/Mini 3 Series Two-Way Charging Hub
 DJI Care Refresh 1-Year Plan (DJI Mini 2 SE & DJI Mini 4K)
 DJI Mini 2 / SE Intelligent Flight Battery
 DJI Care Refresh 2-Year Plan (DJI Mini 2 SE & DJI Mini 4K)
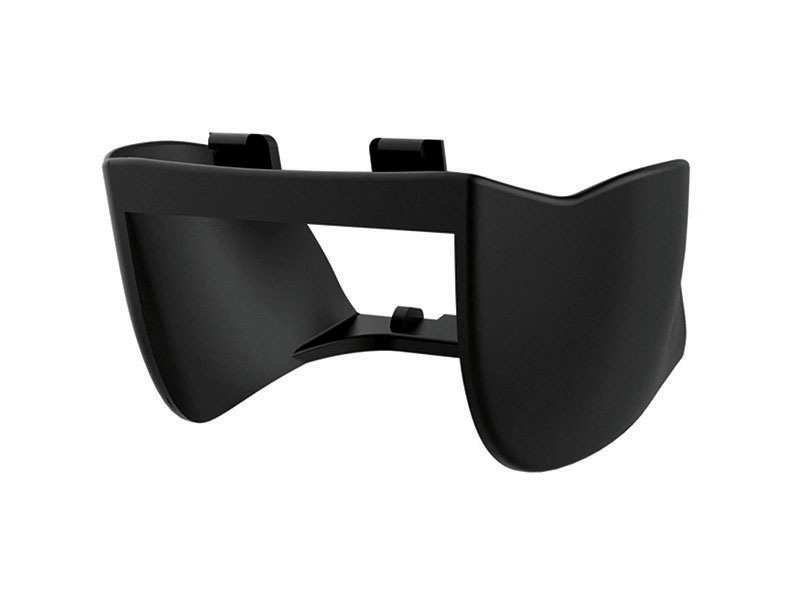 PGYTECH Lens Hood for DJI Mini Series
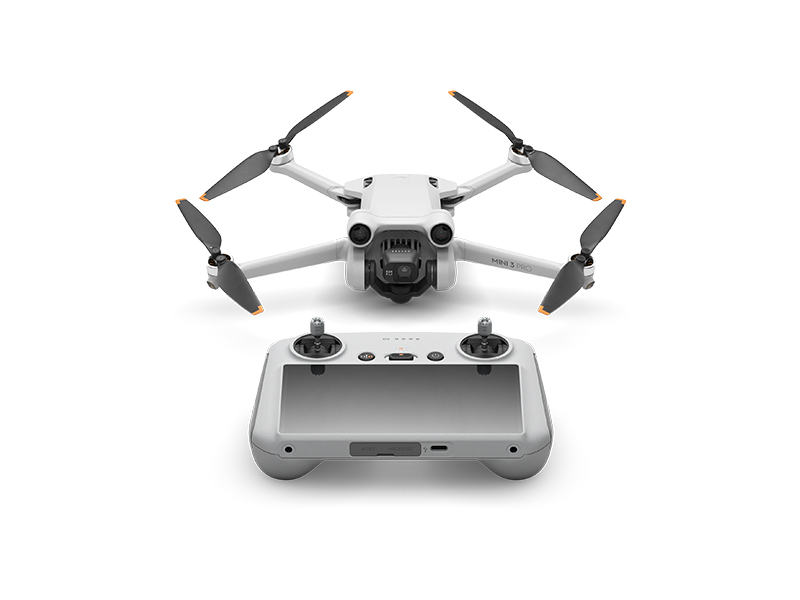 DJI Mini 3 Pro w. DJI RC
 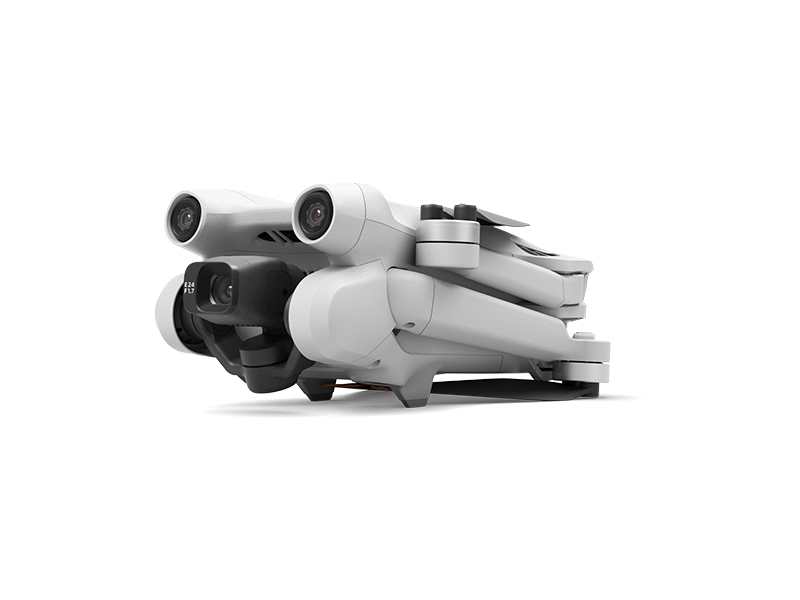 DJI Mini 3 Pro (Drone Only, No Battery)
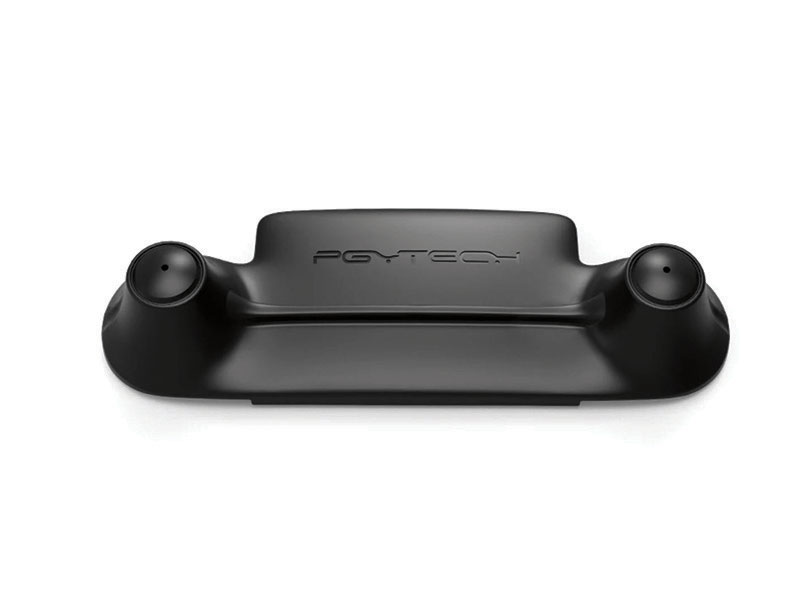 PGYTECH Control Stick Protector for Mavic Mini
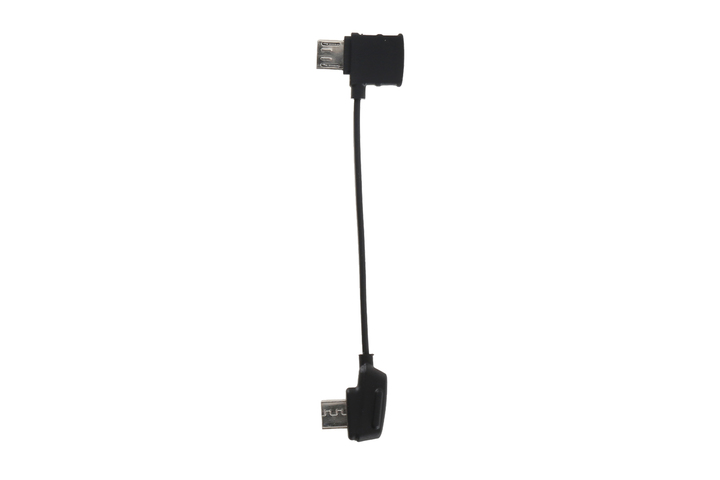 Mavic - RC Cable (Reverse Micro USB connector)
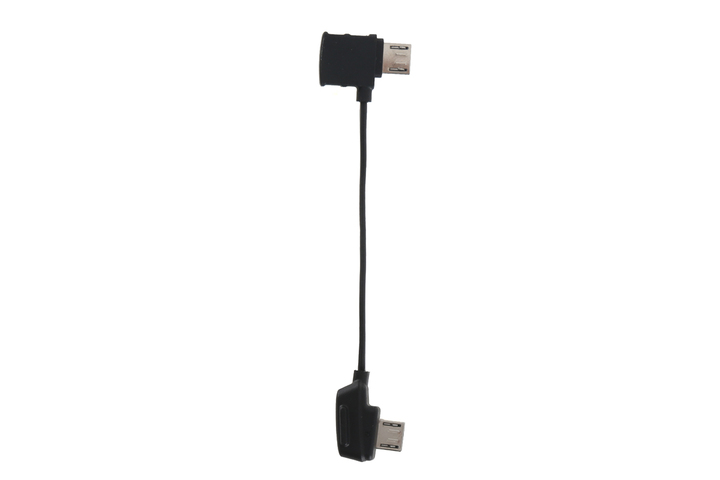 Mavic - RC Cable (Standard Micro USB connector)
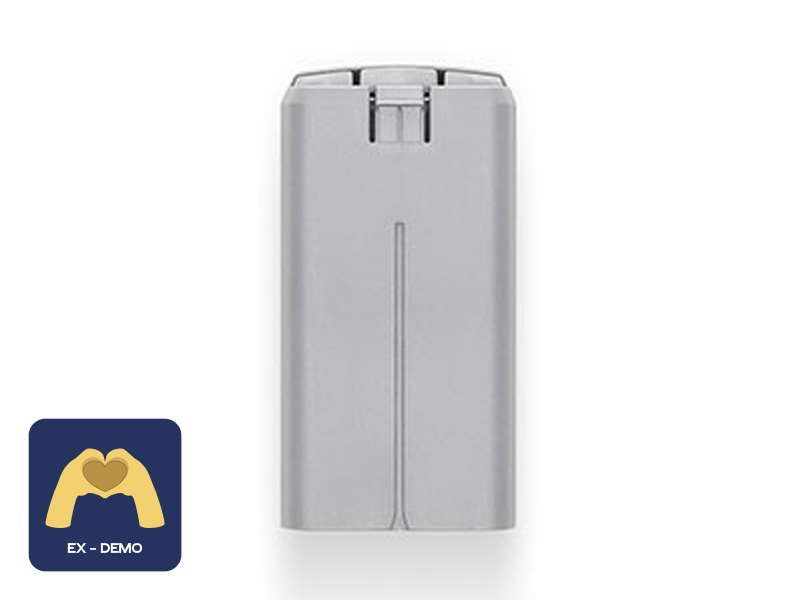 Ex-Demo DJI Mini 2 / SE Intelligent Flight Battery
 DJI RC-N Series Remote Controller Monitor Hood
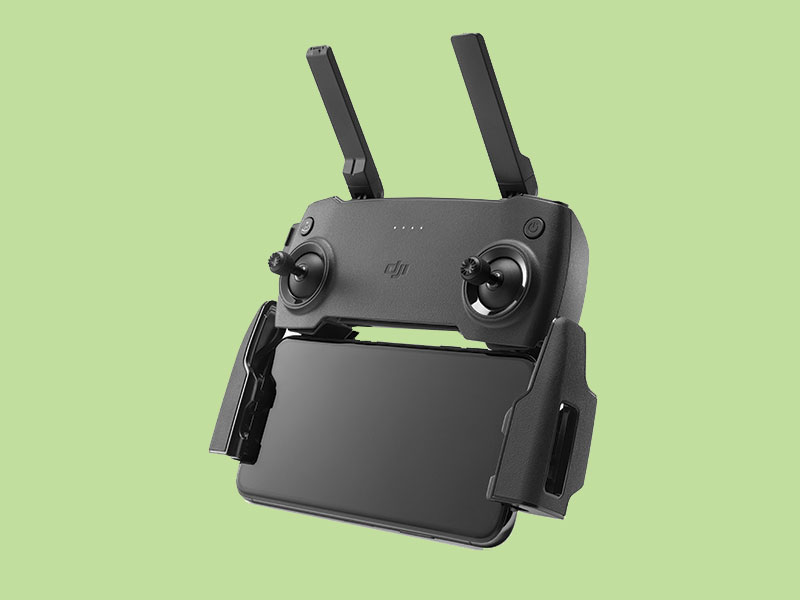 Mavic Mini Remote Controller (open box)
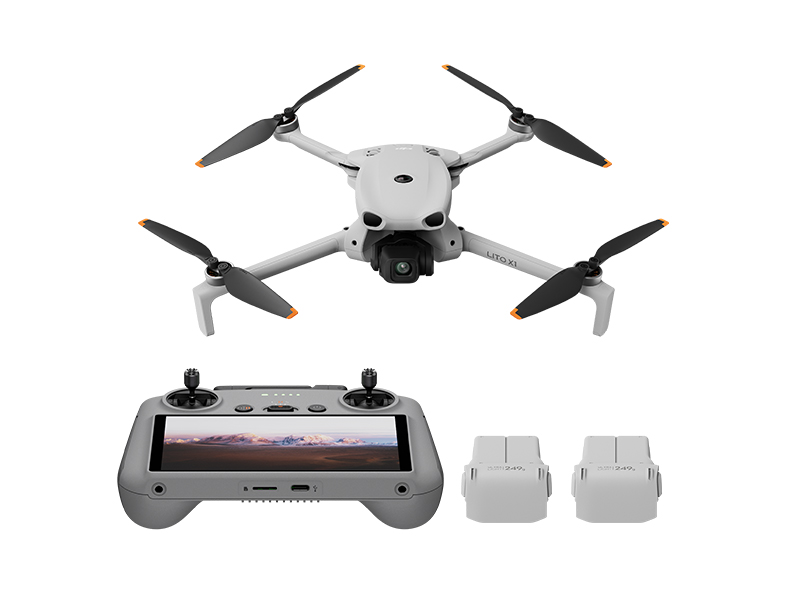 DJI Lito X1 Fly More Combo
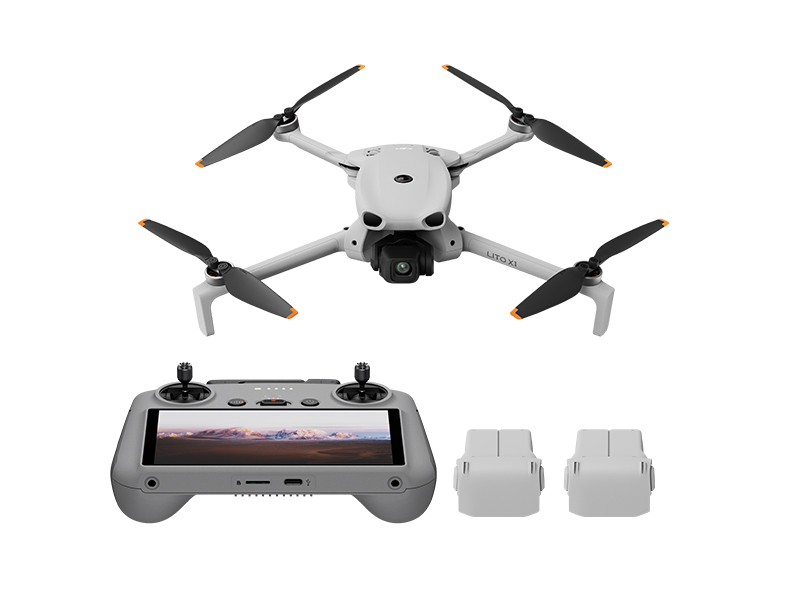 DJI Lito X1 Fly More Combo Plus
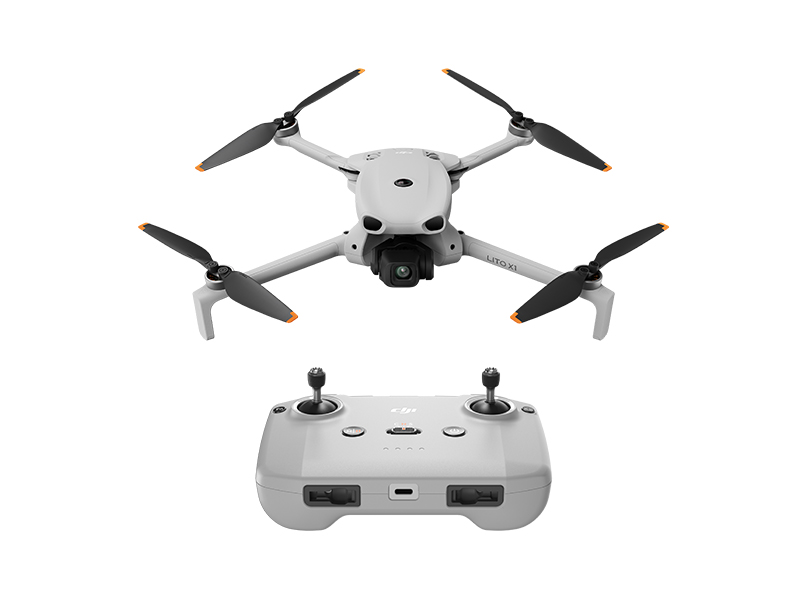 DJI Lito X1
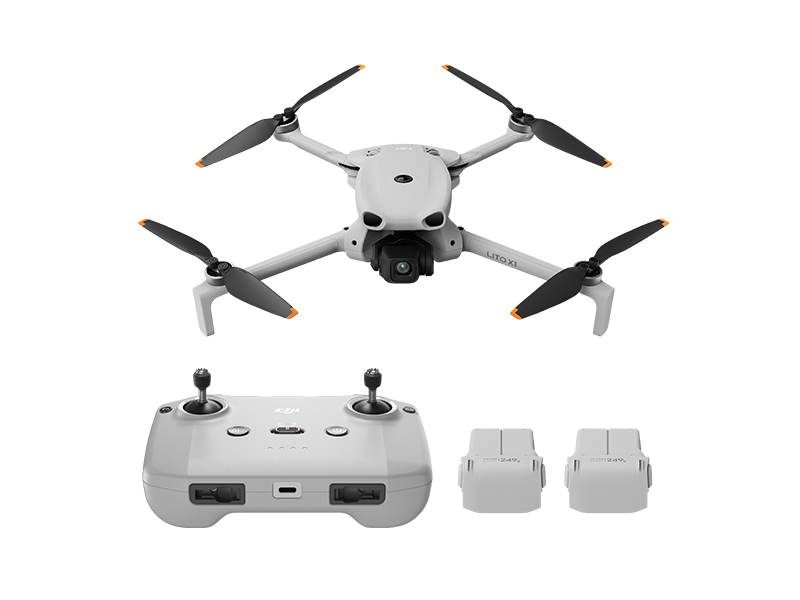 DJI Lito X1 Fly More Combo (DJI RC-N3)
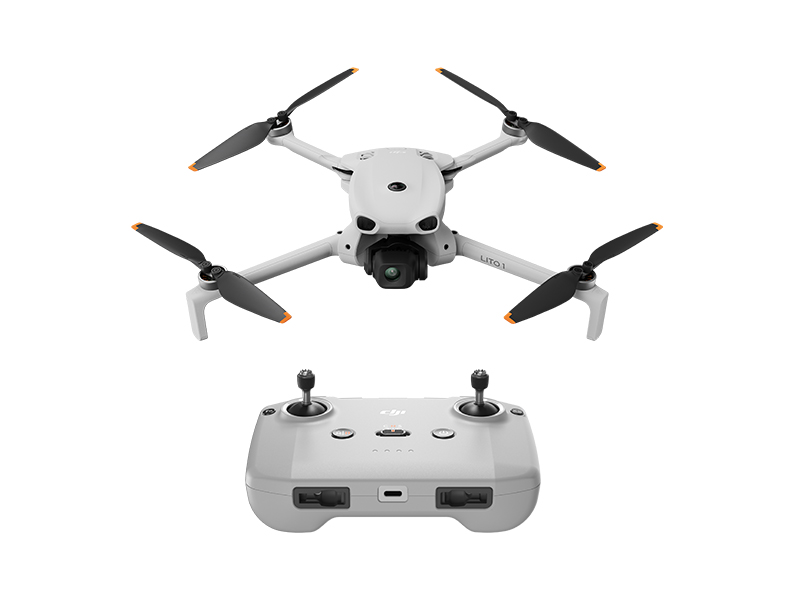 DJI Lito 1
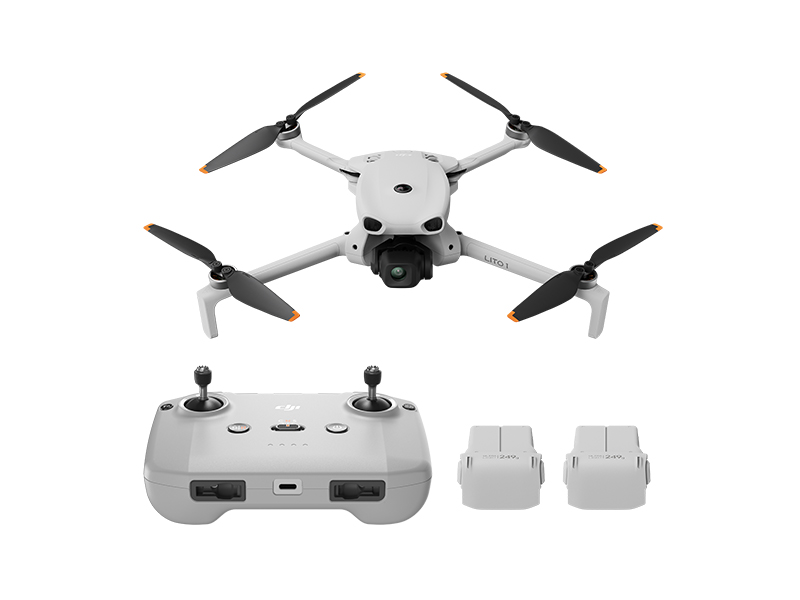 DJI Lito 1 Fly More Combo
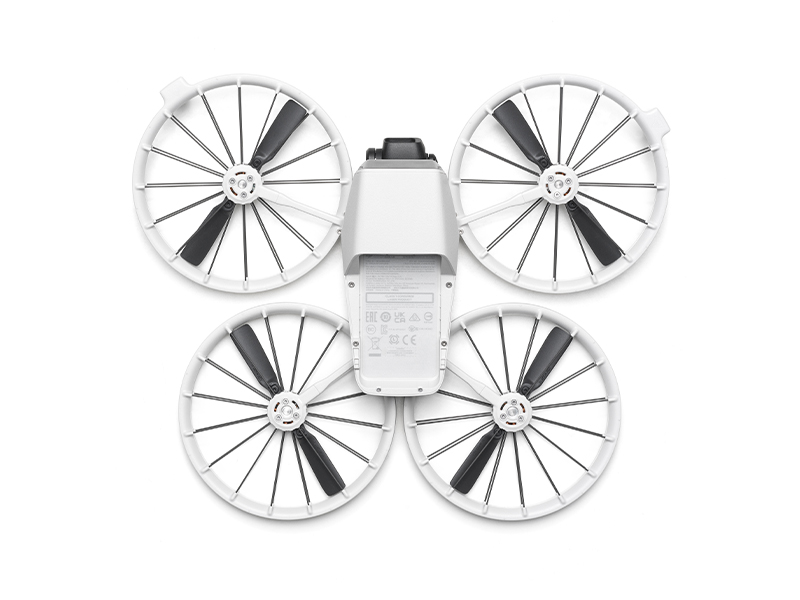 DJI Flip (Drone Only, No Battery)
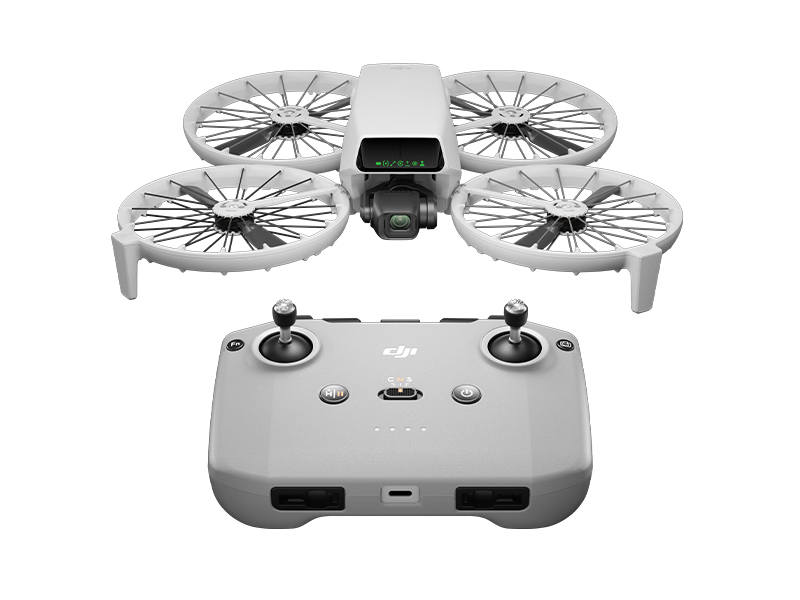 DJI Flip
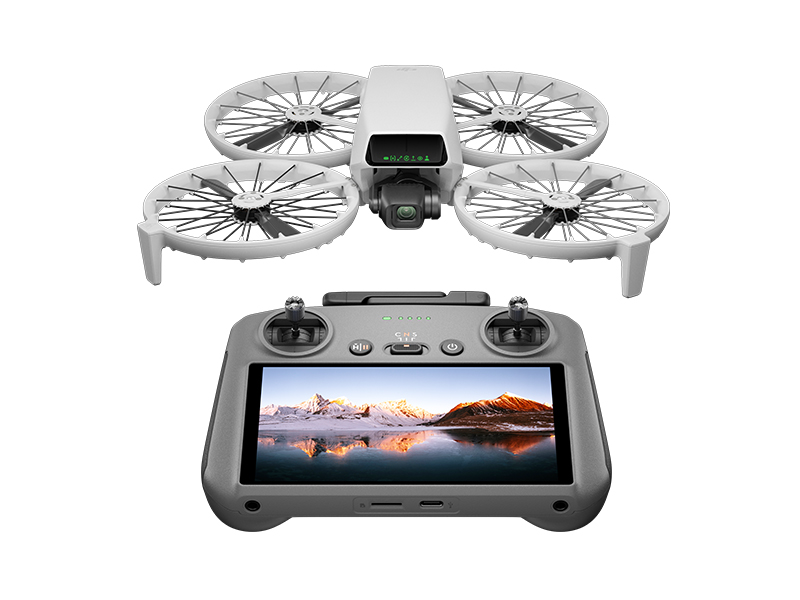 DJI Flip w. DJI RC 2
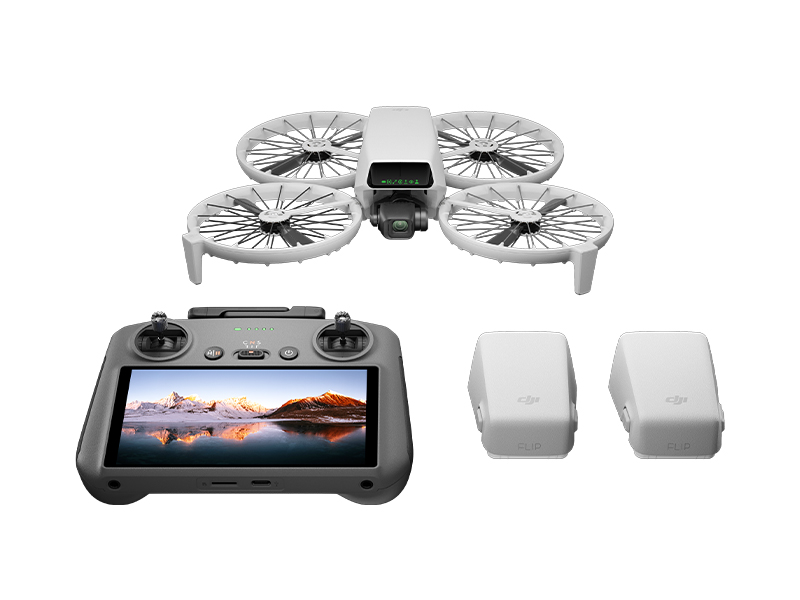 DJI Flip Fly More Combo
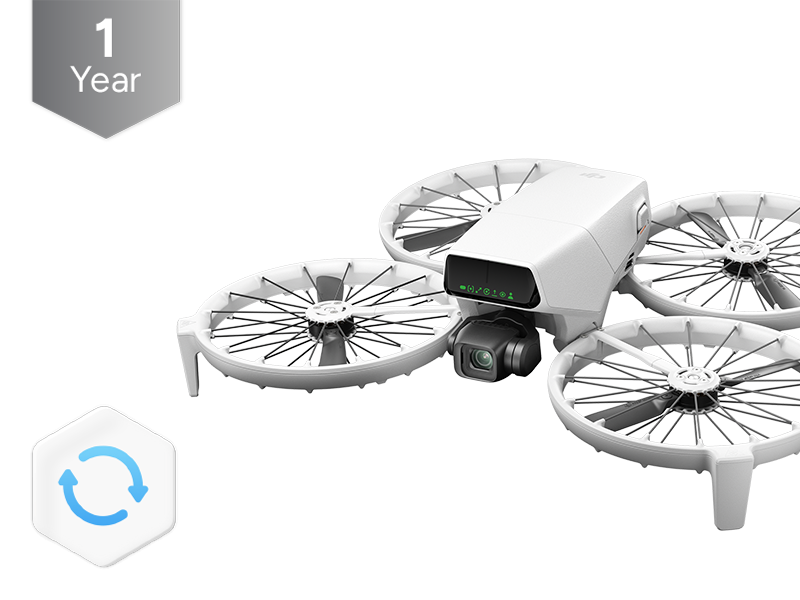 DJI Care Refresh 1-Year Plan (DJI Flip)
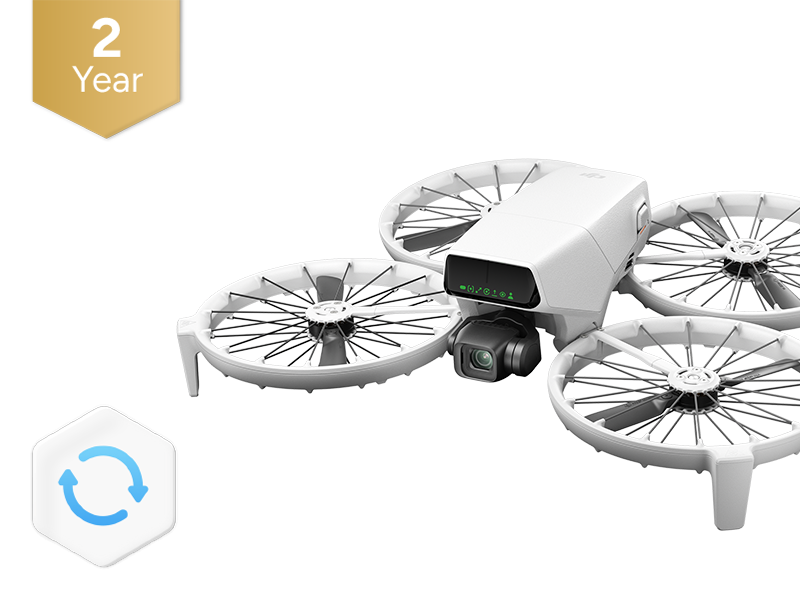 DJI Care Refresh 2-Year Plan (DJI Flip)
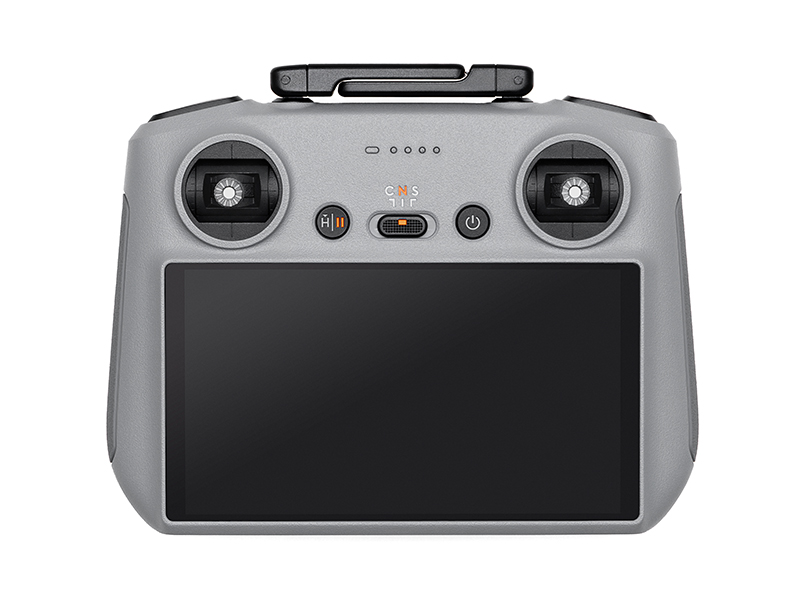 DJI RC 2
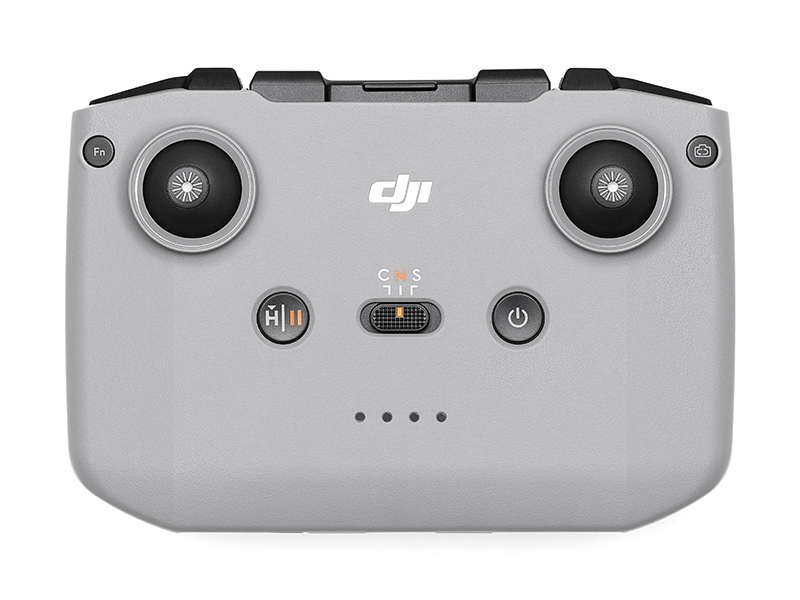 DJI RC-N3 Remote Controller
 DJI RC/RC 2 Control Sticks
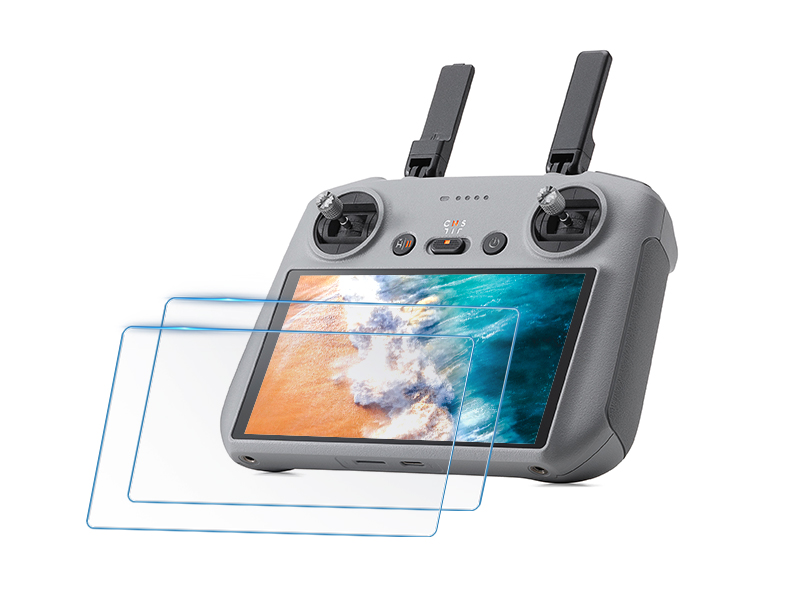 D1 Labs Screen Protector for DJI RC Series
 D1 Lens Cloth
 D1 Labs Heavy Duty Lanyard
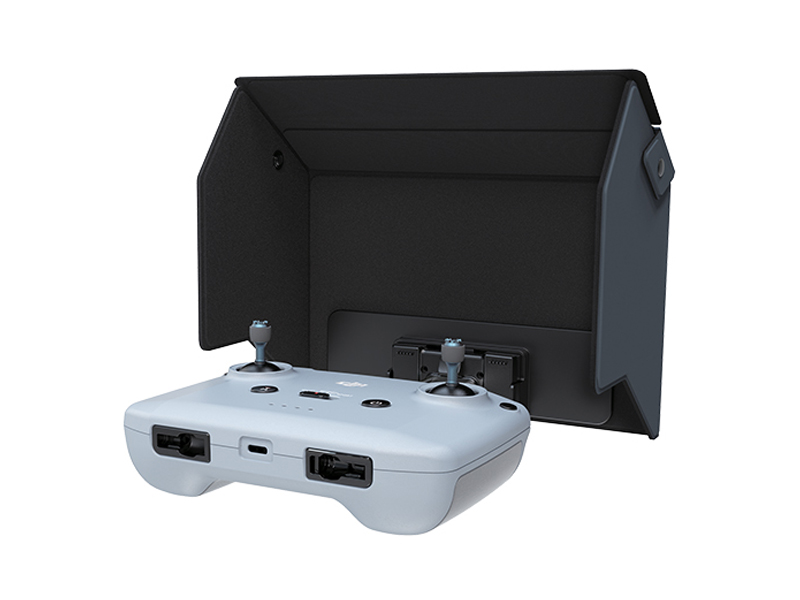 D1 Labs Monitor Hood for DJI RC-N Series
 D1 Labs Lanyard Kit for DJI RC-N Series
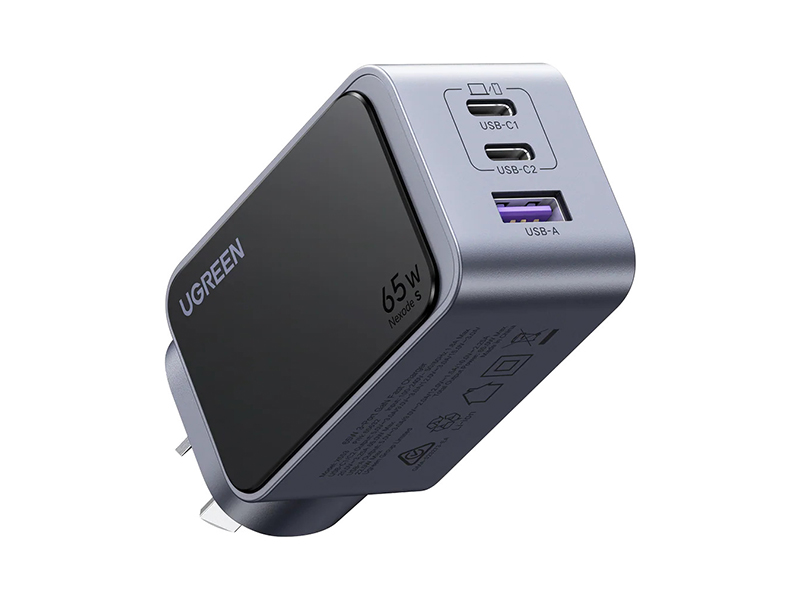 UGREEN 65W Nexode S GaN Charger
 SanDisk Extreme Pro 1TB 200MB/s MicroSD Card
 Lexar Professional 128GB Silver Plus MicroSD Card
 Lexar Professional 256GB Silver Plus MicroSD Card
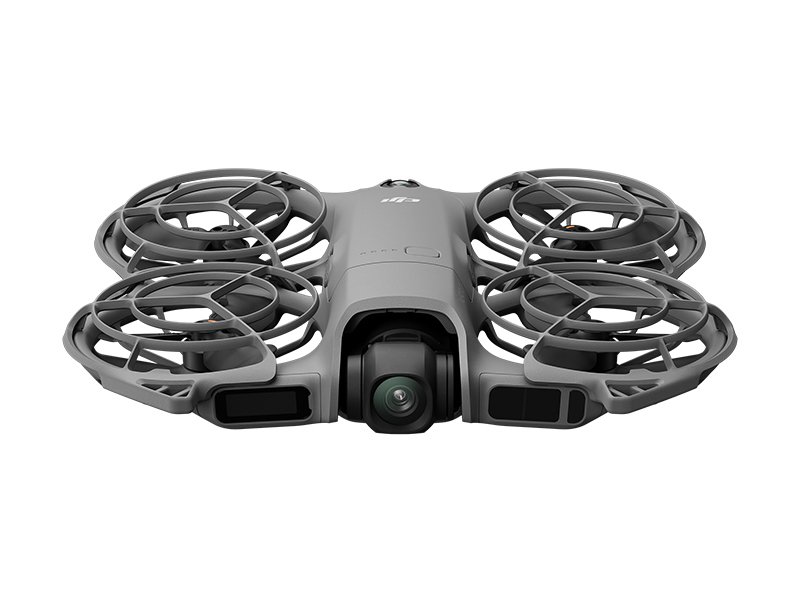 DJI Neo 2 (Drone Only)
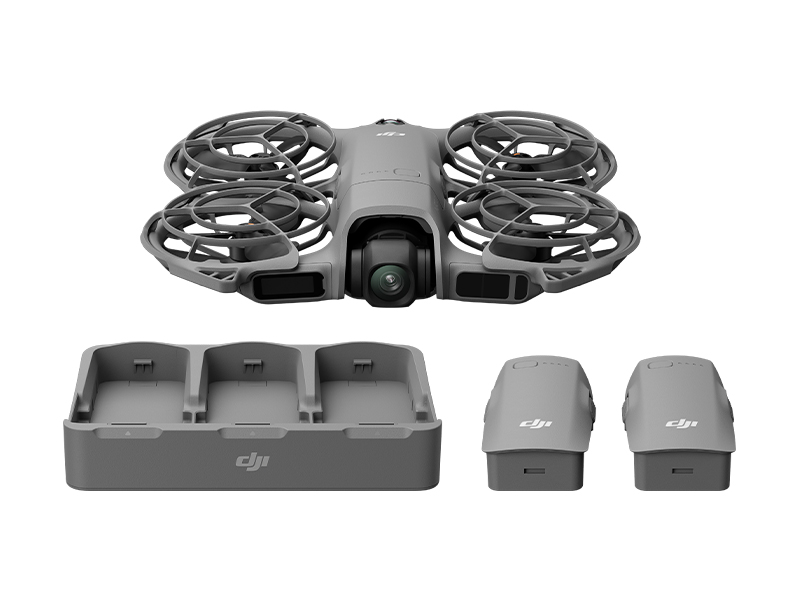 DJI Neo 2 Fly More Combo (Drone Only)
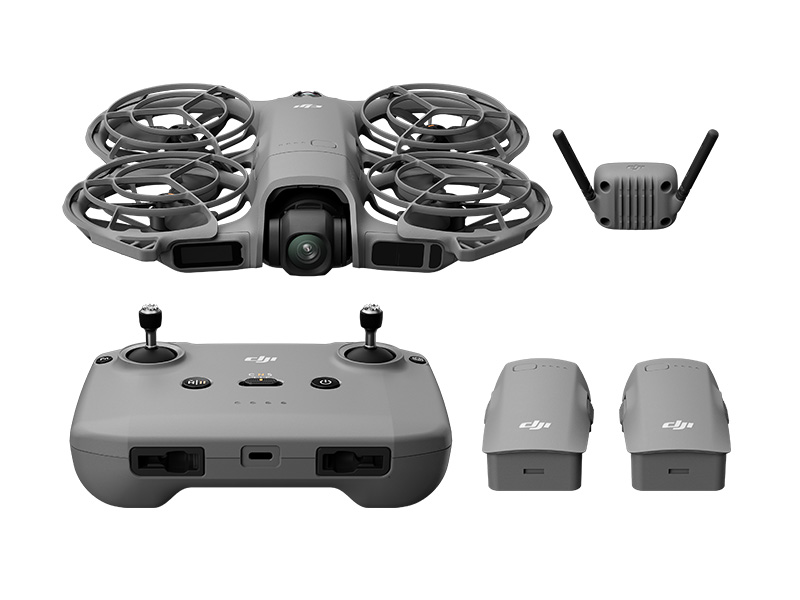 DJI Neo 2 Fly More Combo
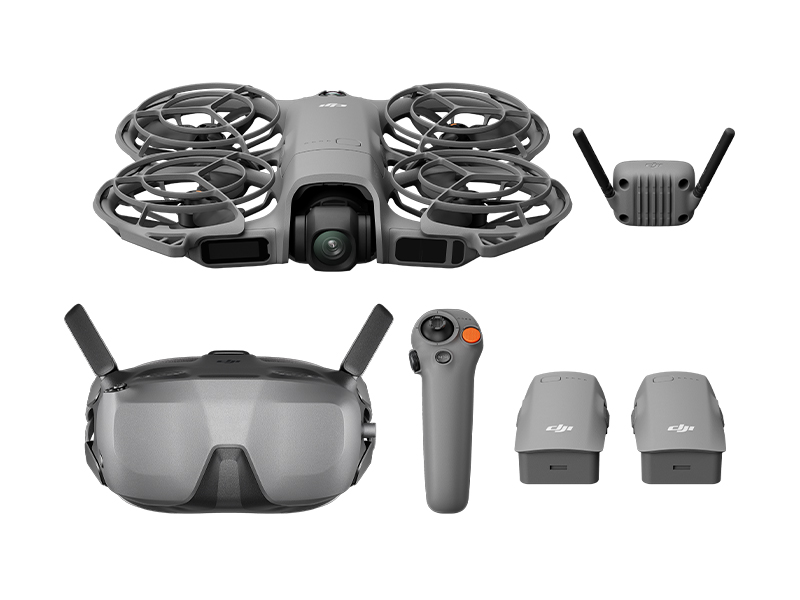 DJI Neo 2 Motion Fly More Combo
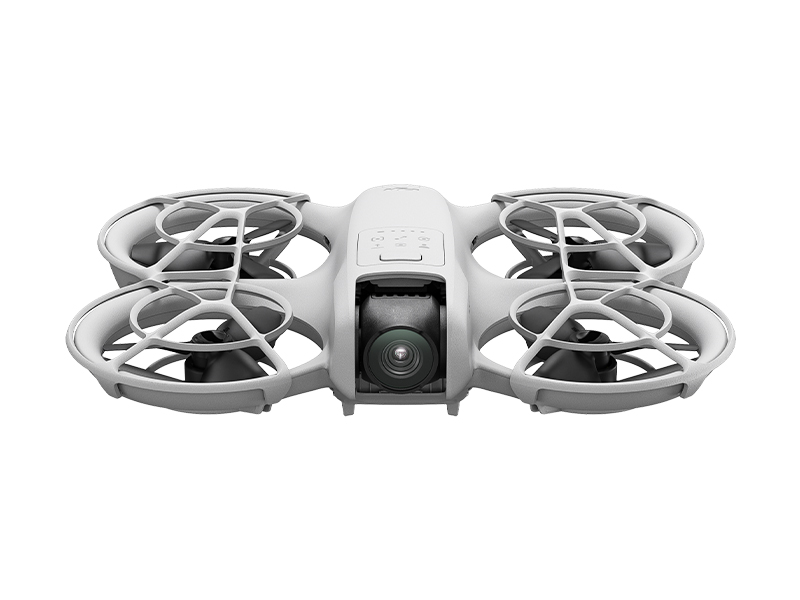 DJI Neo
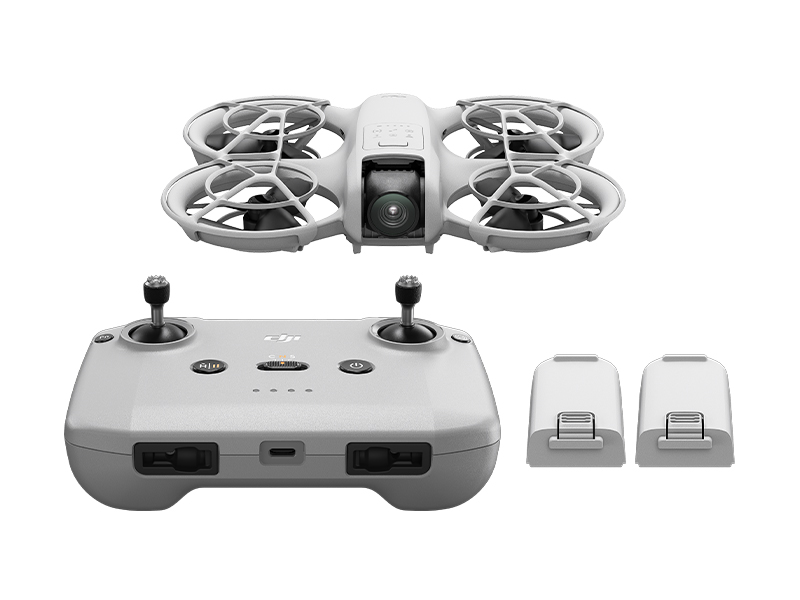 DJI Neo Fly More Combo
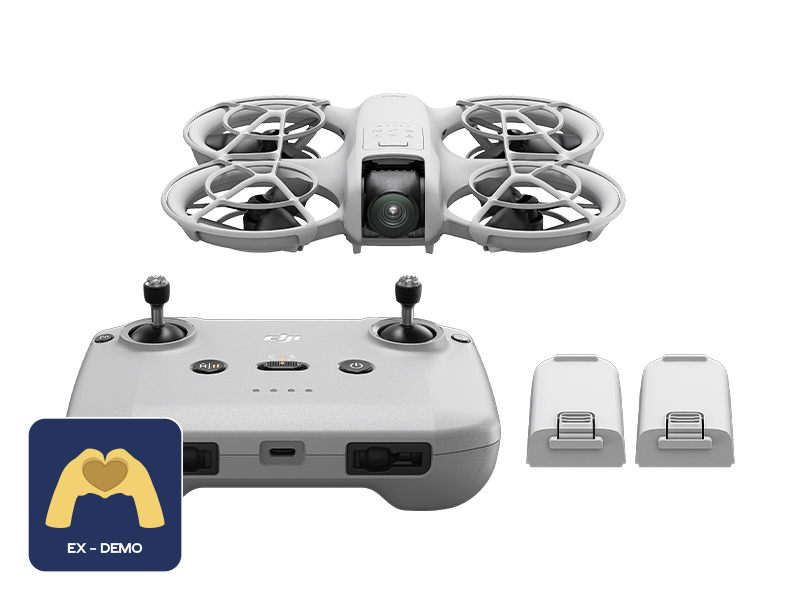 Ex-Demo DJI Neo Fly More Combo
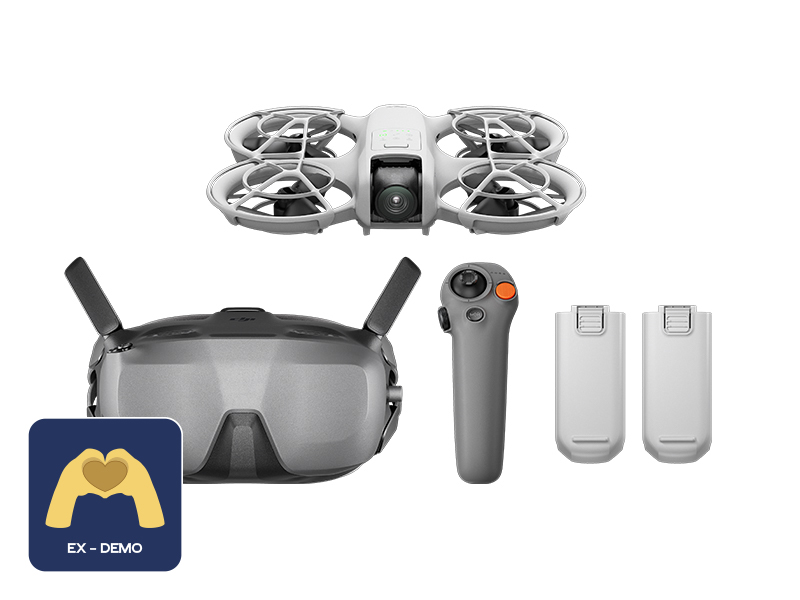 Ex-Demo DJI Neo Motion Fly More Combo
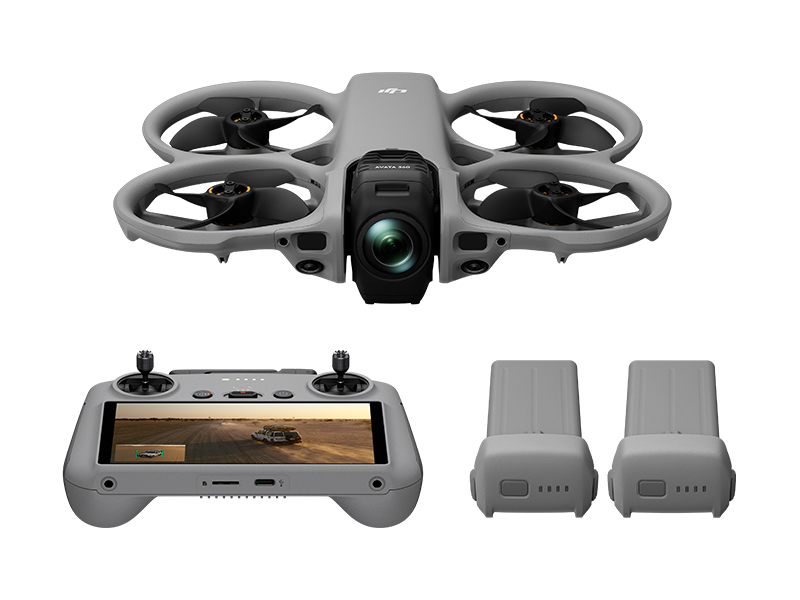 DJI Avata 360 Fly More Combo
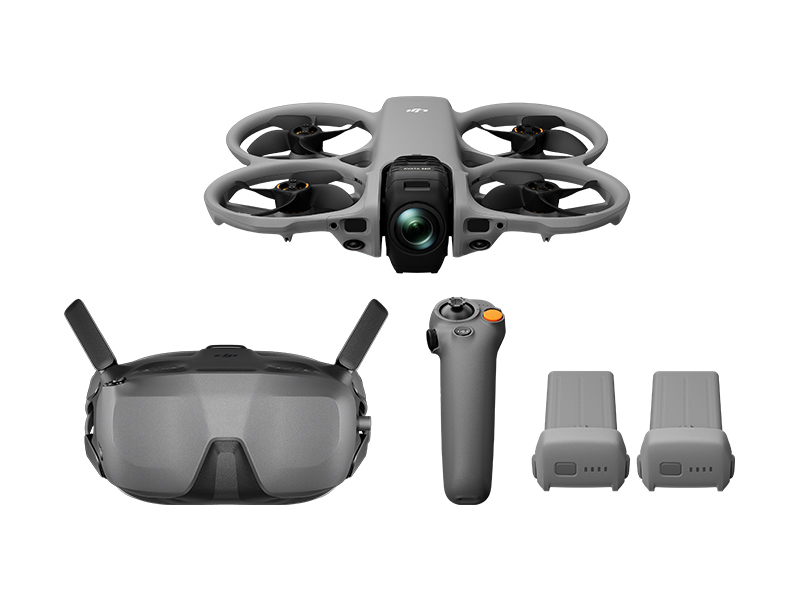 DJI Avata 360 Motion Fly More Combo
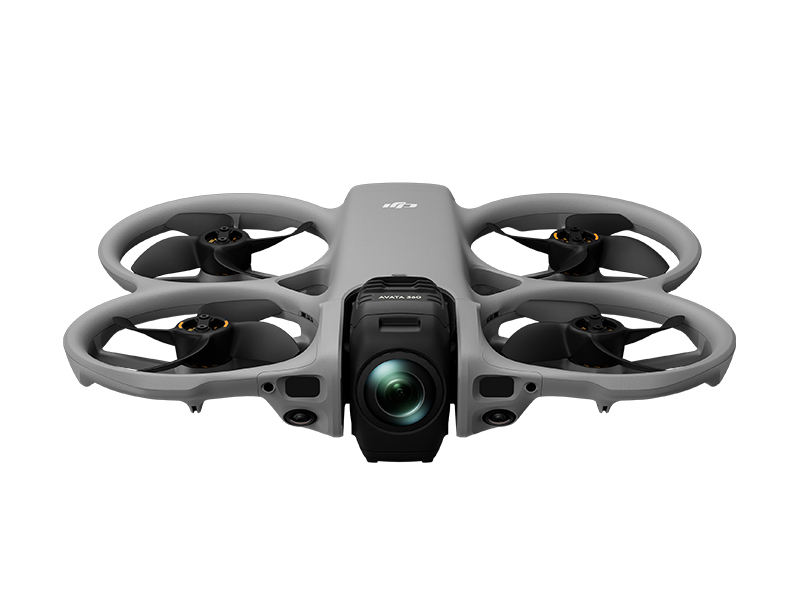 DJI Avata 360 (Drone Only)
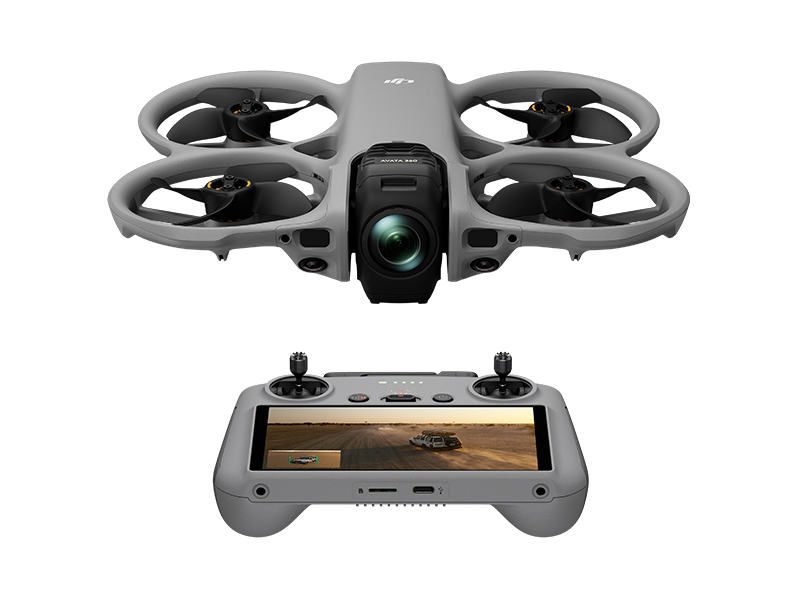 DJI Avata 360 w. DJI RC 2
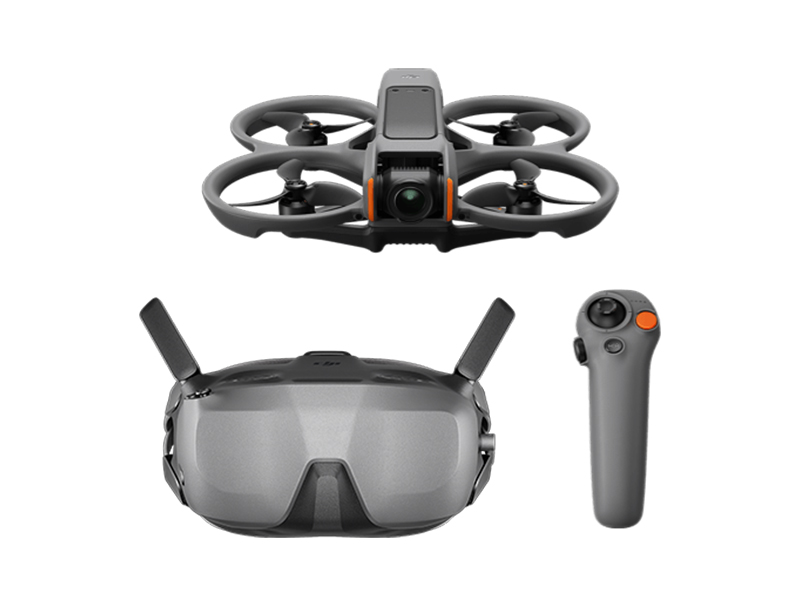 DJI Avata 2 Fly Smart Combo
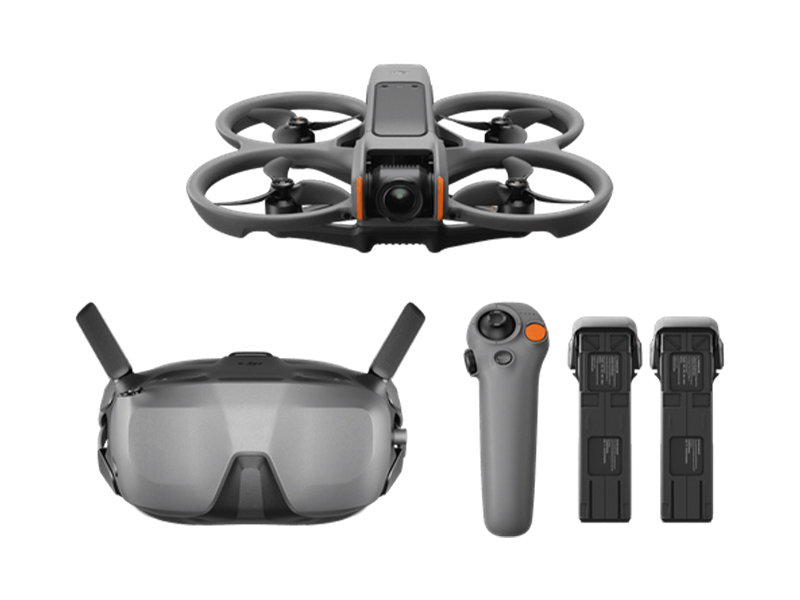 DJI Avata 2 Fly Smart Combo (Three Batteries)
 DJI Avata 2 Fly More Combo
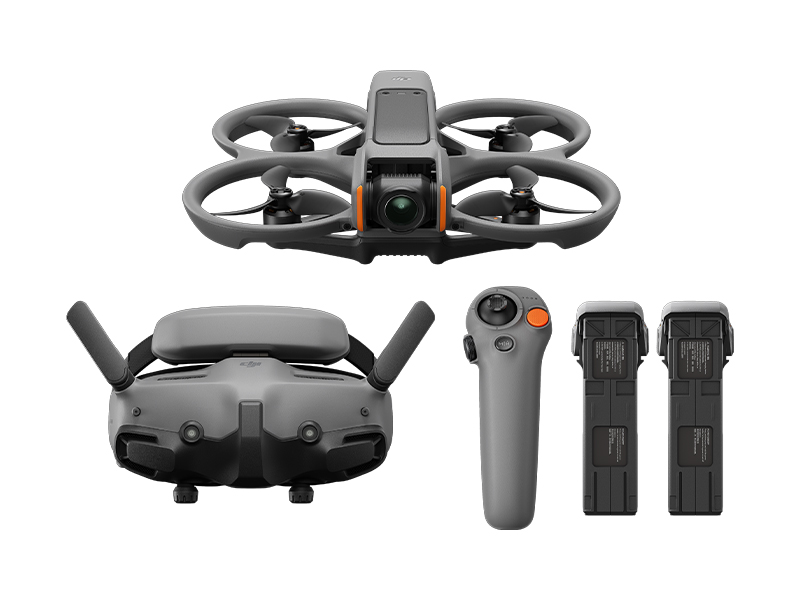 DJI Avata 2 Fly More Combo (Three Batteries)
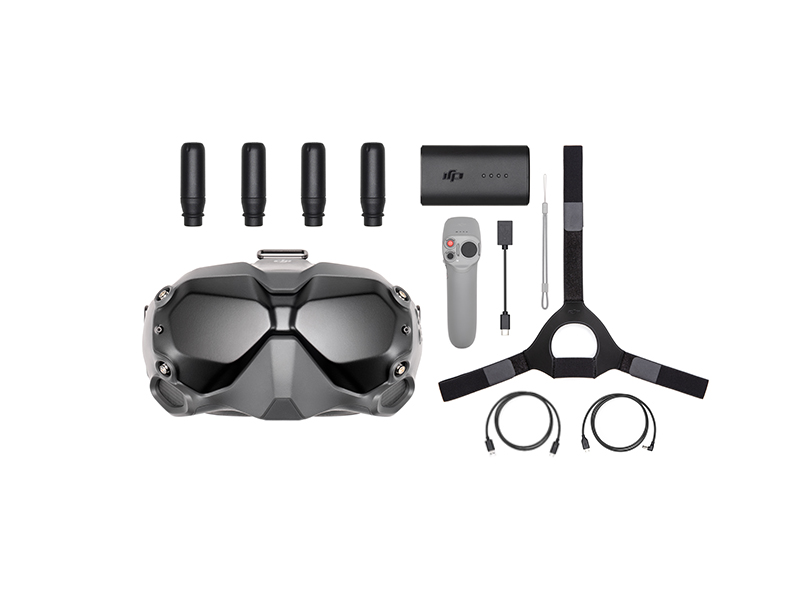 DJI FPV Goggles V2 Motion Combo
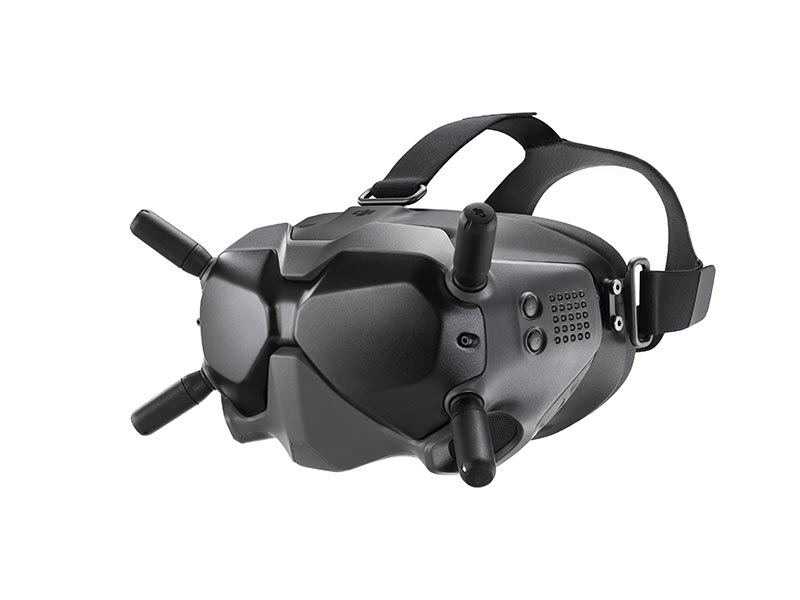 DJI FPV Goggles V2
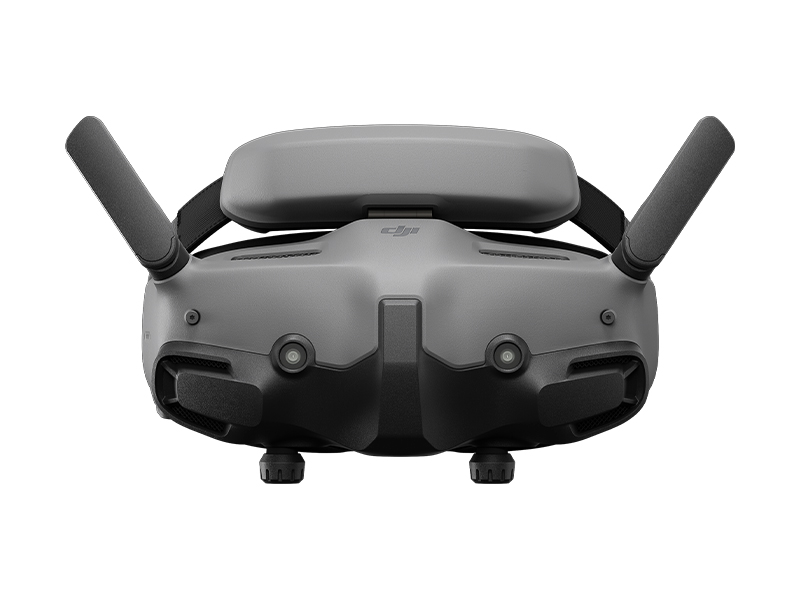 DJI Goggles 3
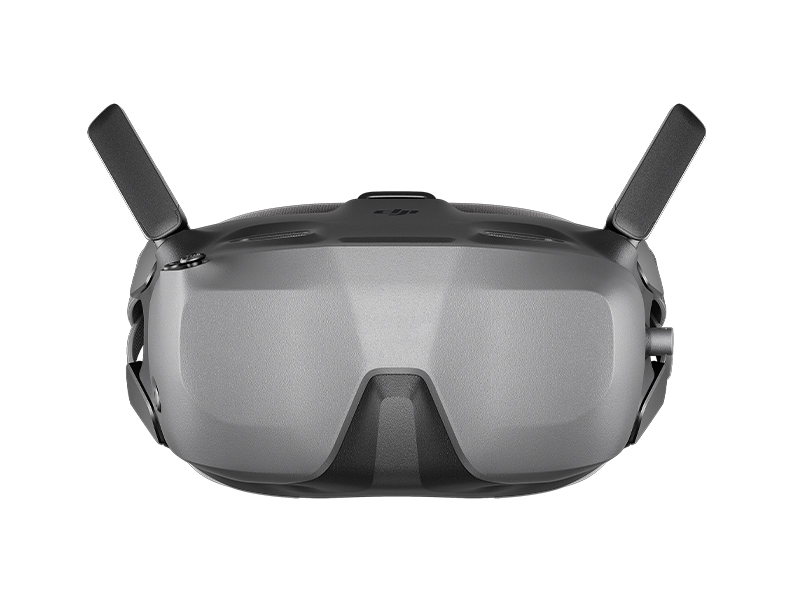 DJI Goggles N3
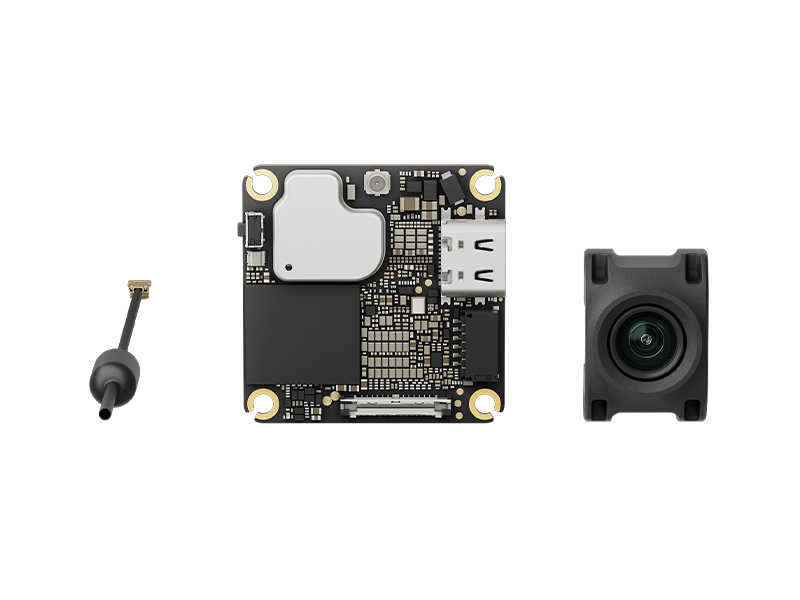 DJI O4 Air Unit
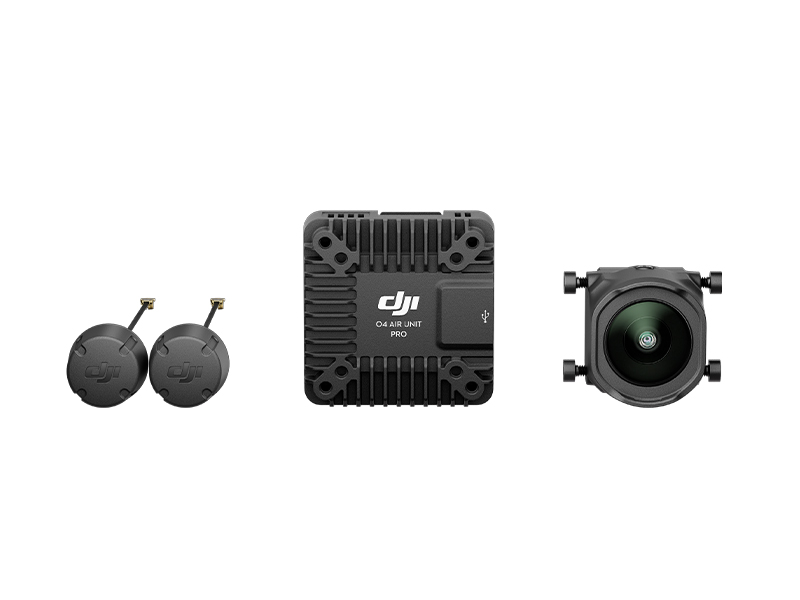 DJI O4 Air Unit Pro
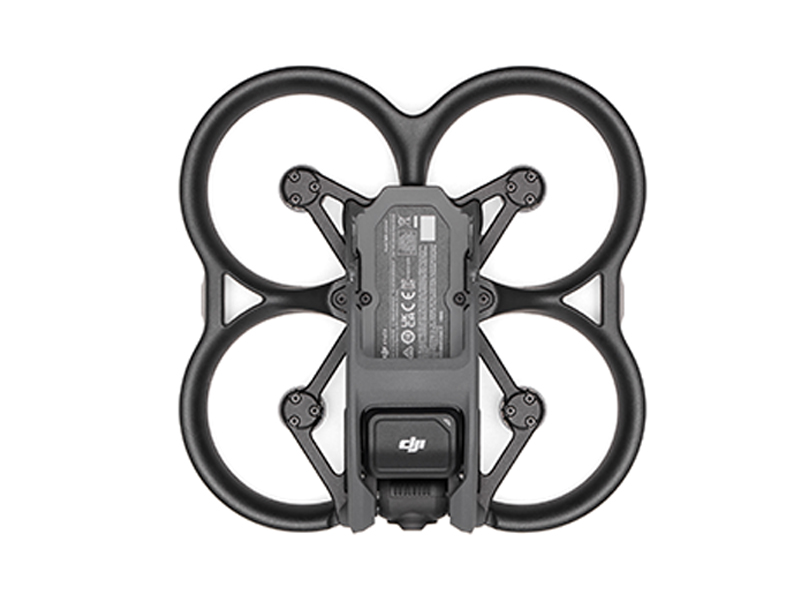 DJI Avata (Drone Only, No Battery)
 DJI Avata Intelligent Flight Battery
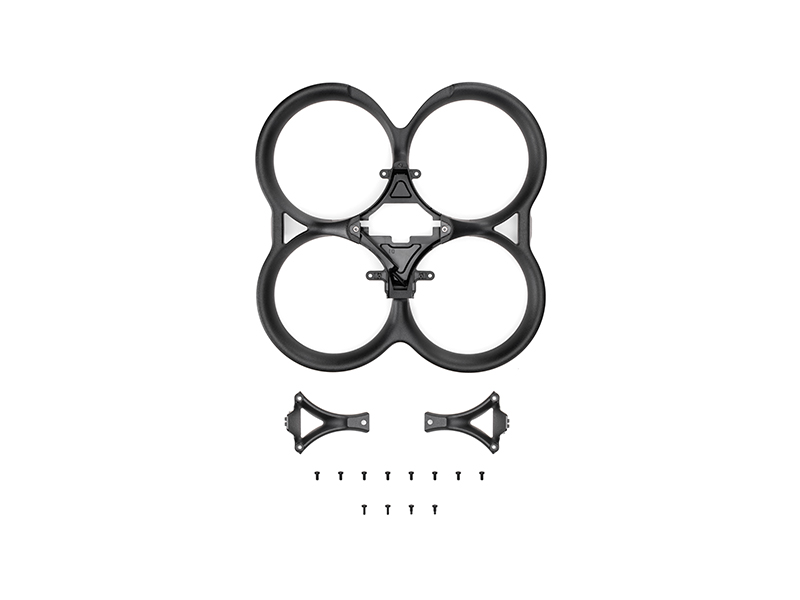 DJI Avata Propeller Guard
 SunnyLife Propeller Guard Protector for DJI Avata
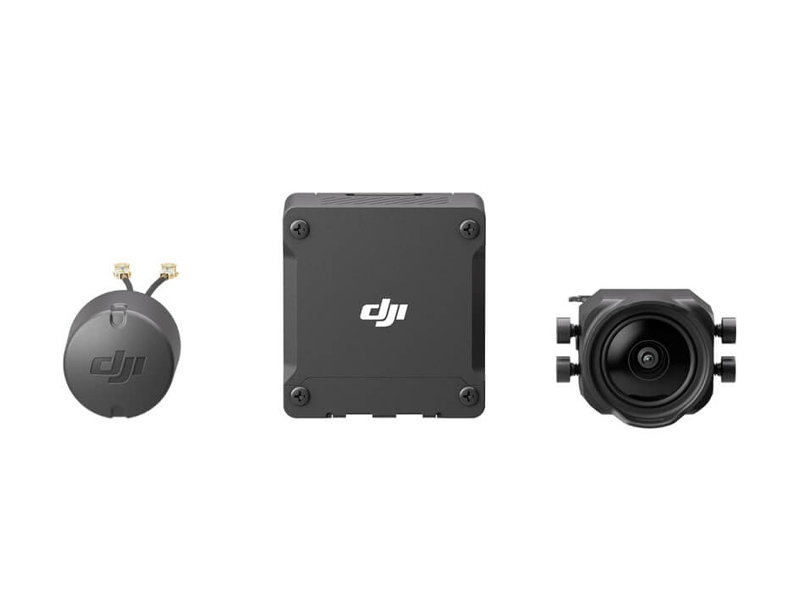 DJI O3 Air Unit
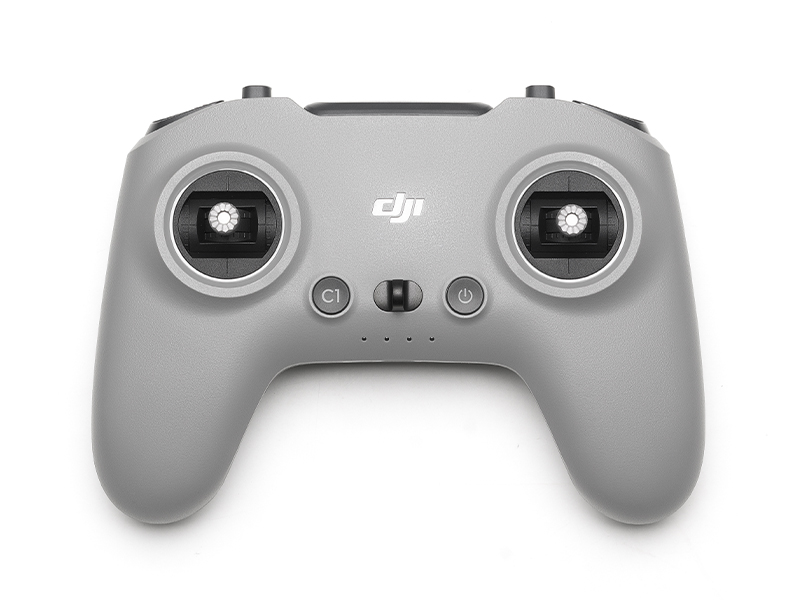 DJI FPV Remote Controller 3
 DJI O3 Air Unit 3-in-1 Cable
 DJI FPV Combo
  Osmo Pocket 4 Standard Combo
 Osmo Pocket 4 Creator Combo
 Osmo Action 6 Standard Combo
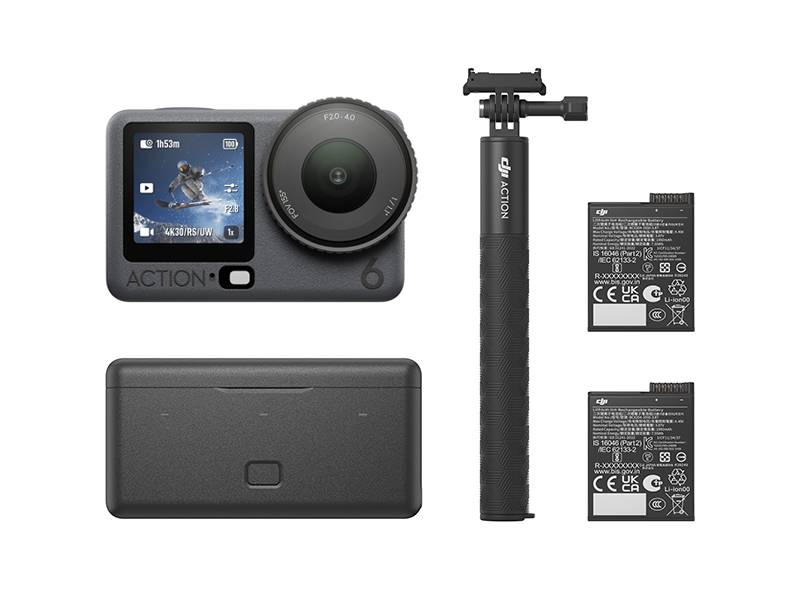 Osmo Action 6 Adventure Combo
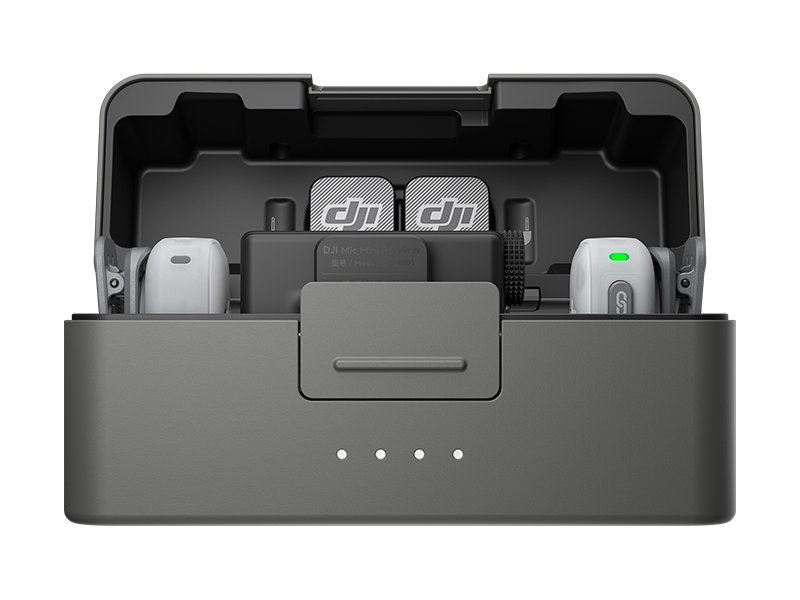 DJI Mic Mini 2 Dual Microphone Combo
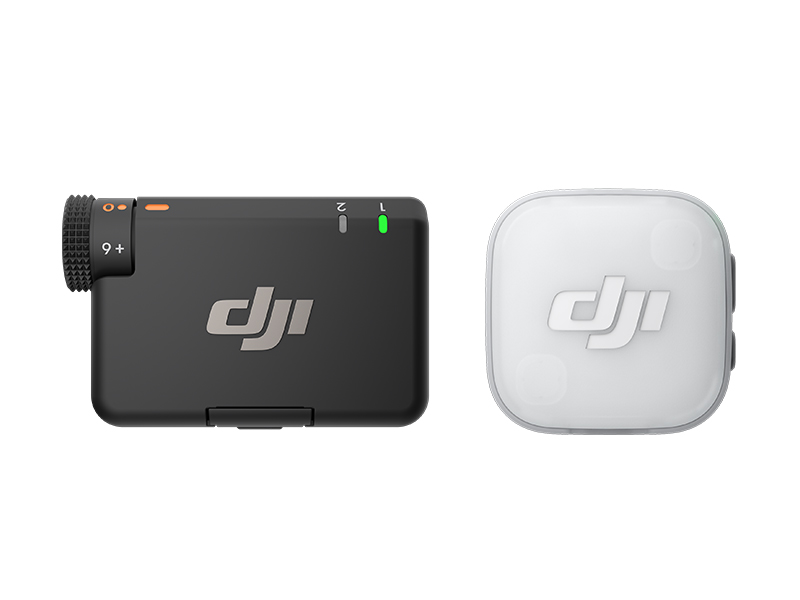 DJI Mic Mini 2 Single Microphone Kit
 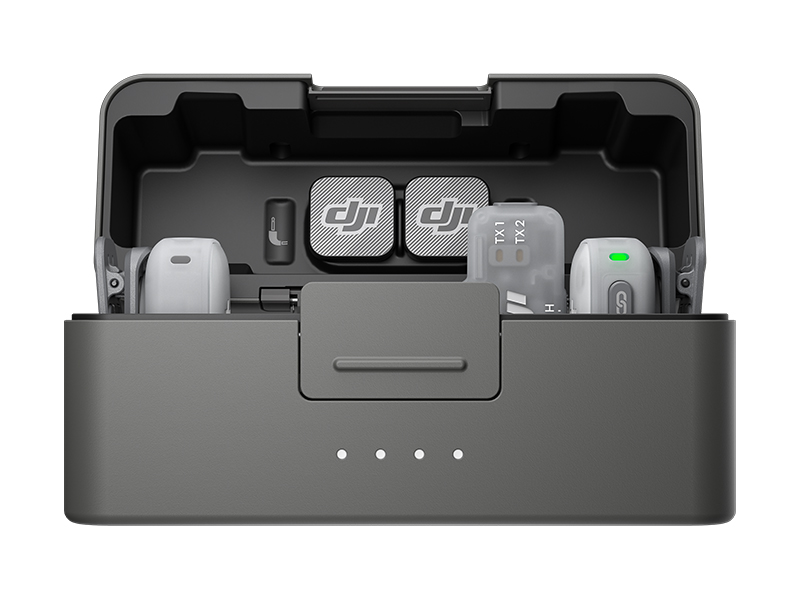 DJI Mic Mini 2 Dual Microphone Combo (Mobile)
 DJI Mic Mini 2 Single Microphone Kit (Mobile)
 Osmo Nano Standard Combo (64GB)
 Osmo Nano Standard Combo (128GB)
 Osmo 360 Standard Combo
 Osmo 360 Adventure Combo
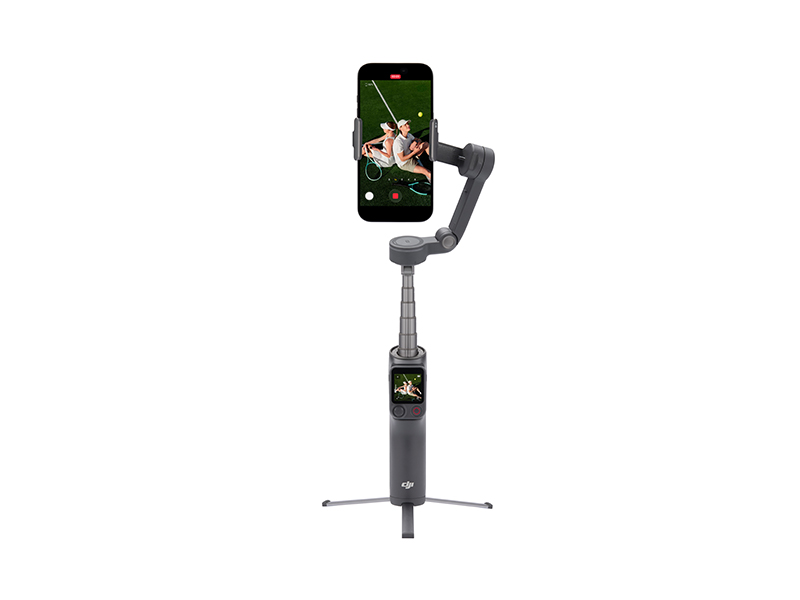 Osmo Mobile 8P Standard Combo
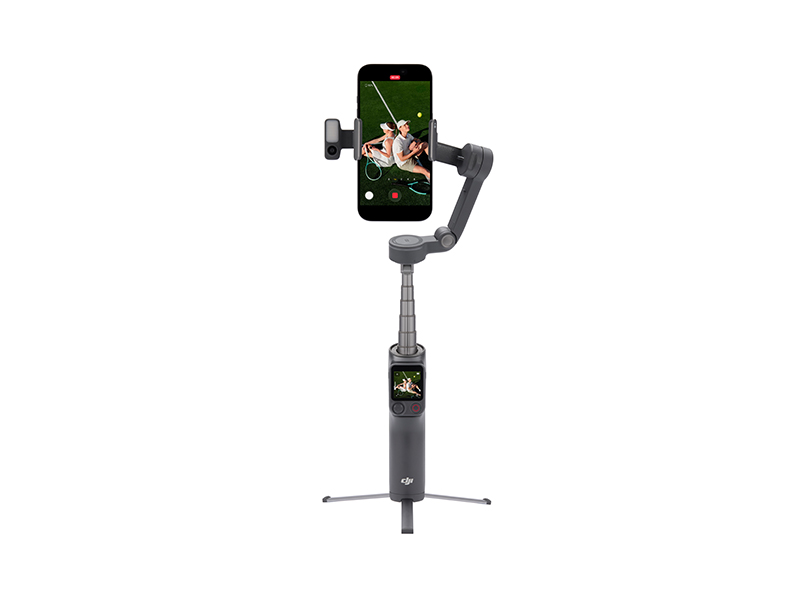 Osmo Mobile 8P Advanced Tracking Combo
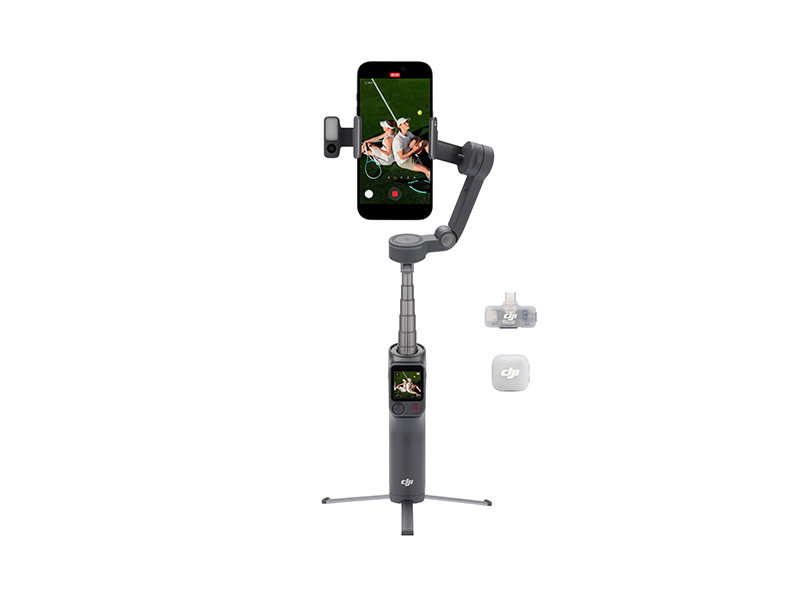 Osmo Mobile 8P Creator Combo
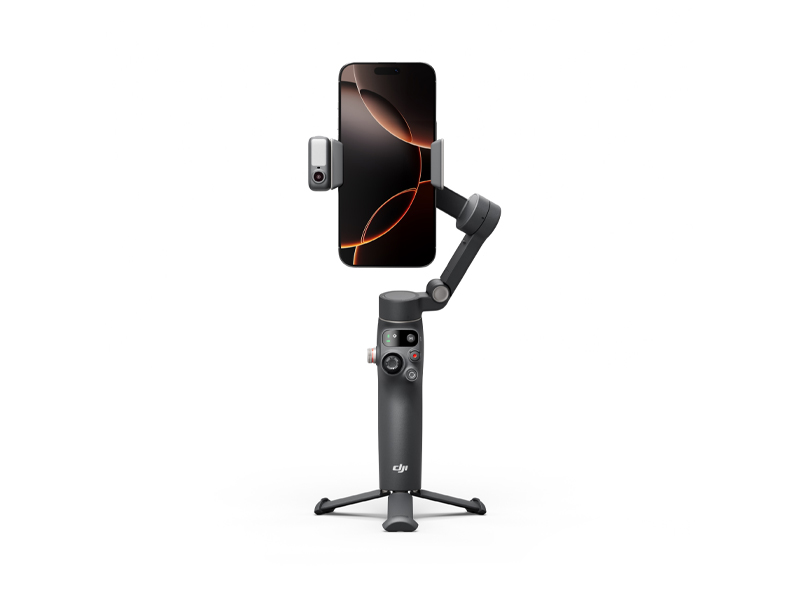 Osmo Mobile 8 Advanced Tracking Combo
 Osmo Pocket 3 Standard Combo
 Osmo Pocket 3 Creator Combo
 Osmo Pocket 3 (Refurbished)
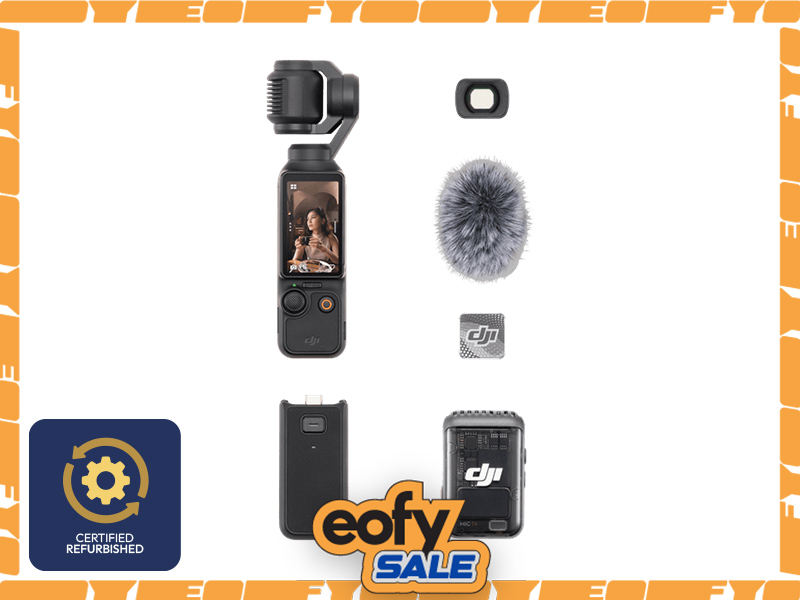 Osmo Pocket 3 Creator Combo (Refurbished)
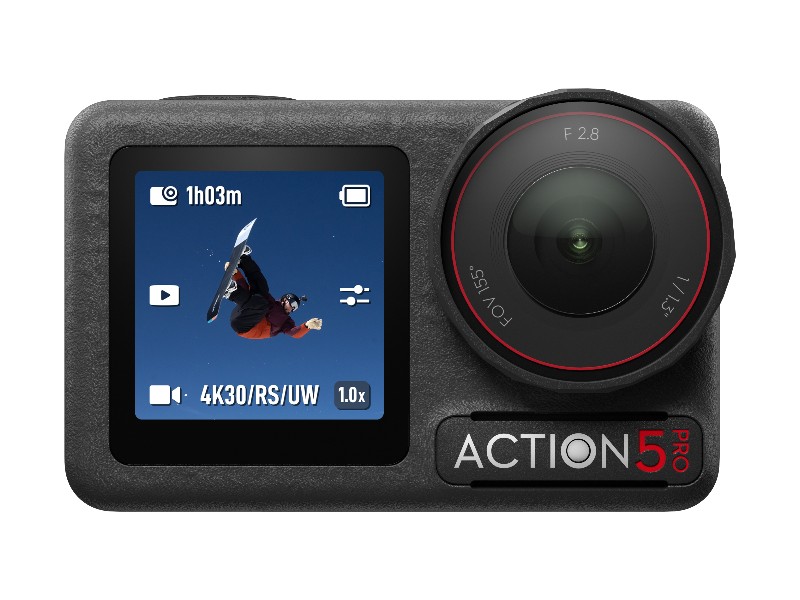 Osmo Action 5 Pro Standard Combo
 Osmo Action 5 Pro Adventure Combo
 DJI Mic 3 Dual Microphone Combo
 DJI Mic 3 Single Microphone Kit
 DJI Mic Mini Single Microphone Kit
 DJI Mic Mini Transmitter (Arctic White)
 Osmo Action 4 Standard Combo
 Osmo Action 4 Adventure Combo
 DJI Mic 2 Single Microphone Kit
 DJI Care Refresh 2-Year Plan (DJI Pocket 2)
 Osmo Pocket 3.5mm Adapter
 DJI Care Refresh 1-Year Plan (Osmo Action 3)
 DJI Care Refresh 2-Year Plan (Osmo Action 3)
 Osmo Action Carrying Bag
 Osmo Action 60m Waterproof Case
 DJI Mic Single Microphone Kit
 DJI Action 2 Dual Screen Combo
 DJI Osmo Action
  Osmo Pocket
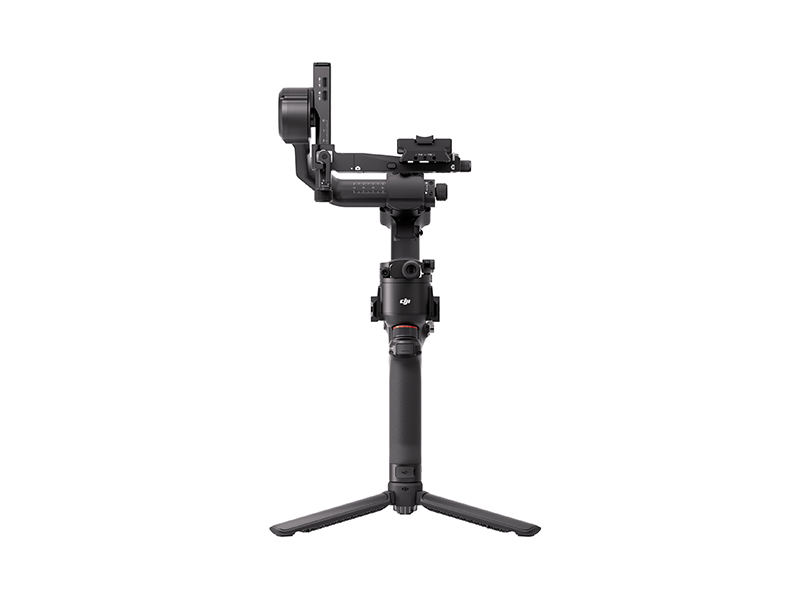 DJI RS 5
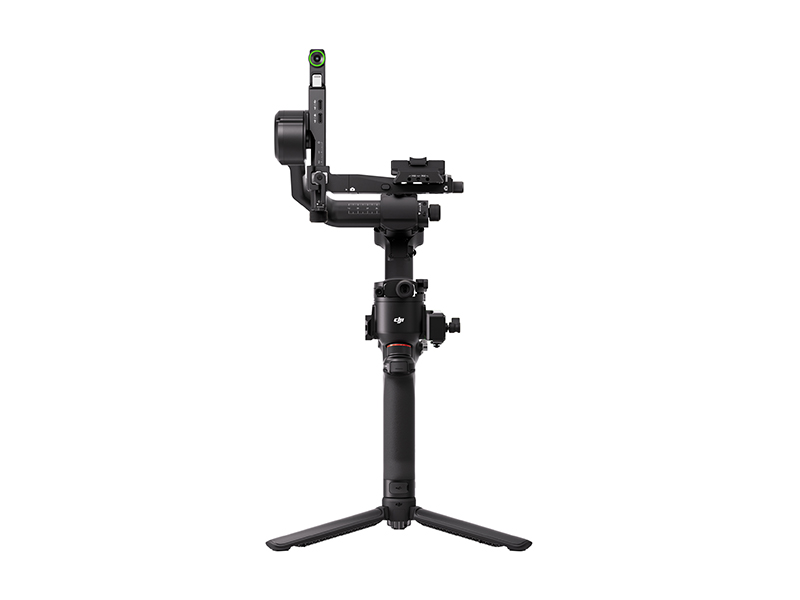 DJI RS 5 Combo
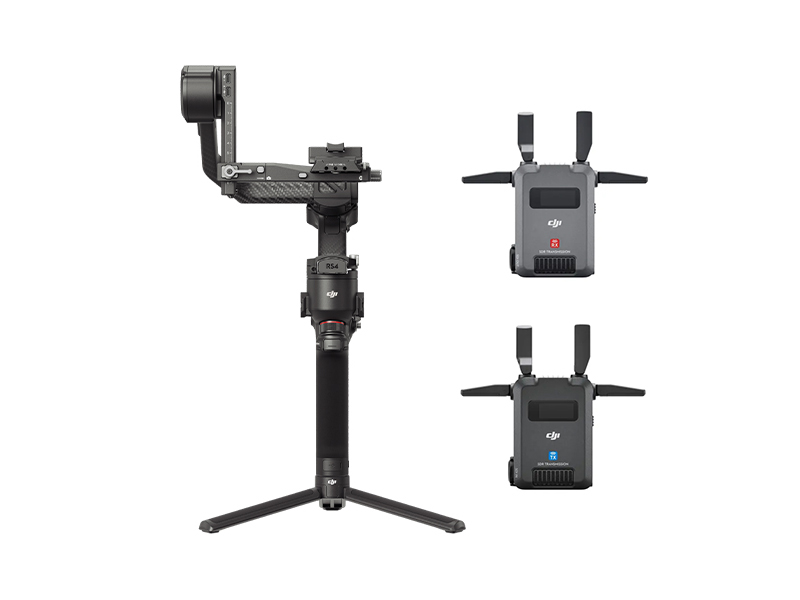 DJI RS 4 Pro Combo (2026)
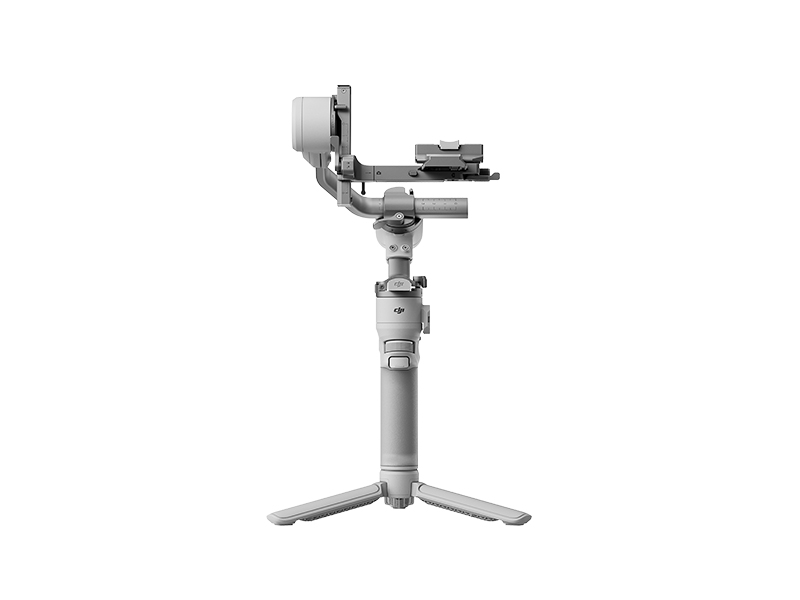 DJI RS 4 Mini
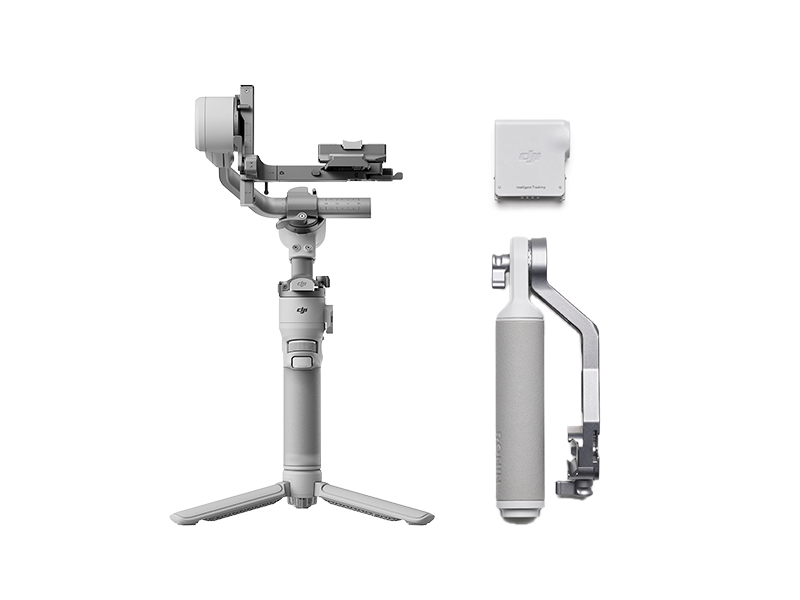 DJI RS 4 Mini Combo
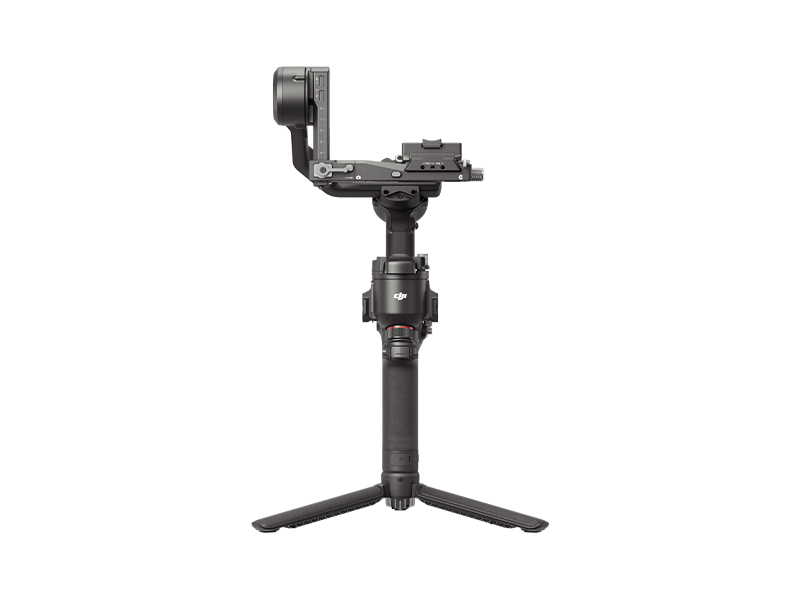 DJI RS 4
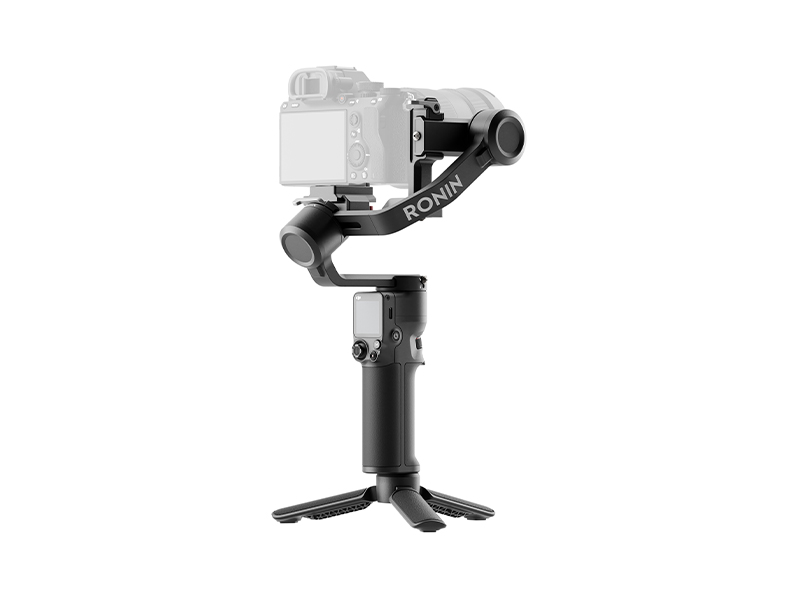 DJI RS 3 Mini
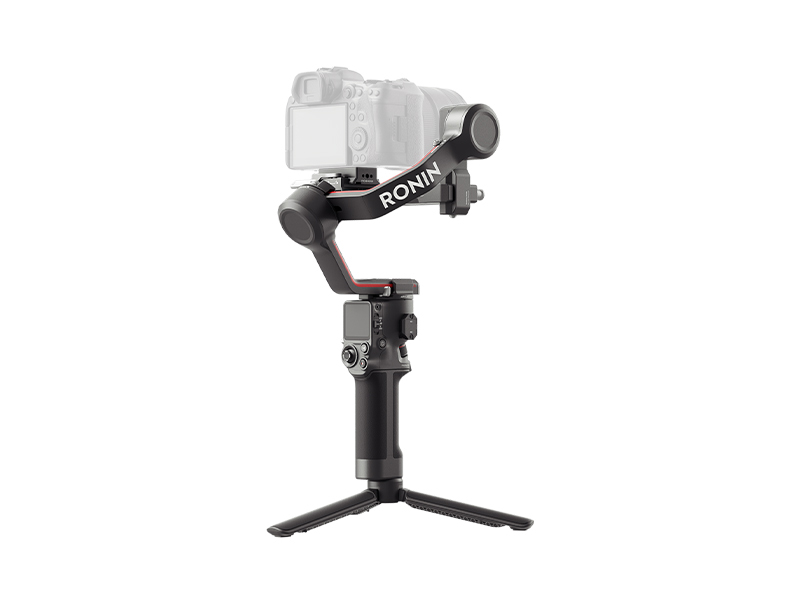 DJI RS 3
 DJI RS 3 Pro
 DJI RS 2
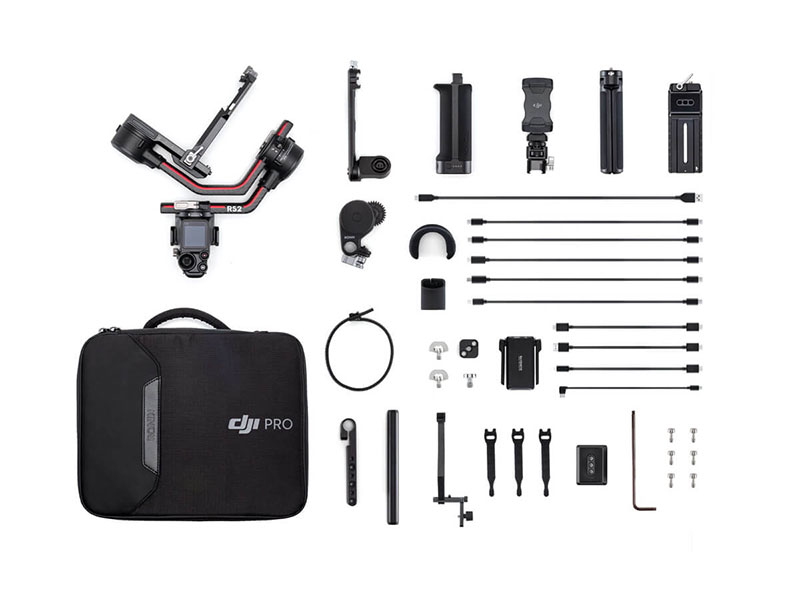 DJI RS 2 Pro Combo
 DJI RSC 2
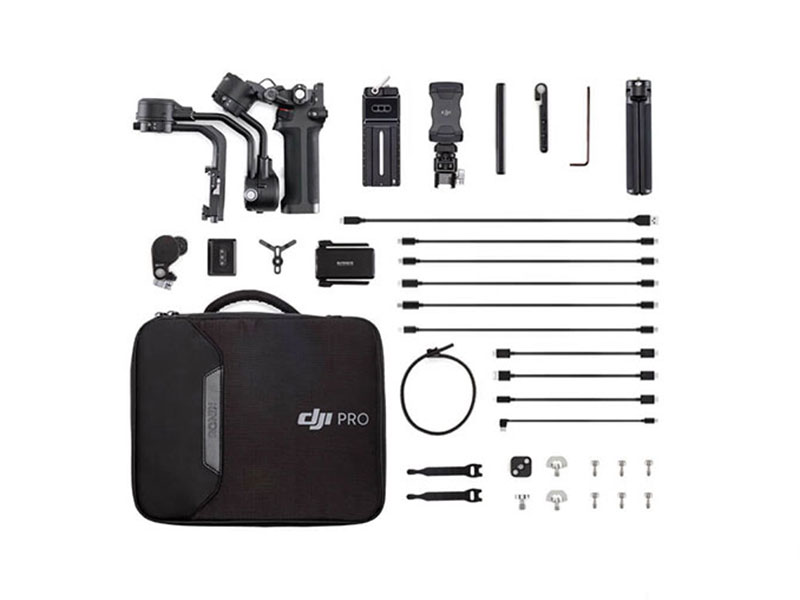 DJI RSC 2 Pro Combo
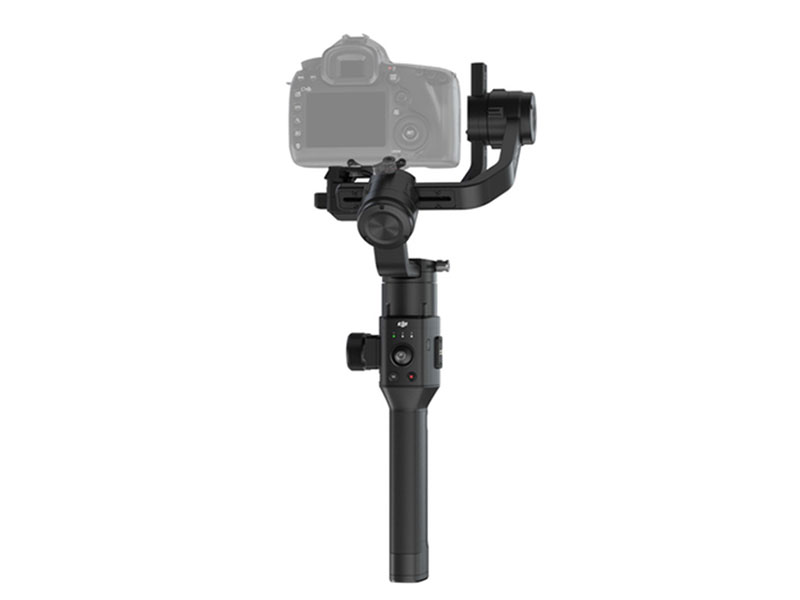 Ronin-S
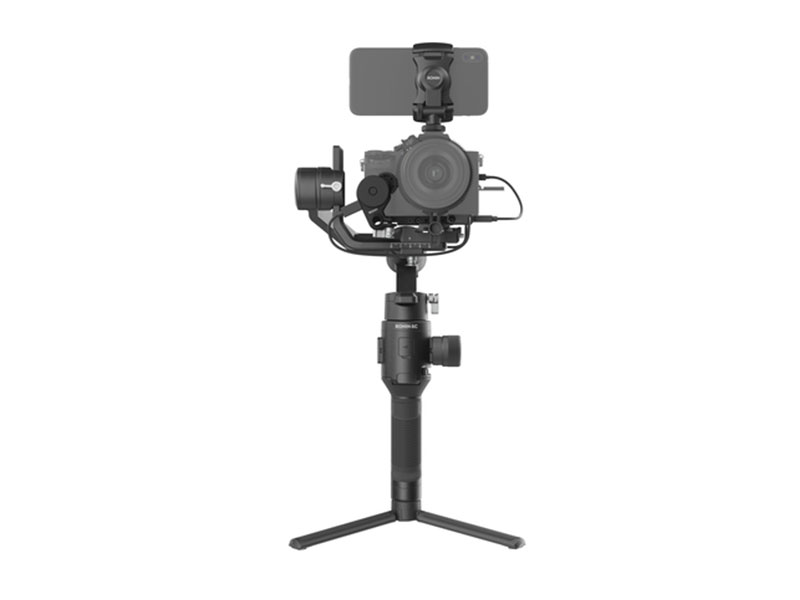 Ronin-SC
 Ronin 4D-6K
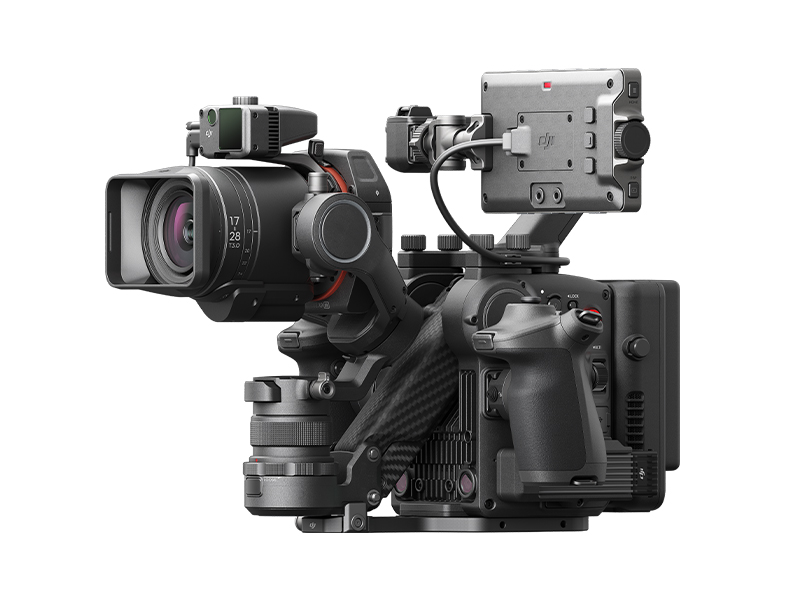 Ronin 4D-8K
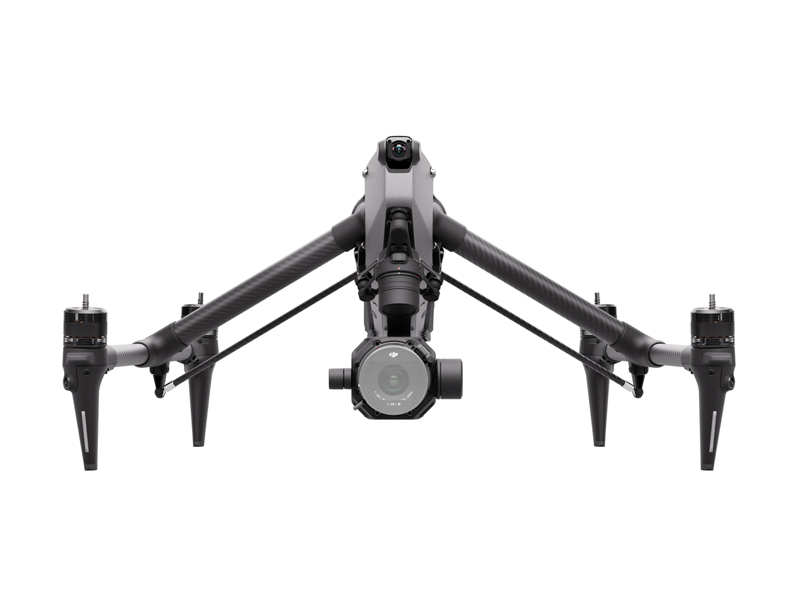 DJI Inspire 3 Basic Package
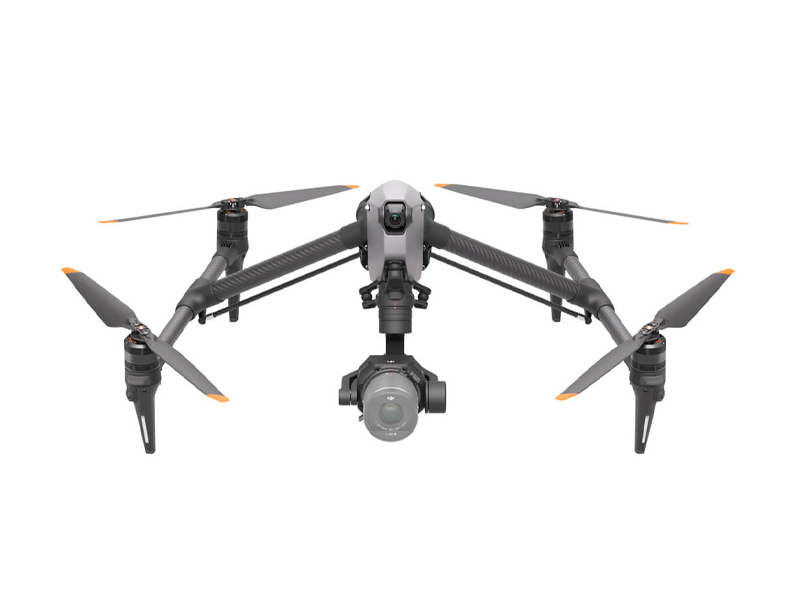 DJI Inspire 3
 DJI Focus Pro Creator Combo
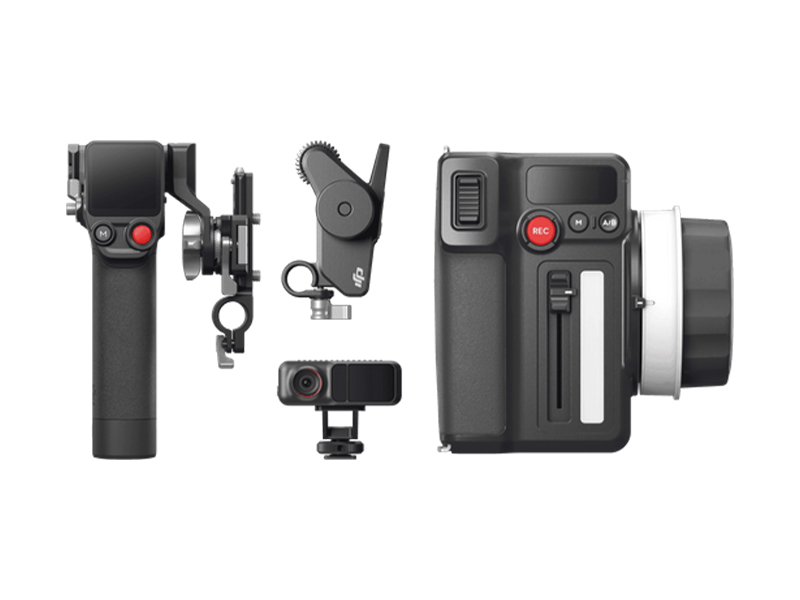 DJI Focus Pro All-In-One Combo
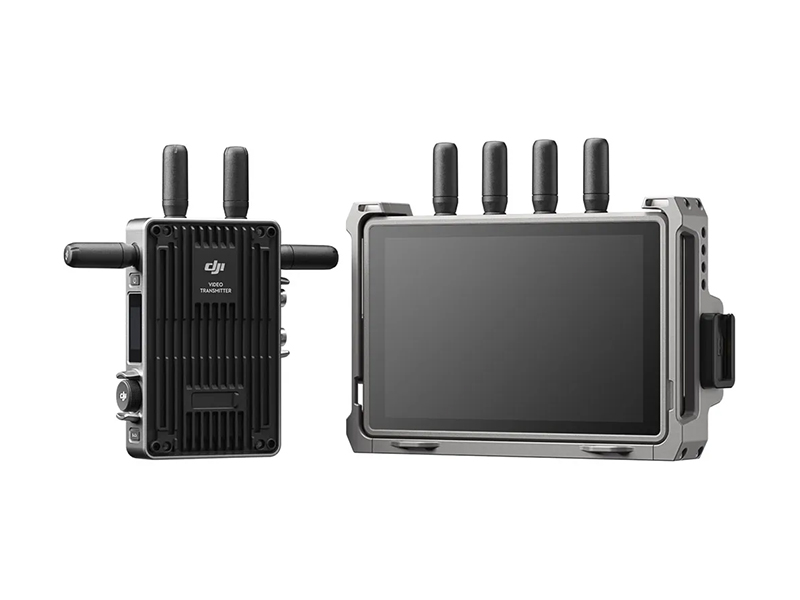 DJI Transmission (High-Bright Monitor Combo)
 DJI Transmission (Standard Combo)
 DJI Video Receiver
 Inspire 2
 DJI Power 1000 Mini
 DJI Power 2000
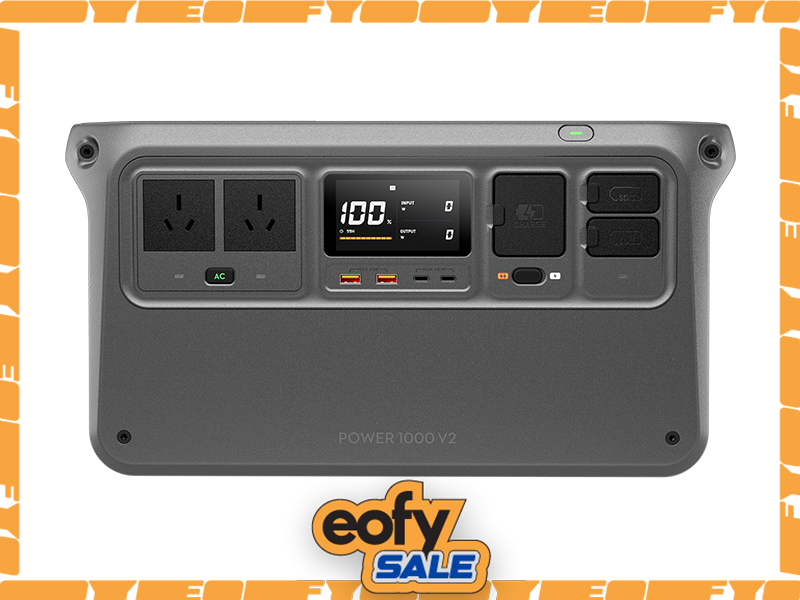 DJI Power 1000 V2
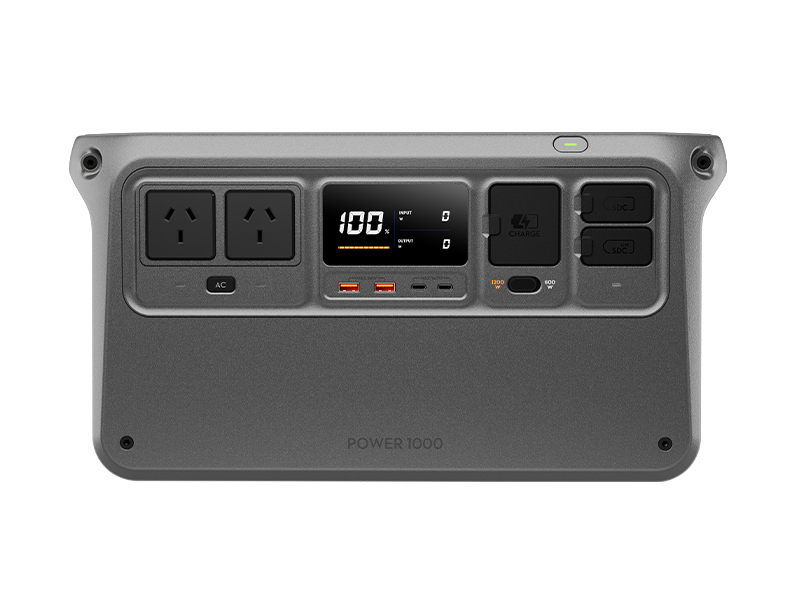 DJI Power 1000 Portable Power Station
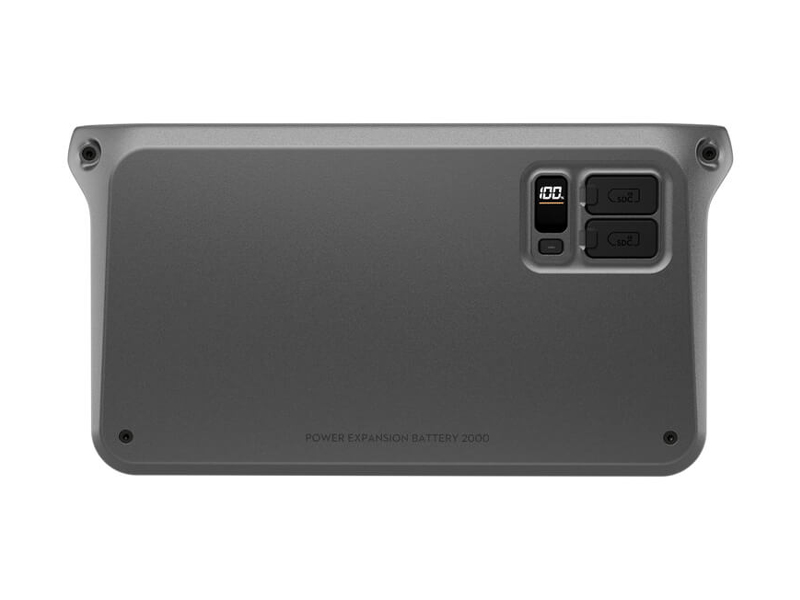 DJI Power Expansion Battery 2000
 DJI Power Dongle
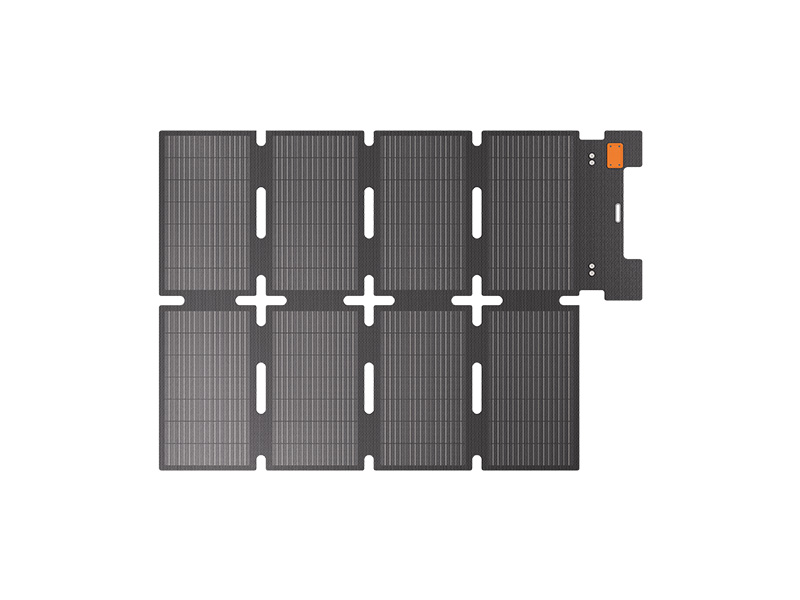 IBCPOWER 100W Foldable Solar Panel
 DJI Power 1000 Protective Storage Bag
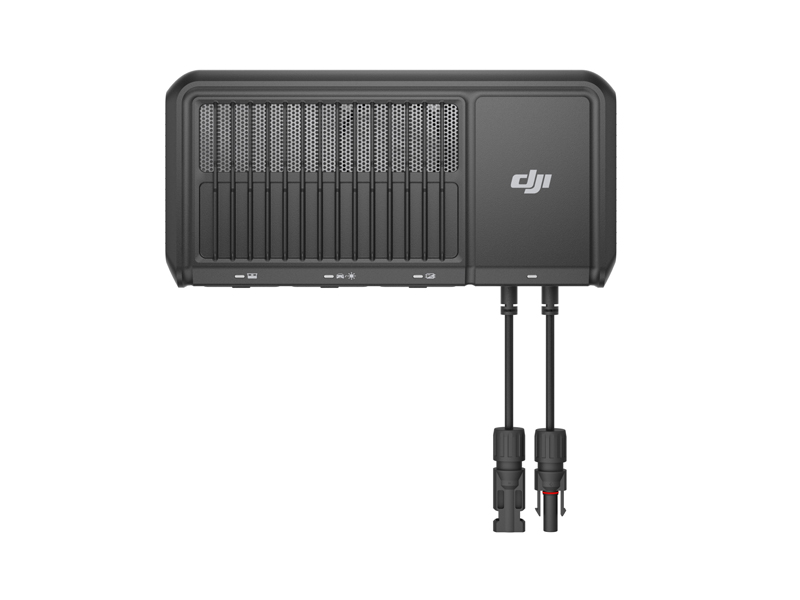 DJI Power 1.8kW Solar/Car Super Fast Charger
 UGREEN Braided USB-C to USB-C Cable (1 Metre)
 DJI Power Drone Fast Charging Cable
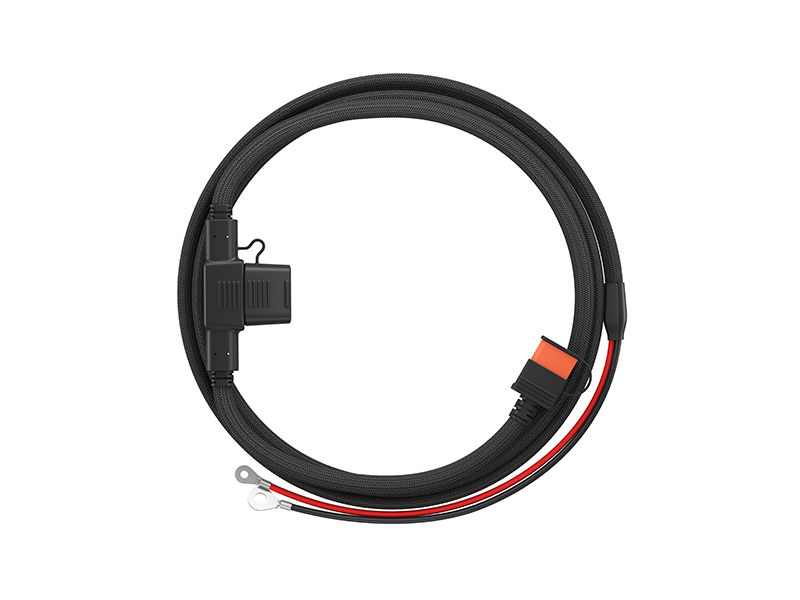 DJI Power Car Battery Charging Cable
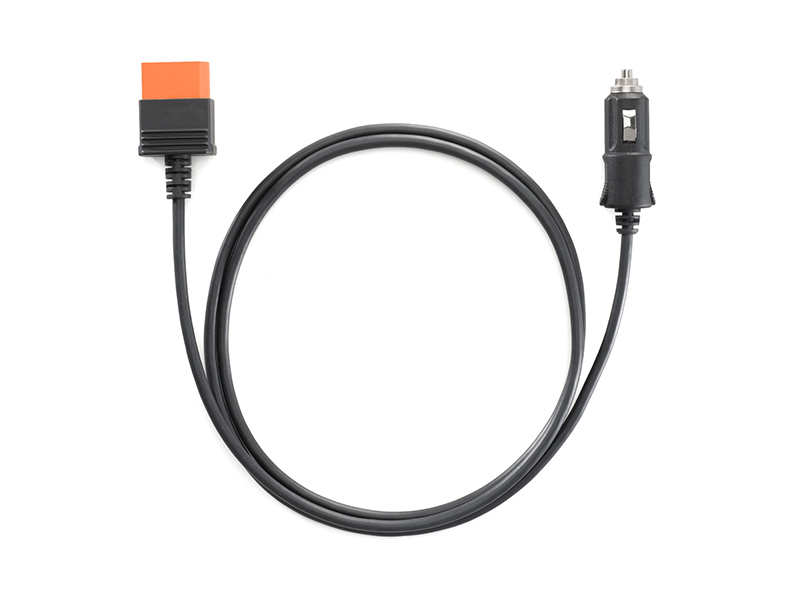 DJI Power Car Power Charging Cable
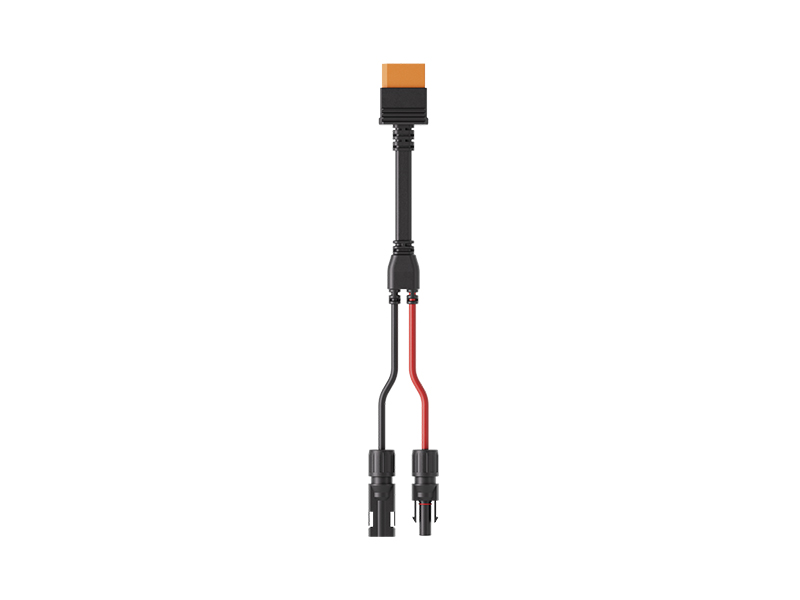 DJI Power MC4 Solar Charging Cable
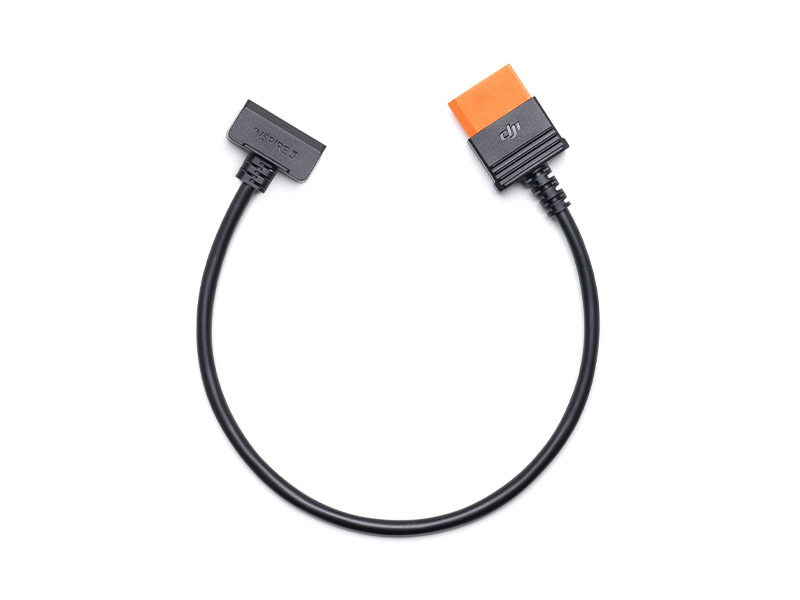 DJI Power SDC to DJI Inspire 3 Fast Charge Cable
 IBCPOWER 200W Foldable Solar Panel
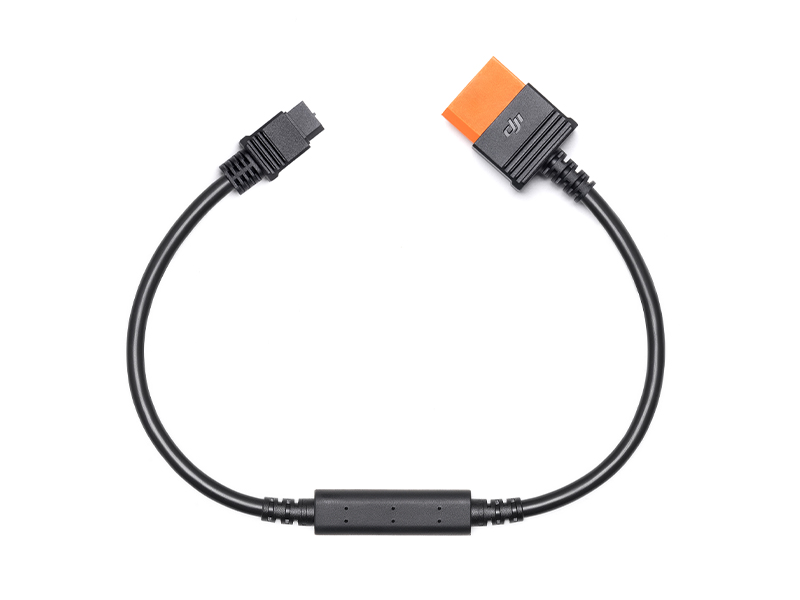 DJI Power SDC to XT60 Power Cable (12V)
 DJI ROMO S (Water Tank Version)
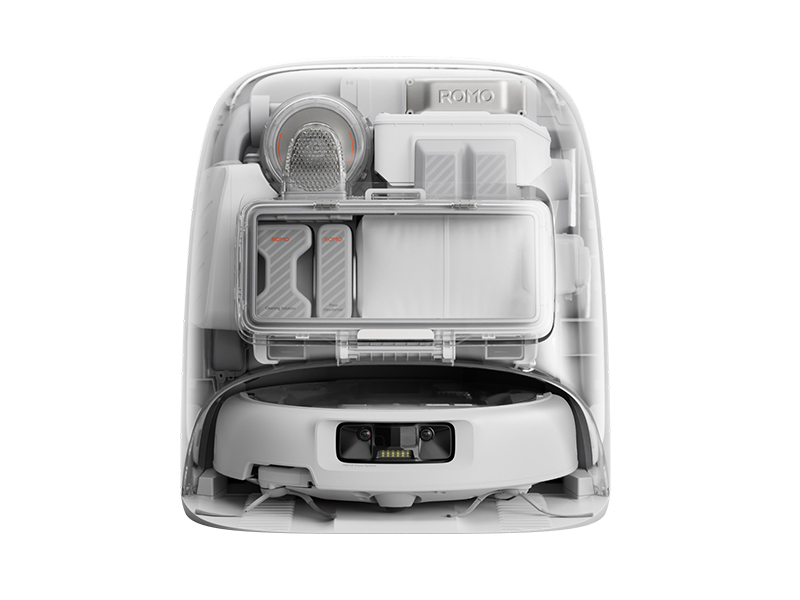 DJI ROMO P (Water Tank Version)
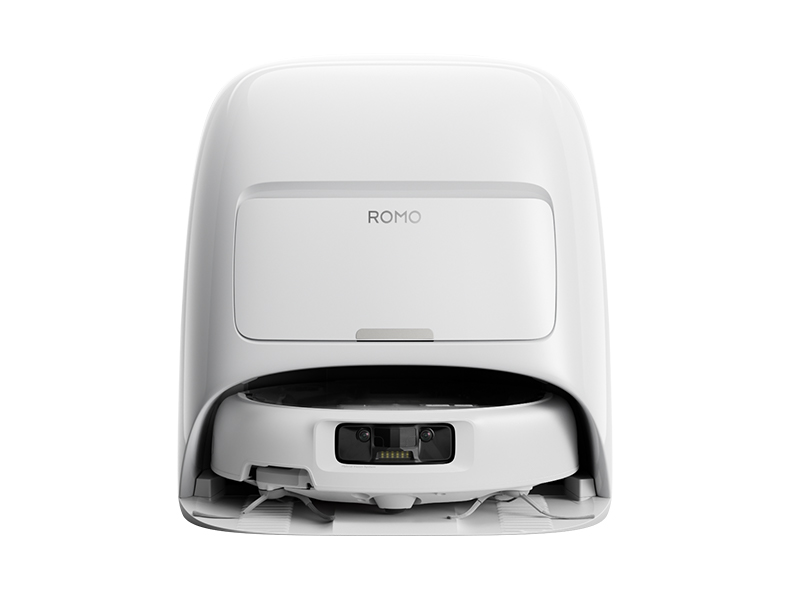 DJI ROMO A (Water Tank Version)
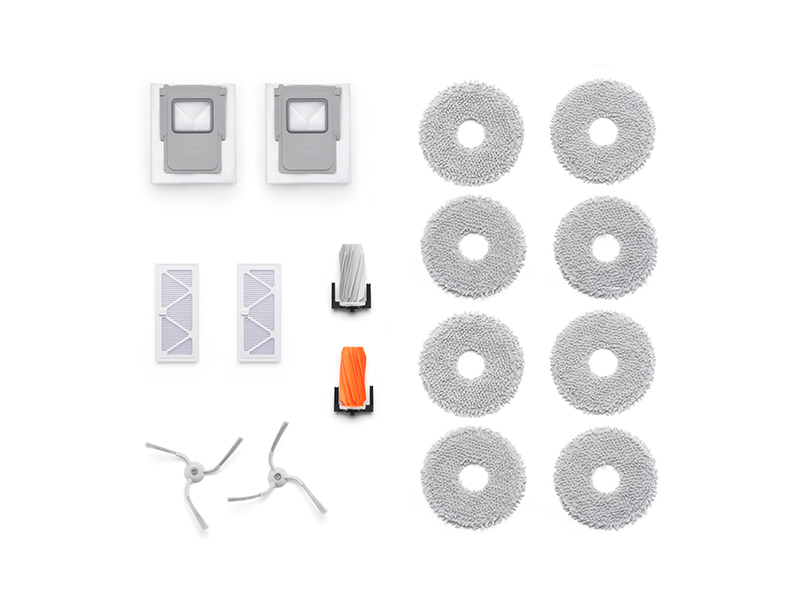 ROMO Accessory Kit
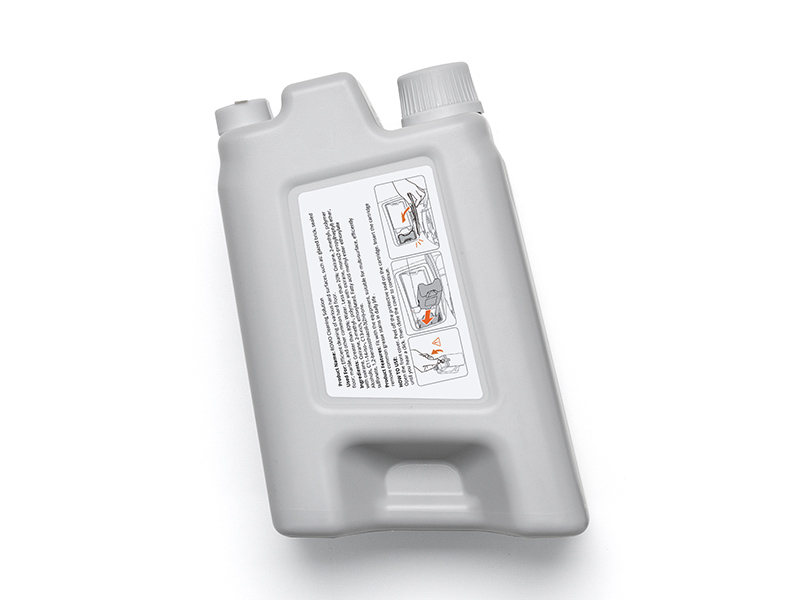 ROMO Cleaning Solution
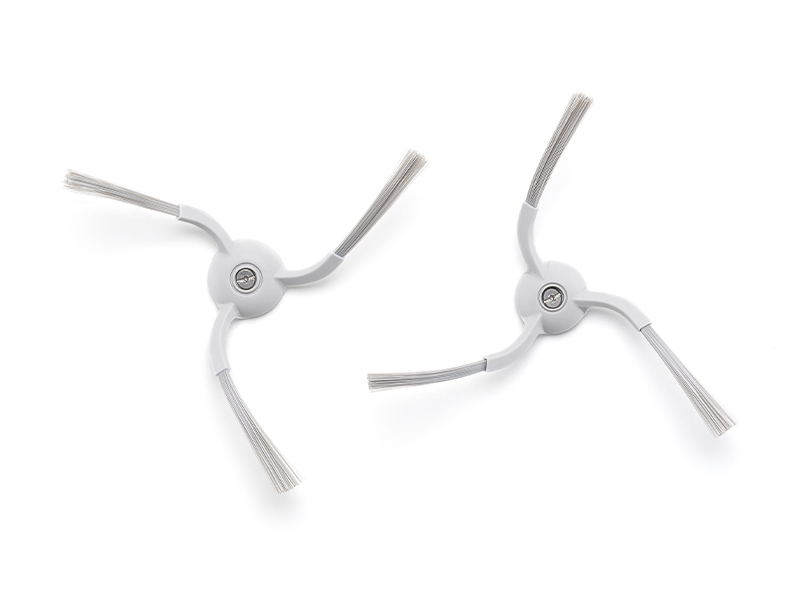 ROMO Side Brush
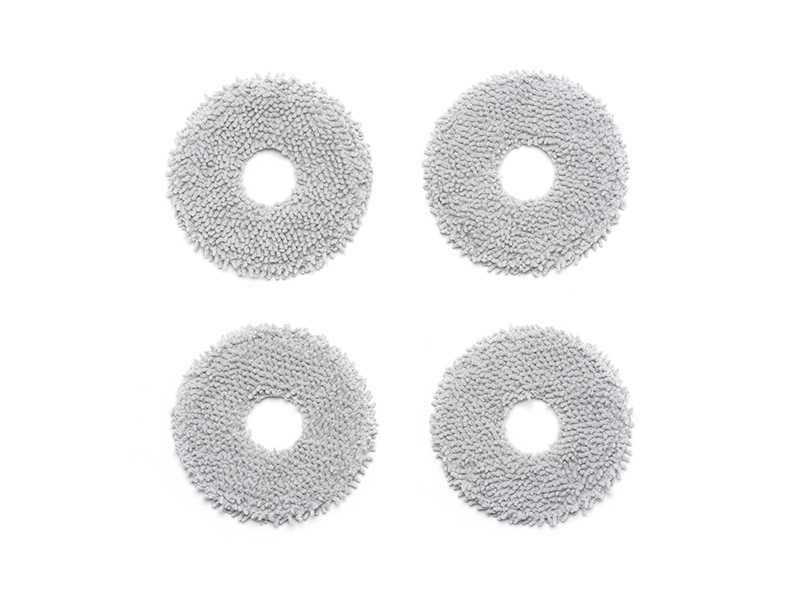 ROMO Mop Pad
 Matrice 30T Dock Bundle
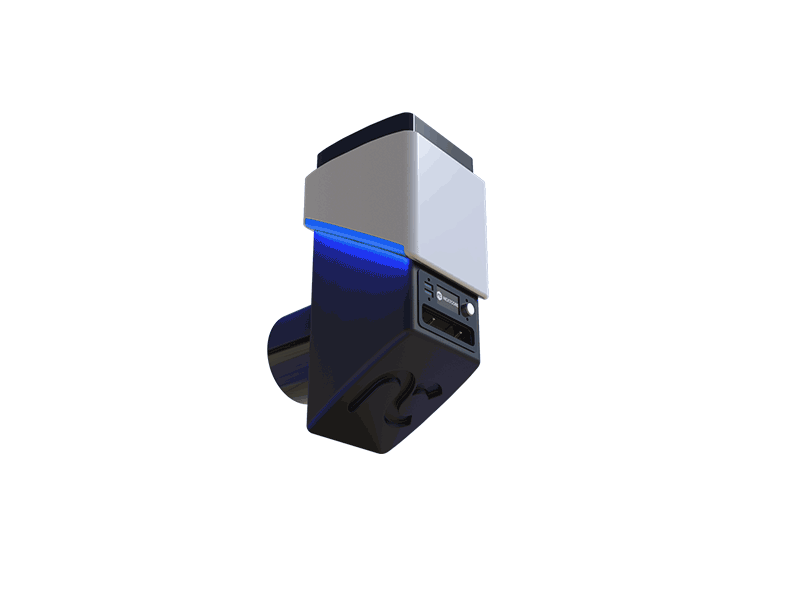 NextCore RN50 Drone LiDAR
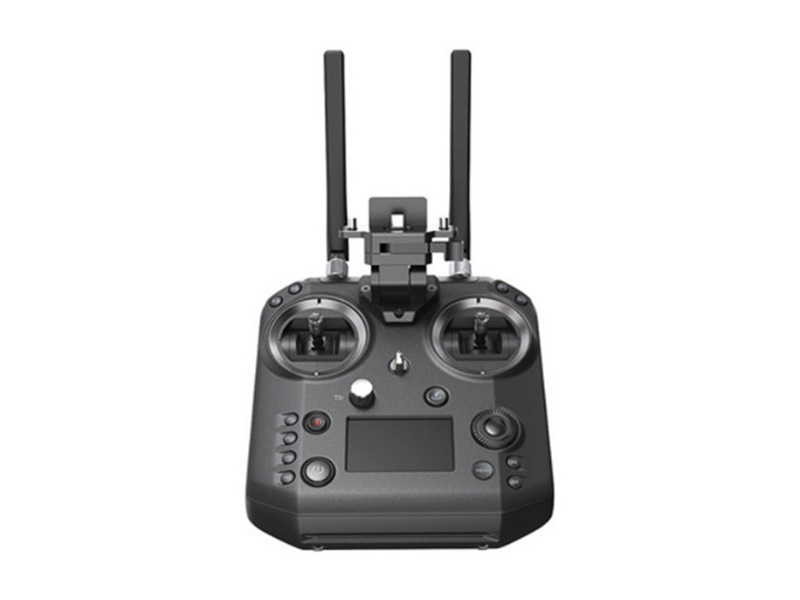 Cendence-S Remote Controller For M200 V2 Series
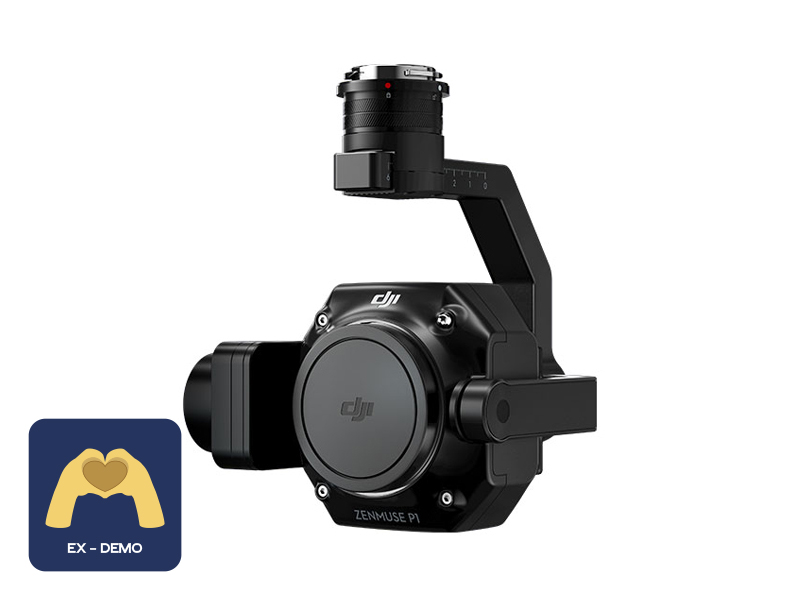 Ex-Demo Zenmuse P1
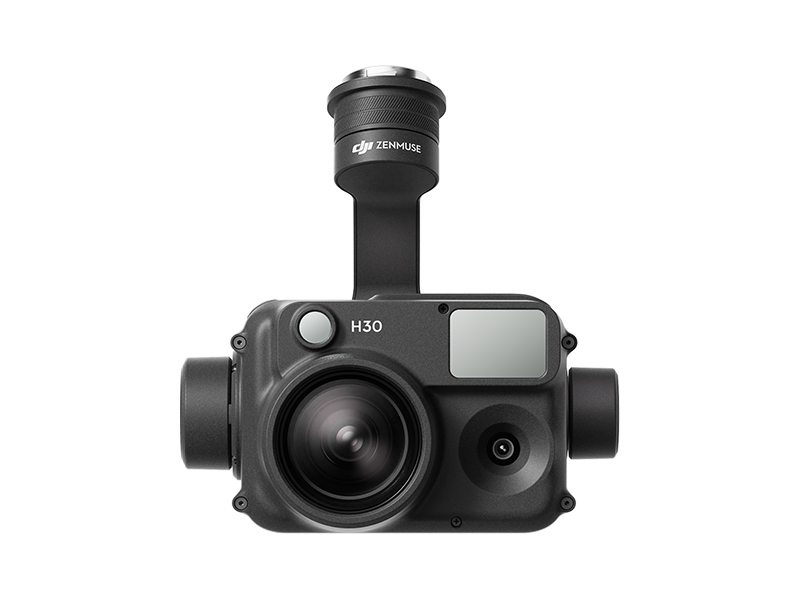 Zenmuse H30
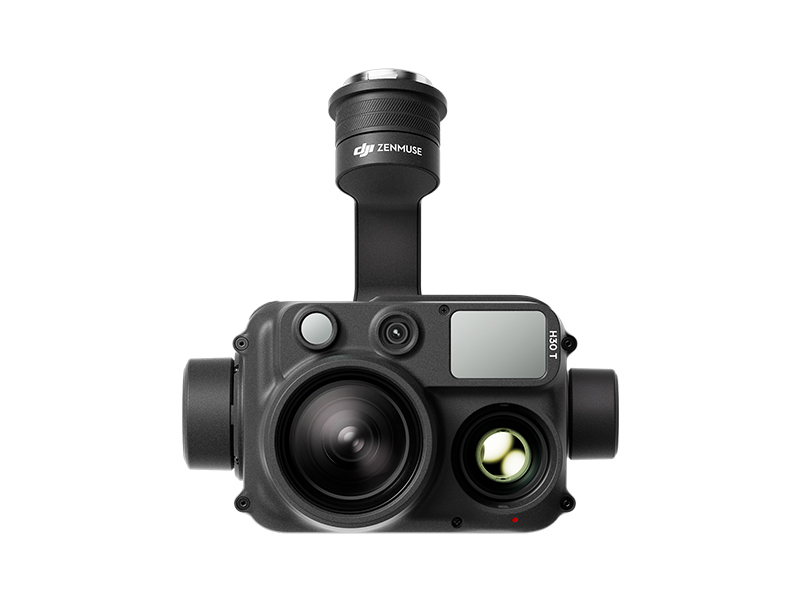 Zenmuse H30T
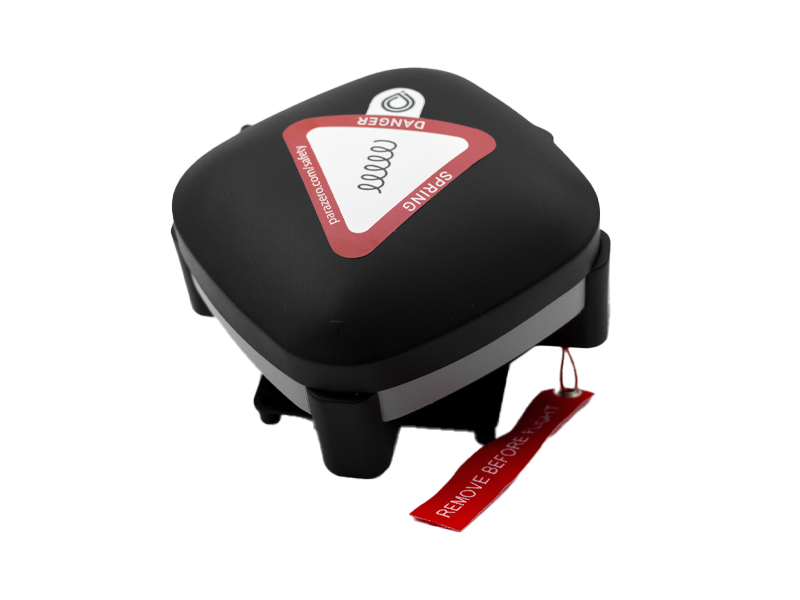 ParaZero SafeAir Parachute for Matrice 30 Series
 ParaZero SafeAir Parachute for DJI Mavic 3 Series (ASTM Compliant)
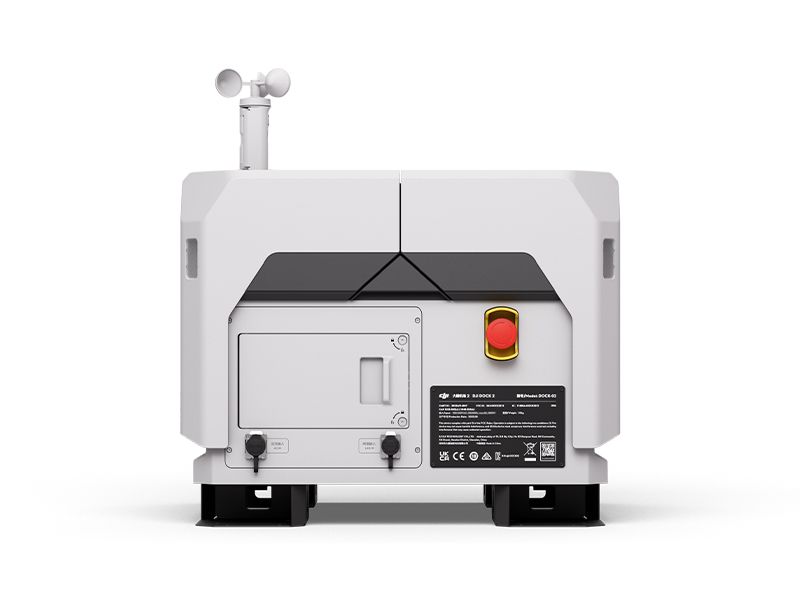 DJI Dock 2
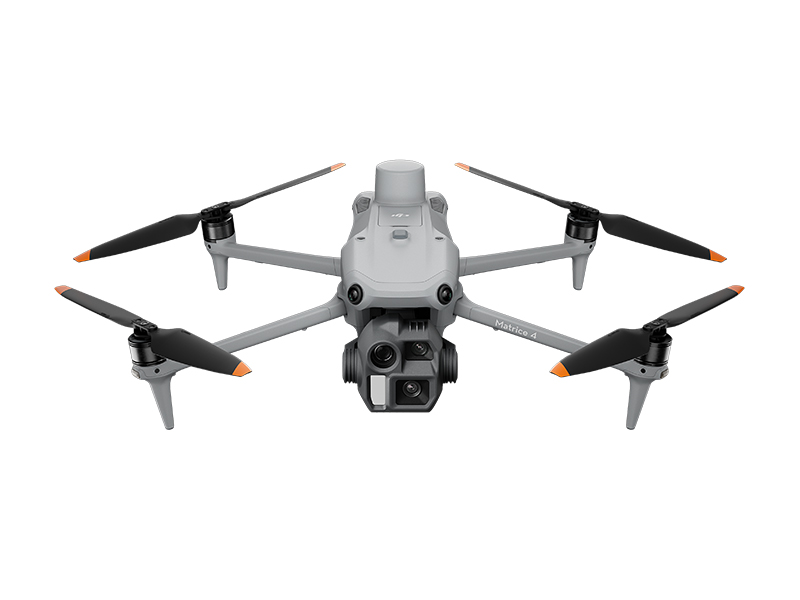 DJI Matrice 4E
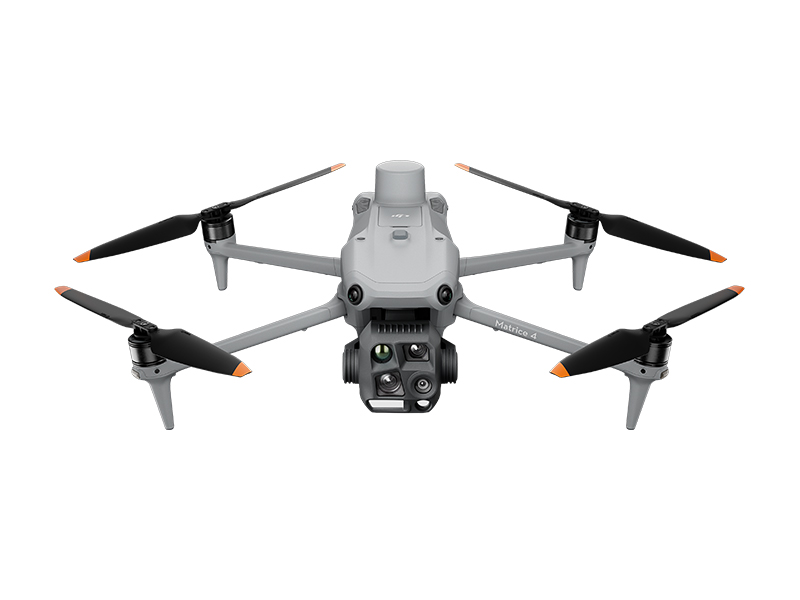 DJI Matrice 4T
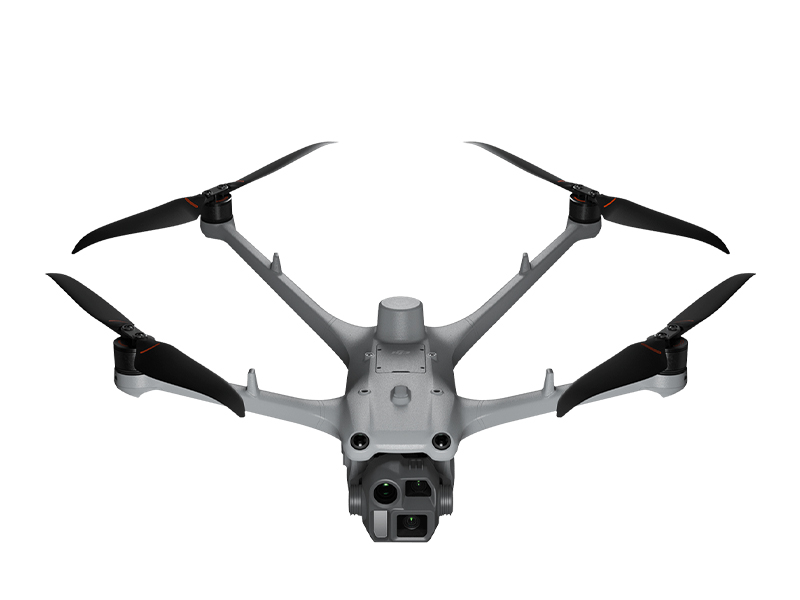 DJI Matrice 4D
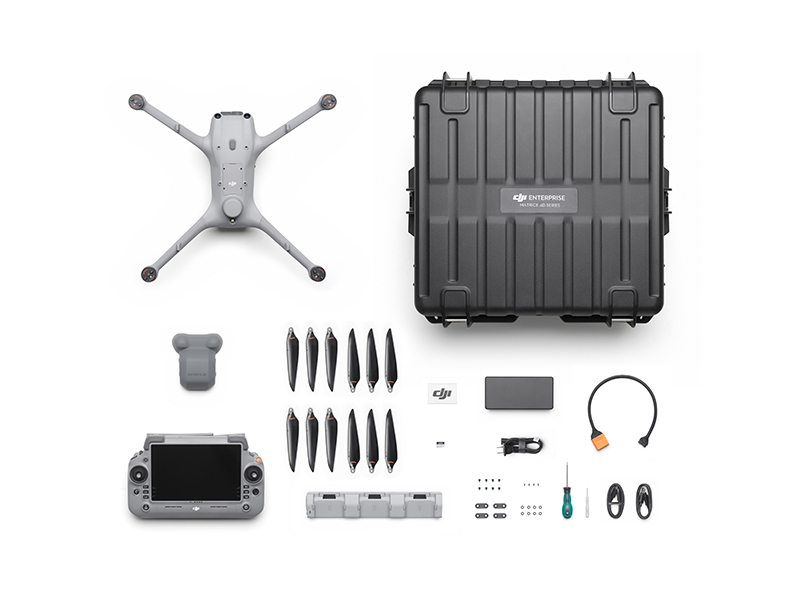 DJI Matrice 4D Combo
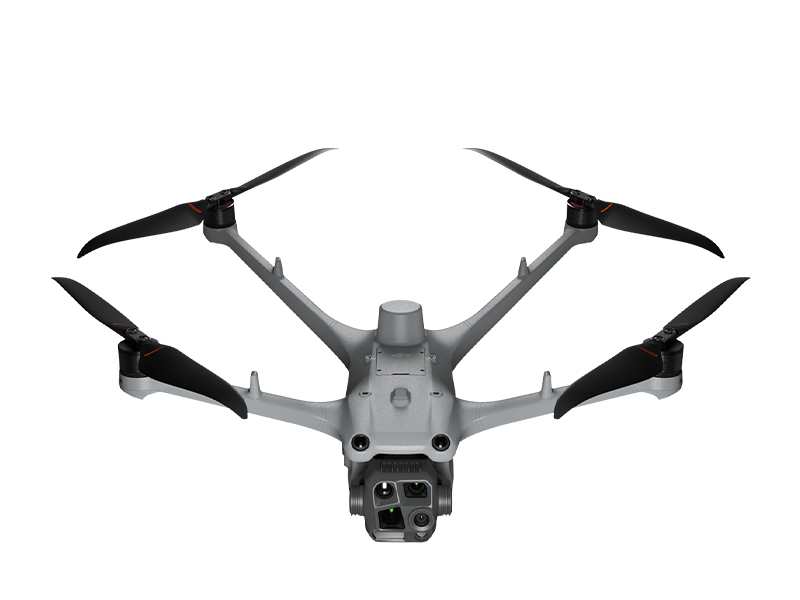 DJI Matrice 4TD
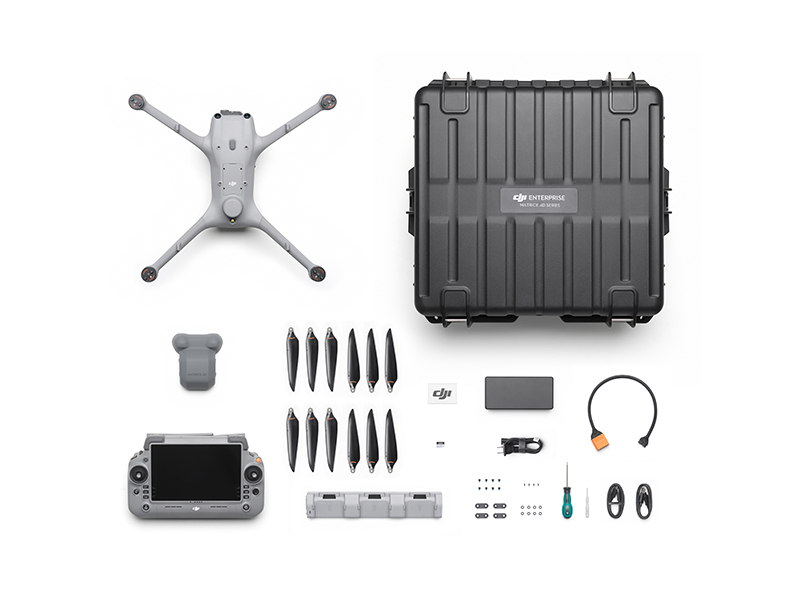 DJI Matrice 4TD Combo
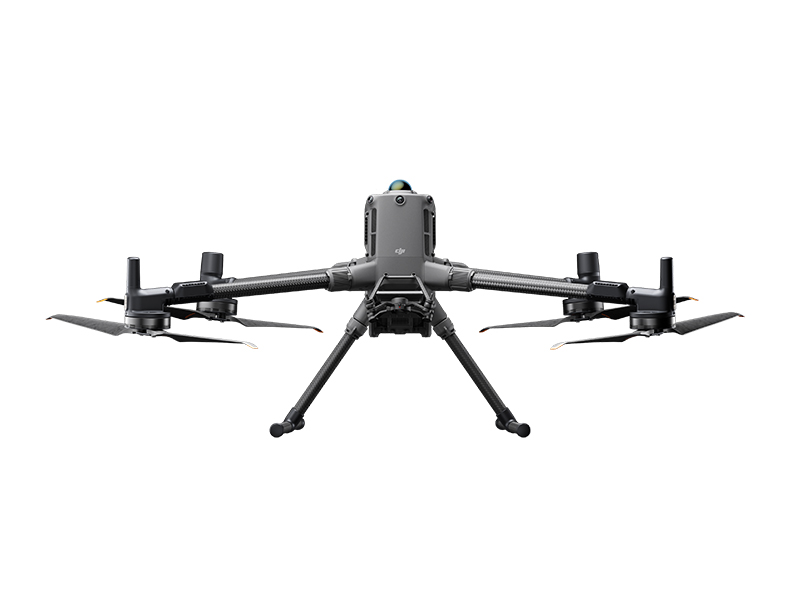 DJI Matrice 400
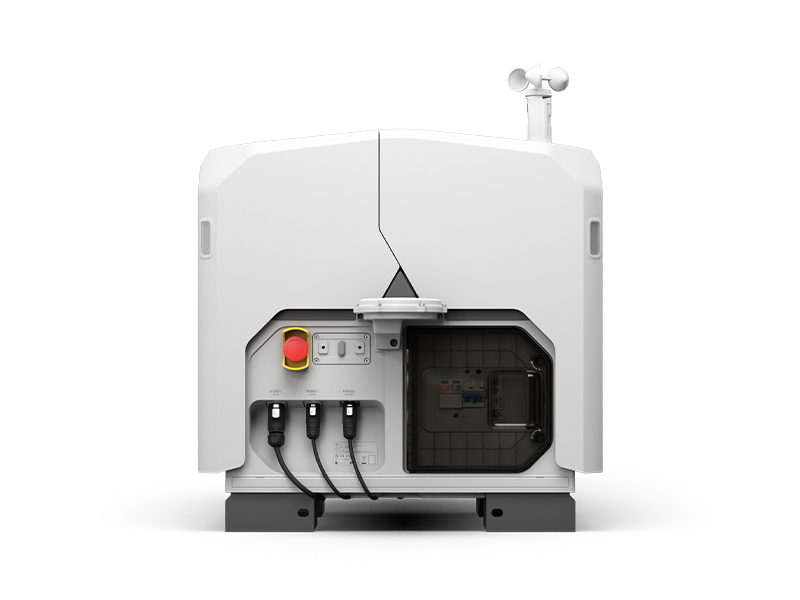 DJI Dock 3
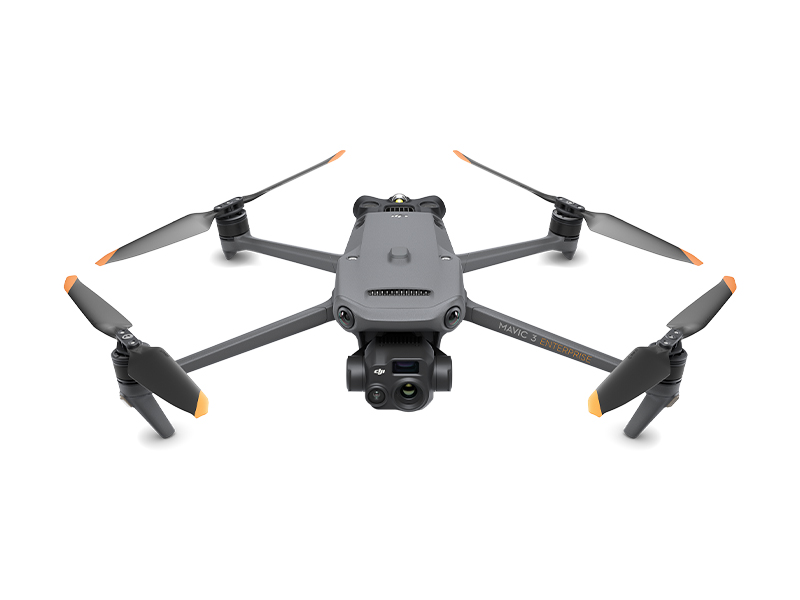 DJI Mavic 3 Thermal Advanced
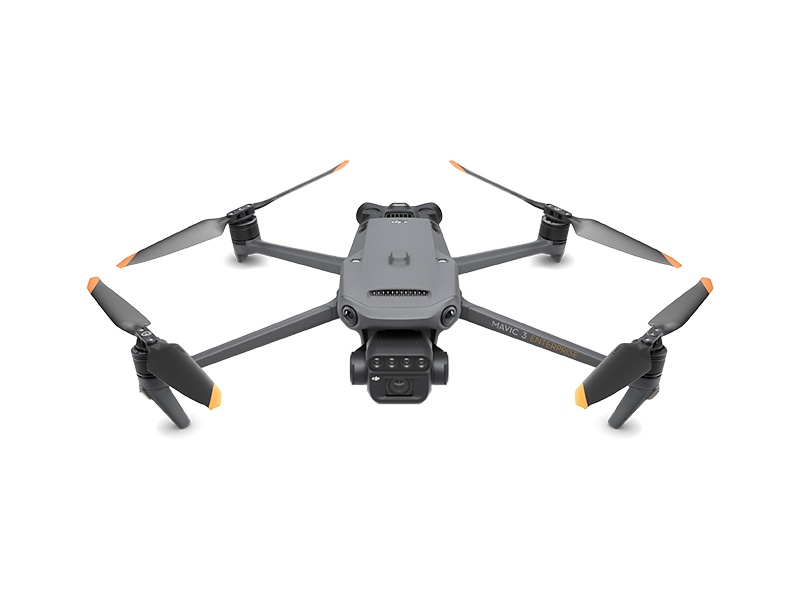 DJI Mavic 3 Multispectral
 DJI FlyCart 30
 DJI FlyCart 100
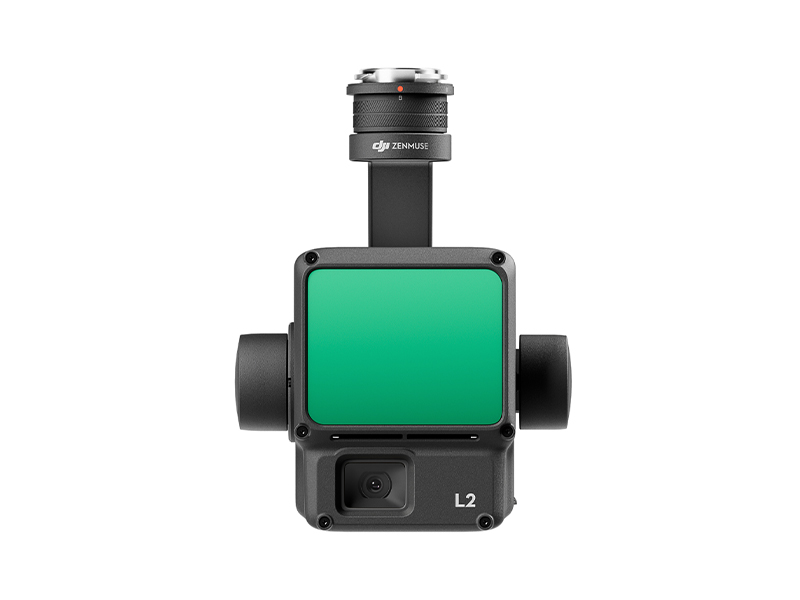 Zenmuse L2
 Zenmuse P1
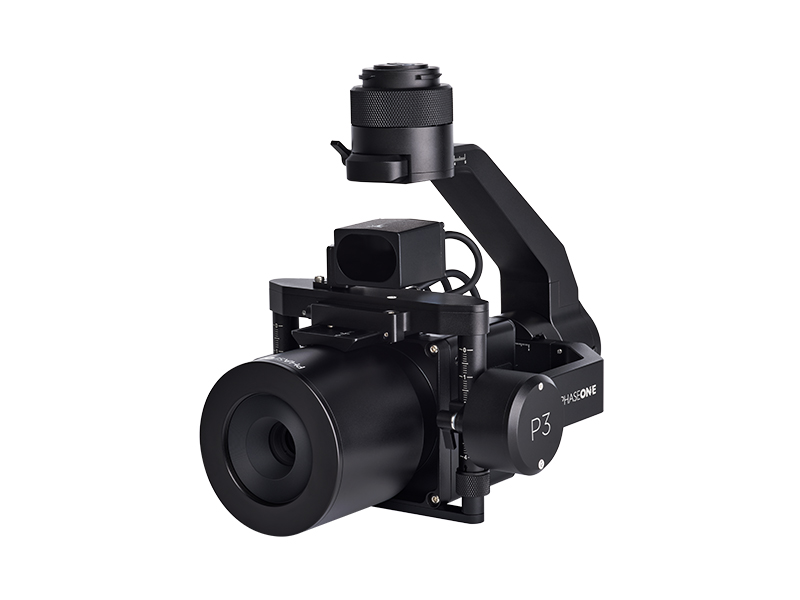 Phase One P3 Payload (iXM 120MP) with 80mm AF
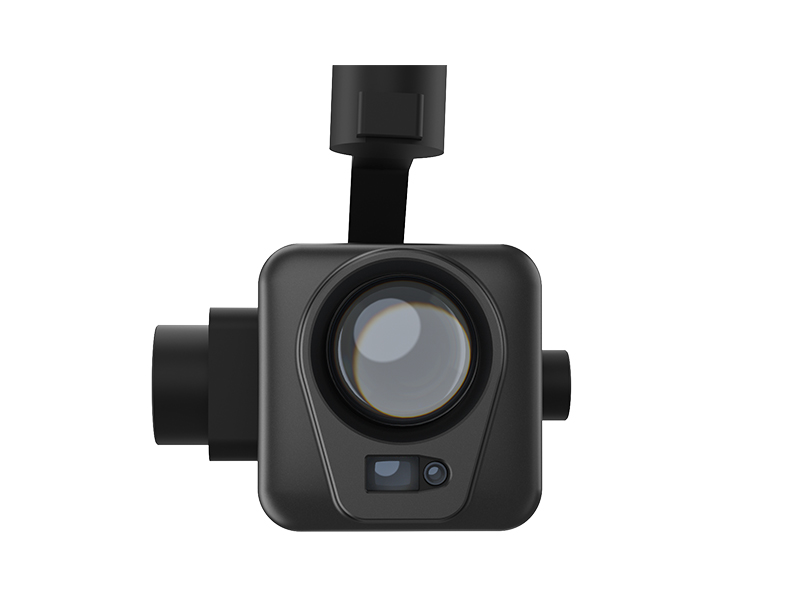 Deepthink S2 Pro Night Vision Payload
 Mavic 2 Enterprise Advanced
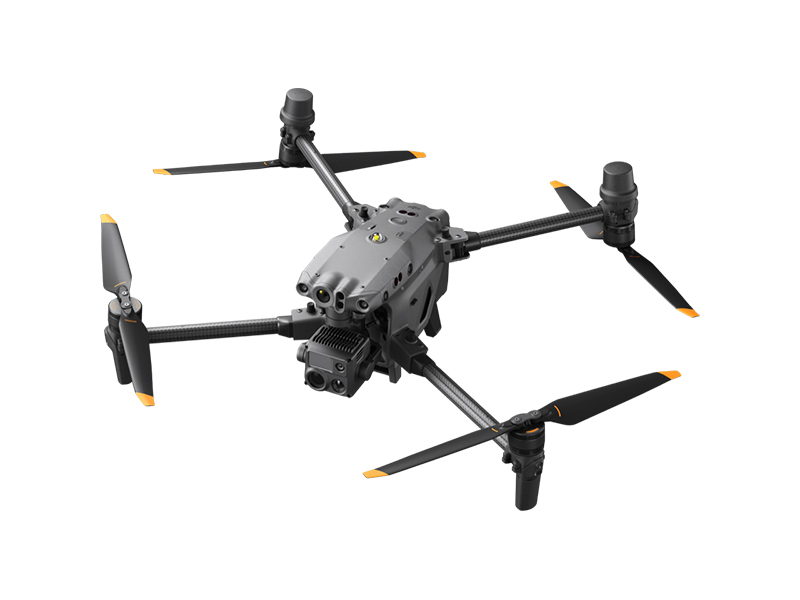 Matrice 30T
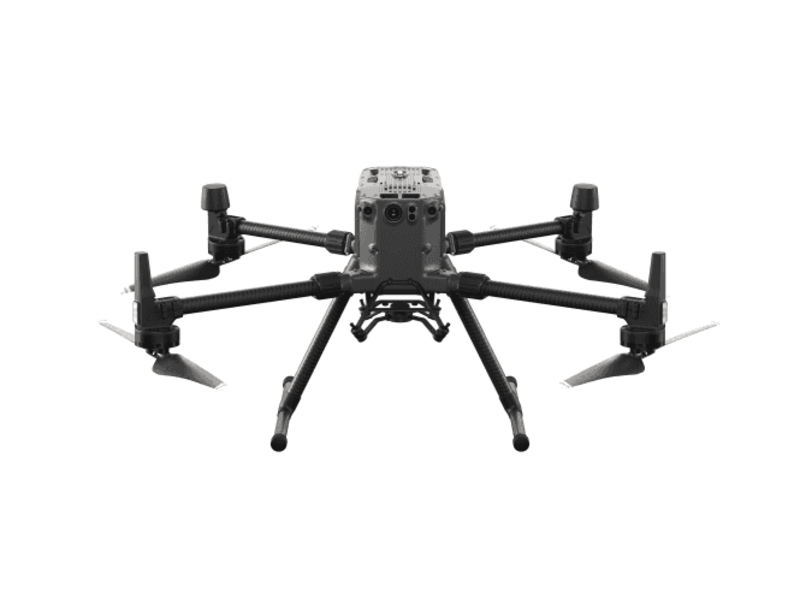 Matrice 300 RTK
 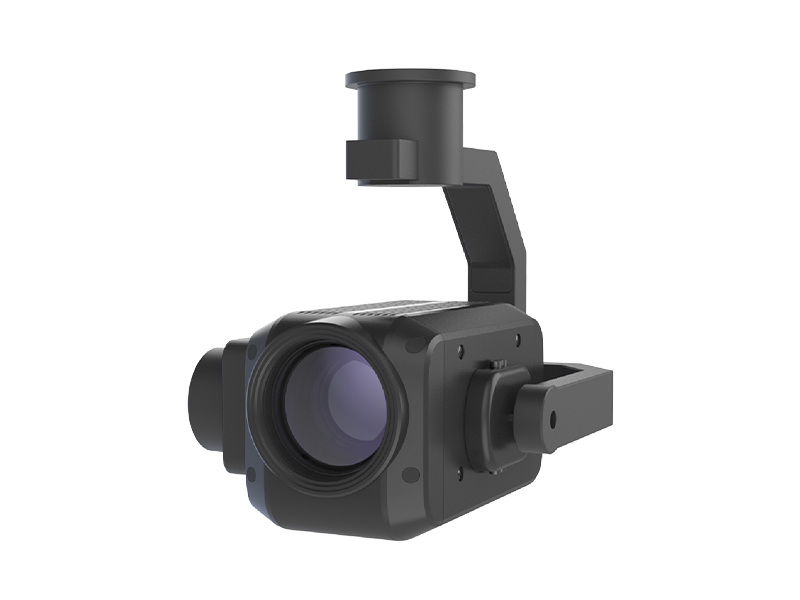 Deepthink S2 Night Vision Payload for Matrice 300 Series
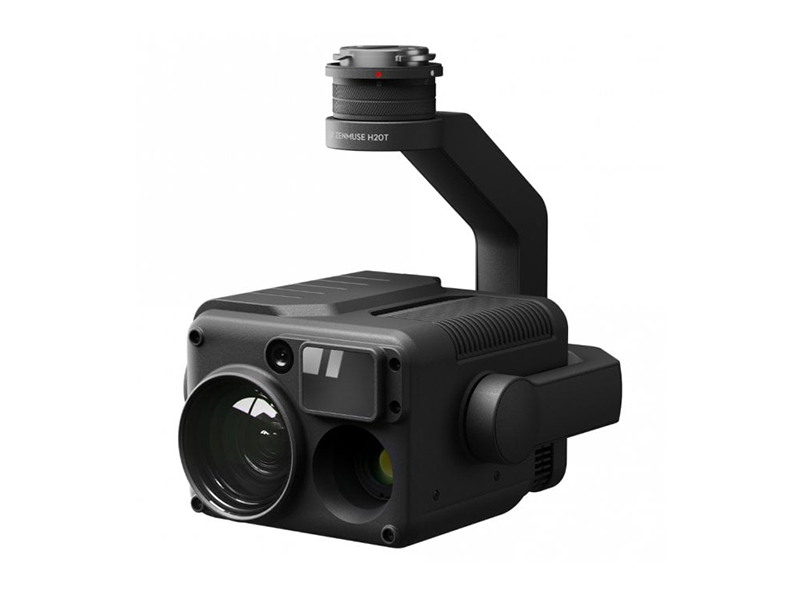 Zenmuse H20T
  DJI Care Enterprise Plus (DJI Matrice 400)
 DJI Care Enterprise Plus (DJI Matrice 4E)
 DJI Maintenance Program Basic Service (Matrice 300 RTK)
 DJI Maintenance Program Standard Service (Mavic 2 Series)
 DJI Maintenance Program Standard Service (Matrice 300 RTK)
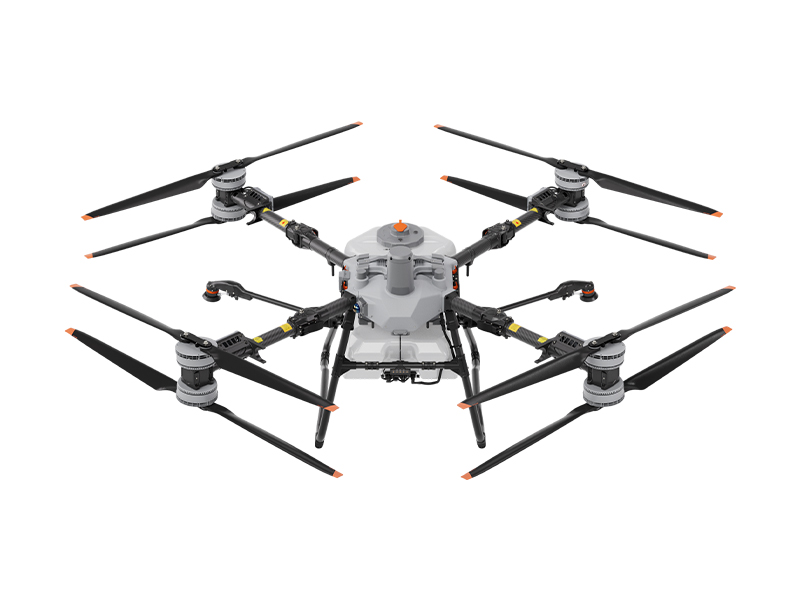 DJI AGRAS T100
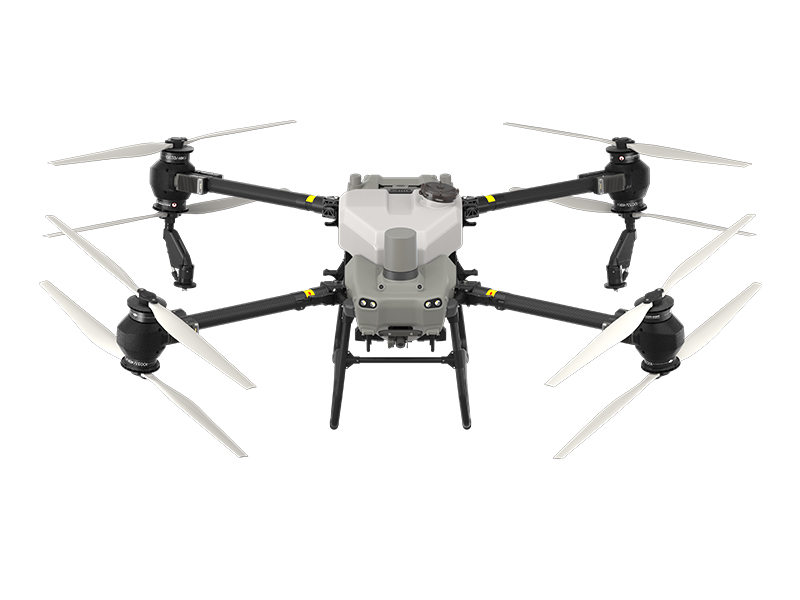 AGRAS T50
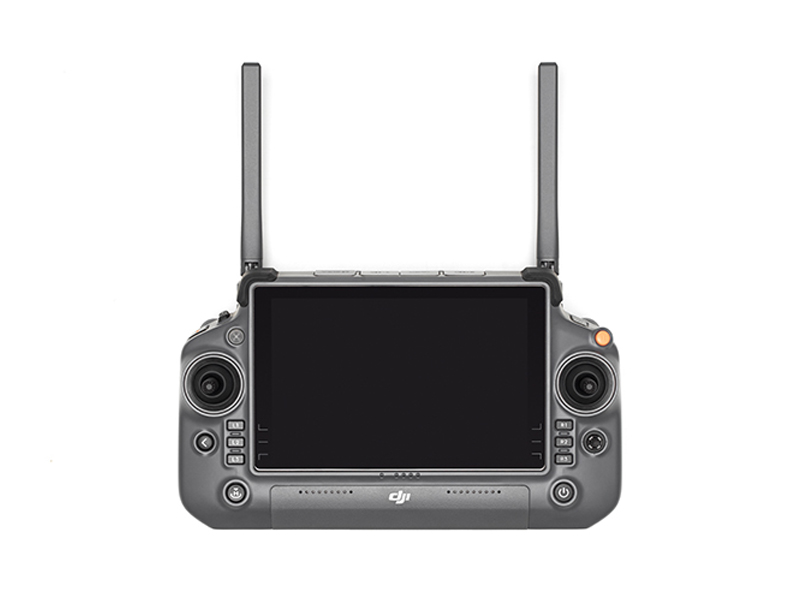 DJI RC Plus for AGRAS Series
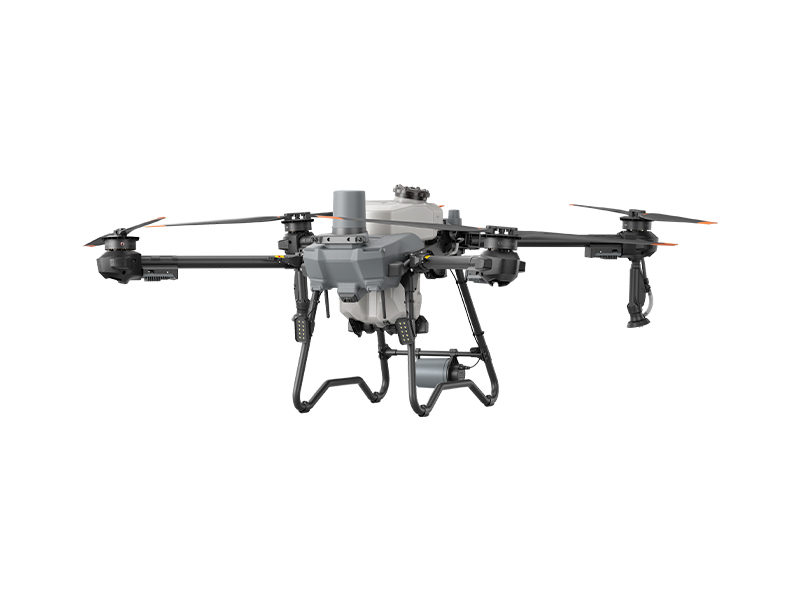 DJI AGRAS T25P
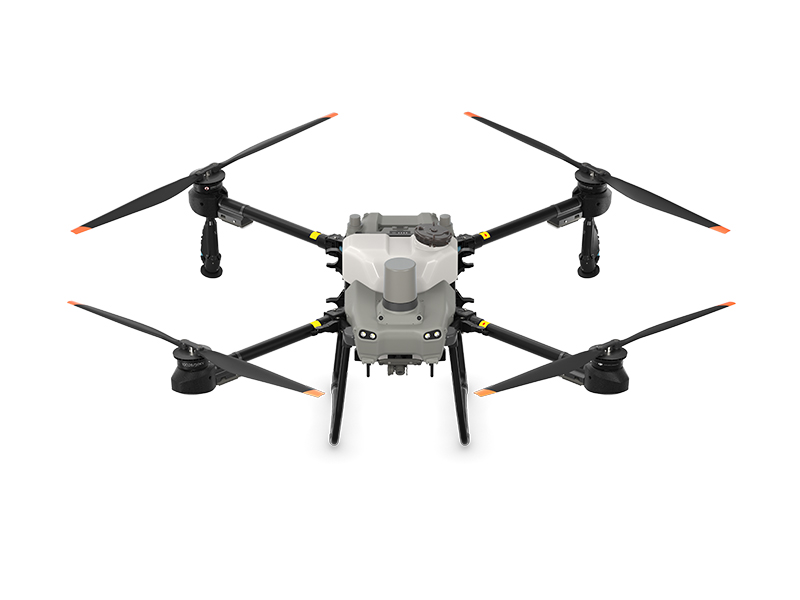 AGRAS T25
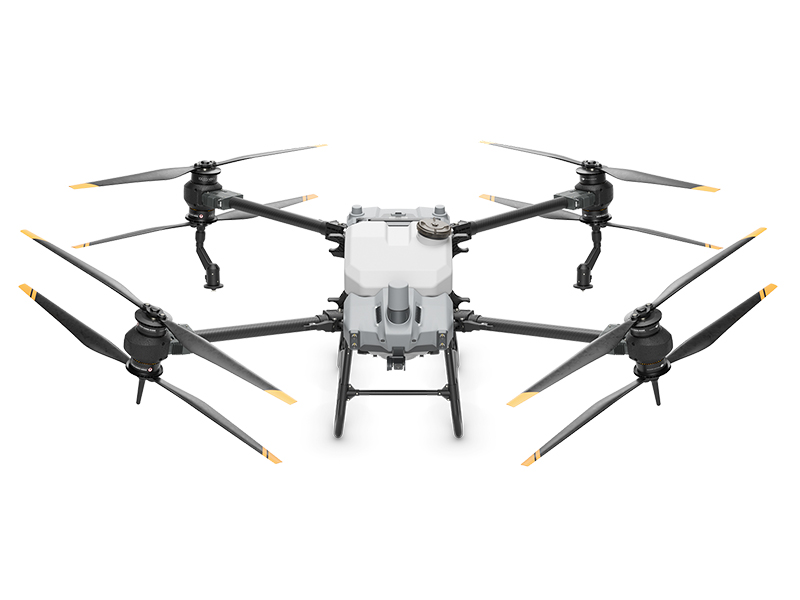 AGRAS T40 (Drone Only, No Batteries)
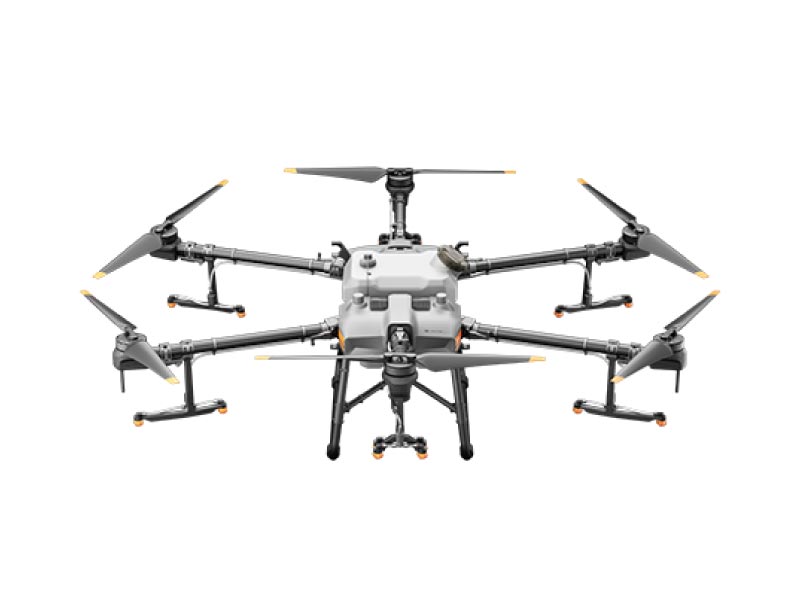 DJI AGRAS T30 (Excluding Batteries)
 X2D II 100C
 907X & CFV 100C
 XCD 45P
 XCD 2,5/25V
 XCD 2,5/38V
 XCD 2,5/55V
 UGREEN 145W 25000mAh Power Bank
 Freewell Pro Card Reader (CF A/B, SD, TF)
 LiPO Battery Safe Bag (Medium)
 D1 Labs Landing Pad Pro (50CM)
 DJI Care Refresh 1-Year Plan (DJI Mini 5 Pro)
 DJI Care Refresh 2-Year Plan (DJI Mini 5 Pro)
 D1 Labs Safety Case for DJI Mini 5 Pro
 DJI Mini 5 Pro Shoulder Bag
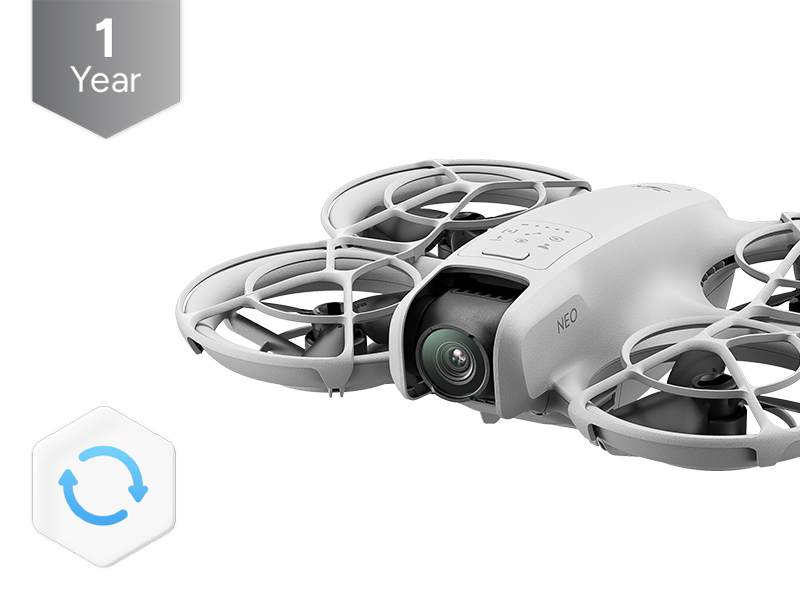 DJI Care Refresh 1-Year Plan (DJI Neo)
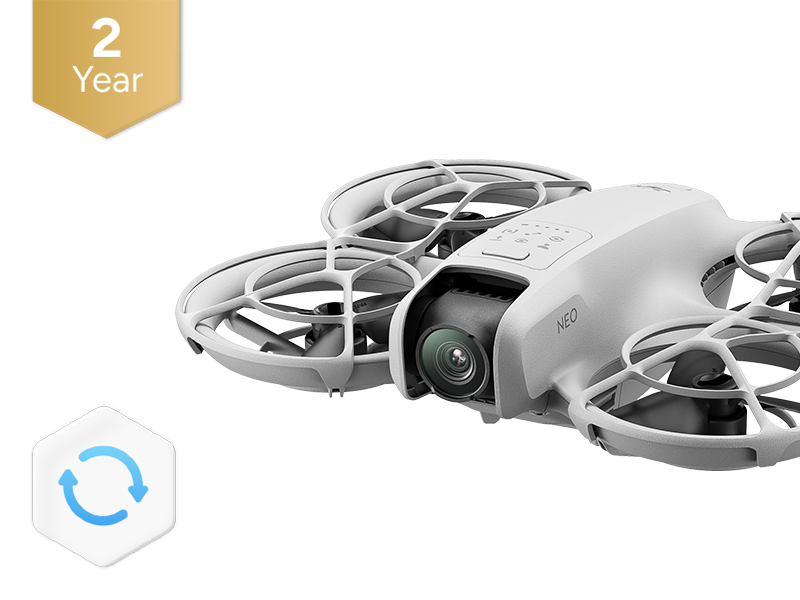 DJI Care Refresh 2-Year Plan (DJI Neo)
 DJI Care Refresh 1-Year Plan (Osmo Pocket 3)
 DJI Care Refresh 2-Year Plan (Osmo Pocket 3)
 D1 Labs Carry Case for Osmo Pocket 3
 Osmo Pocket 3 Carrying Bag
 DJI OM Magnetic Phone Clamp 5
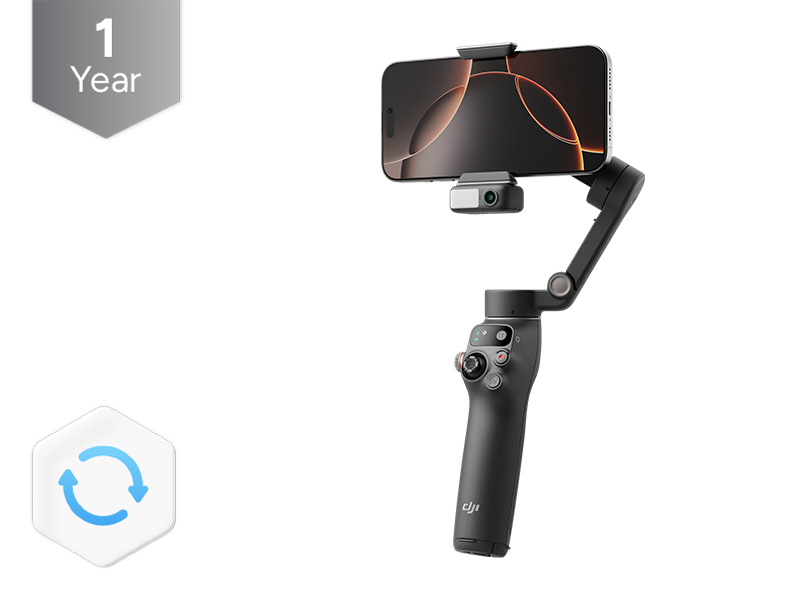 DJI Care Refresh 1-Year Plan (Osmo Mobile 7P)
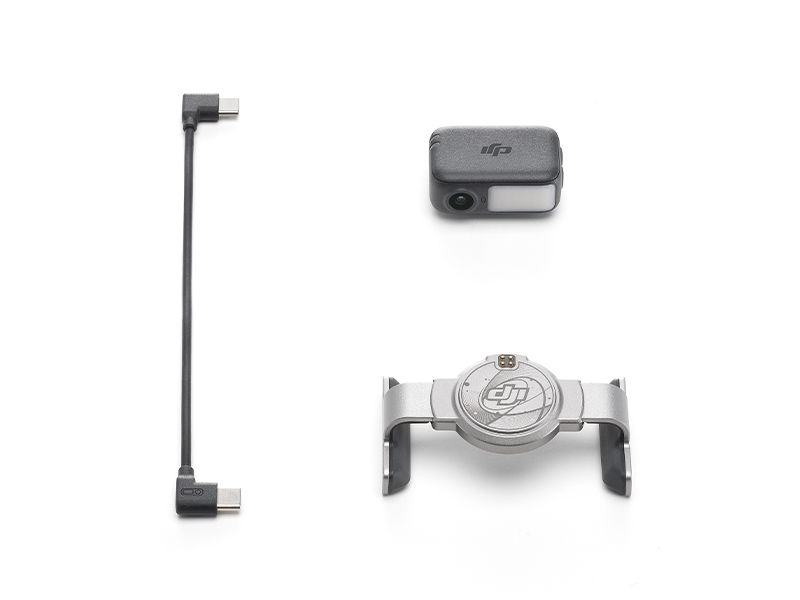 DJI OM 7 Series Tracking Kit
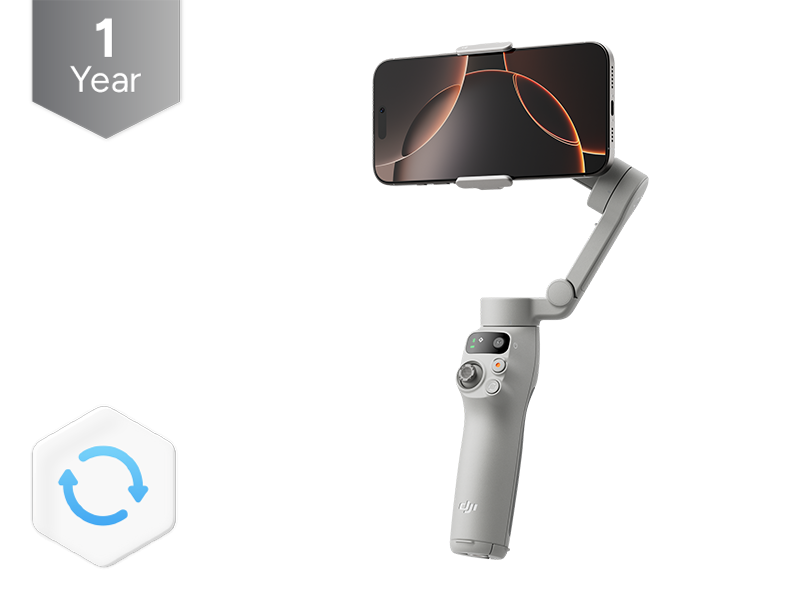 DJI Care Refresh 1-Year Plan (Osmo Mobile 7)
 Osmo 1.6m Tripod Selfie Stick
 DJI OM 7 Series Magnetic Phone Clamp
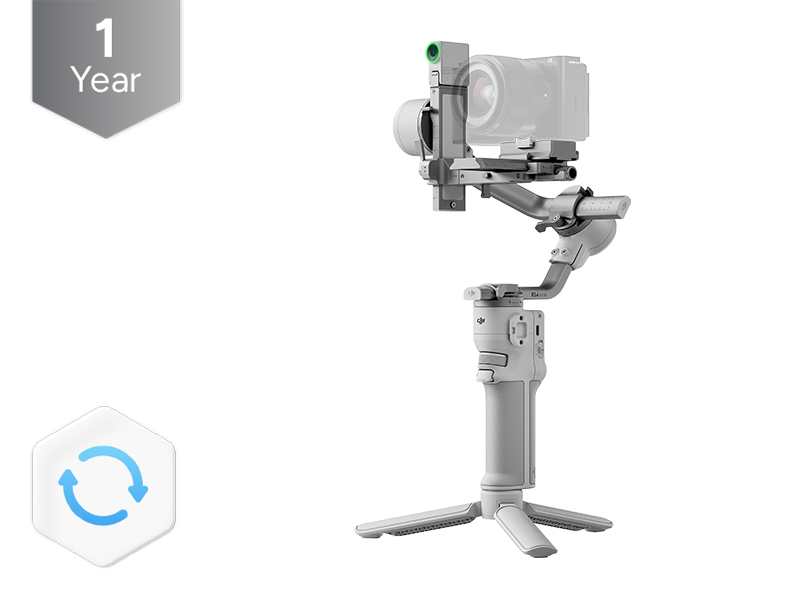 DJI Care Refresh 1-Year Plan (DJI RS 4 Mini)
 DJI Care Refresh 2-Year Plan (DJI RS 4 Mini)
 DJI RS Enhanced Intelligent Tracking Module
 DJI RS Intelligent Tracking Module
 DJI Care Refresh 1-Year Plan (DJI Mini 4 Pro)
 DJI Care Refresh 2-Year Plan (DJI Mini 4 Pro)
 DJI Care Refresh 1-Year Plan (DJI Air 3S)
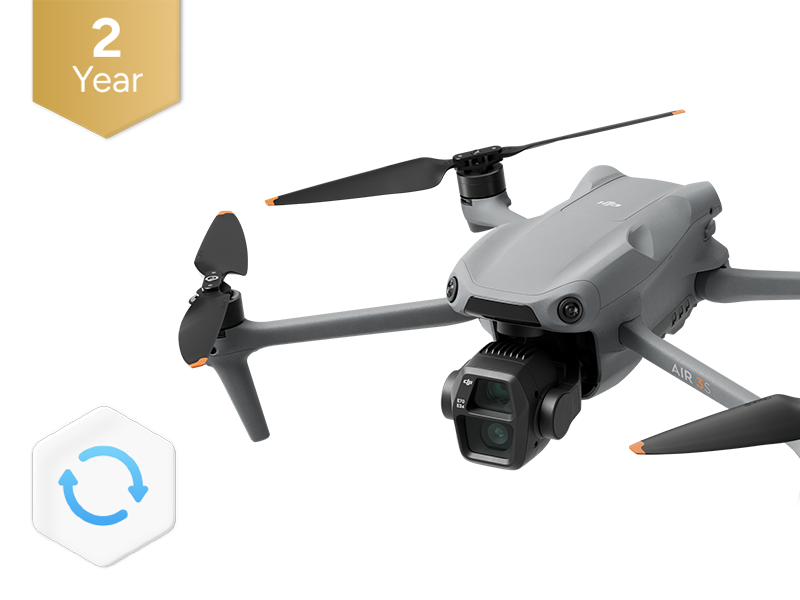 DJI Care Refresh 2-Year Plan (DJI Air 3S)
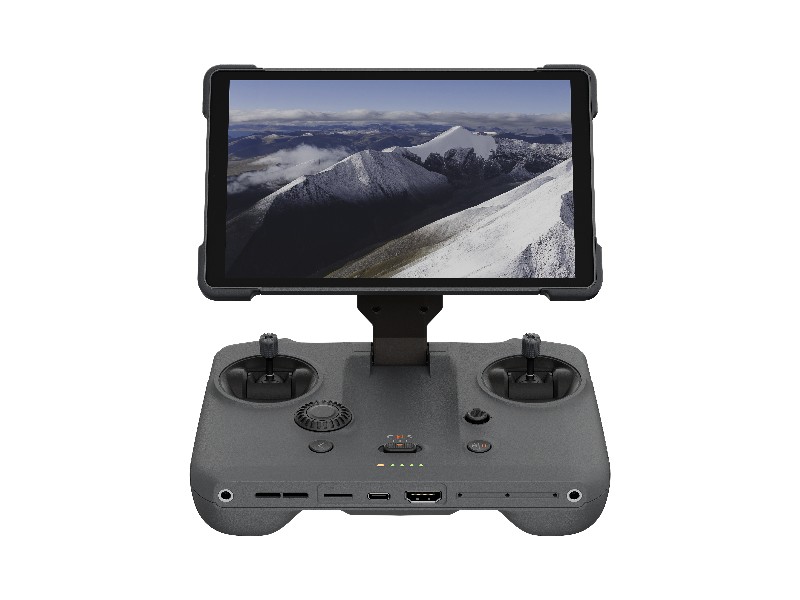 DJI RC Pro 2
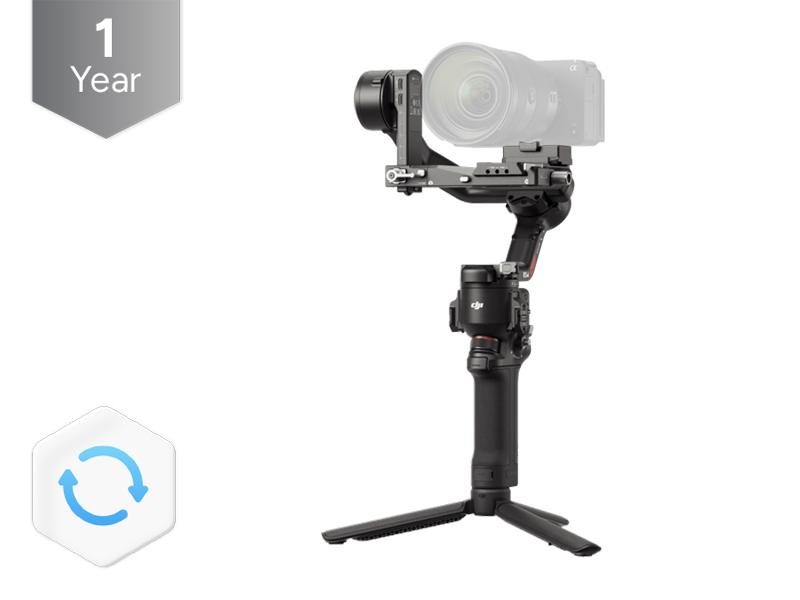 DJI Care Refresh 1-Year Plan (DJI RS 4)
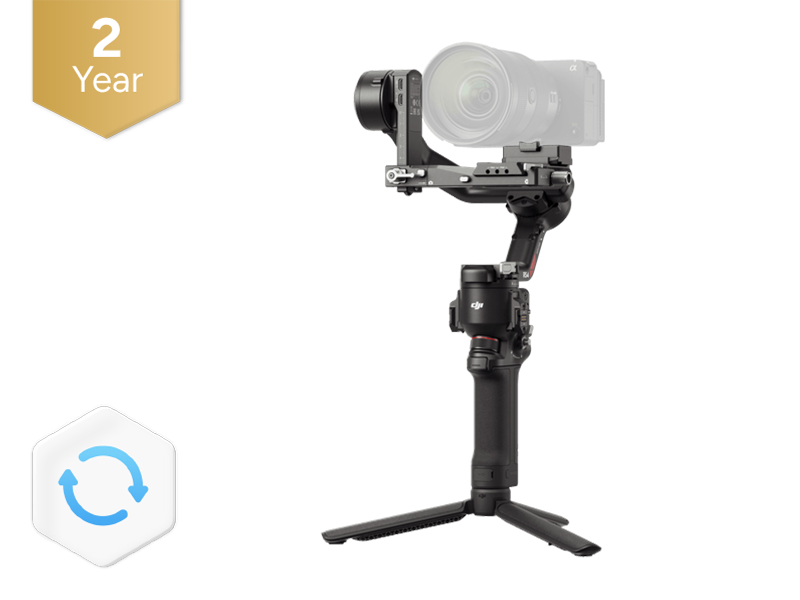 DJI Care Refresh 2-Year Plan (DJI RS 4)
 DJI Care Refresh 1-Year Plan (Osmo Action 5 Pro)
 DJI Care Refresh 2-Year Plan (Osmo Action 5 Pro)
 D1 Labs Screen & Lens Protector for Osmo Action 5 Pro
 DJI Care Refresh 1-Year Plan (DJI Mavic 4 Pro)
 DJI Care Refresh 2-Year Plan (DJI Mavic 4 Pro)
 PGYTECH OneGo Air Backpack 25L | Obsidian Black
 D1 Labs Safety Case for DJI Mavic 4 Pro
 DJI Care Refresh 1-Year Plan (DJI RS 4 Pro)
 DJI Care Refresh 2-Year Plan (DJI RS 4 Pro)
 DJI Care Refresh 1-Year Plan (Osmo Action 4)
 DJI Care Refresh 2-Year Plan (Osmo Action 4)
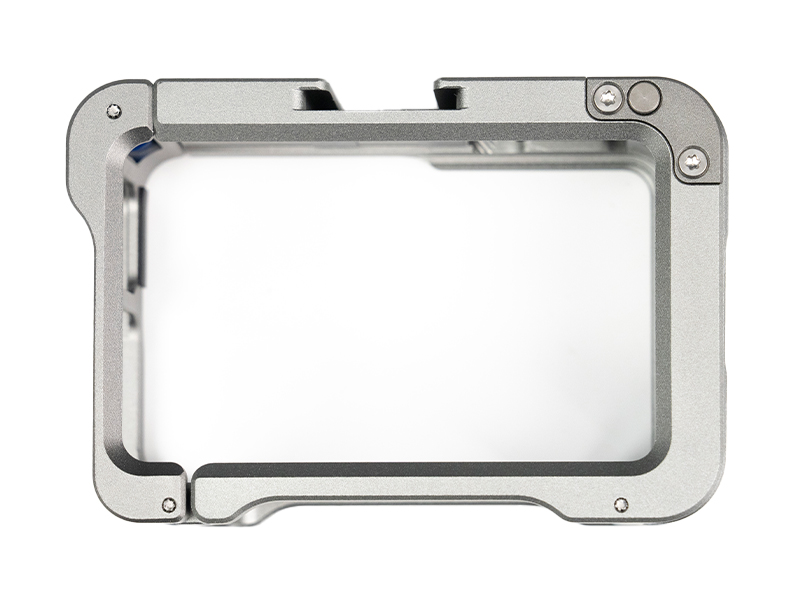 D1 Labs Camera Cage for Osmo Action 3/4/5 Pro
 DJI Mic 3 Receiver
 DJI Mic 3 Transmitter
 DJI Mic 3 Charging Case
 DJI Mic Series Mobile Receiver
 DJI Mic Series Carrying Pouch
 DJI Mic Mini Windscreen (Black & Grey w. Black Clip)
 DJI Care Refresh 1-Year Plan (Osmo Nano)
 DJI Care Refresh 2-Year Plan (Osmo Nano)
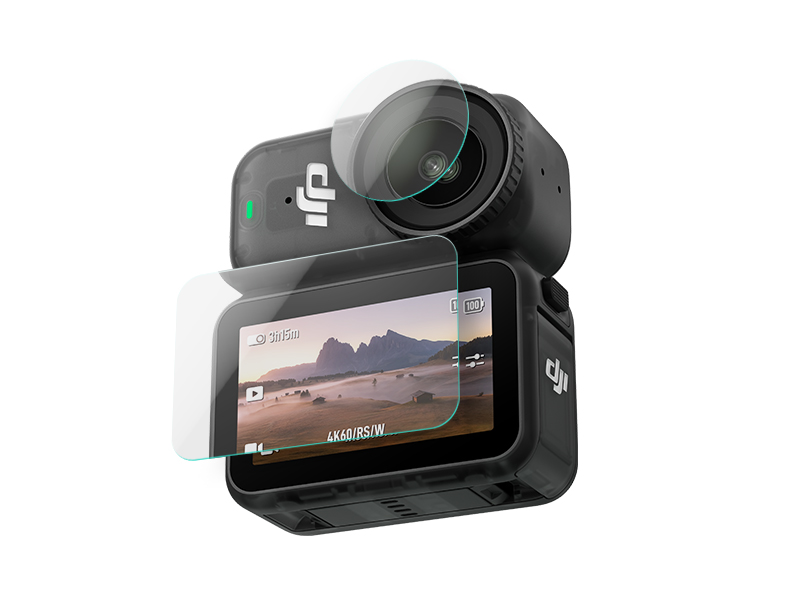 D1 Labs Screen & Lens Protector for Osmo Nano
 Osmo 70cm Invisible Selfie Stick
 DJI Care Refresh 1-Year Plan (Osmo 360)
 DJI Care Refresh 2-Year Plan (Osmo 360)
 Osmo 360 Carrying Bag
 D1 Labs Screen Protector for Osmo 360
 D1 Labs High-Speed SD Card Reader
 D1 Labs Tri-Colour Drone Strobe Light
 D1 Labs All-in-One Mount for Osmo Pocket 3
 UGREEN 130W USB-C Car Charger
 UGREEN 100W USB-C Charging Station
 UGREEN 35W Nexode GaN II Charger
 UGREEN USB-C to HDMI Adapter
 D1 Labs Landing Pad Pro (65CM)
 D1 Labs Landing Pad Pro (100CM)
 D1 Labs Weighted Drone Landing Pad (92 cm)
 D1 Labs Dual Hook Controller Lanyard
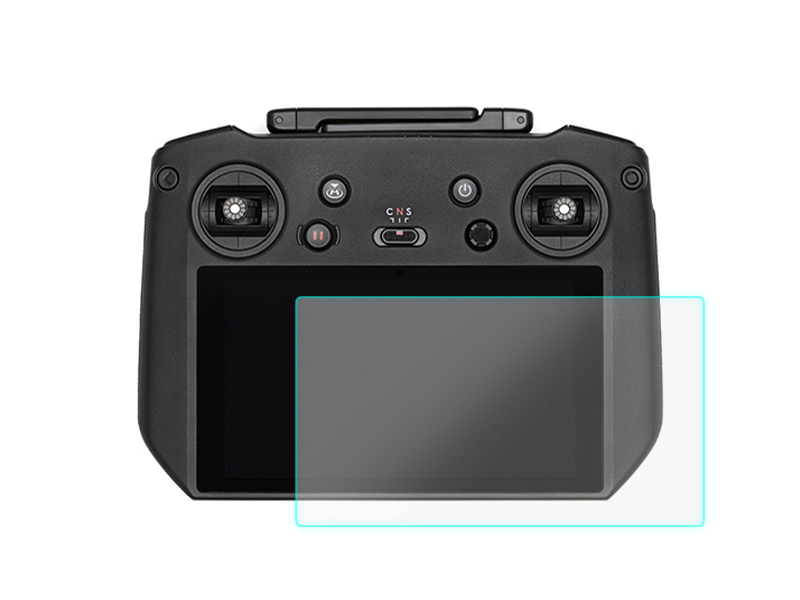 D1 Labs Screen Protector for DJI RC Pro
 SunnyLife Carrying Case for DJI RC Pro
  SunnyLife Protective Cover for DJI RC Pro
 SunnyLife Sun Hood for DJI RC Pro
 D1 Labs Drone Safety Sign
 D1 Labs Retractable Safety Cone (450 mm)
 LiPO Battery Safe Bag (Large)
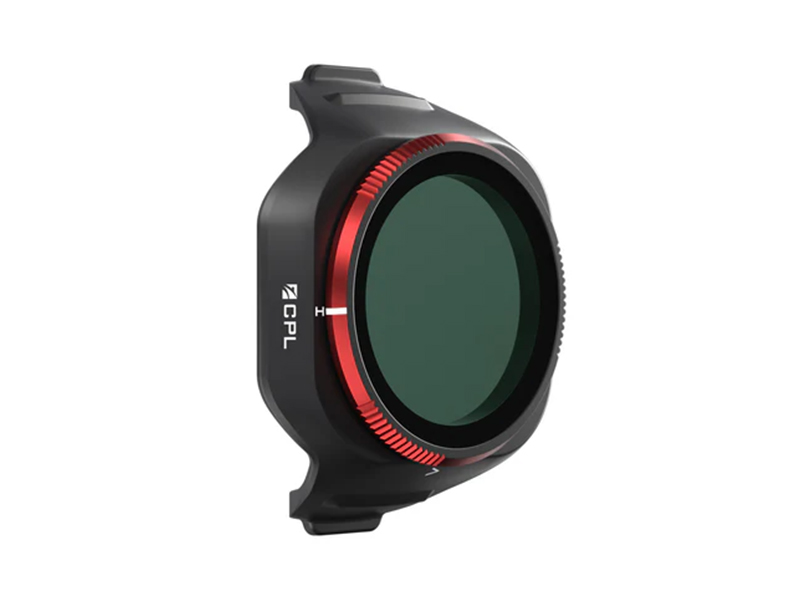 Freewell CPL Filter for DJI Mini 5 Pro
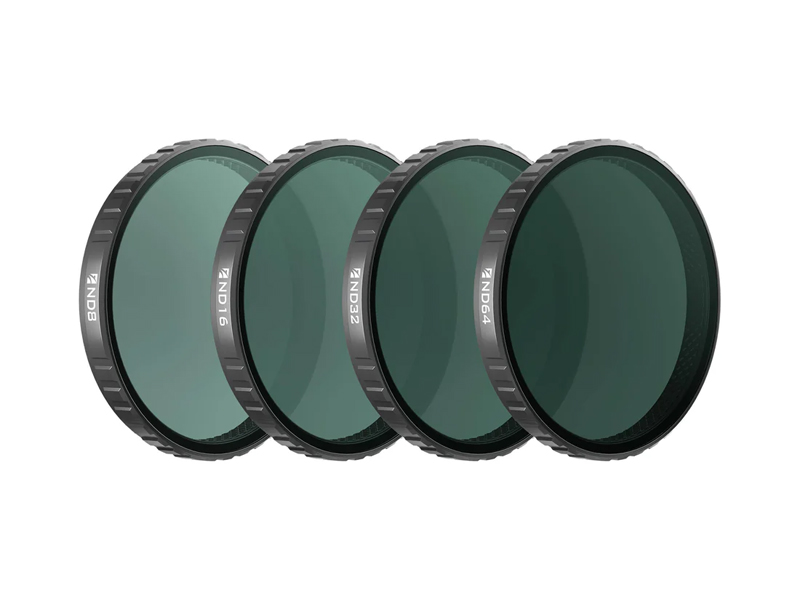 Freewell Standard Day Filters for Osmo Action 6 (4 Pack)
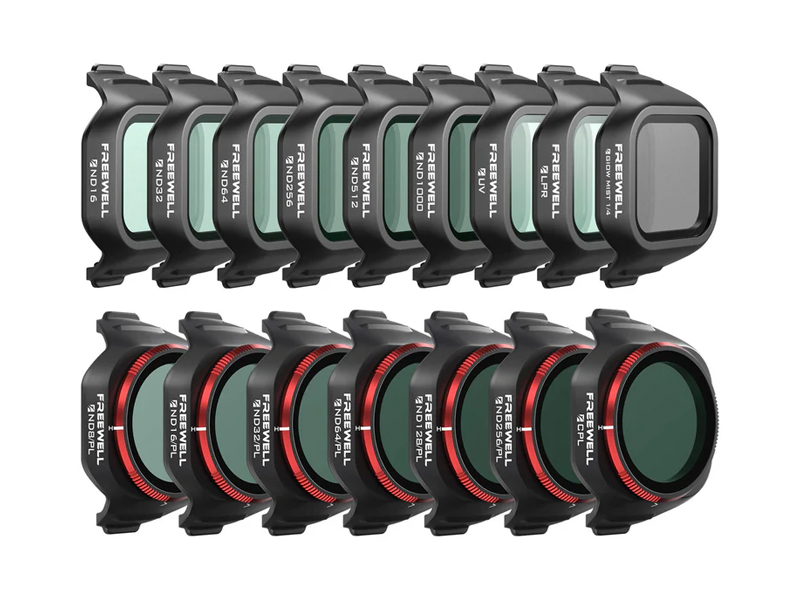 Freewell Mega Filter Pack for DJI Mini 5 Pro (16 Pack)
 Freewell CPL Filter for Osmo Action 6
 Freewell Sherpa Series Case for iPhone 15 Pro Max
 Freewell Sherpa Series Glow Mist 1/4 Filter
 Freewell Galaxy Series Snow Mist 1/4 Filter
 Freewell Sherpa Series Case for iPhone 13 Pro
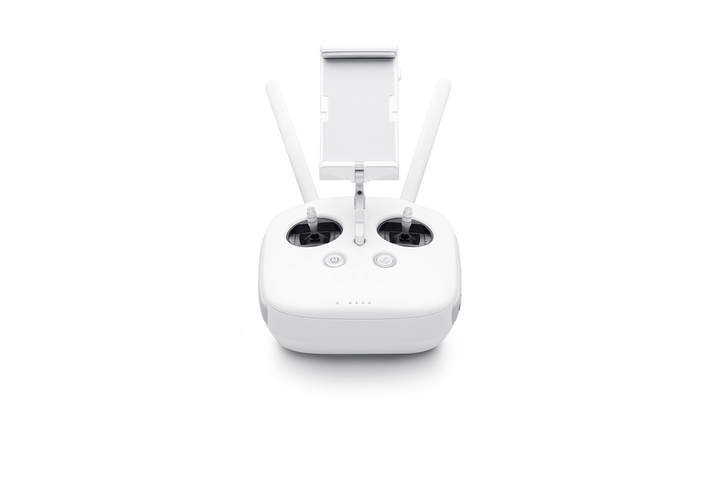 Phantom 4 Pro V2.0 Remote Controller
  DJI RC Motion 3
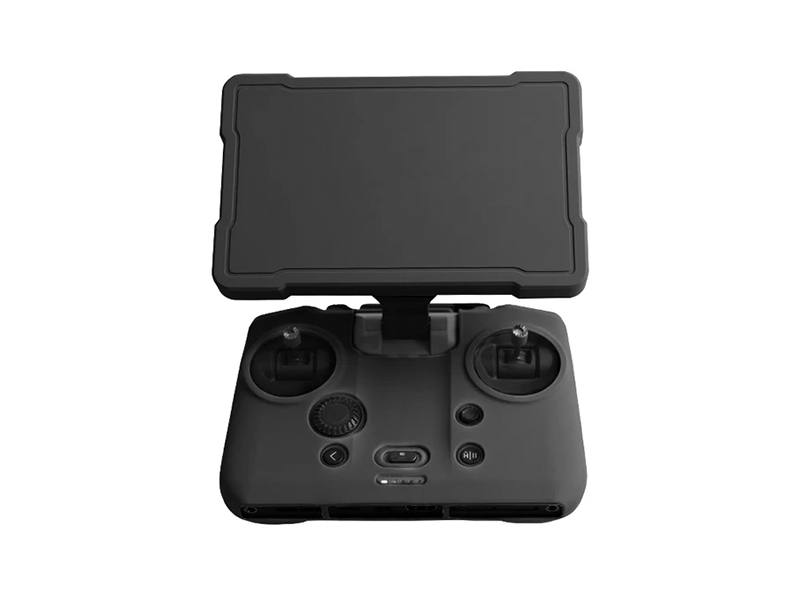 Cynova Protective Cover for DJI RC Pro 2
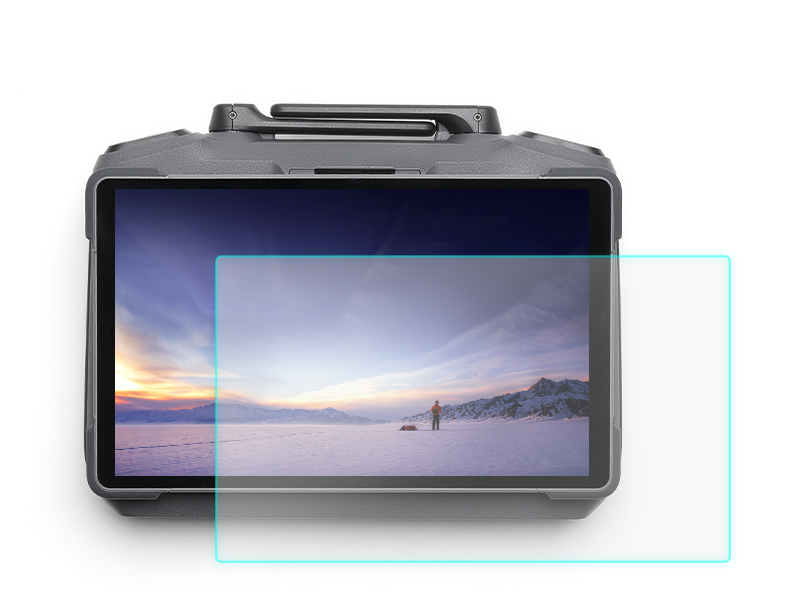 D1 Labs Screen Protector for DJI RC Pro 2
 D1 Labs Lanyard Bracket for DJI RC Pro 2
 DJI Care Refresh 2-Year Plan (DJI RS 3 Mini)
 DJI Care Enterprise Basic (Matrice 30T)
 DJI Care Enterprise Basic (Zenmuse L2)
 DJI Care Enterprise Basic (Matrice 350 RTK)
 DJI Care Enterprise Basic (DJI Mavic 3 Thermal Advanced)
 DJI Care Enterprise Basic 2-Year Plan (DJI Mavic 3 Thermal Advanced)
 DJI Care Enterprise Basic 2-Year Plan (D-RTK 3 Multifunctional Station)
 DJI Care Enterprise Basic 2-Year Plan (Zenmuse S1)
 DJI Care Enterprise Basic 2-Year Plan (Zenmuse V1)
 DJI Care Enterprise Plus (Zenmuse V1)
 DJI Care Enterprise Plus (Zenmuse L2)
 DJI Care Enterprise Plus (DJI Mavic 3 Thermal Advanced)
 DJI Care Enterprise Plus (Zenmuse L3)
 Ex-Demo DJI Mini 3
 Ex-Demo DJI Mini 3 Fly More Combo Plus
 Ex-Demo Osmo Pocket 3 Creator Combo
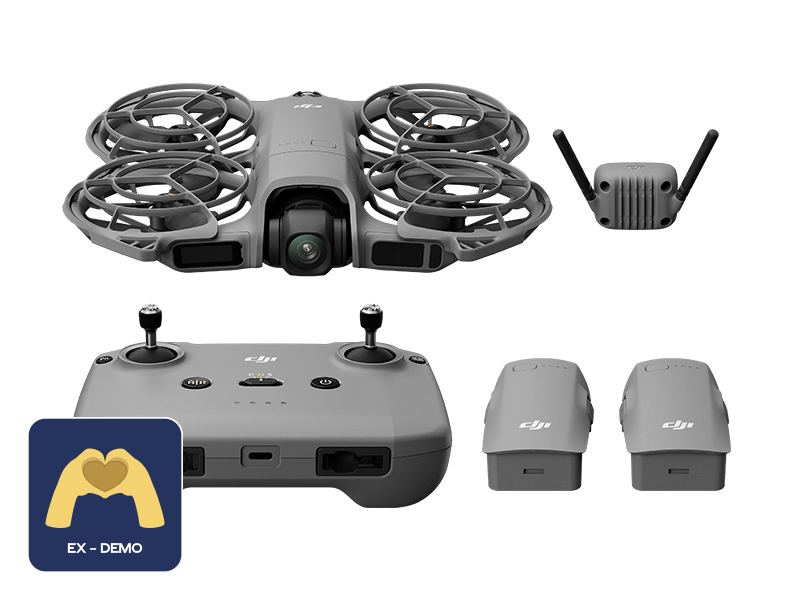 Ex-Demo DJI Neo 2 Fly More Combo
 Freewell CPL Filter for DJI Mavic 3 Pro
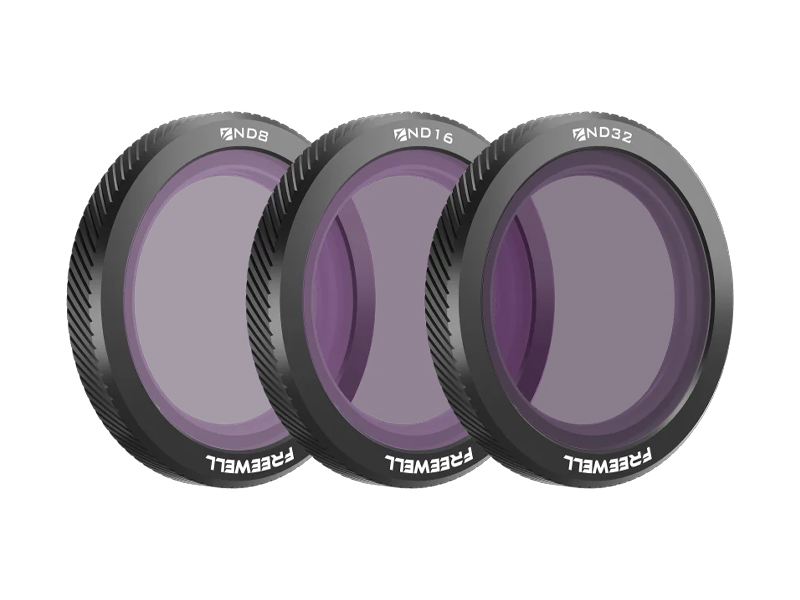 Freewell Standard Day Filters for DJI Neo (3 Pack)
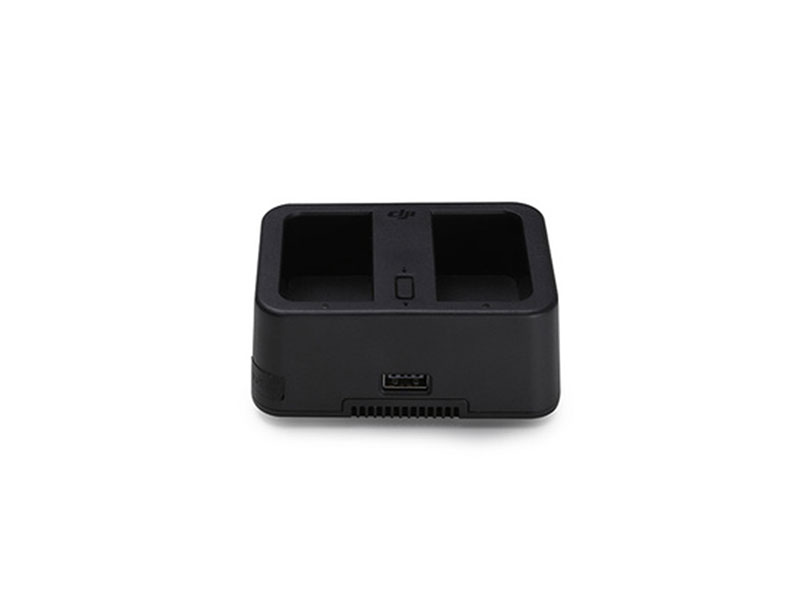 DJI WB37 Battery Charging Hub
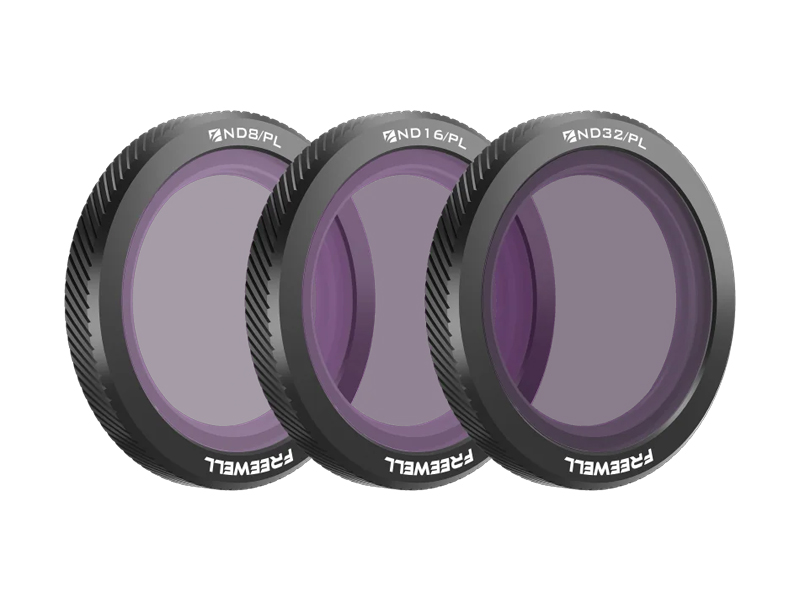 Freewell Bright Day Filters for DJI Neo (3 Pack)
 Ex-Demo Osmo Nano Standard Combo (128GB)
 Ex-Demo DJI RS 4 Combo
 Ex-Demo Osmo Action 5 Pro Adventure Combo
 Ex-Demo DJI Neo 2 Intelligent Flight Battery
 Ex-Demo DJI RS Enhanced Intelligent Tracking Module
 Ex-Demo DJI TB51 Intelligent Battery
 Ex-Demo DJI RS 5 Electronic Briefcase Handle
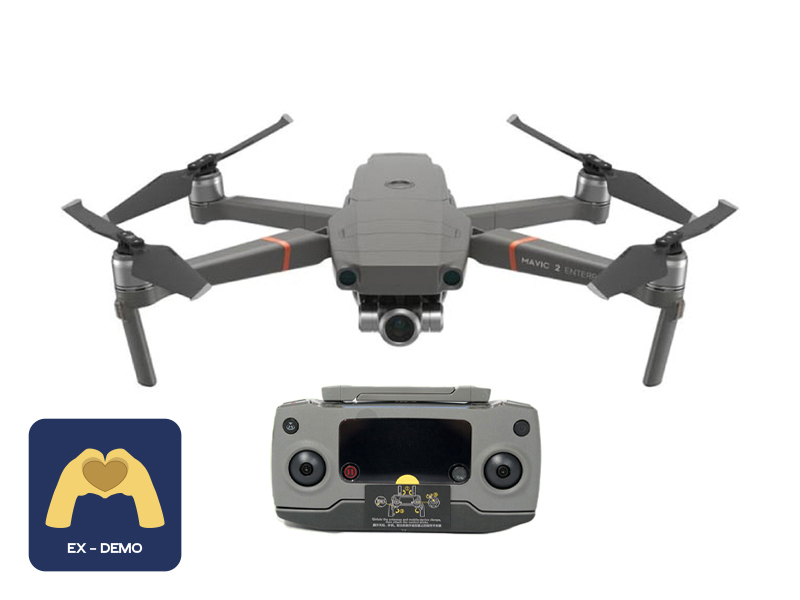 Ex-Demo Mavic 2 Enterprise Zoom
 Ex-Demo DJI Matrice 4D
 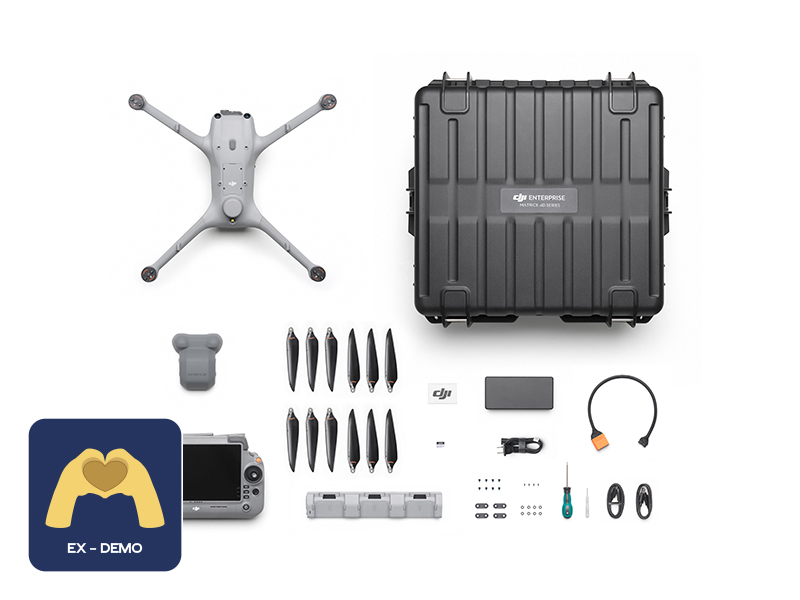 Ex-Demo DJI Matrice 4D Combo
 Ex-Demo DJI DL-S 16mm F2.8 ND ASPH Lens
 Ex-Demo TB60 Intelligent Flight Battery
 Ex-Demo ChengZhi FL48 Lighting System
 Ex-Demo WB37 Intelligent Battery
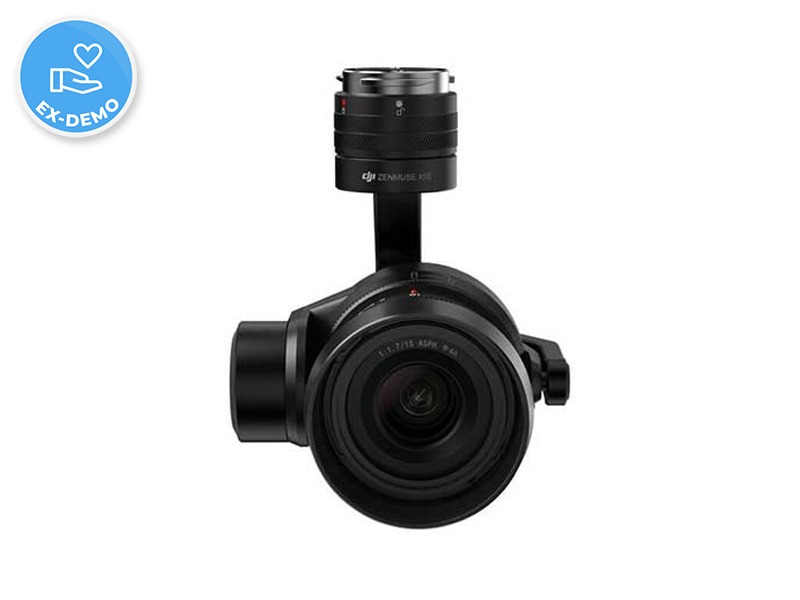 Ex-Demo Zenmuse X5S
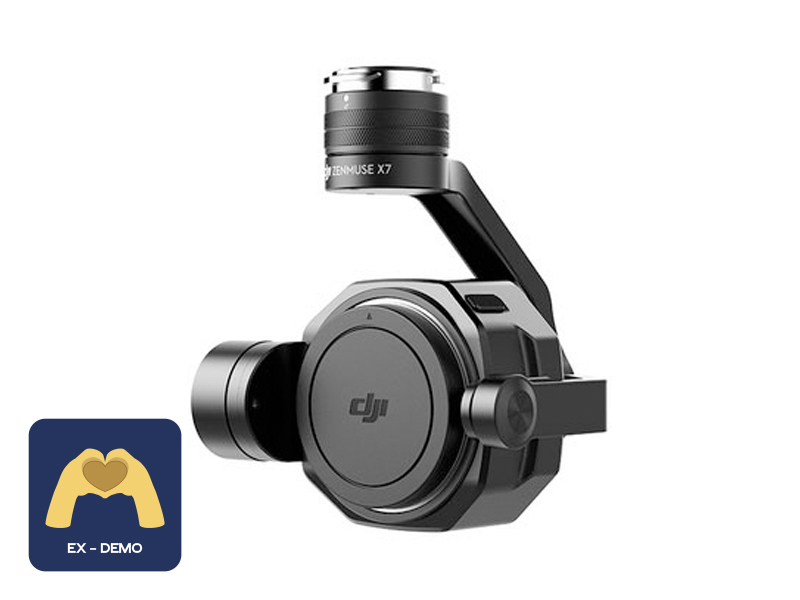 Ex-Demo Zenmuse X7
 Ex-Demo Wingsland Z15 Gimbal Spotlight