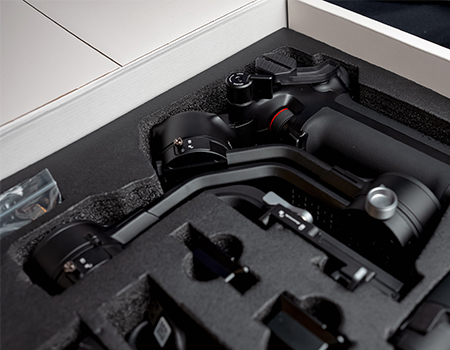
Double check the packaging for any hard to get accessories. Open up the pockets in the carrying case to find cables and other smaller accessories.
Once unboxed, it is recommended to fully charge the device before Activation & First Use.
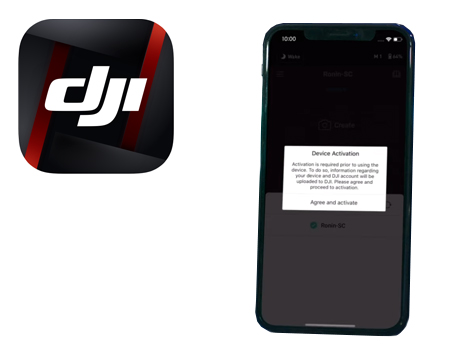
Activation
Open up DJI Ronin on your smartphone device and turn on your Ronin. Make sure both your Bluetooth and WiFi are turned on. Follow the prompts on your screen to connect to your device and activate.
Ensure your phone is connected to fast internet to avoid any errors.
Note: The warranty starts upon activation.
Firmware updates
Firmware updates are released often for new features and/or fix bugs. You will need to update your Ronin handheld through the DJI Ronin application.
Ensure your batteries are above 50% before updating along with stable and fast internet.
Care Refresh
Stay stable with DJI Care Refresh coverage for your DJI Ronin camera gimbal. Care Refresh gives you access to exclusive prioritised repair and replacement services for DJI Ronin.
Please note that DJI Care Refresh can only be purchased and paired with brand new products within 30 days of device activation.
Want to bring cinematic stability to your next video shoot? Do it with a DJI RS3 series gimbal! With three different models of RS3 to choose from, it can be tricky to pick and decide which one will be best for you, so we’re here to help! Join us as we break down the differences between the different RS3 models.
DJI RS3 Camera Compatibility Guide: Canon, Sony, Nikon and More
Don’t know whether your camera is compatible with the DJI RS3 camera gimbal? No stress, we’ve got you covered with our RS3 camera compatibility guide which outlines every camera currently compatible with the DJI RS3 gimbal. Be sure to consult this guide before you buy!
After an accessory for your DJI Ronin series gimbal but need to know if you’re getting the right one? Not all Ronin series accessories are cross-compatible, so we’ve put together this guide to help you navigate the accessory range and pick the right one for your gimbal. This guide covers accessories for five DJI Ronin models - DJI RS3, RS3 Mini, RS3 Pro, RS2 and RSC2.
Follow the steps below to activate the device:
1. Press and hold the power button to power on DJI RS 4 Mini, and then select the language.
2. Enable Bluetooth on your smartphone.
3. Launch the Ronin app on your smartphone and register or log in with your DJI account. Tap Connect and select DJI RS 4 Mini. Enter the default password 12345678 and follow the on-screen instructions to activate DJI RS 4 Mini.
4. After successful activation, DJI RS 4 Mini will enter sleep mode. Press the power button once to exit sleep mode before use.
* During activation, make sure your mobile device is connected to the internet.
** DJI RS 4 Mini supports up to five trials without activation. After that, activation is required for further use.
Follow the steps below to update the firmware:
1. Press and hold the power button to power on DJI RS 4 Mini.
2. Launch the DJI Ronin app, tap Connect to Gimbal, and select your DJI RS 4 Mini on the device list.
3. When new firmware is available, there will be a prompt on the top of the DJI Ronin app main interface that says "Update Now."* Simply tap it. There will be a prompt to indicate a successful update. Tap Exit to complete the update.
4. If the update fails, restart the device and try again.
Please refer to DJI RS 4 Mini's firmware update video tutorial. https://www.dji.com/rs-4-mini/video
* Do not power off the device or exit the app until the firmware update is complete.
DJI RS 4 Mini is not waterproof or dustproof. Please keep away from water and dust during use to avoid damaging the device.
DJI RS 4 Mini is primarily composed of aluminum alloy and plastic.
No.
1. Power Button
Press and hold: Power on/off.
Press once/twice: Sleep/wake.
Press once with the gimbal powered off: Check the current battery level of the gimbal.
2. Trigger
Press and hold: Enter Lock/FPV mode.
Press twice: Recenter the gimbal.
Press three times: Enter Selfie mode.
3. Front Dial
The default setting is electronic focusing. You can change the function on the touchscreen.
4. Camera Control Button
Press halfway: Autofocus.
Press once: Start/stop recording.
Press and hold: Take a photo.
5. Joystick
Zoom Control
Push up or pull down: Control Power Zoom for Sony PZ lenses, or Sony Clear Image Zoom.
Gimbal Control
Push up or pull down: Control tilt axis movement (default setting).
Push left or right: Control pan axis movement (default setting).
6. M Button
Press once: Can be customized to Take Photos or C1/Fn1 Button Mapping;
Press and hold: Enter Sport Mode.
Press and hold the M button while pressing the trigger twice: Enter and remain in Sport Mode. Repeat to exit.
Press and hold the M button and trigger: Start auto tune.
You can press the power button once to check the battery level.
DJI RS 4 Mini supports PF (Pan Follow), PTF (Pan and Tilt Follow), FPV, 3D Roll 360, and Custom modes.
1. In PF mode, only the pan axis follows the movement of the grip. This is suitable for horizontal camera movements, such as circling a subject, left and right movements, and emerging walk-through shots.
2. In PTF mode, both the pan and tilt axes follow the movement of the grip. This is suitable for scenarios when moving up and down or on a slant.
3. In FPV mode, all three axes follow the movement of the grip. This is frequently used in scenarios when rotating the camera.
4. In 3D Roll 360 mode, the tilt axis will rotate 90°, and the camera lens will face straight upward. Then, you can control the joystick to rotate the pan axis 360° to create a time tunnel effect.
5. In Custom mode, you can manually set any axis of the three axes to follow.
DJI RS 4 Mini is not compatible with the expansion base kit and cannot be used for vehicle-mounted shooting.
Yes. DJI RS 4 Mini can switch to vertical shooting without additional accessories such as the vertical camera mount. You only need to attach the standard quick-release plate to the vertical arm. This is convenient for short video creation on social media. It supports native switching between horizontal and vertical shooting to meet the shooting needs of different aspect ratios.
For details, please refer to the tutorial video of DJI RS 4 Mini. https://www.dji.com/rs-4-mini/video
On the touchscreen, swipe down from the home page, tap the Settings icon, and then swipe downward and tap Restore Parameters to restore gimbal parameters* or change Bluetooth password respectively.
* Gimbal parameters refer to parameters such as motor stiffness, follow, and joystick.
Yes. It is recommended to use a PD fast charger of 30 W or above with the included USB-C charging cable to charge the device.
Yes.
The NATO port on the side of the body of DJI RS 4 Mini supports the installation of accessories such as briefcase handle, external fill light, and microphone.
The bottom 1/4" screw hole can be used to connect tripods, achieving greater stability.
The front dial of DJI RS 4 Mini supports controlling focus or adjusting camera parameters such as ISO, aperture, and shutter, or controlling the movement of the gimbal's roll/pan/tilt axis.
* Camera control functions require a Bluetooth connection or camera control cable. For details, please refer to the Ronin Series Compatibility page: https://www.dji.com/support/compatibility.
Camera Control
DJI RS 4 Mini supports Bluetooth shutter connection and camera control cable connection. Detailed operations are as follows.
Method 1: Bluetooth shutter connection
1. Enable Bluetooth and the remote control function of the camera.
2. On the touchscreen, swipe down from the top of the home page to enter the control center. Tap the Bluetooth icon in the upper right corner, and DJI RS 4 Mini will start searching for Bluetooth signals of surrounding devices. You can select the corresponding Bluetooth of your camera to connect. Certain camera models require a linking password. After successful linking, the Bluetooth icon turns blue.
* DJI RS 4 Mini can connect to only one camera at a time. When connecting to another camera, it will automatically disconnect from the previously connected camera. ** For information on whether your camera supports Bluetooth shutter connection and related setup methods, please check the Ronin Series Compatibility page: https://www.dji.com/support/compatibility.
Method 2: Camera shutter control cable connection
Please select the corresponding camera control cable according to your camera model. Plug one end of the cable to the shutter control port on the camera and plug the other end into the camera control port on DJI RS 4 Mini.
* Cables not included in the box require additional purchase.
1. It is recommended not to use a cage when installing the upper quick-release plate.
2. The quick-release plate is designed with a curved placement guide. The end with the curved placement guide should face the lens. Adjust the length of the placement guide. Make sure the curved placement guide is firmly pushed up against the camera body before tightening the D-ring camera mounting screw. If you are having trouble tightening the D-ring camera mounting screw into the camera fixing hole, rotate the quick-release plate 180° with the curved placement guide facing the camera screen. Then flip the camera screen, and tighten the D-ring camera mounting screw.
It requires the DJI RS Intelligent Tracking Module*. Before use, please ensure the RS Intelligent Tracking Module is correctly installed and the subject is within the detection range. There are two ways to enable/disable tracking:
1. Press the trigger once;
2. Open your palm towards the RS Intelligent Tracking Module.
For details, please refer to the tutorial video of DJI RS 4 Mini. https://www.dji.com/rs-4-mini/video
* Sold separately.
The USB-C port on the RS Intelligent Tracking Module is for firmware update purposes only.
The bottom of the RS Intelligent Tracking Module features a magnetic locking design. Press the latches and magnetically attach it to DJI RS 4 Mini's tilt axis.
It is recommended to lock DJI RS 4 Mini's axis locks before installing the RS Intelligent Tracking Module.
1. Download the corresponding firmware package from the download section of DJI RS 4 Mini's product page on the official DJI website.
2. Use the included USB-C cable to connect the RS Intelligent Tracking Module to a computer.
3. Place the downloaded firmware package (file ending with .bin) in the root directory of the RS Intelligent Tracking Module.
4. For Windows computers, directly unplug the cable. For Mac computers, click 'Eject' before unplugging.
5. Reconnect the computer using the USB-C cable, and the RS Intelligent Tracking Module will automatically start updating. During the update, the status indicator will flash alternately in red and green.
6. When the status indicator turns solid red, the update is complete.
This function is only supported in the PF (pan and follow) and PTF (pan and tilt follow) modes. Not supported in the FPV (tilt, roll and pan follow) mode.
The RS Intelligent Tracking Module only supports detecting human subjects and does not support other subjects.
It supports tracking only one subject at a time.
It supports two methods: center the subject or keep current framing.
Center the subject: When the user initiates tracking with gesture/trigger, the composition will be automatically adjusted, moving the subject to the center of the frame.
Keep current framing: When the user initiates tracking with a gesture/trigger, the composition will remain unchanged.
Open palm (either hand): Start/stop tracking;
V sign (either hand): Start/stop recording;
You can also disable gesture control through the screen menu.
Due to differences in cameras, lenses, and filming distances, not all cameras can achieve centered composition as required. In this case, it is recommended to use the joystick to adjust the composition.
When using the flashlight mode or filming at a low angle during intelligent tracking and composition, ensure that the battery grip or the briefcase handle is always in the same the direction of the lens. Otherwise, the gimbal may lose control and sway, affecting the camera movement.
Avoid using it in backlit scenarios, as this may result in losing the subject and affect the camera movement. It is recommended to use in environments with three people or fewer.
Intelligent Features
One.
You can use the joystick on the grip to control the gimbal and compose your shot.
Gimbal
Follow the steps below to activate the device: 1. Press and hold the power button to power on DJI RS 4. 2. Enable Bluetooth on your mobile device. 3. Launch the DJI Ronin app and register or log in with your DJI account. Select DJI RS 4 on the device list, enter the default password: 12345678, and follow the on-screen instructions to activate DJI RS 4.* 4. DJI RS 4 will enter sleep mode after successful activation. Press the power button once to exit sleep mode before use.
* During activation, make sure your mobile device is connected to the internet.
Follow the steps below to update the firmware: 1. Press and hold the power button to power on DJI RS 4. 2. Launch the DJI Ronin app, tap Connect to Gimbal, and select your DJI RS 4 on the device list. 3. When new firmware is available, there will be a prompt on the top of the DJI Ronin app main interface that says 'Update Now.'* Simply tap it. There will be a prompt to indicate a successful update. Tap Exit to complete the update. 4. If the update fails, restart the device and try again.
* Do not power off the device or exit the app until the firmware update is complete.
No. The ports on DJI RS 4 are not waterproof or dustproof. Please keep away from water and dust during use to avoid damaging the device.
1. Power Button Press and hold: Power on/off. Press once: Sleep/wake.
2. Trigger Press and hold: Enter Lock/FPV mode (customizable). Press twice: Recenter the gimbal. Press three times: Enter Selfie mode.
3. Front Dial Electronic focusing (default setting).
4. Camera Control Button Press halfway: Autofocus. Press once: Start/Stop recording. Press and hold: Take a photo.
5. Joystick Zoom Control Push up or pull down: Control external focus motor zoom, Power Zoom for Sony PZ lenses, or Sony Clear Image Zoom. Gimbal Control Push up or pull down: Control tilt axis movement (default setting). Push left or right: Control pan axis movement (default setting).
6. M Button Press once: Can be customized to Take Photos, C1/Fn1 Button Mapping, or LiDAR AF/MF. Press and hold: Enter Sport Mode. Press and hold the M button while pressing the trigger twice: Enter and remain in Sport Mode. Repeat to exit. Press and hold the M button and trigger: Start Auto Tune.
When DJI RS 4 is powered off, press and hold the power button, and the three axes will unlock and expand automatically to become ready for use within seconds. Press and hold the power button again to lock the axes and power off DJI RS 4. During use, press the power button once, and the axes will automatically lock and enter sleep mode. Press once again to unlock and wake. You can set the movement of the automated axis locks on the touchscreen. When DJI RS 4 is being powered on/off, the movement can be Recenter & Lock, Fold & Lock, or None. When DJI RS 4 is entering sleep mode, the movement can be Recenter & Lock or None. Additionally, the automated axis locks also support manual locking and unlocking.
With the gimbal mode switch, you can quickly switch between PF, PTF, and FPV modes. FPV mode is also customizable to 3D Roll 360 or Custom via the touchscreen.
Swipe down from the touchscreen home page, tap the Bluetooth icon, and DJI RS 4 will begin searching for the Bluetooth signals of the surrounding devices. Select the Bluetooth name of your camera. Certain camera models require a pairing password. After successful pairing, the Bluetooth icon will turn blue. For detailed steps, watch the tutorial How to Connect a Camera - DJI RS 4 Pro & DJI RS 4.
Press the camera control button halfway to control autofocus, press once to start/stop recording, and press and hold to take a photo. Additionally, you can use the joystick to control Power Zoom for Sony PZ lenses, or Sony Clear Image Zoom.
When the gimbal is balanced in a level and stationary state and the battery is powering only the gimbal, the battery runtime can reach 12 hours. When DJI RS 4 is used with the new DJI RS BG70 High-Capacity Battery Grip, the battery runtime can be extended to 29.5 hours.
Approx. 2.5 hours.*
* Measured with a charger supporting 18W fast charging. It is recommended to use chargers supporting PD protocol.
Yes.
The DJI RS 4 battery grip is compatible with DJI RS 3. However, it cannot be used with DJI RS 4 Pro.
The DJI RS BG70 High-Capacity Battery Grip only supports charging mainstream cameras when they are powered off. The charging speed depends on the charging protocol of the camera.
Intelligent Features
Tap the Auto Tune icon on the touchscreen home page and enable Car Mount mode.* Then, tap Start Calibration to perform calibration for better stabilization.
* In Car Mount mode, it is normal to feel a slight vibration as the motors operate with increased strength.
Car Mount mode is specifically developed for vehicle shooting scenarios. It increases the motor torque of DJI RS 4 Pro to further enhance stabilization, delivering more stable footage during intense vehicle vibrations.
You can use the joystick on the grip to control the gimbal and compose your shot.
Gimbal
DJI RS 4 Pro supports second-generation native vertical shooting, allowing you to seamlessly switch between horizontal and vertical shooting without the need for additional accessories. It also introduces a new joystick mode switch, enabling quick switching of the joystick mode to zoom control. The roll axis has added dual rolling bearings for smoother and easier adjustments. The second-generation automated axis locks can achieve smaller gaps when locked, reducing gimbal shakes further.
Follow the steps below to activate the device: 1. Press and hold the power button to power on DJI RS 4 Pro. 2. Enable Bluetooth on your mobile device. 3. Launch the DJI Ronin app and register or log in with your DJI account. Select DJI RS 4 Pro on the device list, enter the default password: 12345678, and follow the on-screen instructions to activate DJI RS 4 Pro.* 4. DJI RS 4 Pro will enter sleep mode after successful activation. Press the power button once to exit sleep mode before use.
* During activation, make sure your mobile device is connected to the internet.
Follow the steps below to update the firmware: 1. Press and hold the power button to power on DJI RS 4 Pro. 2. Launch the DJI Ronin app, tap Connect to Gimbal, and select your DJI RS 4 Pro on the device list. 3. When new firmware is available, there will be a prompt on the top of the DJI Ronin app main interface that says "Update Now."* Simply tap it. There will be a prompt to indicate a successful update. Tap Exit to complete the update. 4. If the update fails, restart the device and try again.
* Do not power off the device or exit the app until the firmware update is complete.
No. The ports on DJI RS 4 Pro are not waterproof or dustproof. Please keep away from water and dust during use to avoid damaging the device.
DJI RS 4 Pro is primarily composed of aluminum alloy and carbon fiber.
1. Power Button Press and hold: Power on/off. Press once: Sleep/wake.
2. Trigger Press and hold: Enter Lock/FPV mode (customizable). Press twice: Recenter the gimbal. Press three times: Enter Selfie mode.
3. Front Dial Electronic focusing (by default).
4. Camera Control Button Press halfway: Autofocus. Press once: Start/stop recording. Press and hold: Take a photo.
5. Joystick Zoom Control Push up or pull down: Control external focus motor zoom, Power Zoom for Sony PZ lenses, or Sony Clear Image Zoom. Gimbal Control Push up or pull down: Control tilt axis movement (by default). Push left or right: Control pan axis movement (by default).
6. M Button Press once: Can be customized to Take Photos, C1/Fn1 Button Mapping, or LiDAR AF/MF. Press and hold: Enter Sport Mode. Press and hold the M button while pressing the trigger twice: Enter and remain in Sport Mode. Repeat to exit. Press and hold the M button and trigger: Start Auto Tune.
When DJI RS 4 Pro is powered off, press and hold the power button, and the three axes will unlock and expand automatically to become ready for use within seconds. Press and hold the power button again to lock the axes and power off DJI RS 4 Pro. During use, press the power button once, and the axes will automatically lock and enter sleep mode. Press once again to unlock and wake. You can set the movement of the automated axis locks on the touchscreen. When DJI RS 4 Pro is being powered on/off, the movement can be Recenter & Lock, Fold & Lock, or None. When DJI RS 4 Pro is entering sleep mode, the movement can be Recenter & Lock or None. Additionally, the automated axis locks also support manual locking and unlocking.
When the roll axis arm is fully extended, it will interfere with the pan axis arm during the storage process, affecting the storage effect. Therefore, if Auto Lock is set to Fold & Lock, the gimbal will keep a certain angle to complete the storage, regardless of the extension length of the roll axis arm. The roll axis does not come with the axis arm length detection function, so the axis arm length cannot be identified. As such, DJI RS 4 Pro cannot be completely folded for storage through settings. However, unlike DJI RS4 Pro, DJI RS 4 can be completely folded for storage. When the roll axis arm of DJI RS 4 is fully extended, the roll axis arm and pan axis arm will not interfere with each other during the storage process.
With the gimbal mode switch, you can quickly switch between PF, PTF, and FPV modes. FPV mode is also customizable to 3D Roll 360 or Custom via the touchscreen.
Camera Control
Swipe down from the touchscreen home page, tap the Bluetooth icon, and DJI RS 4 Pro will begin searching for the Bluetooth signals of the surrounding devices. Select the Bluetooth name of your camera. Certain camera models require a pairing password. After successful pairing, the Bluetooth icon will turn blue. For detailed steps, watch the tutorial How to Connect a Camera - DJI RS 4 Pro & DJI RS 4.
Press the camera control button halfway to control autofocus, press once to start/stop recording, and press and hold to take a photo. Additionally, you can use the joystick to control Power Zoom for Sony PZ lenses, or Sony Clear Image Zoom.
Use the DJI Ronin Expansion Base Kit to mount DJI RS 4 Pro.
There are three ways to control DJI RS 4 Pro remotely: 1. Pair DJI RS 4 Pro with DJI Transmission (High-Bright Monitor Combo) to remotely control the gimbal and camera focus with the DJI Ronin 4D Hand Grips or DJI Master Wheels. The DJI High-Bright Remote Monitor can be used as an independent motion controller to remotely control the gimbal. 2. Connect DJI RS 4 Pro to the DJI RS Focus Wheel and DJI Pro Wireless Receiver. Link the DJI Pro Wireless Receiver with DJI Master Wheels or DJI Force Pro to remotely control the gimbal via DJI Master Wheels or DJI Force Pro. 3. When using DJI RS 4 Pro with the DJI Ronin Image Transmitter, use Force Mobile or the virtual joystick in the DJI Ronin app to remotely control the gimbal.
Lens calibration files are stored in the DJI Focus Pro Motor. You can save up to three sets of lens calibration files. After connecting the DJI Focus Pro LiDAR and DJI Focus Pro Motor to DJI RS 4 Pro, you can delete the calibration files in the lens calibration interface on the touchscreen of DJI RS 4 Pro.
1. Use a USB-C cable to connect the DJI Focus Pro LiDAR with a computer. Launch DJI Assistant 2 (Ronin Series), and log into your DJI account. 2. Click on the LiDAR range finder icon to enter the firmware update page, and wait for the firmware list to be updated. 3. Select the firmware version as needed and click Update. Then, wait for the firmware to be downloaded. After the download, the DJI Focus Pro LiDAR will automatically perform the update.
No. It can only work with manual lenses.
Yes. This requires the DJI Focus Pro LiDAR to DJI Transmission Cable Hub.
You can try the following operations: 1. If you calibrate the lens via the DJI RS 4 Pro body, please check if the LiDAR installation distance matches the settings in DJI RS 4 Pro. If you calibrated the lens via the app, you can go to the flange distance adjustment page in the app and adjust the focus until it is sharp. 2. Calibrate the lens again. Make sure the subject is in focus at 1 meter and at 4 meters. 3. A hood or matte box attached to the lens may obstruct LiDAR signals and result in images being out of focus. Try removing the hood or matte box and calibrating the lens again. 4. Longer lenses may also obstruct LiDAR signals and result in images being out of focus. Try changing to a shorter lens and calibrating again.
Aim at diffused or highly reflective surfaces such as cement walls, unpainted wood, or unpolished stone. Do not aim at glass or metal surfaces or pure black areas.
When the gimbal is balanced in a level and stationary state, and the battery is powering only the gimbal, the battery runtime can reach 13 hours. When DJI RS 4 Pro is used with the new DJI RS BG70 High-Capacity Battery Grip, the battery runtime can be extended to 29 hours.
Approx. 1.5 hours.*
* Measured with a charger supporting 24W fast charging. It is recommended to use chargers supporting QC 2.0 or PD protocols.
Yes.
The DJI RS 4 Pro battery grip is compatible with DJI RS 4 and DJI RS 3 Pro. However, the DJI RS 4 battery grip cannot be used with DJI RS 4 Pro.
The DJI RS BG70 High-Capacity Battery Grip only supports charging mainstream cameras when they are powered off. The charging speed depends on the camera's charging protocol.
System
You can determine whether the Hand Unit and Motor have been successfully linked by observing the status indicator on both devices. A yellow light indicates linking is in progress; a red light indicates linking has failed; a green light indicates linking has succeeded.
You can update the firmware of the LiDAR by connecting it to a computer and using DJI Assistant 2 (Ronin Series). You can update the Grip or Hand Unit by connecting it to a smartphone and using the DJI Ronin app. For the Motor, connect it to the Grip or Hand Unit first, then update the firmware via the Grip or Hand Unit and the DJI Ronin app.
Yes.
The Hand Unit has the highest priority for focus control. When the Hand Unit is powered on, the Motor will prioritize commands from the Hand Unit first.
Make sure that the installation distance and the flange distance are correctly adjusted and then recalibrate the lens.
LiDAR
Installation distance refers to the distance between the image sensor plane of the camera and the glass surface of the LiDAR.
Use the scale on the focus card to measure the distance from the image sensor plane of the camera to the glass surface of the LiDAR.
In 1x mode, the focus distance ranges from 0.5 meters to 10 meters with an equivalent focal length of 30 millimeters. With the 2x zoom display function enabled, the focus distance ranges from 0.5 meters to 20 meters.
By default, in 1x mode, the LiDAR's ToF sensor operates within a 10-meter sensing range. To extend to a 20-meter focus distance, you can tap the + icon on the Grip's screen to enable 2x zoom display.
The DJI Focus Pro LiDAR features a longer sensing range, more ranging points, and more intelligent subject recognition capabilities, resulting in an improved focusing experience.
It should be used for diffusely reflective, large, and high-reflectivity objects (reflectivity > 10%). It is not suitable for directly focusing on glass surfaces or for use in heavy smoke or foggy conditions.
First, use a flathead screwdriver to remove the 1/4" screw from the LiDAR mounting plate. Then, remove the cold shoe plate and attach the LiDAR to the screw hole on the cage using the 1/4" screw. Additionally, for the convenience of the users, the 1/4" screw on the LiDAR mounting plate is not fixed with threadlocker. If you notice any looseness during use, you can tighten the screw with a flathead screwdriver.
It is recommended to use the manual calibration method. Calibrate at a distance of 0.5 meters at the first calibration point (0.5 to 1.5 meters). This allows for more accurate close-range focusing.
It is recommended to use the two-point calibration method. Calibrate at a distance of 5 meters at the second calibration point (4 to 5 meters). This allows for more accurate long-distance focusing.
Grip
"1. A white box indicates a subject that has been recognized and is being continuously focused on. 2. A gray box indicates a subject that has been recognized but is not being focused on. 3. A yellow box indicates a subject that has been recognized and is being locked onto for focus. 4. A red box indicates a subject that is about to lose its tracking status.
Enable the Bluetooth function on both the camera and the Grip, and then tap to link them. Once the linking is successful, the Grip can be used to control camera recording. For more compatibility information, click Camera & Lens Compatibility in the navigation bar of the product page on the official DJI website.
The Grip only supports power supply from the BG21 Battery Grip, which is interchangeable with the battery grips for DJI RS 3 and DJI RS 4.
The USB-C port on the right side of the Grip's screen is a camera control port, which can be used to control the camera shutter.
By pressing the trigger and M button simultaneously, you can quickly calibrate the Motor.
Most cameras require the installation of a cage before mounting the Grip.
In multi-person scenes, you can switch the autofocus subject by rotating the front dial on the Grip.
Switching subjects is not supported in AMF mode.
Hand Unit
The Hand Unit utilizes the NP-F550 battery model commonly available on the market. The dimensions should be 71×38.6×21.1 mm (L×W×H). Make sure to purchase batteries according to these specified dimensions.
Due to significant differences in NP-F550 battery specifications on the market, if you encounter a situation where a battery is difficult to remove or cannot be removed, try gently tapping the Hand Unit to dislodge the battery.
On the touchscreen home page, swipe down to access the settings interface, select Bluetooth, and tap to pair with a camera that has Bluetooth enabled. Once paired, you can control camera recording through the Hand Unit. For more compatibility information, click Camera & Lens Compatibility in the navigation bar of the product page on the official DJI website.
Press and hold the trigger to enter damping adjustment on the Hand Unit, then rotate the focus knob to adjust the damping intensity.
When you press and hold the trigger to adjust the damping, the Hand Unit automatically stores its last set focus position. After the adjustment is completed, the Hand Unit will automatically revert to this memorized focus position.
Press and hold the M button on the Hand Unit to start linking, or go to the touchscreen settings interface and select Link Motor to enter linking mode. You can also press and hold the function button on the Motor to trigger the linking process.
By pressing the trigger and M button simultaneously, you can quickly calibrate the Motor.
The Hand Unit operates in the 2.4GHz RF band and there is a possibility that it could be interfered with by other 2.4GHz devices. If you use it with the DJI High-Bright Remote Monitor, make sure to set the monitor's RF band to 5.8GHz/DFS to minimize the chances of interference.
Press the A/B button once to set point A, and then rotate the focus knob to a desired distance and press the A/B button again to set point B. To clear the A/B points, press the A/B button again.
1. Pressing and holding the trigger allows for rapid adjustment of the Hand Unit's damping. 2. When using the LiDAR for focus assistance, the trigger can be used to lock onto the focus subject.
The electronic contact pad allows connection to the DJI High-Bright Remote Monitor via the DJI High-Bright Remote Monitor Holder.
To ensure the Hand Unit operates properly, it is recommended that the batteries used should be capable of a discharge current greater than 2.5 A and maintain a voltage of no less than 6.3 V in an ambient temperature range of -20° to 45° C (-4° to 113° F).
The Motor supports reverse rotation, which can be set via the touchscreen on either the Grip or Hand Unit. Grip:
Swipe up from the bottom of the touchscreen home page to enter the settings interface of the Grip. Enable the Reverse Dial function, and the rotation direction of the Motor will be reversed accordingly. Hand Unit: Swipe down from the top of the touchscreen home page to enter the settings interface. Select Invert Function Buttons Direction to set the reverse control direction for the focus knob, iris slider, and zoom stick.
The Motor is compatible with third-party batteries for power supply, and the voltage range supported is 2S-4S (7.4-14.4 V). It is recommended to use the official D-TAP to USB-C Power Cable to connect to third-party batteries.
The FIZ stickers can be applied to different motors to distinguish their functions.
Solid Red: Powered on but not linked. Solid Green: Powered on and successfully linked. Solid Yellow: In the process of linking. Flashing Red or Green: Motor range has not been calibrated.
Simply press the Motor's function button to switch between the F, I, and Z channels.
They are stored in the Focus Pro Motor.
App
The flange distance is the distance between the lens and the camera's image sensor. Since camera mounts vary or adapters of different models may be used, the same lens can have different flange distances. As a result, after calibrating the lens in the DJI Ronin app, it is necessary to adjust the flange distance according to the actual camera view to eliminate focus discrepancies that may arise due to the use of different camera mounts or adapters.
"If the camera view remains unclear after lens calibration, try adjusting the flange distance. Adjustment Method: 1. To adjust the flange distance, it is recommended to use the focus card included in the box as a shooting subject. 2. Observe the clarity of the camera view against the focus card and enter the flange distance adjustment page in the DJI Ronin app. Then, finely adjust by tapping the + or - icon. 3. When the camera view has become clear, it indicates that the flange distance has been properly set.
Intelligent Features
Tap the gimbal calibration icon on the touchscreen of the gimbal and enable SuperSmooth mode*. Tap Start Calibration to perform calibration for better stabilization.
* Before using SuperSmooth mode, make sure you have installed the lens-fastening support.
SuperSmooth mode was developed for fast-moving scenarios. It increases the torque of DJI RS 3 to further enhance stabilization, delivering stable footage in more dynamic and strenuous shooting scenarios.
One.
You can use the joystick on the grip to control the gimbal and compose your shot.
Gimbal
Follow the steps below to activate the device:
1. Press and hold the power button to power on the gimbal.
2. Enable Bluetooth on your mobile device.
3. Launch the Ronin app and register or log in with your DJI account. Select DJI RS 3 on the device list, enter the default password: 12345678, and follow the on-screen instructions to activate DJI RS 3.*
4. DJI RS 3 will enter sleep mode after successful activation. Press the power button once to exit sleep mode before use.
* During activation, make sure the mobile device is connected to the internet.
Follow the steps below to update the firmware:
1. Press and hold the power button to power on the gimbal.
2. Launch the Ronin app, tap Connect to Gimbal, and select your DJI RS 3 on the device list.
3. When new firmware is available, there will be a prompt on the top of the Ronin app main page that says "Update Now."* Simply tap it. There will be a prompt to indicate that the update has been successful. Tap Exit to complete the update.
4. If the update fails, restart the device and try again.
* Do not power off the gimbal or exit the app until the firmware update is complete.
No. Ports on DJI RS 3 are not waterproof or dustproof. Please keep away from water and dust during use to avoid damaging the device.
DJI RS 3 is primarily composed of aluminum alloy.
Please refer to the Ronin Series Compatibility Search: https://www.dji.com/support/compatibility
1. Power Button
Press and hold: Power on/off;
Press once: Sleep/wake.
2. Trigger
Press and hold: Enter Lock mode;
Press twice: Recenter the gimbal;
Press three times: Enter Selfie mode.
3. Front Dial
Electronic focusing (default setting).
4. Camera Control Button
Press halfway: Autofocus;
Press once: Start/stop recording;
Press and hold: Take a photo.
5. Joystick
Push up or pull down: Control tilt axis movement (by default);
Push left or right: Control pan axis movement (by default).
6. M Button
Press once: Can be customized to lock/unlock the touchscreen, take a photo, or LiDAR AF/MF;
Press and hold: Enter Sport mode;
Press and hold while pressing the Trigger twice: Lock Sport mode. Repeat to exit;
Press and hold the M Button and Trigger: Start auto calibration.
When the gimbal is powered off, press and hold the power button, and the three axes unlock and expand automatically to become ready for use within seconds. Press and hold the power button again to lock the axes and power off the gimbal. During use, press the power button once and the axes automatically lock and enter sleep mode. Press once again to unlock and wake.
With the new gimbal mode switch, you can quickly change between Pan Follow, Pan and Tilt Follow, and FPV modes. The FPV switch is also customizable to 3D Roll 360, Portrait, or Custom.
Approx. 3 kg/6.6 lbs.
Camera Control
Please refer to the Ronin Series Compatibility Search: https://www.dji.com/support/compatibility
Swipe down the main page of the built-in touchscreen, tap the Bluetooth icon, and DJI RS 3 will begin searching for the Bluetooth signals of the surrounding devices. Select the Bluetooth name of your camera. Certain camera models require a linking password. After successful connection, the Bluetooth icon will turn blue. For detailed steps, watch the tutorial Connecting DJI RS 3/RS 3 Pro.
Press halfway to autofocus, press once to start recording, and press and hold to take a photo.
Accessories
Please check the appendix: DJI RS Series Universal Accessories List.
Battery
Up to 12 hours with equipment in a level and stationary state, the gimbal balanced, three axes in an active state, and the battery only powering the gimbal.
Approx. 2.5 hours.*
* Measured with an 18W charger. It is recommended to use PD protocol chargers. Quick-charging DJI RS 3 can only be done using a USB-C to USB-C charging cable.
Yes.
The battery grip of DJI RS 3 is not interchangeable with that of DJI RS 3 Pro or DJI RS 2.
Intelligent Features
Tap the gimbal calibration icon on the touchscreen of the gimbal and enable SuperSmooth mode*. Tap Start Calibration to perform calibration for better stabilization.
* Before using SuperSmooth mode, make sure you have installed the lens-fastening support.
SuperSmooth mode was developed for fast-moving scenarios. It increases the torque of DJI RS 3 Pro to further enhance stabilization, delivering stable footage in more dynamic and strenuous shooting scenarios.
One.
You can use the joystick on the grip to control the gimbal and compose your shot.
Gimbal
Inheriting the design language of DJI RS 2, DJI RS 3 Pro features extended carbon fiber axis arms, new automated axis locks, a gimbal mode switch, Bluetooth shutter control, as well as a 1.8-inch full-color OLED touchscreen, making shooting more efficient and convenient. The optimized structure of RS 3 Pro ensures that its weight remains at 1.5 kg (this weight includes the gimbal, battery grip, and dual-layered quick-release plates), while its load capacity is a robust 4.5 kg. In addition, DJI RS 3 Pro is equipped with the 3rd-Gen RS Stabilization Algorithm that supports LiDAR focusing and O3 Pro video transmission technologies, delivering an integrated receiving, monitoring, and control experience that facilitates coordinated shooting.
Follow the steps below to activate the device:
1. Press and hold the power button to power on the gimbal.
2. Enable Bluetooth on your mobile device.
3. Launch the Ronin app and register or log in with your DJI account. Select DJI RS 3 Pro on the device list, enter the default password: 12345678, and follow the on-screen instructions to activate DJI RS 3 Pro.*
4. DJI RS 3 Pro will enter sleep mode after successful activation. Press the power button once to exit sleep mode before use.
* During activation, make sure the mobile device is connected to the internet.
Follow the steps below to update the firmware:
1. Press and hold the power button to power on the gimbal.
2. Launch the Ronin app, tap Connect to Gimbal, and select your DJI RS 3 Pro on the device list.
3. When new firmware is available, there will be a prompt on the top of the Ronin app main page that says "Update Now."* Simply tap it. There will be a prompt to indicate that the update has been successful. Tap Exit to complete the update.
4. If the update fails, restart the device and try again.
* Do not power off the gimbal or exit the app until the firmware update is complete.
No. Ports on DJI RS 3 Pro are not waterproof or dustproof. Please stay away from water and dust during use to avoid damaging the device.
DJI RS 3 Pro is primarily composed of aluminum alloy and carbon fiber.
Please refer to the Ronin Series Compatibility Search: https://www.dji.com/support/compatibility
1. Power Button
Press and hold: Power on/off;
Press once: Sleep/wake.
2. Trigger
Press and hold: Enter Lock mode;
Press twice: Recenter the gimbal;
Press three times: Enter Selfie mode.
3. Front Dial
Electronic focusing (default setting).
4. Camera Control Button
Press halfway: Autofocus;
Press once: Start/stop recording;
Press and hold: Take a photo.
5. Joystick
Push up or pull down: Control tilt axis movement (by default);
Push left or right: Control pan axis movement (by default).
6. M Button
Press once: Can be customized to lock/unlock the touchscreen, take a photo, or LiDAR AF/MF;
Press and hold: Enter Sport mode;
Press and hold while pressing the Trigger twice: Lock Sport mode. Repeat to exit;
Press and hold the M Button and Trigger: Start auto calibration.
When the gimbal is powered off, press and hold the power button, and the three axes unlock and expand automatically for use within just a few seconds. Press and hold the power button again to lock the axes and power off the gimbal. During use, press the power button once, and the axes automatically lock and enter sleep mode. Press once again to unlock and wake.
With the new gimbal mode switch, you can quickly change between Pan Follow, Pan and Tilt Follow, and FPV modes. The FPV switch is also customizable to 3D Roll 360, Portrait, or Custom.
Approx. 4.5 kg/10 lbs.
Camera Control
Please refer to the Ronin Series Compatibility Search: https://www.dji.com/support/compatibility
Swipe down the main page of the built-in touchscreen, tap the Bluetooth icon, and DJI RS 3 Pro will start searching for Bluetooth signals of surrounding devices. Select the Bluetooth name of your camera. Certain camera models require a linking password. After successful connection, the Bluetooth icon will turn blue. For detailed steps, watch the tutorial Connecting DJI RS 3/RS 3 Pro.
Press halfway to autofocus, press once to start recording, and press and hold to take a photo.
Accessories
Please check the appendix: DJI RS Series Universal Accessories List.
Use the Ronin Expansion Base Kit to mount DJI RS 3 Pro.
There are three ways to control DJI RS 3 Pro remotely:
1. Pair DJI RS 3 Pro with DJI Transmission to control the gimbal and camera focus remotely with Ronin 4D Hand Grips, DJI Master Wheels, or DJI Force Pro. The DJI High-Bright Remote Monitor can be used as an independent motion controller to remotely control the gimbal.
2. Connect DJI RS 3 Pro to the DJI R Focus Wheel and DJI Pro Wireless Receiver. Link the DJI Pro Wireless Receiver with DJI Master Wheels or DJI Force Pro to remotely control the gimbal via DJI Master Wheels or DJI Force Pro.
3. When using DJI RS 3 Pro with the DJI Ronin Image Transmitter, use Force Mobile or the virtual joysticks in the Ronin app to control the gimbal remotely.
Lens calibration profiles are stored in the DJI RS Focus Motor (2022). After connecting the DJI LiDAR Range Finder (RS) and DJI RS Focus Motor (2022) to the gimbal, you can delete the files on the lens calibration page on the built-in touchscreen.
Three at most.
1. Use a USB-C cable to connect the DJI LiDAR Range Finder (RS) with a computer. Launch DJI Assistant 2 (Ronin Series), and log into your DJI account.
2. Click on the LiDAR range finder icon to enter the firmware update page, and wait for the firmware list to be updated.
3. Select the firmware version you need and click Update. Then, wait for the firmware to be downloaded. After the download, the DJI LiDAR Range Finder (RS) will automatically perform the update.
No. It can only work with manual lenses.
When the DJI LiDAR Range Finder (RS) is connected to DJI RS 3 Pro via the multi-camera control cable, if the display becomes grainy or flickers, use the DJI LiDAR Control Cable to connect the DJI LiDAR Range Finder (RS) with DJI RS 3 Pro.
Battery
Up to 12 hours with equipment in a level and stationary state, the gimbal balanced, three axes in an active state, and the battery only powering the gimbal.
Approx. 1.5 hours.*
* Measured with a 24W charger. It is recommended to use QC 2.0 or PD protocol chargers.
Yes.
The battery grip of DJI RS 3 Pro is not interchangeable with that of DJI RS 3, but it is interchangeable with DJI RS 2.
Basics
Please follow the steps activate DJI RSC 2:
1. Press the power button and hold to power on the gimbal;
2. Enable Bluetooth on your mobile device;
3. Launch the Ronin app, register/log in with your DJI account, select DJI RSC 2 on the equipment list, enter the default password 12345678, and follow the app's instructions to activate. A network connection is required throughout the activation;
4. DJI RSC 2 will enter sleep mode after successful activation. Press the power button twice to exit sleep mode before use.
Please follow the steps to update the firmware of DJI RSC 2:
1. Press the power button and hold to power on the gimbal;
2. Launch the Ronin app, connect to the gimbal, and select DJI RSC 2 on the equipment list;
3. Whenever there is a new firmware version available for update, you will see a prompt on the top of the main interface of the Ronin app, tap "Update Now" and do not turn off the gimbal or exit the app until firmware update is complete. When the update is done, you will be prompted by a pop-up window. Tap Exit to finish firmware update;
4. If the firmware update fails, please restart the gimbal and try again.
No. The power/data port on DJI RSC 2 is not waterproof or dustproof. Please keep away from water and dust during use.
The primary material used or DJI RSC 2's construction is aluminum alloy.
Press and hold the power button to power on/off the gimbal.
Refer to the DJI Ronin Series Camera Compatibility Search for more information on camera compatibility: www.dji.com/au/rsc-2
When powered on: When DJI RSC 2 is in Upright mode, rotate the lock knob to lower the gimbal, then tighten the knob, press the trigger twice and the gimbal will automatically switch to Briefcase mode;
When powered off: When DJI RSC 2 is in Upright mode, rotate the lock knob to lower the gimbal, then tighten the knob, power on the gimbal and it will automatically enter Briefcase mode.
1. Power Button
Press and hold to power on and off
Press once or twice to enter or exit sleep mode
2. Trigger
Tap once (when the Ronin RavenEye Image Transmission System is mounted and turned on): Start ActiveTrack
Press and hold: Enter Lock mode
Press twice: Recenter the gimbal
Press three times: Enter Portrait mode
3. Built-in Front Dial
Electronic focusing (default setting)
4. Camera Control Button
Press halfway: Control auto focus
Press once: Start or stop recording
Press and hold: Take photos
5. Joystick
Push up or pull down: Control the tilt direction (by default)
Push left or right: Control the pan direction (by default)
6. M Button
Press once: Switch user profiles
Press and hold: Enter Sport mode
Press and hold while pressing the trigger twice: Lock Sport mode (eliminates the need to hold the button), repeat to exit
Press twice: Enter Portrait mode, repeat to exit
Press three times: Enter Roll 360. Repeat to exit. In Roll 360, push the joystick to the left or right side twice
and the camera will rotate automatically. Press the trigger twice to stop.
Press and hold the M Button and trigger: Auto Calibration
No. DJI RSC 2 has increased battery capacity to support up to 14 hours of battery life and allow use while charging. Use PD or QC 2.0 18W charger for fast charging.
Performance
We do not list maximum payload as camera setups can vary; however, we have tested DJI RSC 2 with a dynamic payload of 3.0 kg during handheld use.
Tap the "Gimbal Calibration" icon on the touchscreen of the gimbal, and enable SuperSmooth mode in the menu. After enabling SuperSmooth, tap to perform gimbal calibration for better stabilization.
Notes: Before using the SuperSmooth, ensure the lens is properly fixed to the gimbal with the lens-fastening strap.
Compared with normal stabilization:
1. SuperSmooth can stabilize lenses of up to 100mm equivalent focal length and can generally capture more stabilized footage than is possible with normal gimbal use;
2. SuperSmooth requires a lens support and lens-fastening strap before use.
The DJI RSC 2 can be used for up to 14 hours when the battery is fully charged and the gimbal is well balanced.
When using an 18W charger, DJI RSC 2 can be fully charged in 2 hours.
Yes (except in high/low temperatures).
It is recommended to use chargers that comply with PD or QC 2.0 fast charging protocol with a charging power of 18W to charge the battery of DJI RSC 2. Any charger with higher power will only be charging DJI RSC 2 at 18W.
Function
The Ronin app supports Ronin 2, Ronin-S, Ronin-SC, DJI RS 2, and DJI RSC 2.
When using DJI RSC 2, you can set up to five waypoints for Timelapse and up to 10 waypoints for Track. You can find operation guidance for Timelapse and Track in the tutorial: "DJI RSC 2 - Intelligent Features".
Yes. You can adjust parameters like ISO and exposure when using certain cameras with DJI RSC 2 in the Ronin app. You can set parameters in “Create" -> "Camera Settings”. You can also swipe up on the LCD screen to enter the front dial settings page, and select a parameter to be controlled by the front dial, such as ISO and aperture. For compatible camera models, please refer to the Ronin Series Compatibility Search at dji.com.
Underslung mode: Enter sleep mode, put DJI RSC 2 upside down, turn the roll axis 180°, and then exit sleep mode;
Flashlight mode: Hold DJI RSC 2 horizontally;
Re-center: Press the trigger twice;
Selfie mode: Press the trigger three times;
Sleep mode: Press the Power button twice to enter sleep mode, and then press twice again to exit sleep mode;
3D Roll 360: Select 3D Roll 360 in Follow Mode in the main screen of DJI RSC 2;
Sport mode: Press and hold the M button to enter Sport mode, and then release the button to exit the mode;
Remain in Sport mode: Press and hold the M button and press the trigger twice to remain in Sport mode. Repeat to exit Sport mode;
Portrait mode: Press the M button twice, or tap Portrait in the Follow Mode.
Intelligent Shooting
When tracking a person, we suggest pressing the trigger once to select the subject in the center of the frame. When tracking an object, we suggest framing the subject for more accurate recognition.
To get smooth footage, we suggest setting the tracking speed to 20 when using a lens of 24mm-equivalent focal length. Note: data was measured on Sony α7 III. Increase the tracking speed for equivalent focal lengths less than 24 mm, and vice versa.
DJI RSC 2 can follow one subject at a time during ActiveTrack.
No, DJI RSC 2 can only use ActiveTrack 3.0 with the RavenEye Image Transmission System.
When DJI RSC 2 is connected to Ronin RavenEye Image Transmission System, photos and videos are saved in two ways:
1. On the SD card in the camera;
2. On the SD card and the mobile device. If you want to cache in the mobile device, please follow these instructions: In the image transmission interface of the Ronin app, tap the Settings icon on the upper left corner, select Shutter, and select Cache or Shoot + Cache. If you choose "Cache", the mobile device will start caching after tapping the shutter, whereas the SD card will not save the photos and videos. If you choose "Shoot + Cache," the mobile device will start caching after tapping the shutter, and the SD card will save the photos and videos as well.
Note: Videos cached in the mobile devices are 1080/30fps. Android systems save footage in the album; iOS systems save footage in the Ronin app, and the user can download to album during playback.
The ActiveTrack function of DJI RSC 2 requires the Ronin RavenEye Image Transmission System. Before using ActiveTrack, please ensure all connections needed are in place.
1. Enter the Ronin app's image transmission interface. When the center frame aims at the subject, press the trigger once to start ActiveTrack;
2. Enter the image transmission interface in the Ronin app, enable ActiveTrack, and frame the subject to follow. The frame will turn green once selecting the subject is possible.
Note: If the tracking frame turns red, it means the subject is lost. Please exit ActiveTrack and frame the subject again.
Approximately 25 meters in environments free of interference and obstruction. Note: This distance was measured on iPhone XS in an open area.
General
DJI Ronin 4D has two versions: a 6K Combo and an 8K Combo. Both combos include X9 gimbal cameras with different specifications. The 6K Combo features an X9-6K Gimbal Camera that supports video recording at resolutions up to 6K, and the 8K Combo features an X9-8K Gimbal Camera supporting video recording at resolutions up to 8K. Compared with the 6K Combo, the 8K Combo has an additional PROSSD 1TB, USB-C to USB-C Cable, PROSSD Mount, and other accessories. See DJI Ronin 4D In-the-Box for a detailed list of included items.
The main body of DJI Ronin 4D is crafted with aluminum magnesium alloy and the Z-axis arm with carbon fiber.
No. The main body of DJI Ronin 4D is not waterproof or dustproof. Please keep away from water and dust during use to avoid damage.
The HDMI port on the main body supports output up to 1080p/60fps. A later firmware update will support output of 4K/60fps.
DJI Ronin 4D and all accessories need to be activated via DJI Assistant 2 (Ronin Series). Before activating, make sure all devices that need activation have been mounted to DJI Ronin 4D, or it may not work properly due to inactivation of certain parts. Activation steps:
1. Make sure the lock button on the main body is in the unlocked position. Press and hold the power button to turn on. Before powering on, make sure the battery, X9 Gimbal Camera, LiDAR Range Finder, X9 Focus Motor, and all accessories that need activation are properly installed, and all of the three axes of the X9 gimbal are unlocked.
2. Use the provided USB-A to USB-C data cable to connect the USB-C port above the storage card slot of the main body with a computer. Then Launch DJI Assistant 2 (Ronin Series).
3. Log in with your DJI account. Select Ronin 4D in DJI Assistant 2 (Ronin Series), and follow the steps to activate. During the activation, do not power off or disconnect the devices.
For detailed steps, please watch DJI Ronin 4D Tutorial - First Use.
Power on Ronin 4D, press the menu button of the High-Bright Main Monitor once to enter the menu. Tap System and then Language to change the language of Ronin 4D’s user interface. Currently Chinese and English are available.
DJI Ronin 4D supports remote control with DJI Master Wheels, DJI Force Pro*, and with the left and right grips attached the High-Bright Remote Monitor. Internal motion control is also supported using the High-Bright Remote Monitor.*
* Using DJI Ronin 4D with DJI Master Wheels and DJI Force Pro requires the High-Bright Remote Monitor and Remote Monitor Expansion Plate. Motion control with the High-Bright Remote Monitor is currently unavailable and will be supported through a future firmware update. Please stay tuned to the official website for more information.
Connecting DJI Ronin 4D with DJI Master Wheels or DJI Force Pro requires the High-Bright Remote Monitor, High-Bright Remote Monitor Controller Cable, and High-Bright Remote Monitor Expansion Plate.
1. Before using, update the firmware of DJI Master Wheels and DJI Force Pro to the latest version. See detailed steps in the after-sales tutorial video Firmware Update.
2. Mount the High-Bright Remote Monitor Expansion Plate to the back of the remote monitor (detach the protective cover before installation).
3. Use the High-Bright Remote Monitor Controller Cable to connect the DC-OUT port of DJI Master Wheels or DJI Force Pro with the DC-IN port of the High-Bright Remote Monitor Expansion Plate.
4. Press and hold the linking button on the 4D Video Transmitter for 5 seconds to enter Linking mode, and tap ··· on the High-Bright Remote Monitor, select Connection Settings, then Link to Control Monitor A to link with Ronin 4D. Once linking is done, you can begin controlling.
No.
DJI Ronin 4D currently supports audio input from 3.5mm mic/plug-in, power mic/line input, and built-in 2-ch mic. The XLR input is not currently available.*
* The XLR input will be available when using the 4D Expansion Plate.
There is a LOCK toggle on the left side of Ronin 4D. You can push the toggle as indicated by the arrow to lock the menu and button functions of Ronin 4D, which prevents it from executing any actions, including powering on or off.
Except for the X9 Gimbal Camera and LIDAR Range Finder, the High-Bright Main Monitor, Top Handle, lens, lens mounts, PROSSD, Hand Grips, and X9 Focus Motor all support hot swapping.
Currently no.
No.
The screen can be locked (with the LOCK button on the main body), but it does not have sleep mode.
No.
The TB50 Charging Adapter currently supports the standard 86W Power Adapter and the Inspire 2/Ronin 2 180W Battery Charger.
When shooting for long durations, you can detach the battery mount and connect it directly to the battery mount power port (female) on the main body, or the one on the back of the 4D.
1. Press the unlock lever of the lens mount and rotate counter-clockwise to remove the standard DL mount of X9.
2. Insert the mount you need into the X9 gimbal camera, tighten the lever lock and then install the lens.
Currently no.
Imaging
On the main monitor, tap FPS to open frame rate settings menu, enable SLO, and set the frame rate for PROJECT and SENSOR. PROJECT refers to the frame rate of the project and SENSOR refers to the frame rate of shooting. When the sensor frame rate is at least twice the project frame rate, you can record slow-motion videos.
Yes, you can use the iris control slider on DJI Three-Channel Follow Focus or use the Mode button of the right hand grip to assign the focus wheel with iris control and achieve stepless iris adjustment.
*Currently only available for lenses with built-in electronic aperture on the compatible lens list.
To import LUTs:
1. Copy the 33-point LUT file with suffix “.CUBE” to the root directory of the storage medium, and then mount the medium to the main body.
2. Press the HOME button once to enter the menu, tap Display and then LUT File Settings under the LOOK tab.
3. Tap Import to view LUT files in the storage medium, select the LUT file you need and tap Import again. After importing, tap Cancel to return to the previous menu and check updates on the LOOK list.
4. Ronin 4D supports reading and display of up to 16 LUT files. Tap Exit to exit LUT settings. The custom LUT files have been imported to LOOK. Tap LOOK and select the LUT file you need.
*Please name the file with letters, numbers and underscores.
Deleting a LUT:
1. Press the HOME button once to enter the menu, tap Display and then LUT File Settings under the LOOK tab.
2. Select existing LUT file that you need to delete, tap Delete and confirm deletion, then tap Exit to go back to the previous menu and check the updated LOOK list.
Monitor LUT:
1. Press the HOME button once to enter the menu, go to Display - Monitor - Monitor LUT, and select the desired LUT.
2. Rec.709, HLG. D-Log, and custom LOOK options are provided by default.
3. To use your custom LUT, select the Monitor tab, select Monitor LUT, and then select LOOK.
4. Then select the LUT file you need in Display - LOOK - LOOK list.
5. After setting the monitor LUT, you can enable or disable LUT through the LUT button on the back of the High-Bright Main Monitor.
Recording LUT:
1. Press the HOME button once to enter the menu, go to Recording - Monitor - Rec LUT and select the LUT you need.
2. Rec.709, HLG, D-Log, and custom LOOK options are provided by default.
3. To customize monitor LUT, import the LUT you need and select LOOK in Monitor LUT.
4. Select the LUT file you need in Monitoring - LOOK.
5. After setting the LUT, you can select recording LUT through Recoding - Rec LUT.
All in MOV.
Please check the Lens Compatibility List.
The effective pixel number of Zenmuse X9-8K is 35.4 MP and X9-6K offers 24.1 MP.
Currently, the Zenmuse X9 Gimbal Camera is only compatible with DJI Ronin 4D.
Please refer to the after-sales tutorial video Focus Point Control.
Currently no.
H.264:
DaVinci Resolve Studio, Premiere Pro, Final Cut Pro, Avid Media Composer, Baselight, Assimilate Scratch, and Edius.
Apple ProRes:
DaVinci Resolve Studio, Premiere Pro, Final Cut Pro, Avid Media Composer, Baselight, Assimilate Scratch, and Edius.
Apple ProRes RAW:
Premiere Pro, Final Cut Pro, Avid Media Composer, Baselight, Assimilate Scratch, and Edius.
No.
Gimbal
Forward and downward binocular vision is used for visual positioning, and the downward ToF is used for providing height information for the Z-Axis.
The forward and downward binocular vision sensors are suitable for scenarios with ample sunlight and texture details, while the downward ToF is more suitable for scenarios that feature objects with low reflectivity.
The effective measurement height is within 4 m for objects with reflectivity >30%, and within 2.5 m for reflectivity >7%.
DJI's proprietary computer vision, deep learning technology, and the robust computing power of CineCore 3.0 allow ActiveTrack Pro to support the reliable tracking of almost any subject. It can effectively recognize human faces, heads, shoulders, and even arms and legs. Continuous tracking of people is available even from longer distances. You can now attain tracking shots effortlessly and even adjust composition at any time during tracking.
Yes, but the Z-axis is not available in underslung mode.
No.
1. Before using the Z-axis, make sure the axis lock on the base plate is unlocked and the Z-axis is balanced. For balancing, please refer to the after-sales tutorial video Balancing.
2. To make the best use of the Z-axis, try to hold the Ronin 4D upright during use.
3. The Z-axis is not waterproof or dustproof. Please keep away from water and dust during use.
Focusing
Please refer to the after-sales tutorial video Focus Point Control.
The LiDAR Range Finder is ready to use without the need for calibration.
The LiDAR Range Finder currently only supports DJI Ronin 4D.
Ronin 4D uses LiDAR focusing. The LiDAR Range Finder can cast 43,200 ranging points.
The 3D focusing system of DJI RS 2 uses single-point focusing that only focuses on the center of the target, while the LiDAR Range Finder can cast 43,200 ranging points, enabling faster and more accurate focusing and providing visual focusing with the LiDAR Waveform.
Please refer to the tutorial video: Focus Point Control.
Currently no.
Calibration is required when working with manual lenses or lenses that do not support electronic focusing.
Calibration steps:
After installing the focus motor, Press the HOME button once to enter the menu, go to Lens - Calibration, tap Focus Motor Initialize and wait for it to finish.
Currently, the X9 Focus Motor works only with the Zenmuse X9.
No.
It uses the M0.8 DJI R Focus Gear Strip. Learn more at: https://store.dji.com/cn/product/ronin-s-focus-gear-strip
Video Transmission
Currently only DJI Ronin 4D.
In Control mode, up to two High-Bright Remote Monitors. In Broadcast mode, up to 16 High-Bright Remote Monitors.
Please check the after sales tutorial video Installation and Use of the 4D Video Transmitter.
To start linking, go to Transmission on the High-Bright Main Monitor menu and then tap Link Device, or hold the linking button on the video transmitter for five seconds. The linking status indicator will then blink red and green alternately. When linking is complete, the linking status indicator turns solid green and the video transmitter can communicate with the High-Bright Remote Monitor.
Blinks red and green alternately: Linking.
Solid green: Linking successful. Wireless video transmission is normal.
Solid red: The device is powered on without connection.
Blinks red: The device has internal abnormality.
Currently only with DJI Ronin 4D.
Currently no.
It supports up to 1080p/60fps video output and currently does not support HDMI input.
DJI O3 is used mainly on drones, whereas DJI O3 Pro is specialized mainly for enhancing anti-interference for ground shooting. It supports control by up to two monitors at the same time, and has added DFS frequency band support.*
*Not available in certain countries and regions.
Curerntly no.
In Control mode, the user can remotely control the recording of Ronin 4D and change parameters such as ND filters, EI, Iris, and white balance with the High-Bright Remote Monitor, and can remotely control the gimbal with DJI Master Wheels or DJI Force Pro via the High-Bright Remote Monitor Expansion Plate . Broadcast mode only supports monitoring and monitor switching between different devices, and does not support remote control and parameter setting.
DJI O3 Pro may interfere with wireless mics that occupy the same radio frequency band as the one being used by DJI O3 Pro. If your wireless mic experiences frequent disconnection and unstable audio recording, try manually switching DJI O3 Pro to another channel on the remote monitor to eliminate the interference from DJI O3 Pro.
Storage
1. Open the CFexpress card slot cover, press the quick release button inside, and remove the cover.
2. Locate the mark on the CFexpress card connector and insert it into the card slot of Ronin 4D based on the direction of the mark.
3. Remove the two M2x5 screws on Ronin 4D, align the PROSSD Mount with the screw holes, and attach using the M2x22 screws included in the package.
Currently only DJI Ronin 4D.
You can check the remaining shooting time on the top left corner of the main monitor. You can also go to HOME -> Storage to check the remaining capacity and shooting time.
You can use the included USB-C to USB-C data cable to connect the PROSSD with a computer and export data.
To format the PROSSD, go to Main Settings, tap Storage, and then tap Format. Then, press and hold the red button until the progress bar is filled up to finish formatting. Note: The PROSSD card can only be formatted using DJI Ronin 4D. DO NOT remove the card during formatting.
Solid white: On standby.
Blinks white: Reading/writing data.
DJI PROSSD 1TB can record 6008×3168 48fps Apple ProRes RAW video for about 36 minutes, or 8192×4320 60fps Apple ProRes RAW video for about 31 minutes.
 DJI Mavic 4 Pro Creator Combo (512GB)
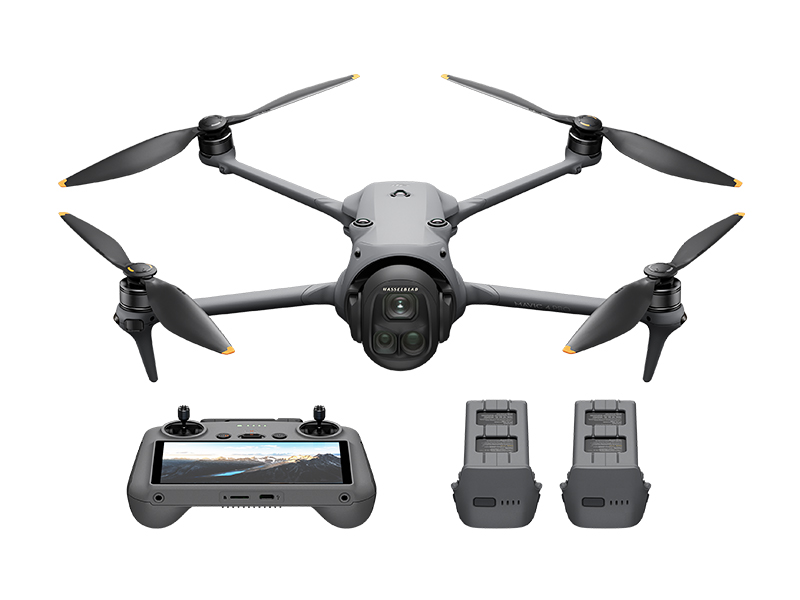 DJI Mavic 4 Pro Fly More Combo
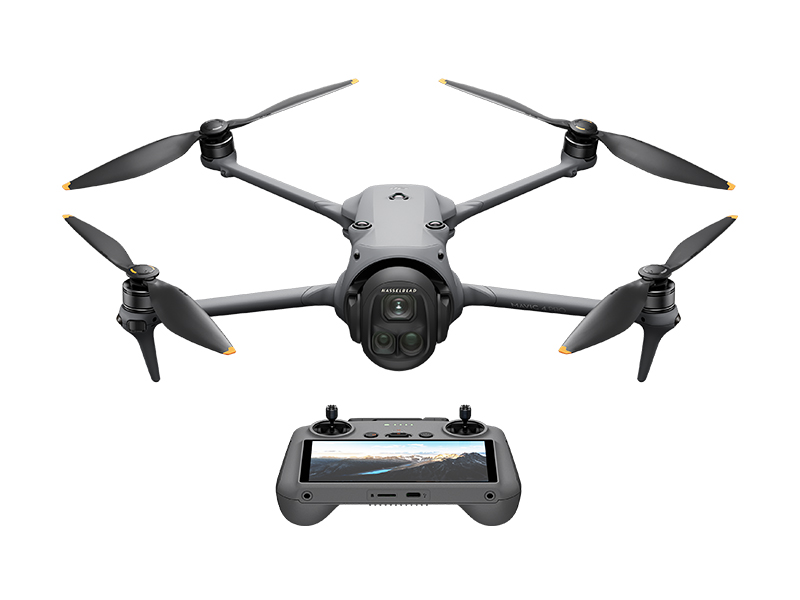 DJI Mavic 4 Pro
 DJI Care Refresh 1-Year Plan (DJI Mavic 3 Pro)
 DJI Care Refresh 2-Year Plan (DJI Mavic 3 Pro)
 DJI Care Refresh 1-Year Plan (DJI Mavic 3 Pro Cine)
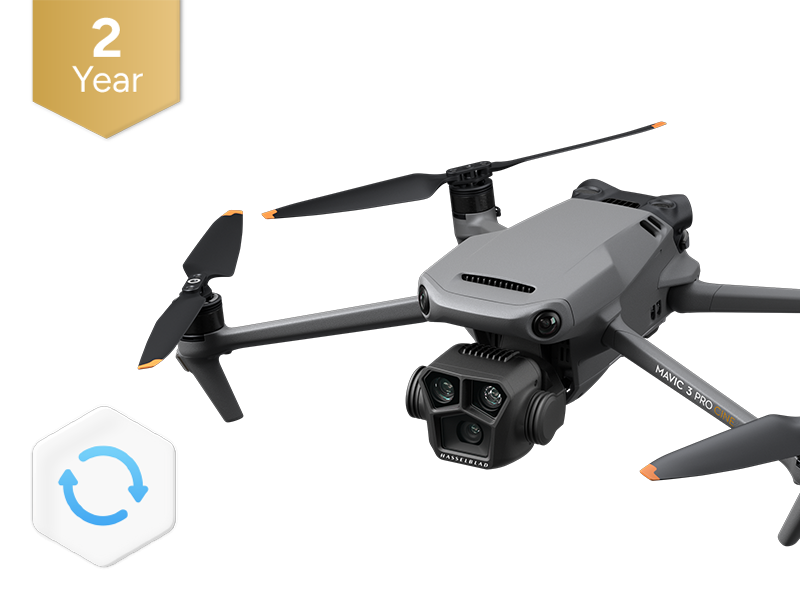 DJI Care Refresh 2-Year Plan (DJI Mavic 3 Pro Cine)
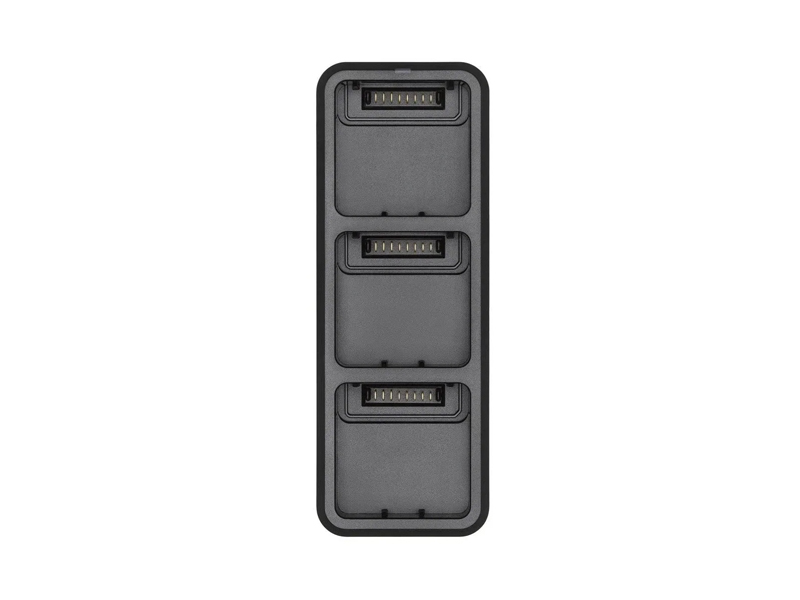 DJI Mavic 3 Series 100W Battery Charging Hub
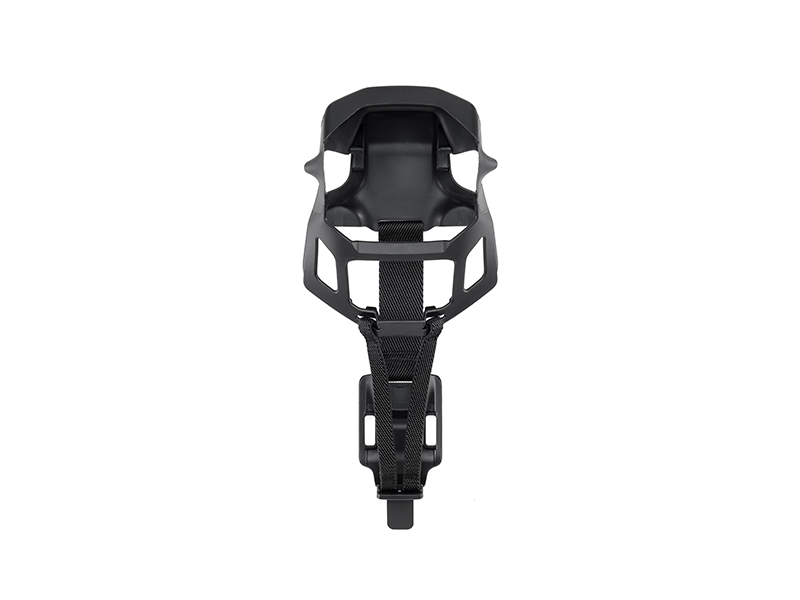 DJI Mavic 3 Classic Storage Cover
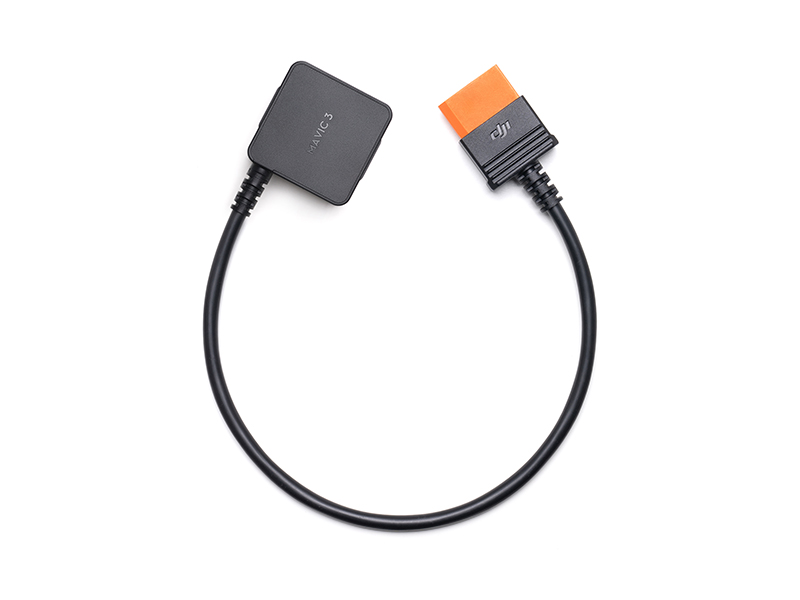 DJI Power SDC to DJI Mavic 3 Series Fast Charge Cable
 DJI Mavic 3 Series Low-Noise Propellers
 DJI Mavic 3
  DJI Mavic 3 Fly More Combo
  DJI Mavic 3 Cine Premium Combo (Open Box)
 Mavic 2 Pro (Drone Only, No Battery)
.jpg) Mavic 2 Zoom (Drone Only)
Mavic 2 Zoom (Drone Only)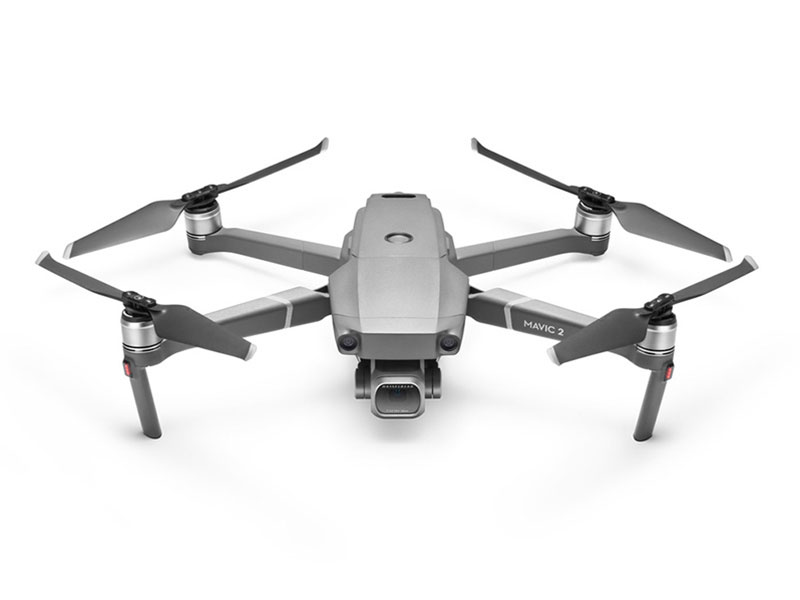 Mavic 2 Pro
 D1 Aircraft Sleeve
 PolarPro CrystalSky Mount for Mavic Series
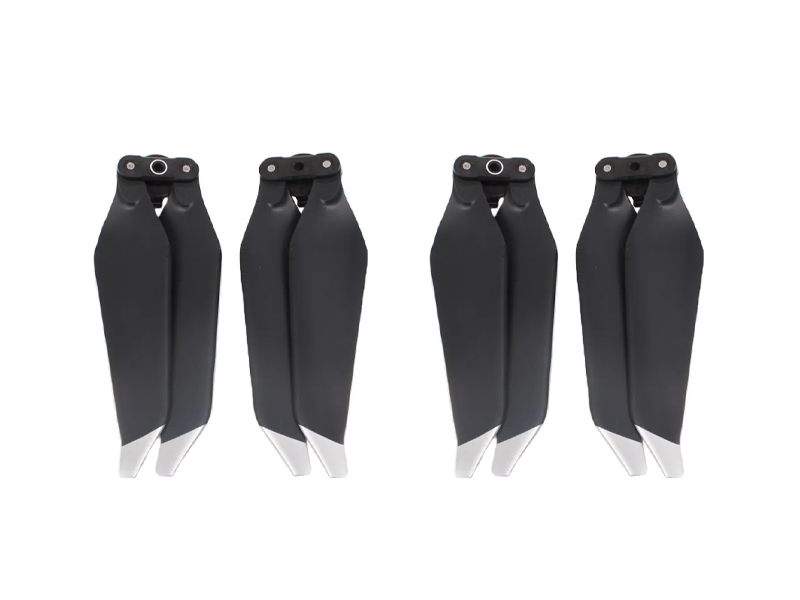 SunnyLife Low-Noise Propellers for Mavic Pro (2 Pairs)
 CrystalSky Mavic/Spark Remote Controller Mounting Bracket
 DJI Air 3S
 DJI Air 3S Fly More Combo w. DJI RC-N3
 DJI Air 3S Fly More Combo w. DJI RC 2
 DJI Air 3 Fly More Combo w. DJI RC 2
 DJI Air 3 Fly More Combo
 Ex-Demo DJI Air 2S
 DJI Air 2S Fly More Combo
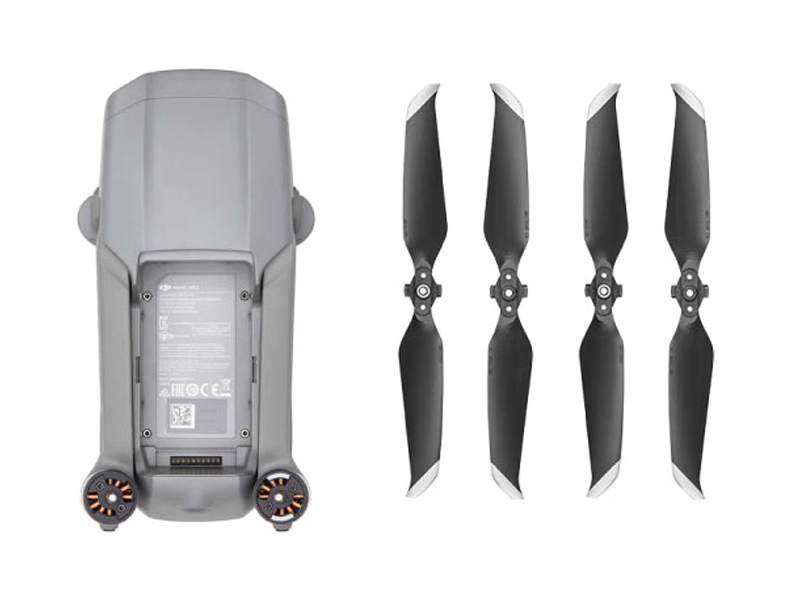 Mavic Air 2 (Drone Only)
 GPC Safety Case V2 for Mavic Air 2
 DJI Smart Controller
  Mavic Air 2 Battery to Power Bank Adaptor
 Mavic Air
  DJI Mini 5 Pro Fly More Combo
 DJI Mini 5 Pro Fly More Combo Plus
 DJI Mini 5 Pro
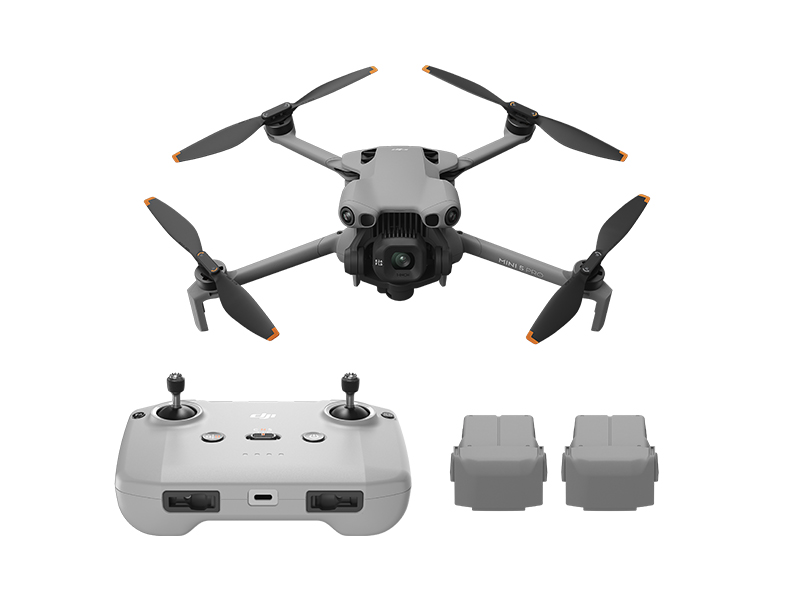 DJI Mini 5 Pro Fly More Combo w. DJI RC-N3
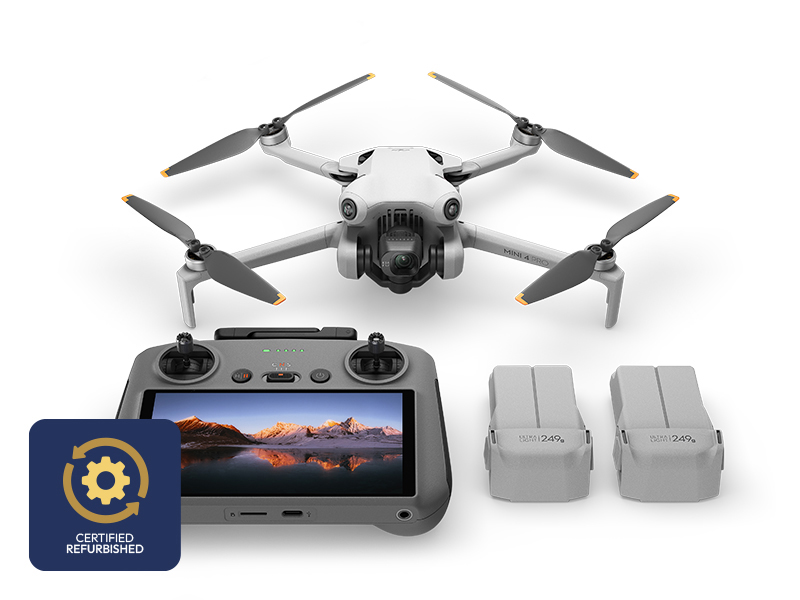 DJI Mini 4 Pro Fly More Combo (Refurbished)
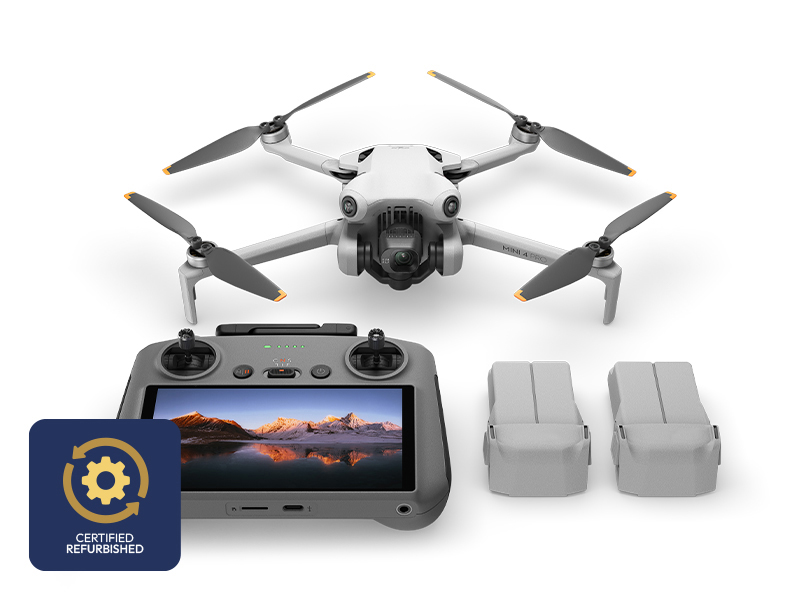 DJI Mini 4 Pro Fly More Combo Plus (Refurbished)
 DJI Care Refresh 1-Year Plan (DJI Mini 3)
 DJI Care Refresh 2-Year Plan (DJI Mini 3)
 DJI RC
 DJI Mini 4 Pro/Mini 3 Series Two-Way Charging Hub
 DJI Care Refresh 1-Year Plan (DJI Mini 2 SE & DJI Mini 4K)
 DJI Mini 2 / SE Intelligent Flight Battery
 DJI Care Refresh 2-Year Plan (DJI Mini 2 SE & DJI Mini 4K)
 PGYTECH Lens Hood for DJI Mini Series
 DJI Mini 3 Pro w. DJI RC
 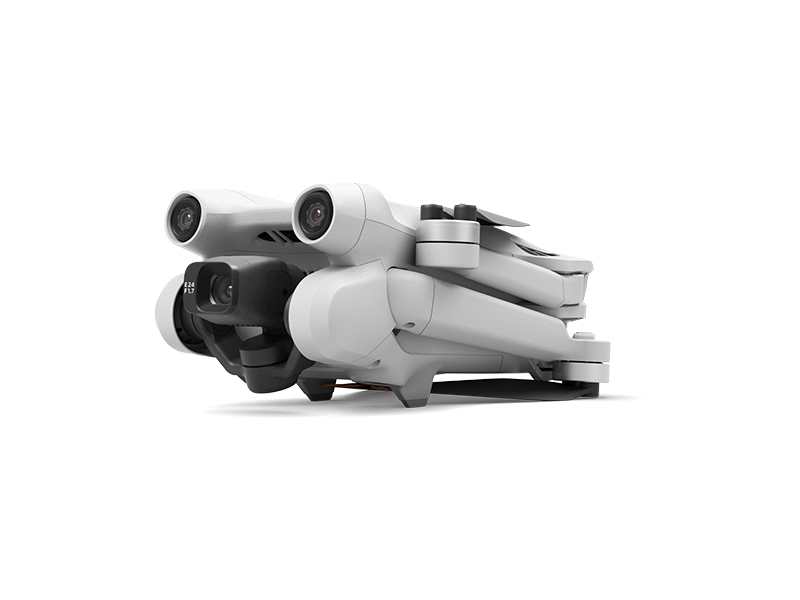 DJI Mini 3 Pro (Drone Only, No Battery)
 PGYTECH Control Stick Protector for Mavic Mini
 Mavic - RC Cable (Reverse Micro USB connector)
 Mavic - RC Cable (Standard Micro USB connector)
 Ex-Demo DJI Mini 2 / SE Intelligent Flight Battery
 DJI RC-N Series Remote Controller Monitor Hood
 Mavic Mini Remote Controller (open box)
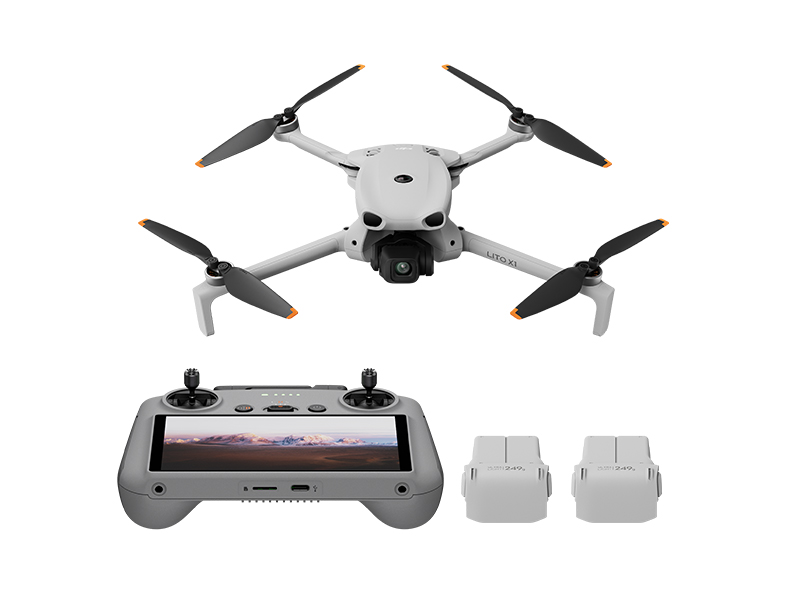 DJI Lito X1 Fly More Combo
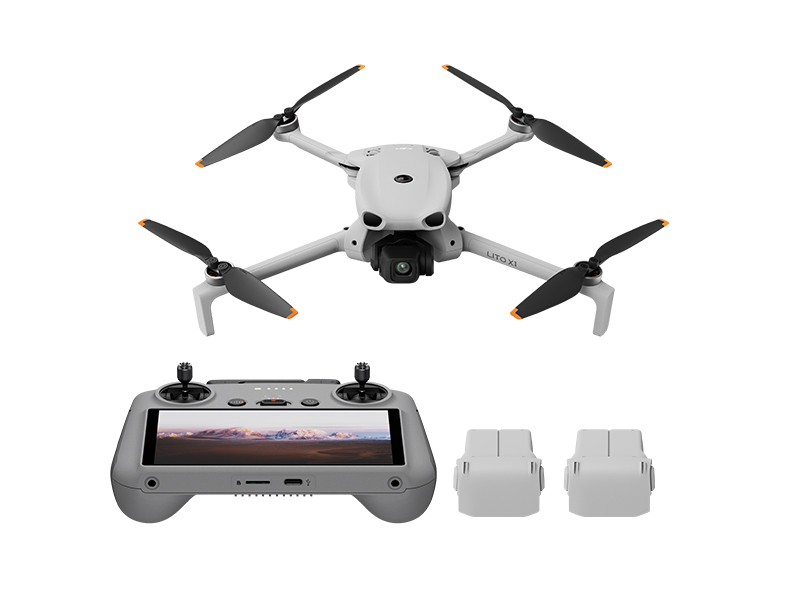 DJI Lito X1 Fly More Combo Plus
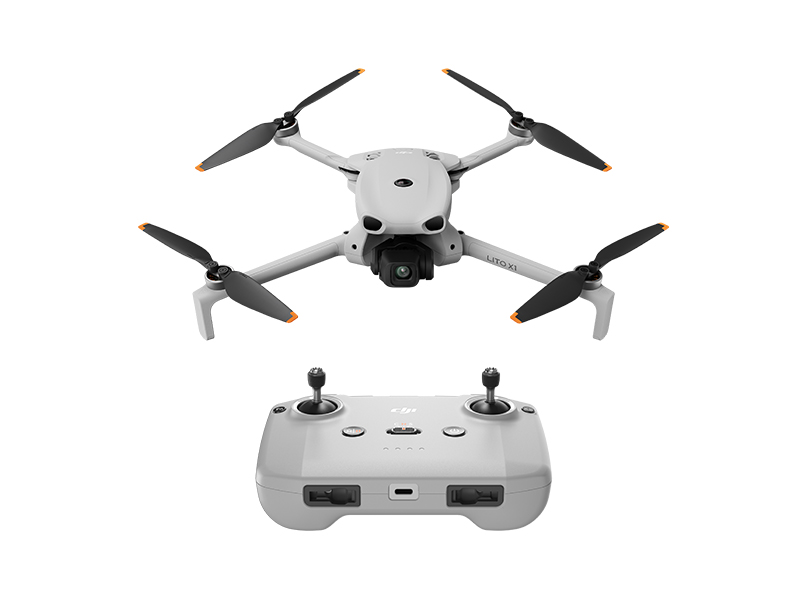 DJI Lito X1
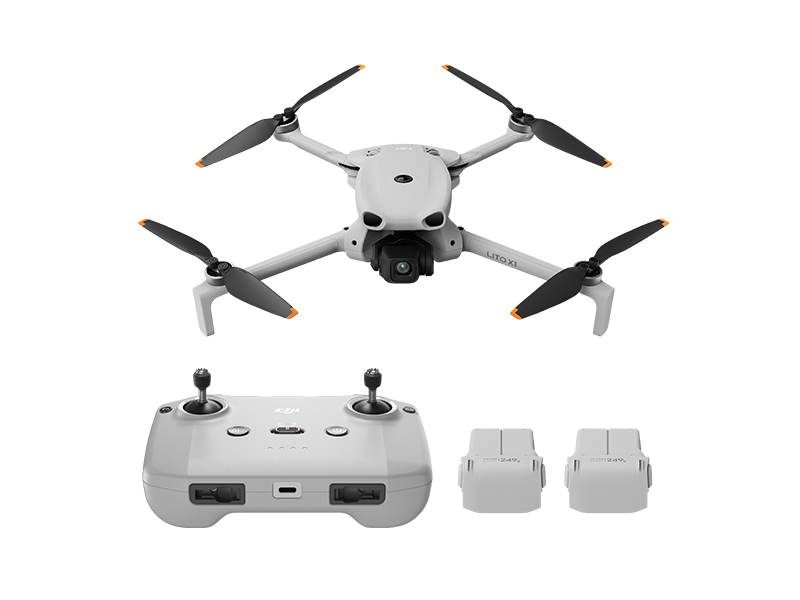 DJI Lito X1 Fly More Combo (DJI RC-N3)
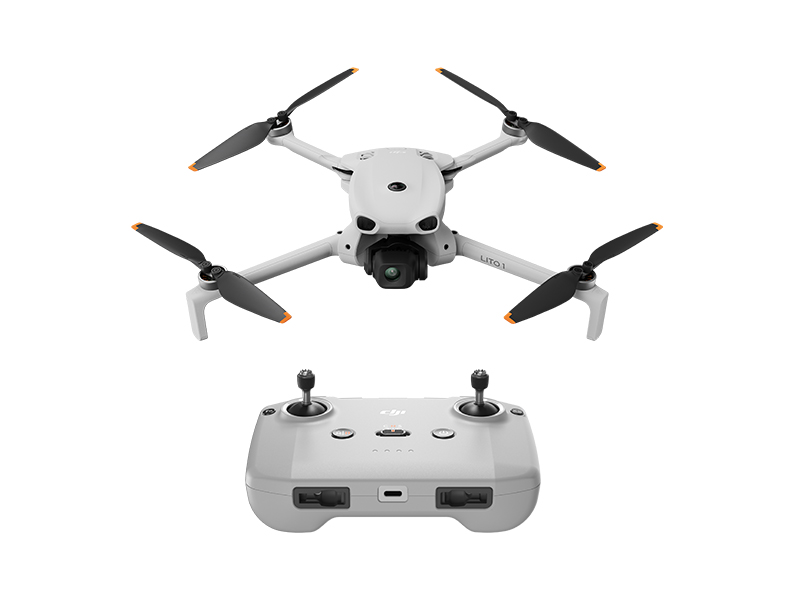 DJI Lito 1
 DJI Lito 1 Fly More Combo
 DJI Flip (Drone Only, No Battery)
 DJI Flip
 DJI Flip w. DJI RC 2
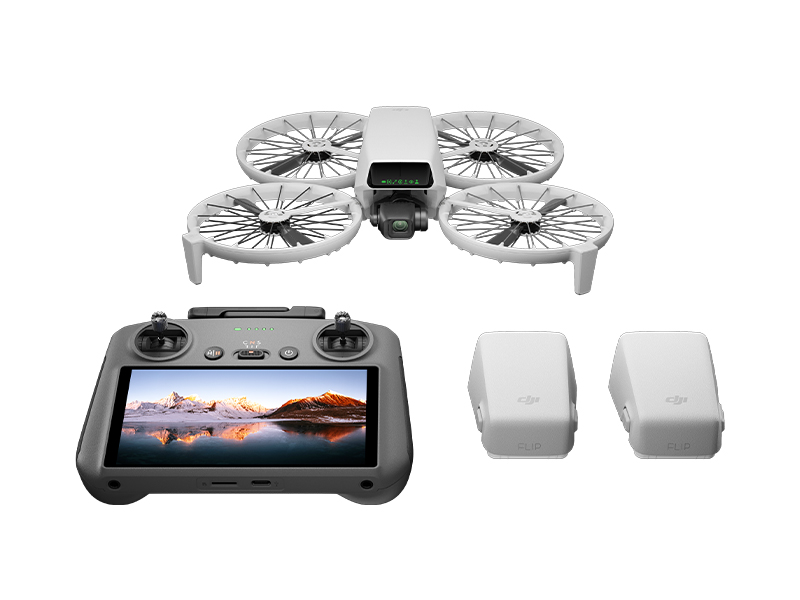 DJI Flip Fly More Combo
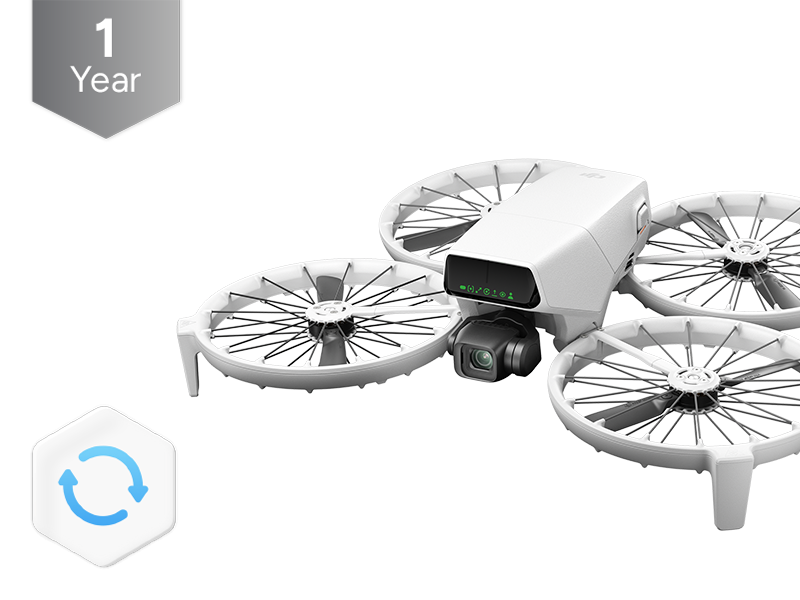 DJI Care Refresh 1-Year Plan (DJI Flip)
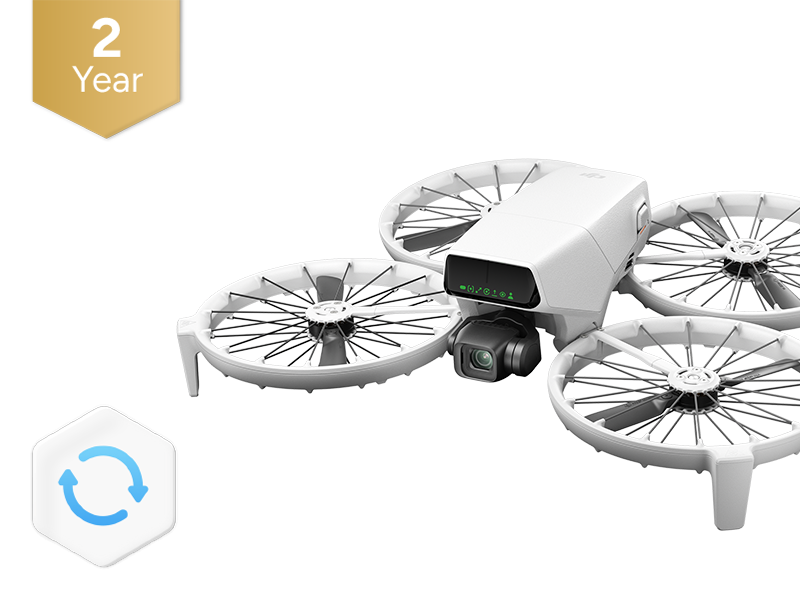 DJI Care Refresh 2-Year Plan (DJI Flip)
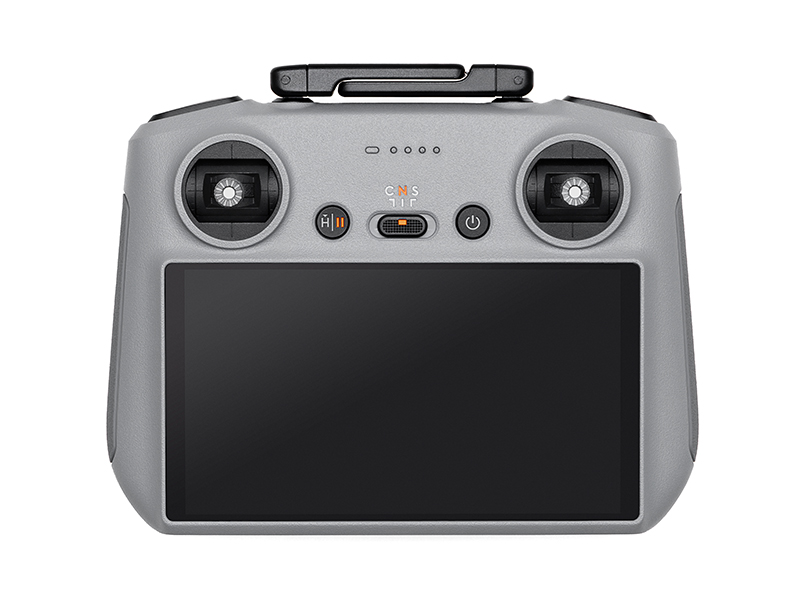 DJI RC 2
 DJI RC-N3 Remote Controller
 DJI RC/RC 2 Control Sticks
 D1 Labs Screen Protector for DJI RC Series
 D1 Lens Cloth
 D1 Labs Heavy Duty Lanyard
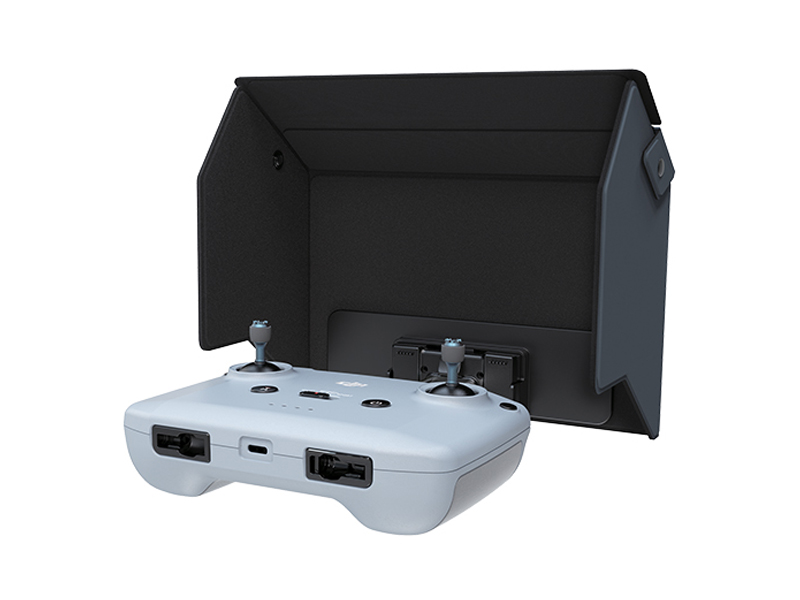 D1 Labs Monitor Hood for DJI RC-N Series
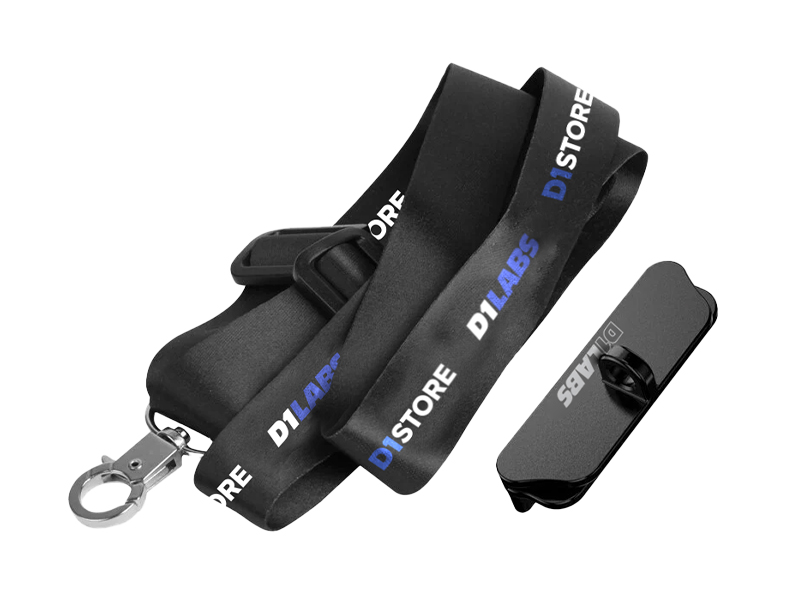 D1 Labs Lanyard Kit for DJI RC-N Series
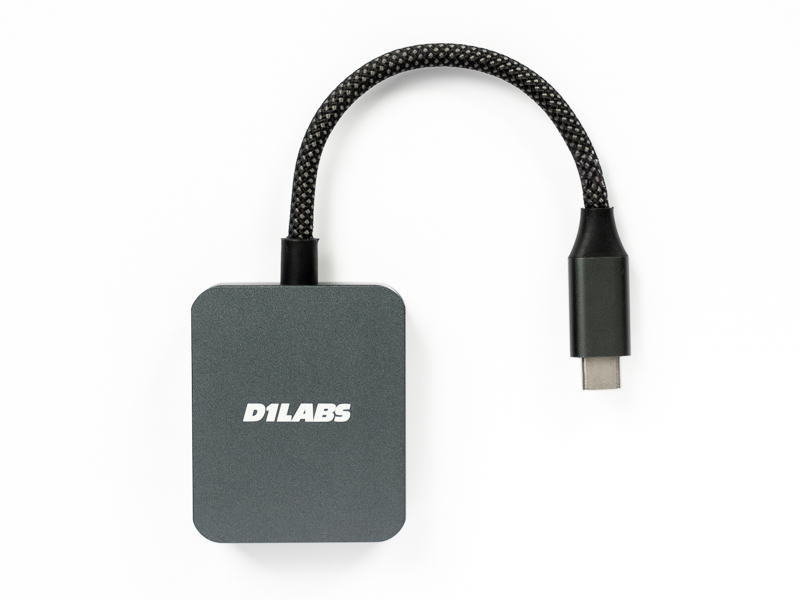 D1 Labs High-Speed SD Card Reader
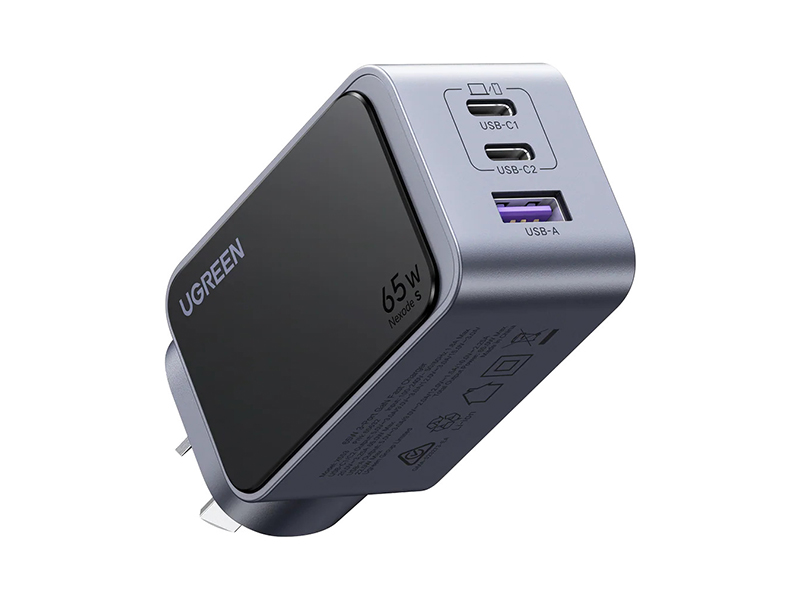 UGREEN 65W Nexode S GaN Charger
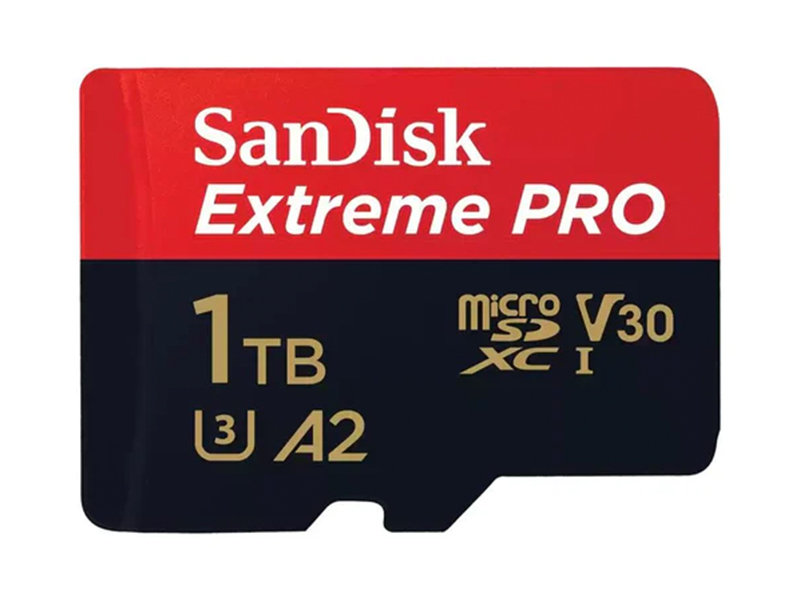 SanDisk Extreme Pro 1TB 200MB/s MicroSD Card
 Lexar Professional 128GB Silver Plus MicroSD Card
 DJI Neo 2 (Drone Only)
 DJI Neo 2 Fly More Combo (Drone Only)
 DJI Neo 2 Fly More Combo
 DJI Neo 2 Motion Fly More Combo
 DJI Neo
 DJI Neo Fly More Combo
 Ex-Demo DJI Neo Fly More Combo
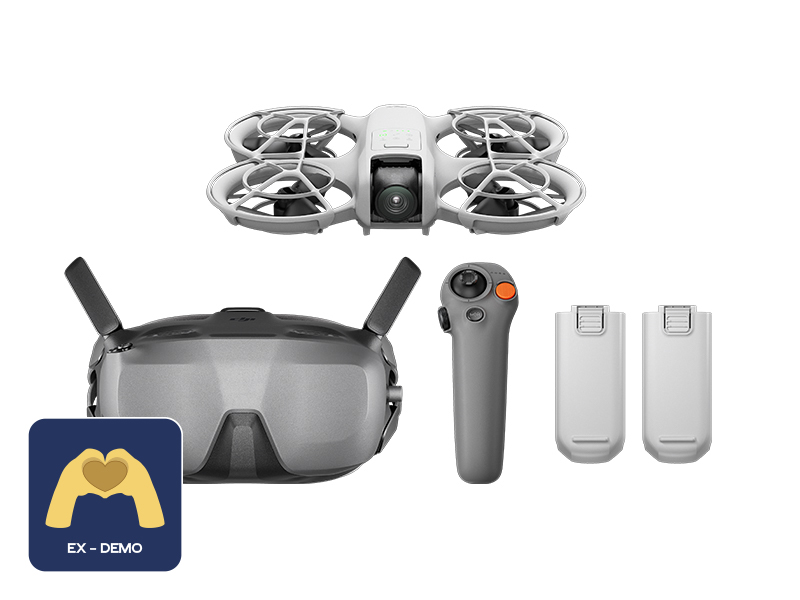 Ex-Demo DJI Neo Motion Fly More Combo
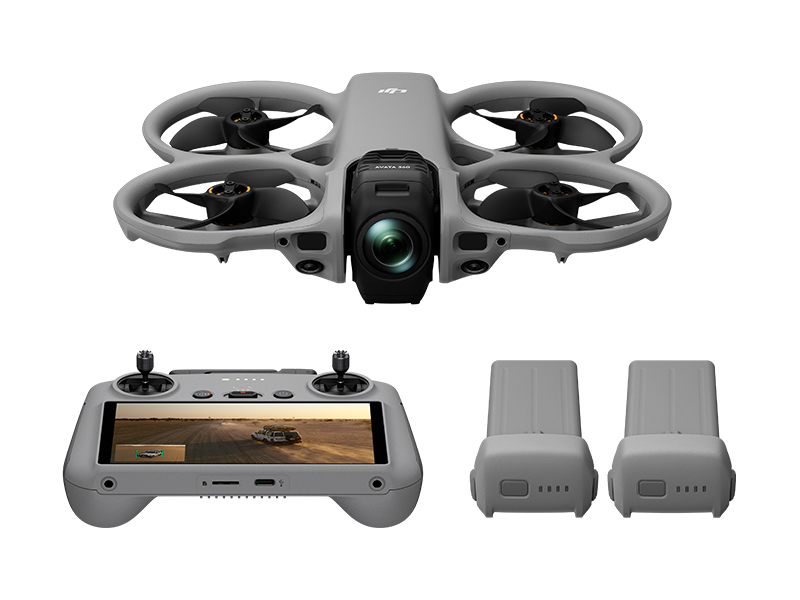 DJI Avata 360 Fly More Combo
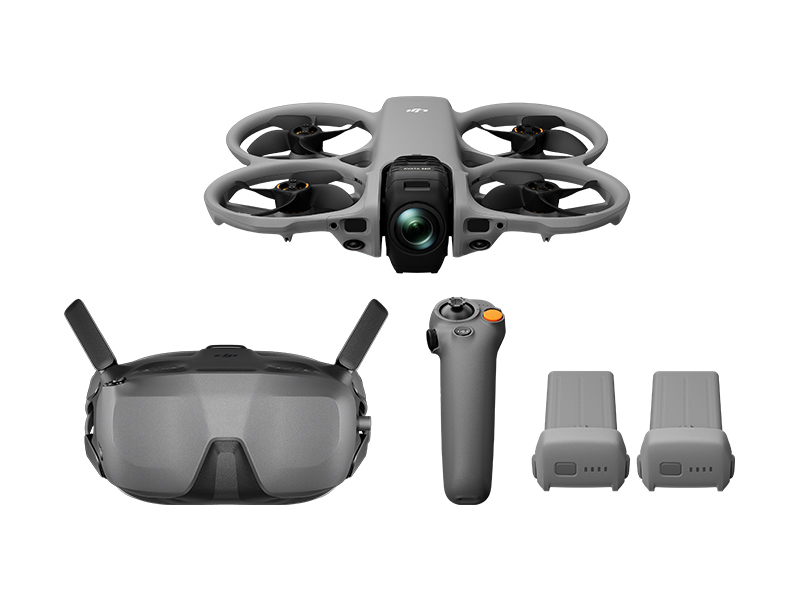 DJI Avata 360 Motion Fly More Combo
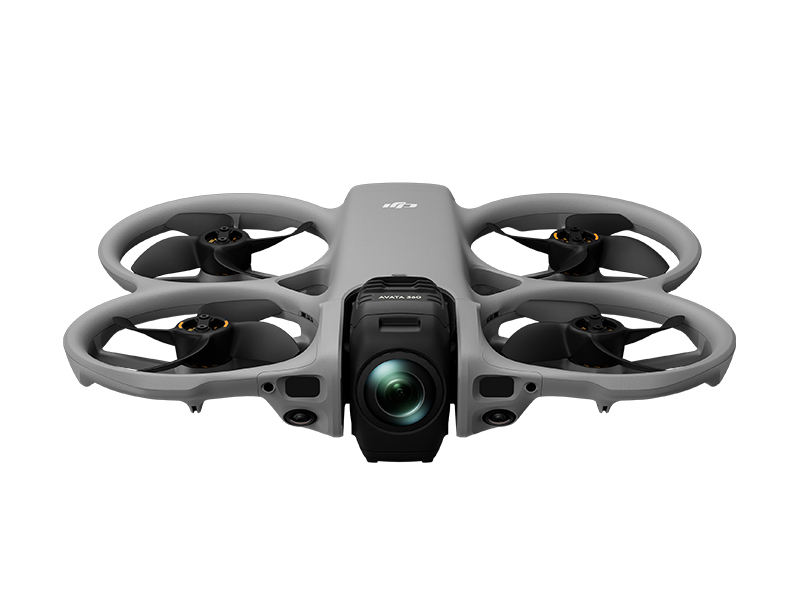 DJI Avata 360 (Drone Only)
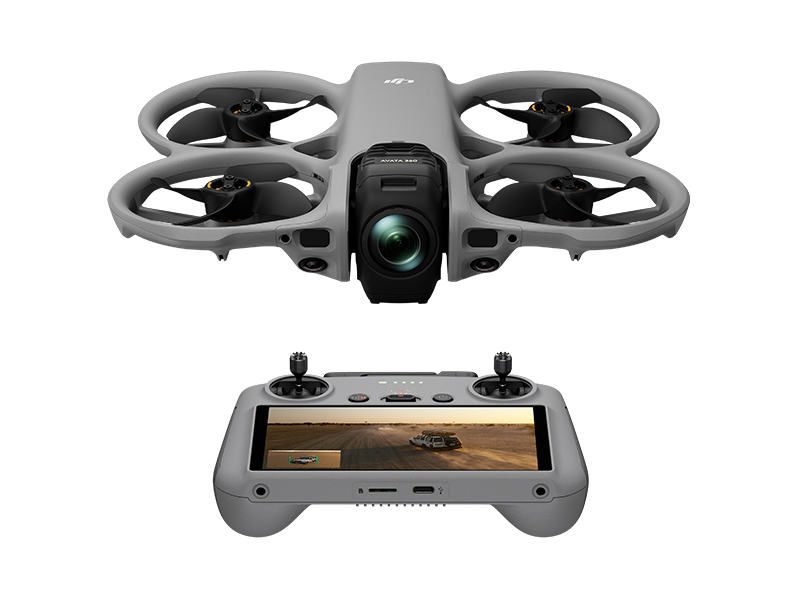 DJI Avata 360 w. DJI RC 2
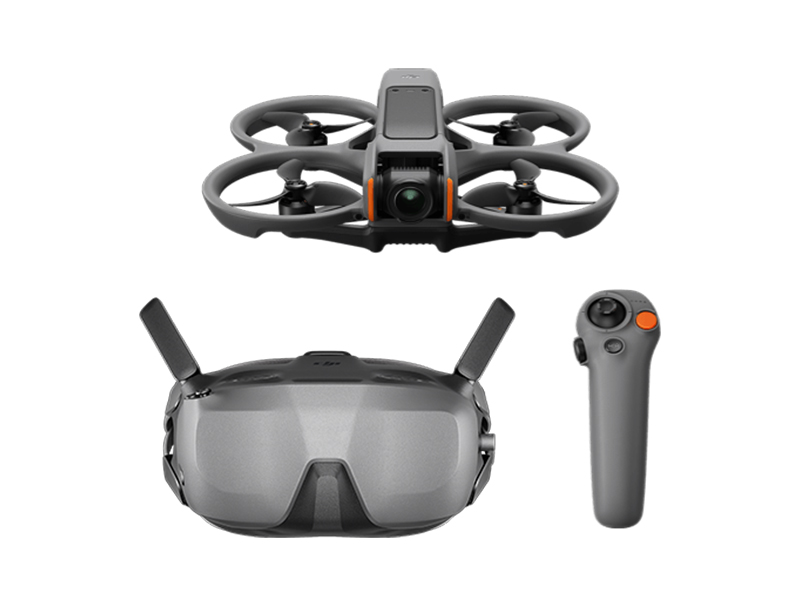 DJI Avata 2 Fly Smart Combo
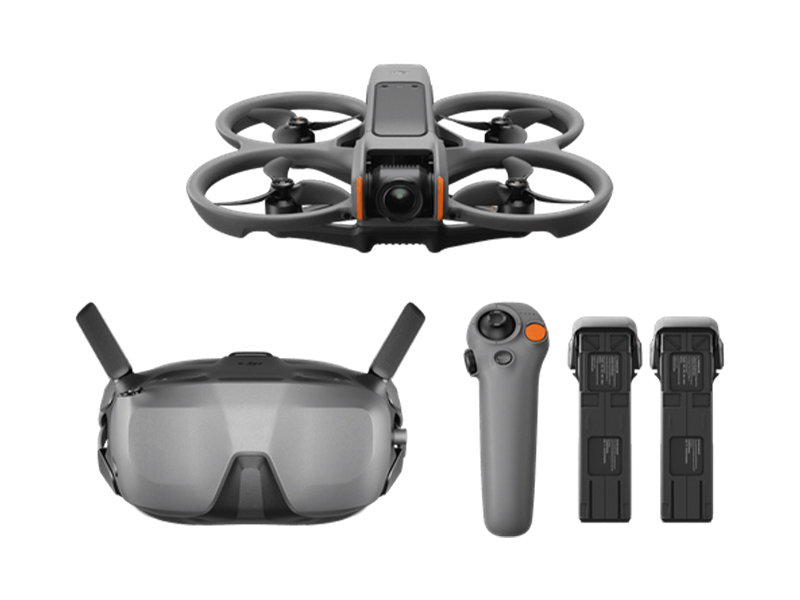 DJI Avata 2 Fly Smart Combo (Three Batteries)
 DJI Avata 2 Fly More Combo
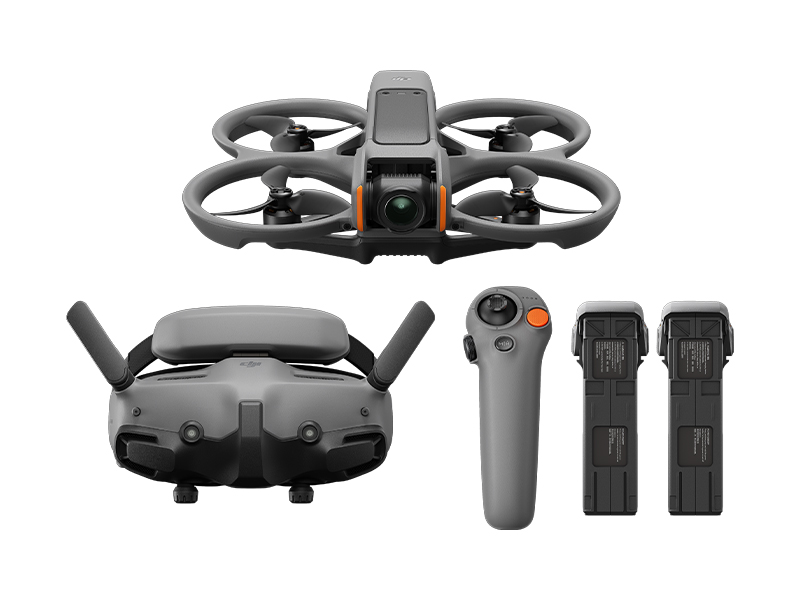 DJI Avata 2 Fly More Combo (Three Batteries)
 DJI FPV Goggles V2 Motion Combo
 DJI FPV Goggles V2
 DJI Goggles 3
 DJI Goggles N3
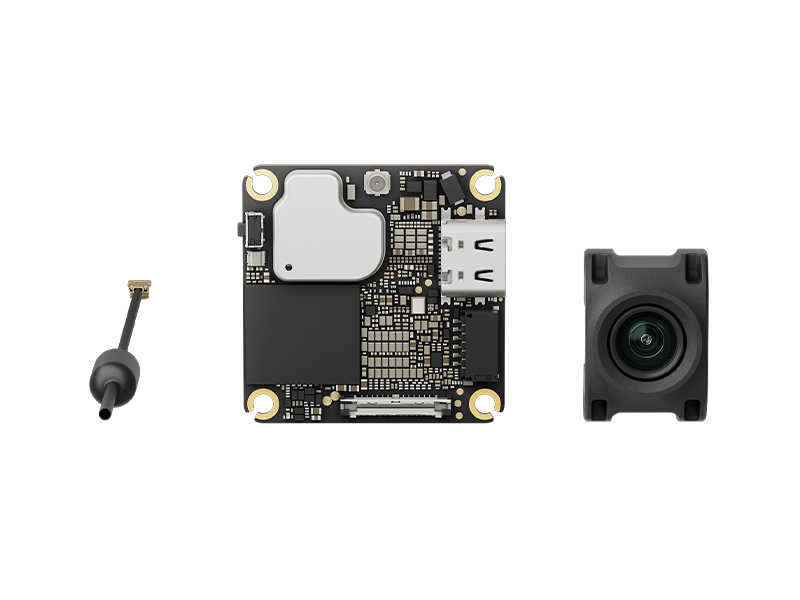 DJI O4 Air Unit
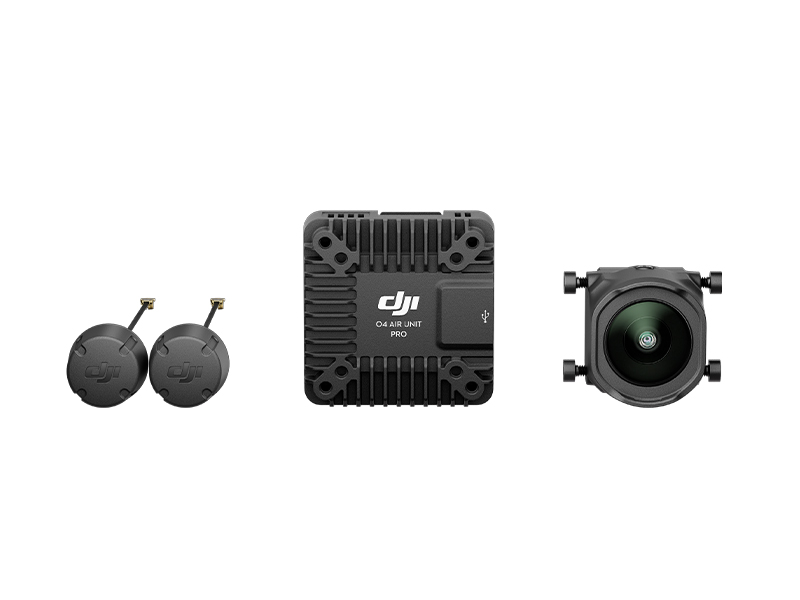 DJI O4 Air Unit Pro
 DJI Avata (Drone Only, No Battery)
 DJI Avata Intelligent Flight Battery
 DJI Avata Propeller Guard
 SunnyLife Propeller Guard Protector for DJI Avata
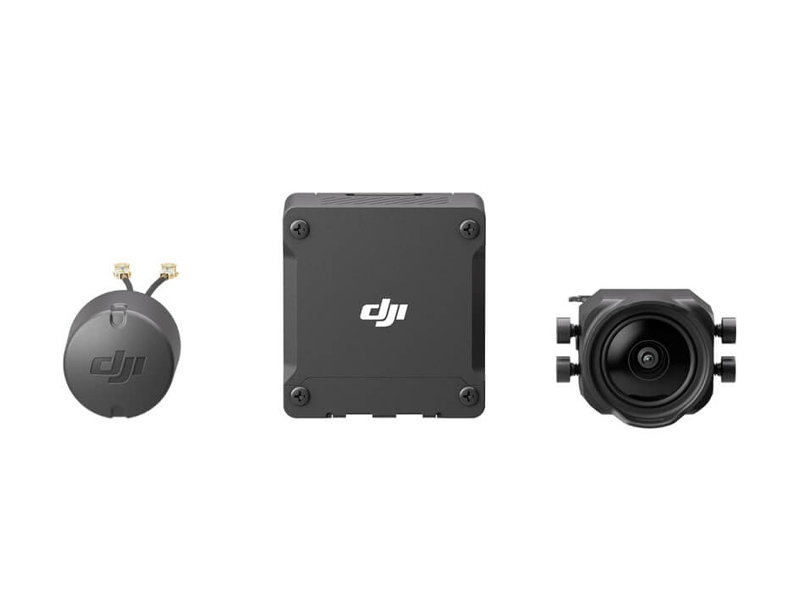 DJI O3 Air Unit
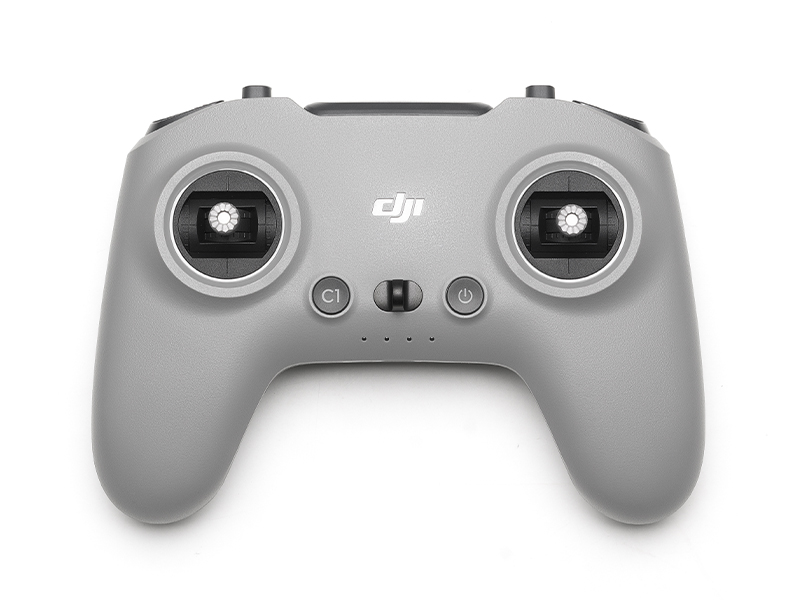 DJI FPV Remote Controller 3
 DJI O3 Air Unit 3-in-1 Cable
 DJI FPV Combo
  Osmo Pocket 4 Standard Combo
 Osmo Pocket 4 Creator Combo
 Osmo Action 6 Standard Combo
 Osmo Action 6 Adventure Combo
 DJI Mic Mini 2 Dual Microphone Combo
 DJI Mic Mini 2 Single Microphone Kit
  DJI Mic Mini 2 Dual Microphone Combo (Mobile)
 DJI Mic Mini 2 Single Microphone Kit (Mobile)
 Osmo Nano Standard Combo (64GB)
 Osmo Nano Standard Combo (128GB)
 Osmo 360 Standard Combo
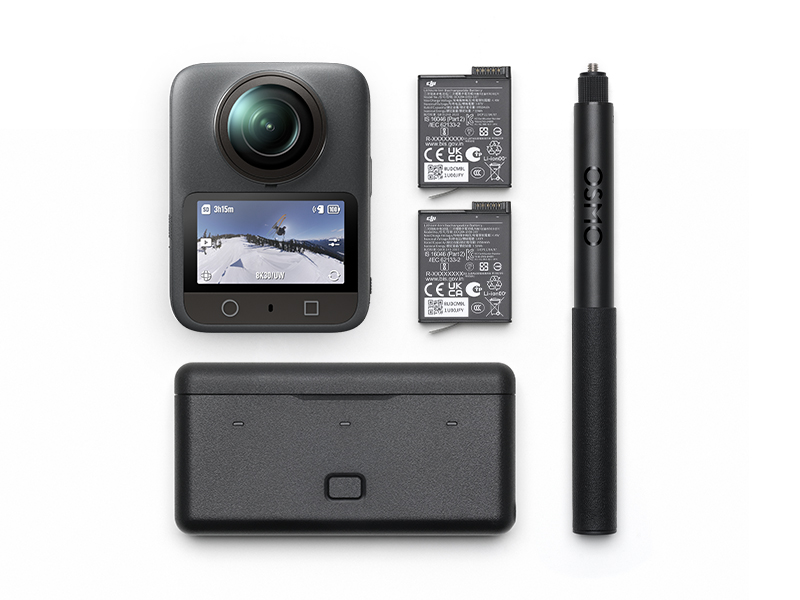 Osmo 360 Adventure Combo
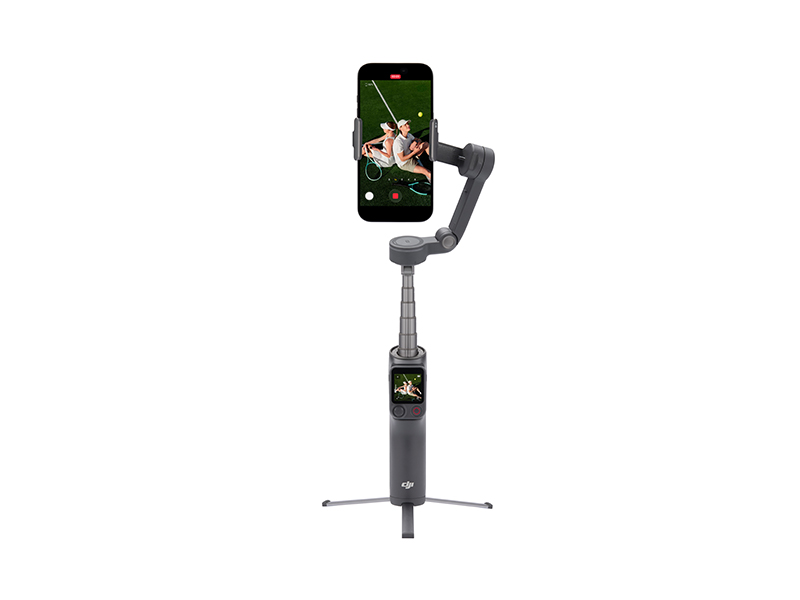 Osmo Mobile 8P Standard Combo
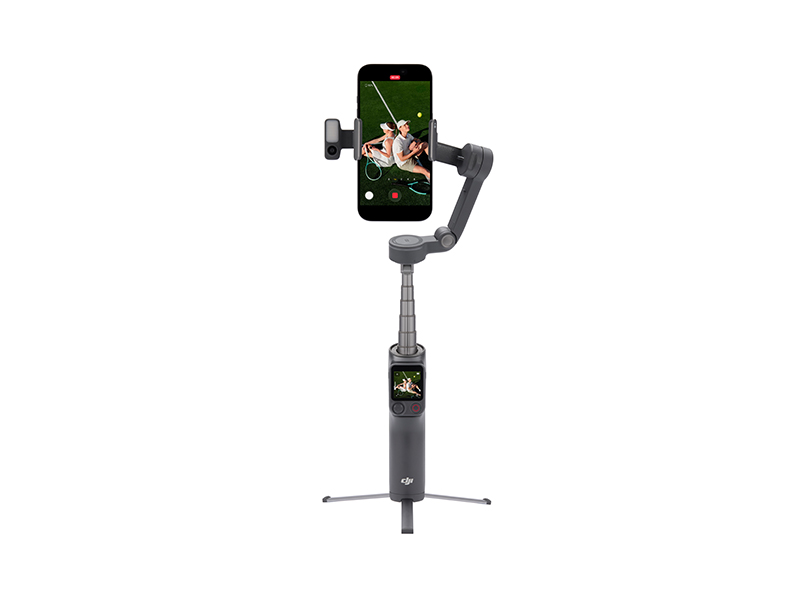 Osmo Mobile 8P Advanced Tracking Combo
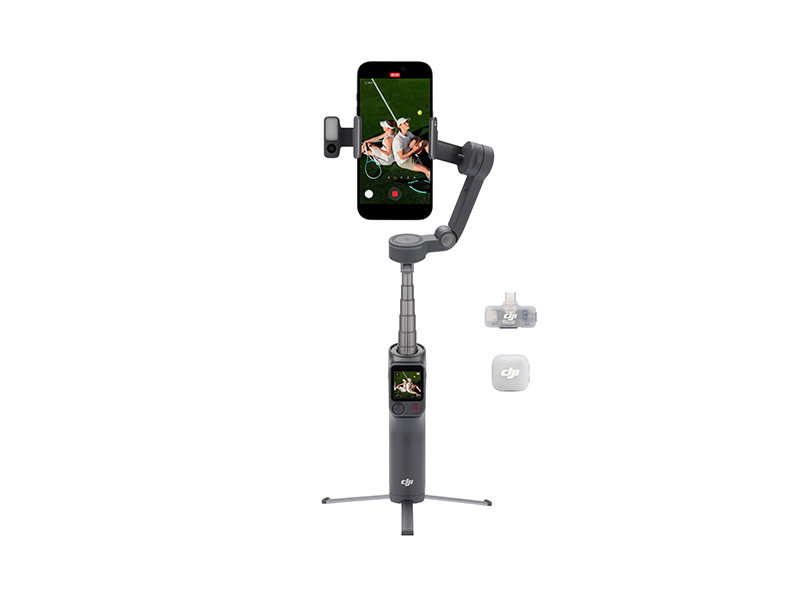 Osmo Mobile 8P Creator Combo
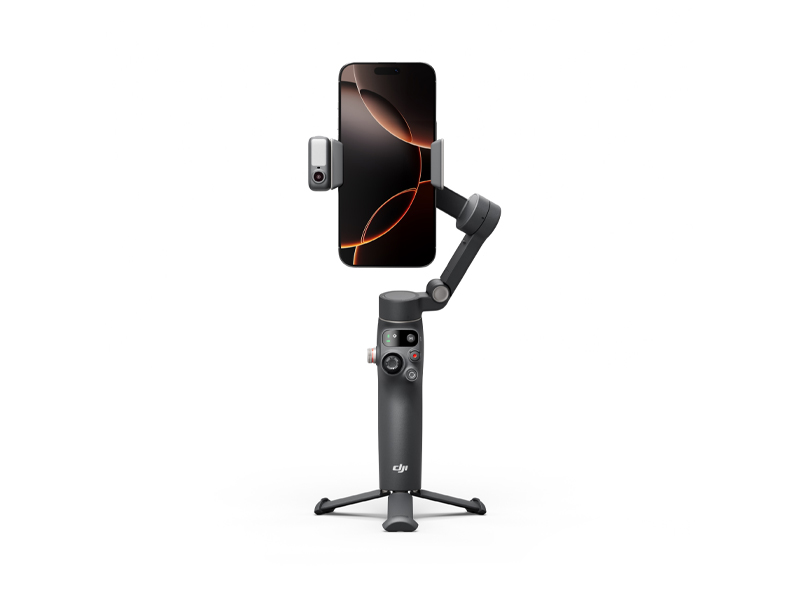 Osmo Mobile 8 Advanced Tracking Combo
 Osmo Pocket 3 Standard Combo
 Osmo Pocket 3 Creator Combo
 Osmo Pocket 3 (Refurbished)
 Osmo Pocket 3 Creator Combo (Refurbished)
 Osmo Action 5 Pro Standard Combo
 Osmo Action 5 Pro Adventure Combo
 DJI Mic 3 Dual Microphone Combo
 DJI Mic 3 Single Microphone Kit
 DJI Mic Mini Single Microphone Kit
 DJI Mic Mini Transmitter (Arctic White)
 Osmo Action 4 Standard Combo
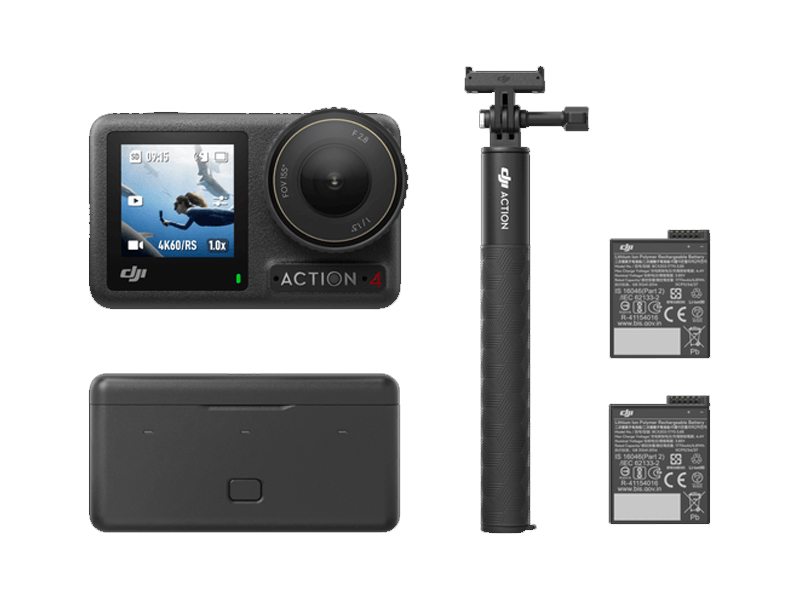 Osmo Action 4 Adventure Combo
 DJI Mic 2 Single Microphone Kit
 DJI Care Refresh 2-Year Plan (DJI Pocket 2)
 Osmo Pocket 3.5mm Adapter
 DJI Care Refresh 1-Year Plan (Osmo Action 3)
 DJI Care Refresh 2-Year Plan (Osmo Action 3)
 Osmo Action Carrying Bag
 Osmo Action 60m Waterproof Case
 DJI Mic Single Microphone Kit
 DJI Action 2 Dual Screen Combo
 DJI Osmo Action
  Osmo Pocket
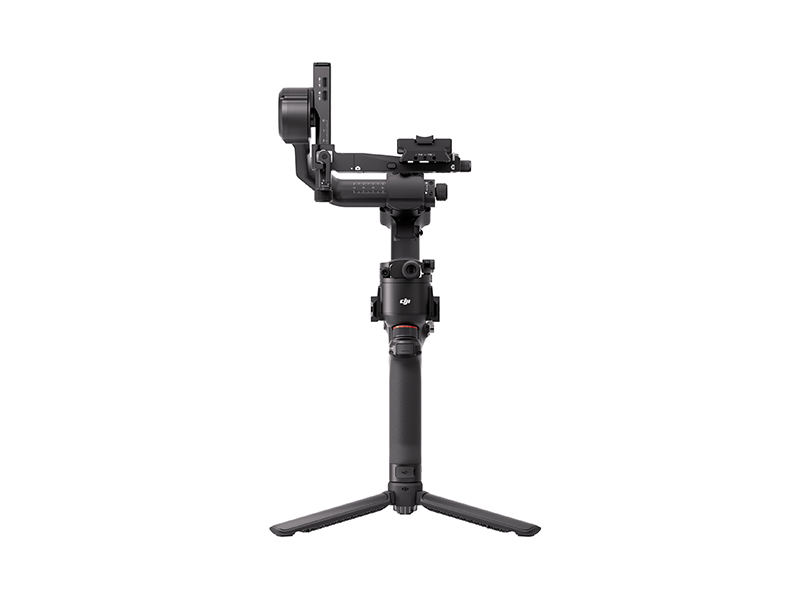 DJI RS 5
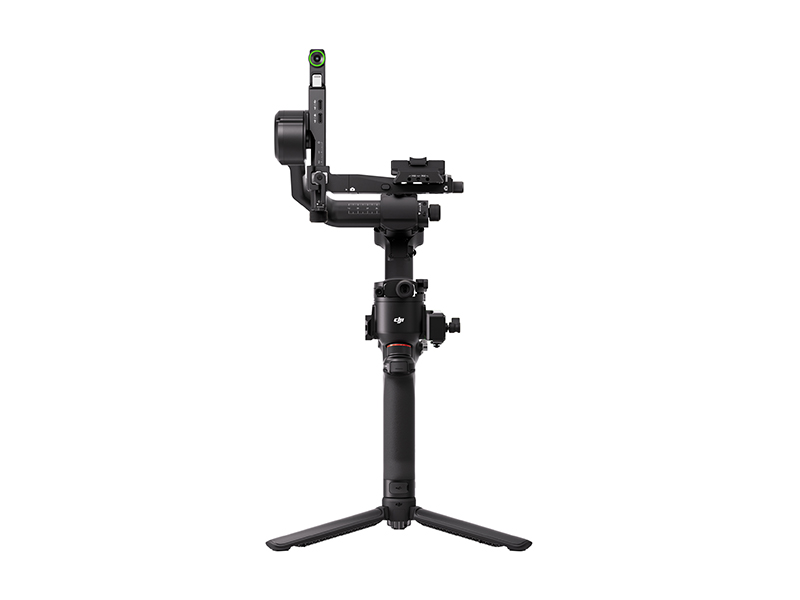 DJI RS 5 Combo
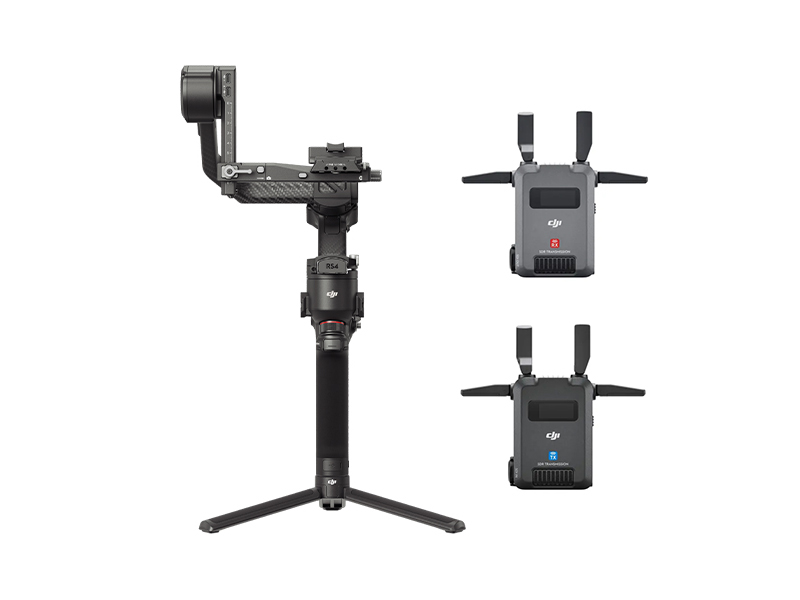 DJI RS 4 Pro Combo (2026)
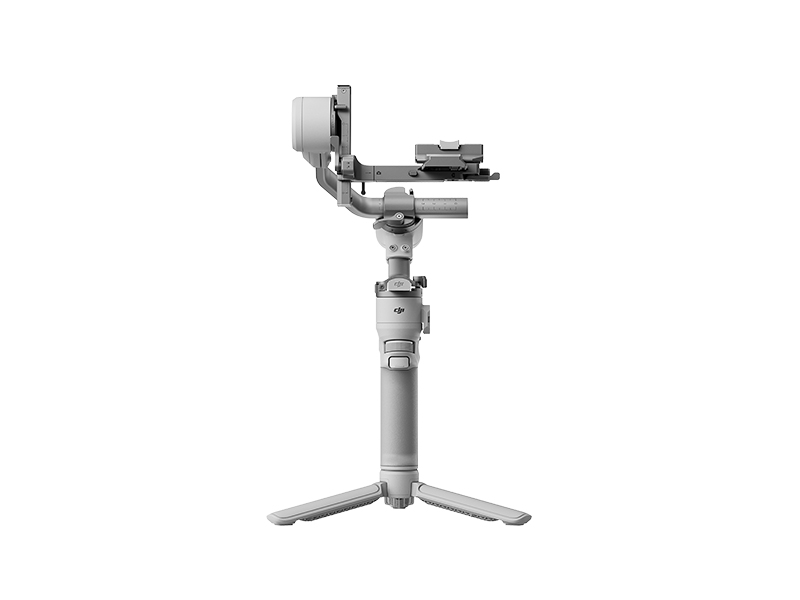 DJI RS 4 Mini
 DJI RS 4 Mini Combo
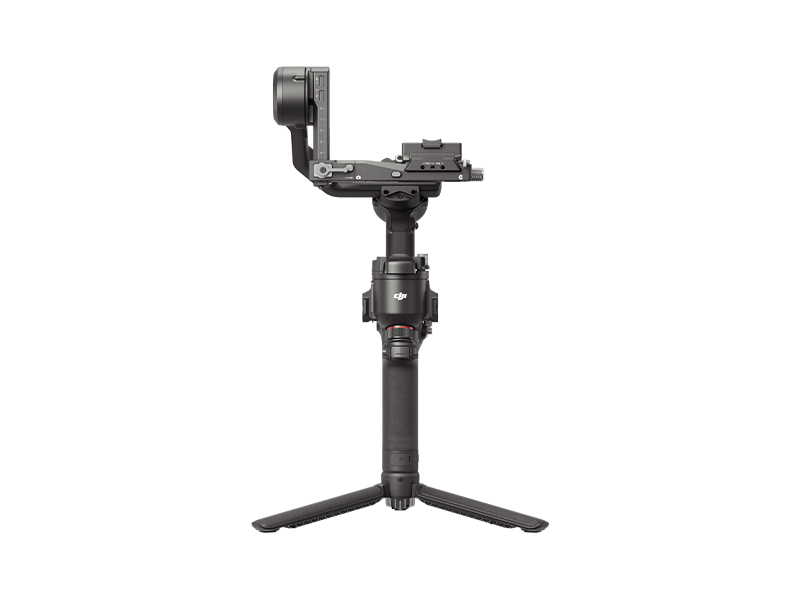 DJI RS 4
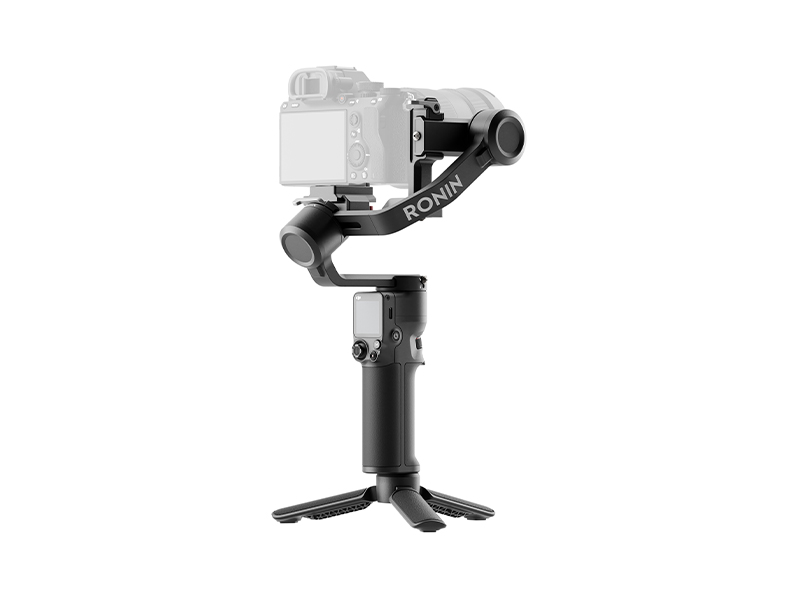 DJI RS 3 Mini
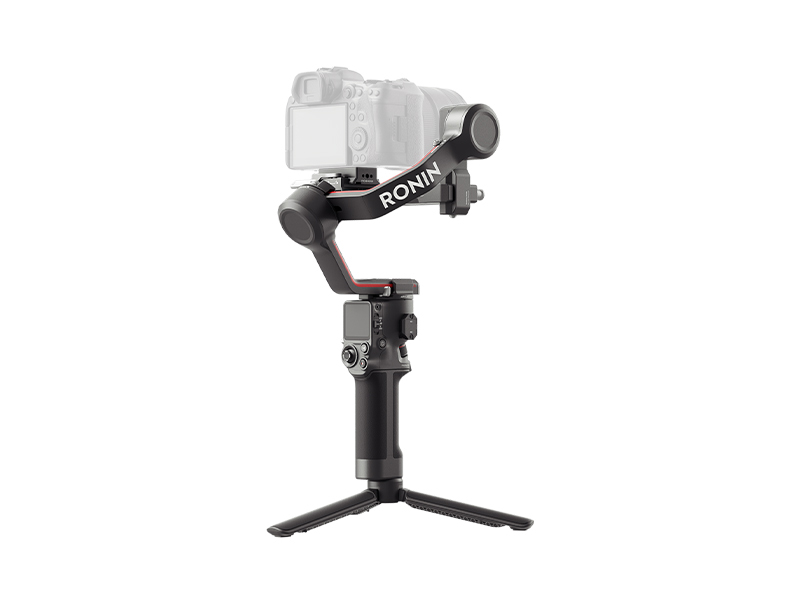 DJI RS 3
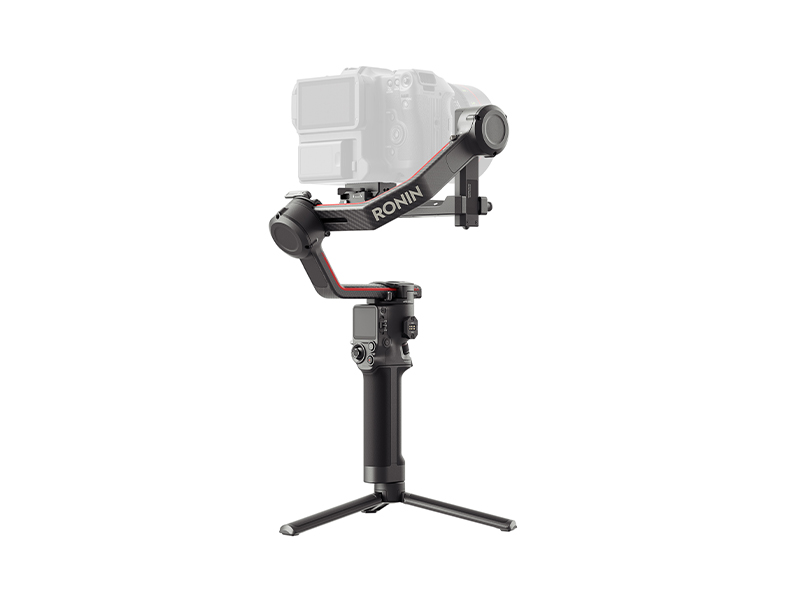 DJI RS 3 Pro
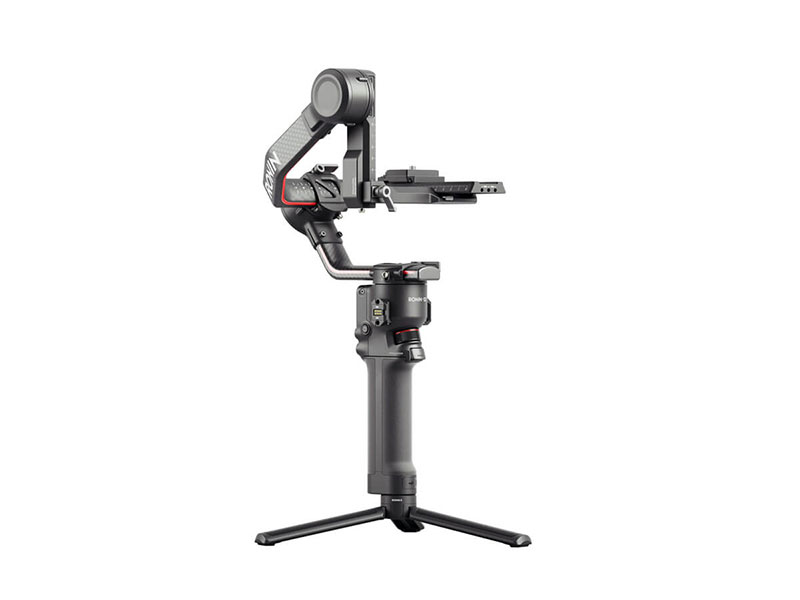 DJI RS 2
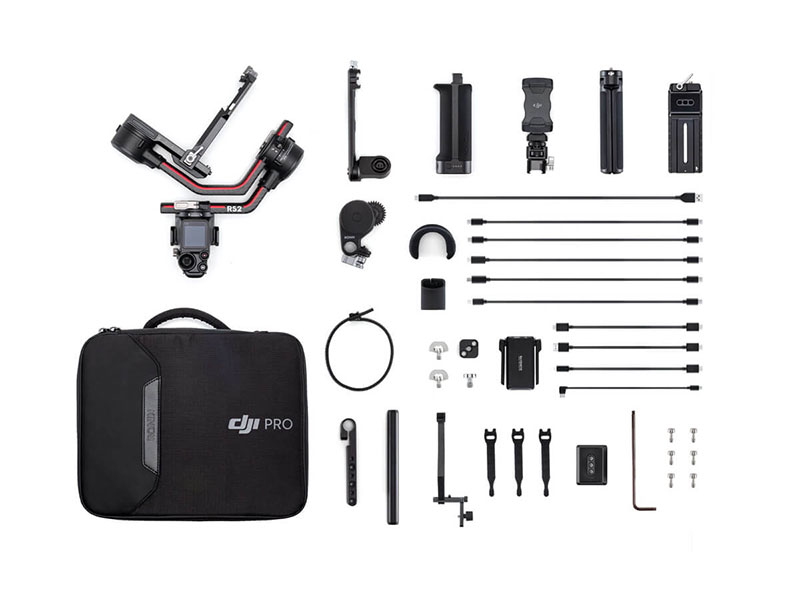 DJI RS 2 Pro Combo
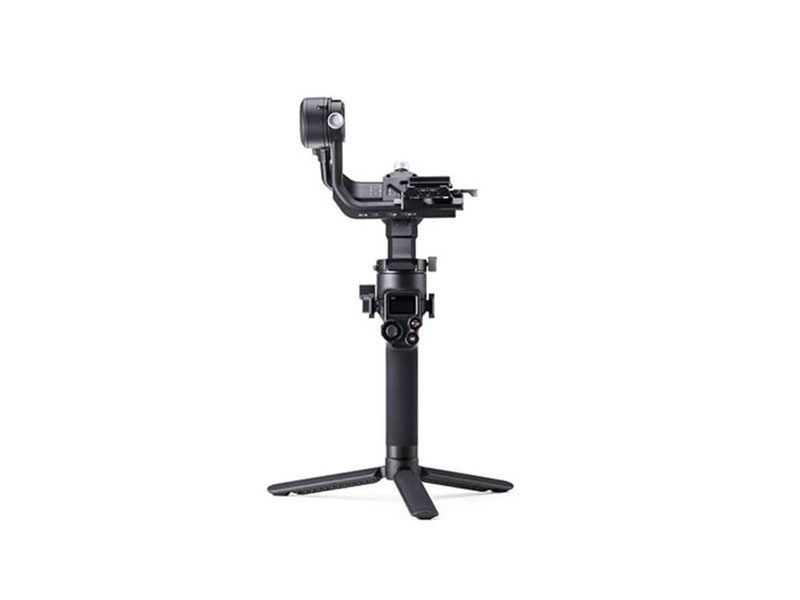 DJI RSC 2
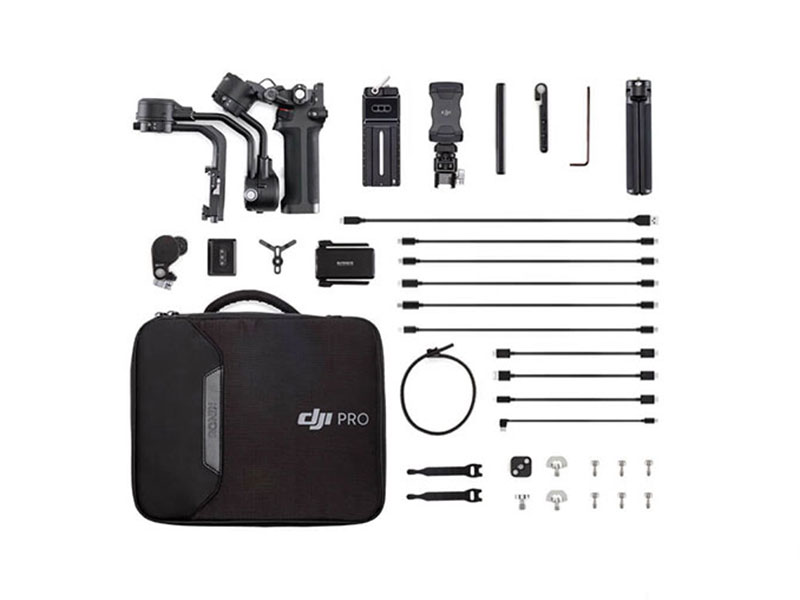 DJI RSC 2 Pro Combo
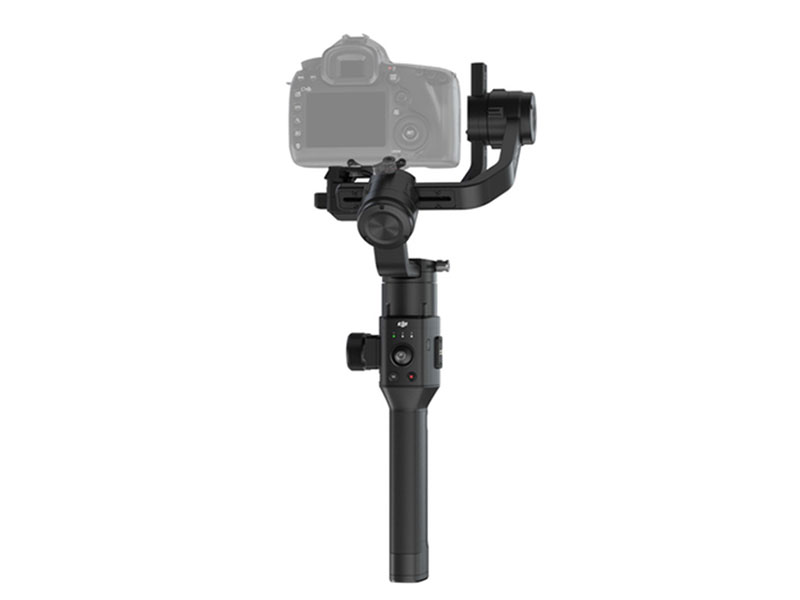 Ronin-S
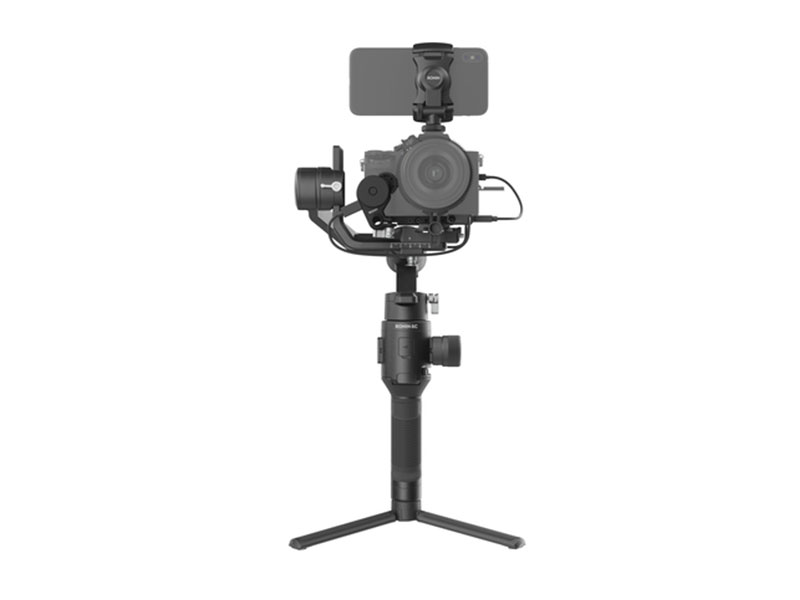 Ronin-SC
 Ronin 4D-6K
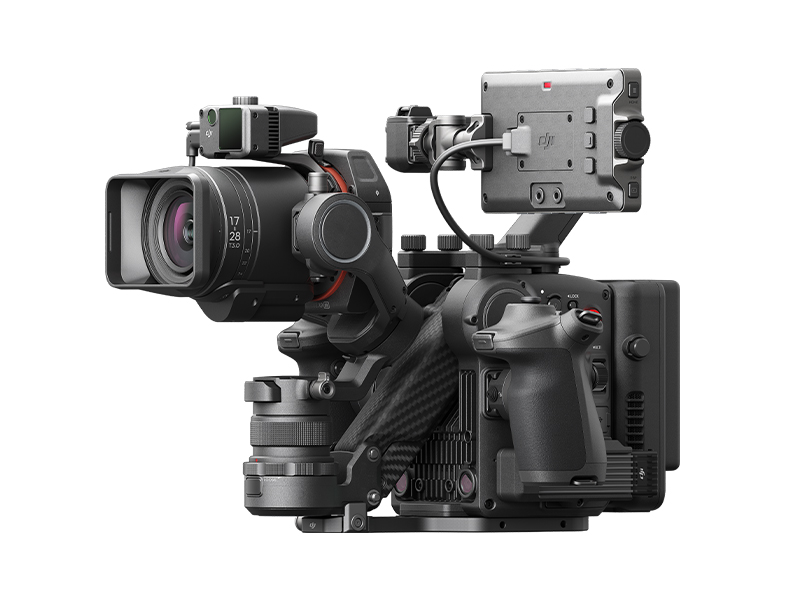 Ronin 4D-8K
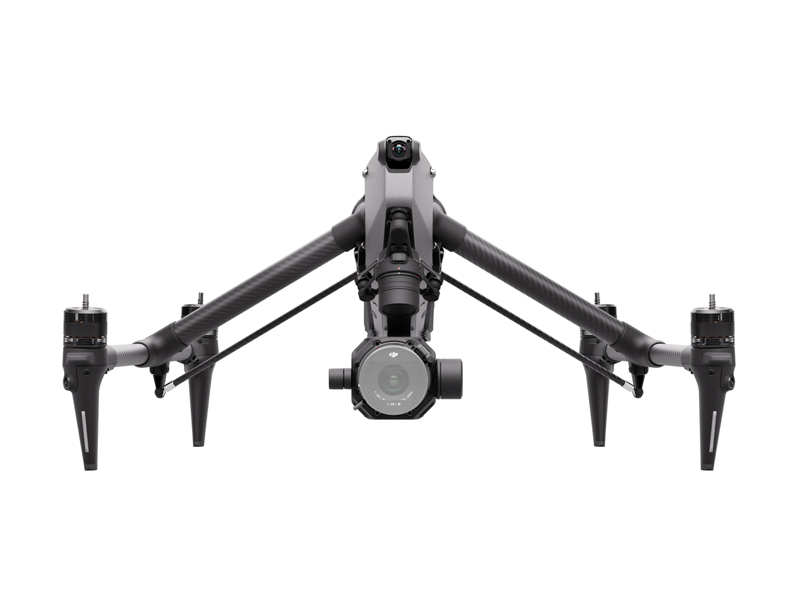 DJI Inspire 3 Basic Package
 DJI Inspire 3
 DJI Focus Pro Creator Combo
 DJI Focus Pro All-In-One Combo
 DJI Transmission (High-Bright Monitor Combo)
 DJI Transmission (Standard Combo)
 DJI Video Receiver
 Inspire 2
 DJI Power 1000 Mini
 DJI Power 2000
 DJI Power 1000 V2
 DJI Power 1000 Portable Power Station
 DJI Power Expansion Battery 2000
 DJI Power Dongle
 IBCPOWER 100W Foldable Solar Panel
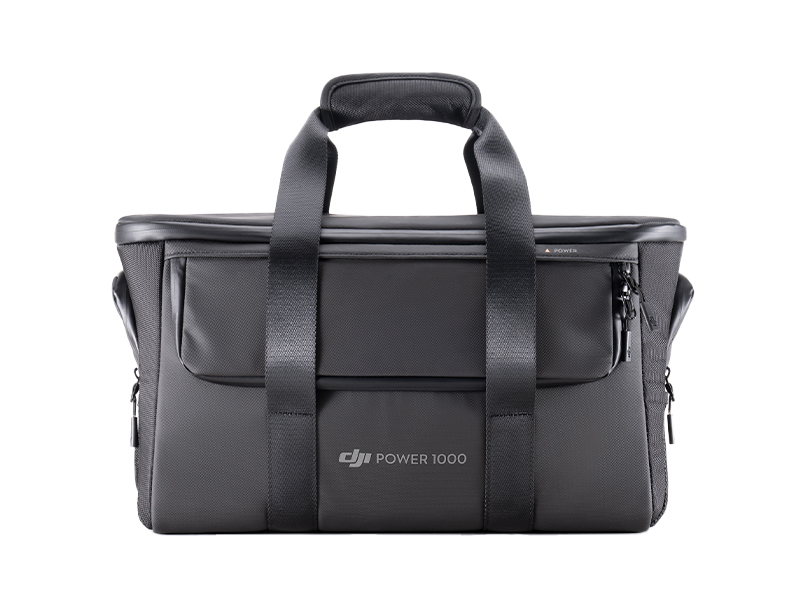 DJI Power 1000 Protective Storage Bag
 DJI Power Car Power Outlet to SDC Power Cable (12V/24V)
 DJI Power SDC to Matrice 30 Series Fast Charge Cable
 DJI Power Drone Fast Charging Cable
 DJI Power SDC to DJI Matrice 4 Fast Charge Cable
 DJI Power Car Battery Charging Cable
 DJI Power 1.8kW Solar/Car Super Fast Charger
 DJI Power Series Hand Truck
 DJI Power SDC to DJI Air 3 Series Fast Charge Cable
 DJI ROMO S (Water Tank Version)
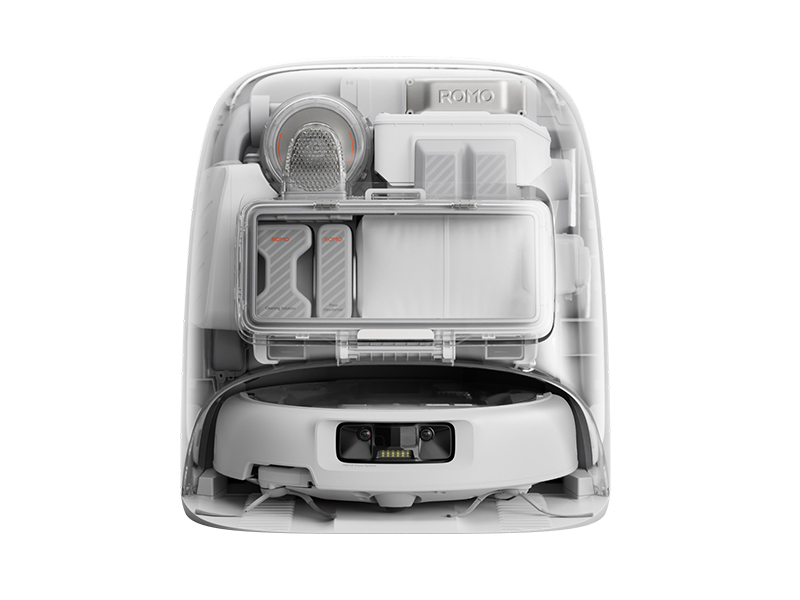 DJI ROMO P (Water Tank Version)
 DJI ROMO A (Water Tank Version)
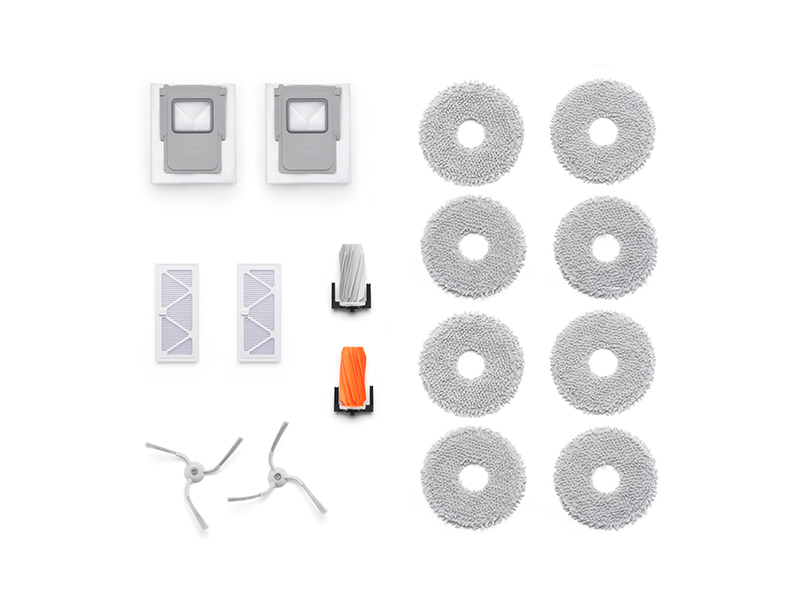 ROMO Accessory Kit
 ROMO Cleaning Solution
 ROMO Side Brush
 ROMO Mop Pad
 Matrice 30T Dock Bundle
 NextCore RN50 Drone LiDAR
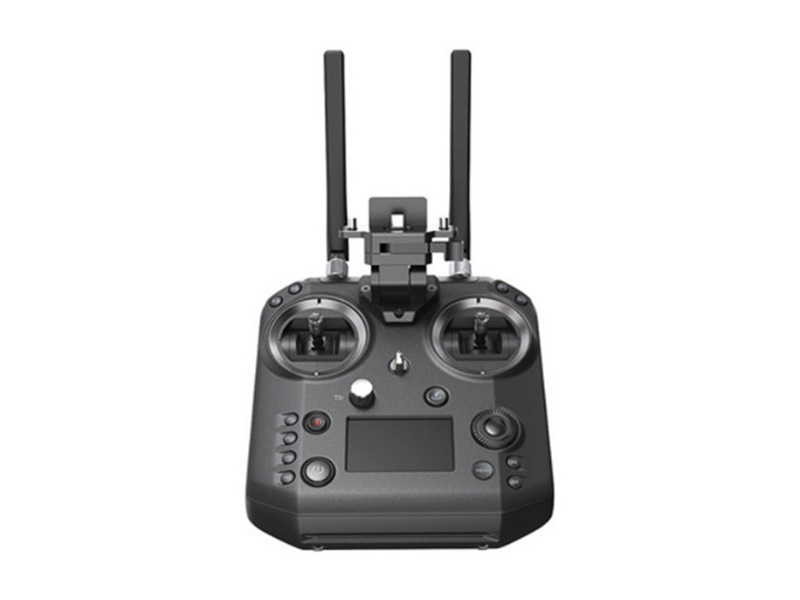 Cendence-S Remote Controller For M200 V2 Series
 Ex-Demo Zenmuse P1
 Zenmuse H30
 Zenmuse H30T
 ParaZero SafeAir Parachute for Matrice 30 Series
 ParaZero SafeAir Parachute for DJI Mavic 3 Series (ASTM Compliant)
 DJI Dock 2
 DJI Matrice 4E
 DJI Matrice 4T
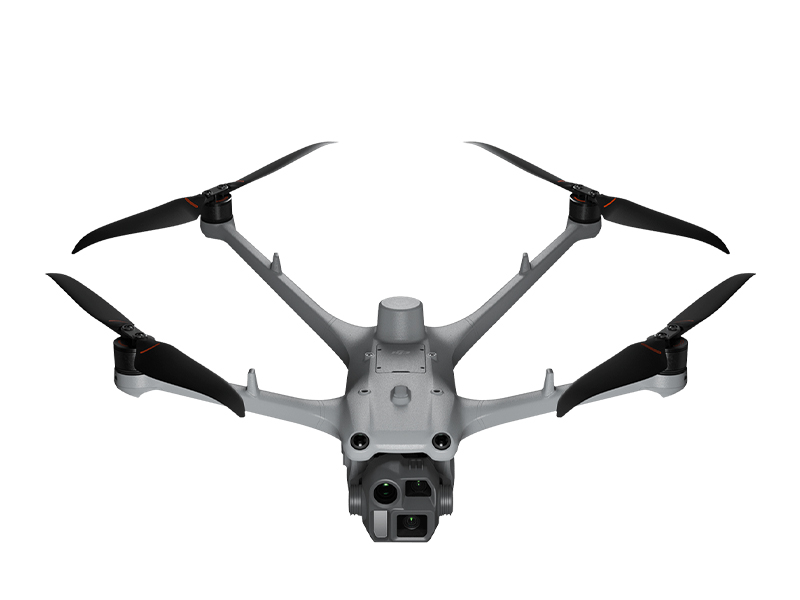 DJI Matrice 4D
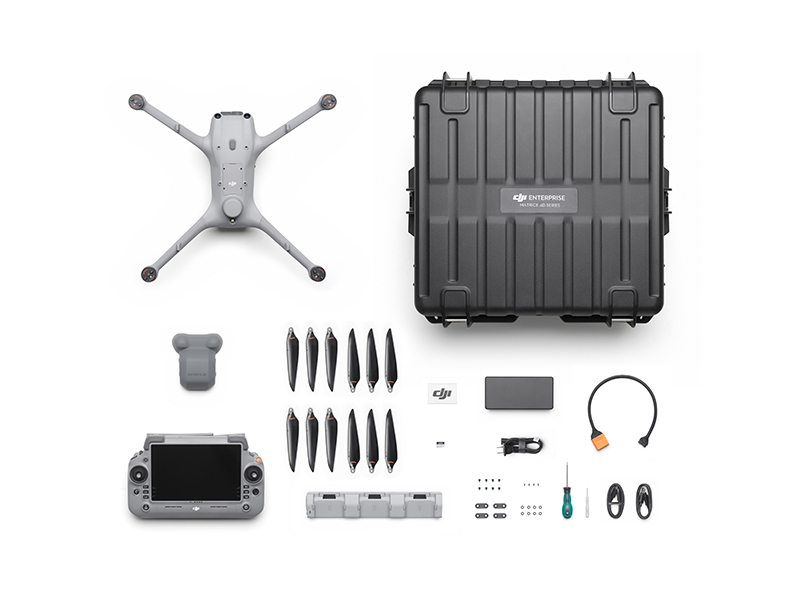 DJI Matrice 4D Combo
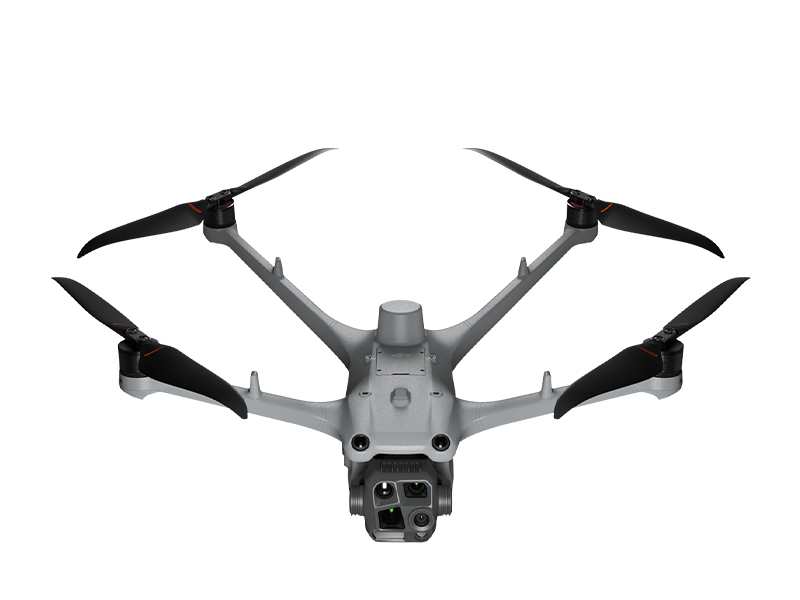 DJI Matrice 4TD
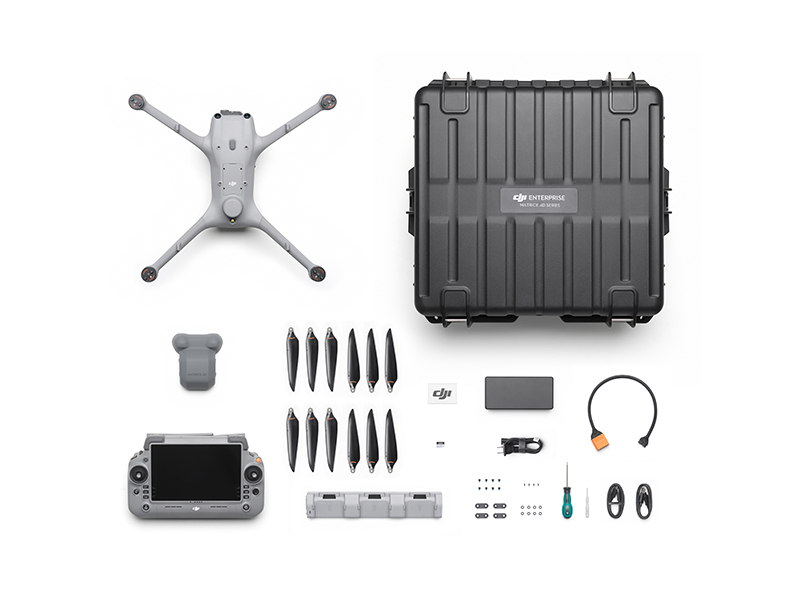 DJI Matrice 4TD Combo
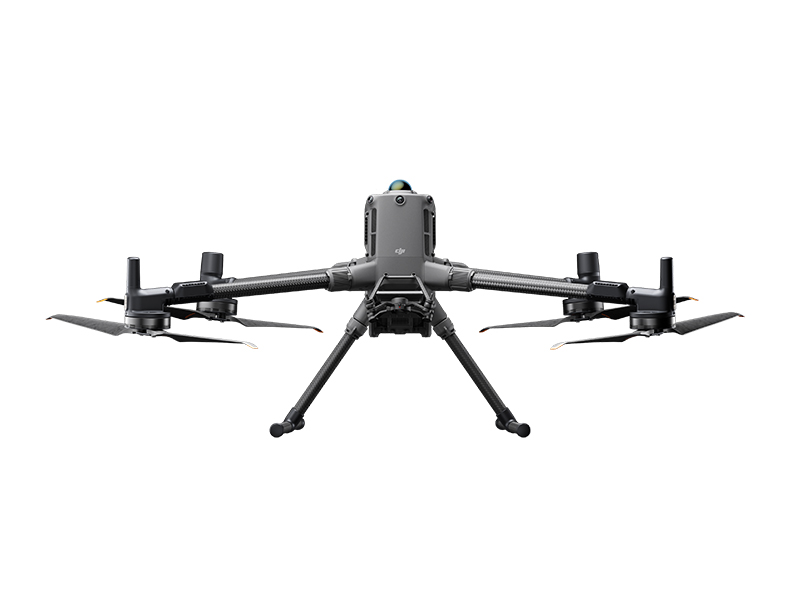 DJI Matrice 400
 DJI Dock 3
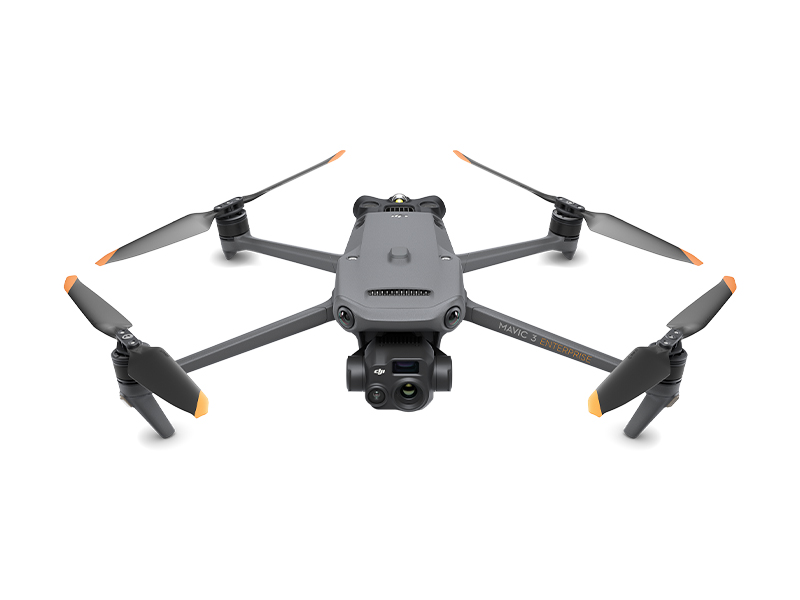 DJI Mavic 3 Thermal Advanced
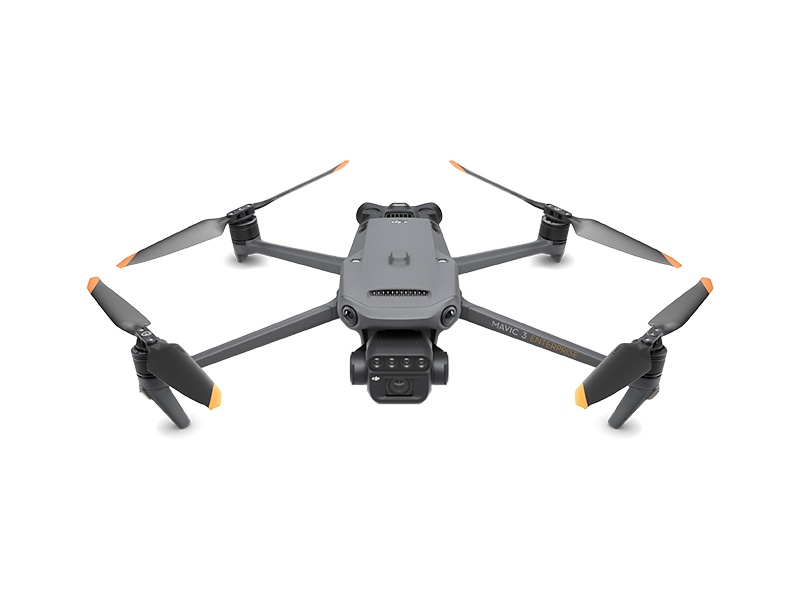 DJI Mavic 3 Multispectral
 DJI FlyCart 30
 DJI FlyCart 100
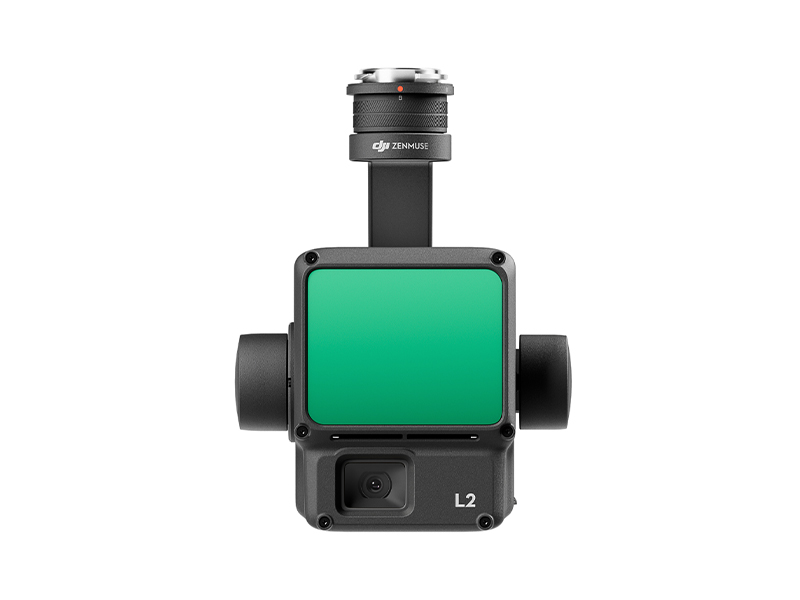 Zenmuse L2
 Zenmuse P1
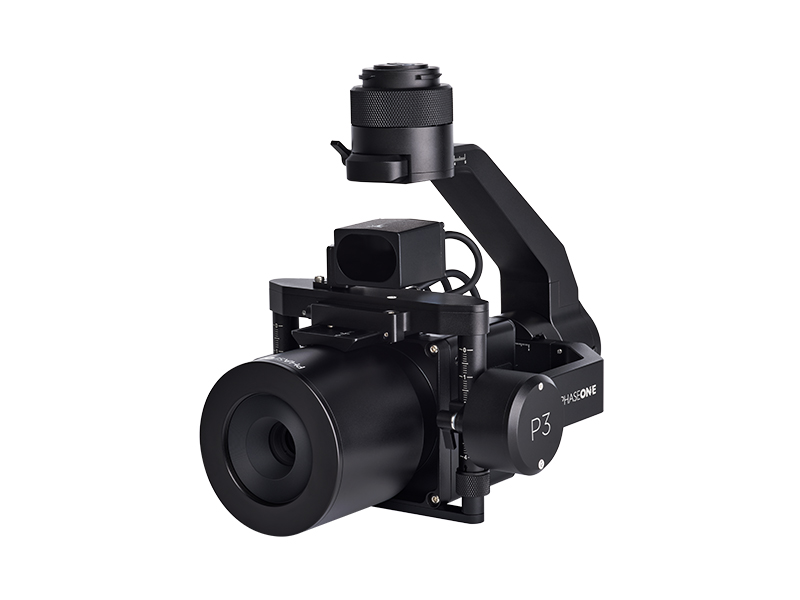 Phase One P3 Payload (iXM 120MP) with 80mm AF
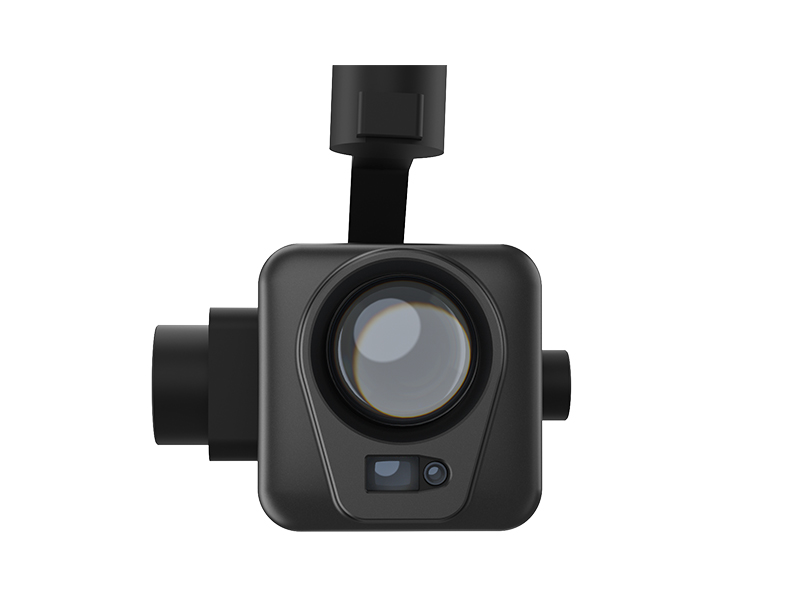 Deepthink S2 Pro Night Vision Payload
 Mavic 2 Enterprise Advanced
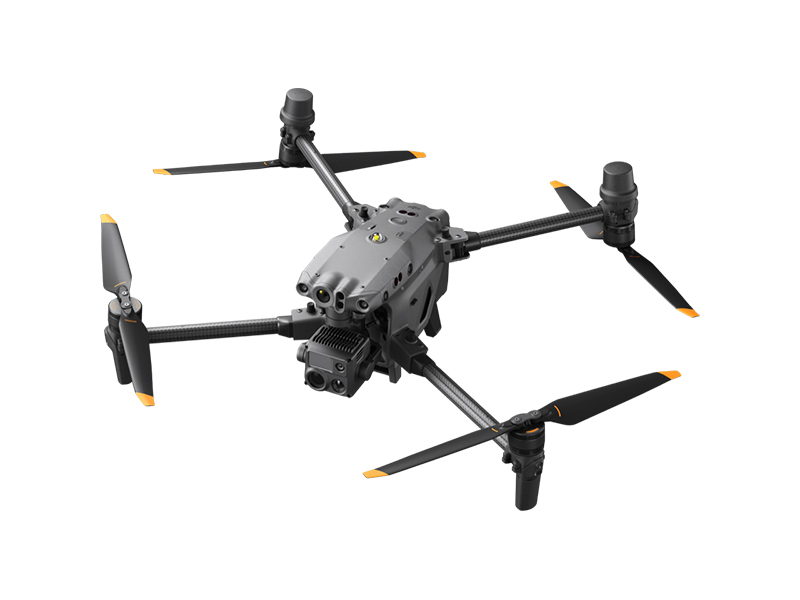 Matrice 30T
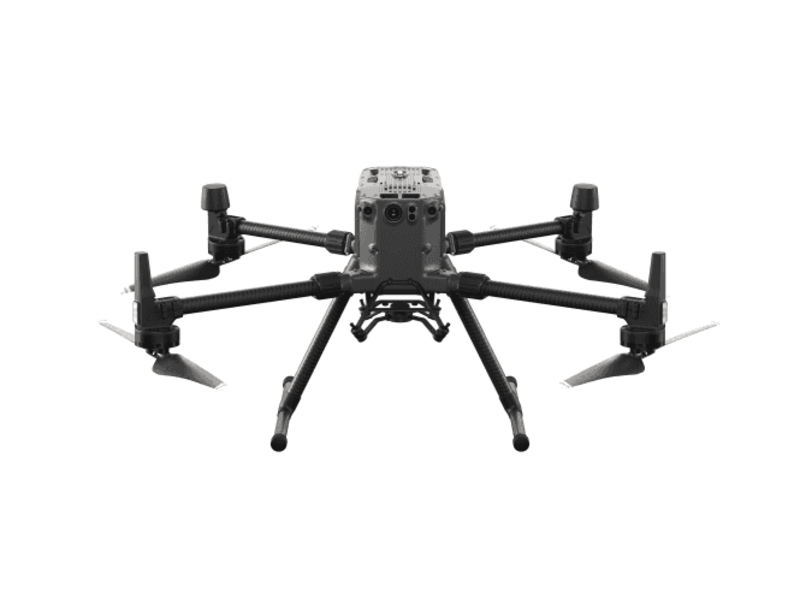 Matrice 300 RTK
  Deepthink S2 Night Vision Payload for Matrice 300 Series
 Zenmuse H20T
  DJI Care Enterprise Plus (DJI Matrice 400)
 DJI Care Enterprise Plus (DJI Matrice 4E)
 DJI Maintenance Program Basic Service (Matrice 300 RTK)
 DJI Maintenance Program Standard Service (Mavic 2 Series)
 DJI Maintenance Program Standard Service (Matrice 300 RTK)
 DJI AGRAS T100
 AGRAS T50
 DJI RC Plus for AGRAS Series
 DJI AGRAS T25P
 AGRAS T25
 AGRAS T40 (Drone Only, No Batteries)
 DJI AGRAS T30 (Excluding Batteries)
 X2D II 100C
 907X & CFV 100C
 XCD 45P
 XCD 2,5/25V
 XCD 2,5/38V
 XCD 2,5/55V
 UGREEN 145W 25000mAh Power Bank
 Freewell Pro Card Reader (CF A/B, SD, TF)
 LiPO Battery Safe Bag (Medium)
 D1 Labs Landing Pad Pro (50CM)
 DJI Care Refresh 1-Year Plan (DJI Mini 5 Pro)
 DJI Care Refresh 2-Year Plan (DJI Mini 5 Pro)
 D1 Labs Safety Case for DJI Mini 5 Pro
 DJI Mini 5 Pro Shoulder Bag
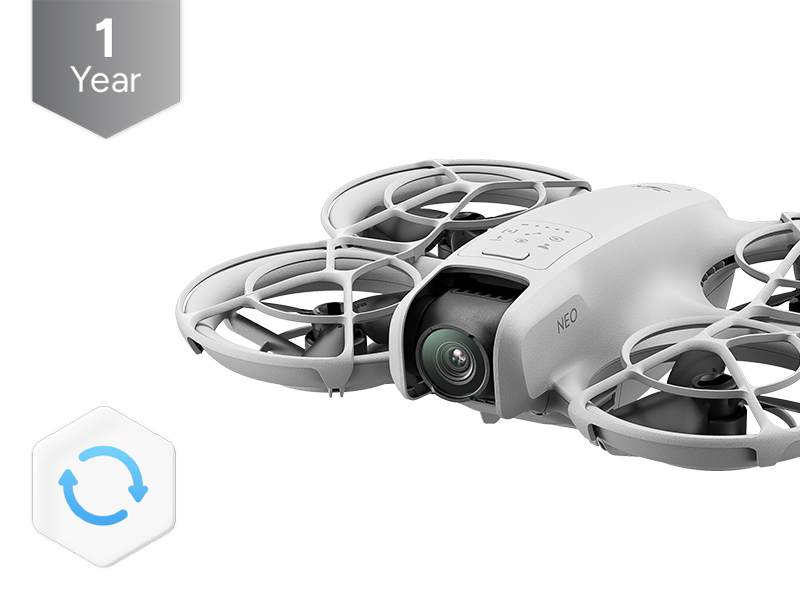 DJI Care Refresh 1-Year Plan (DJI Neo)
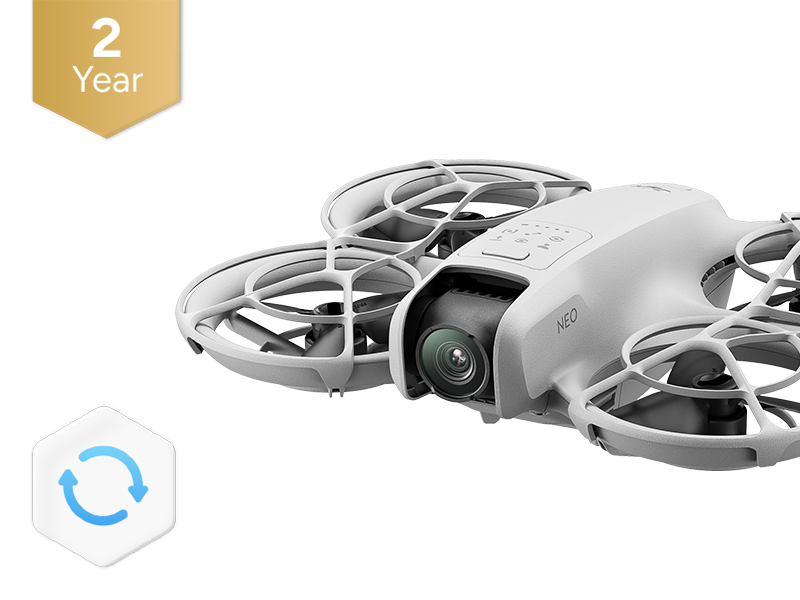 DJI Care Refresh 2-Year Plan (DJI Neo)
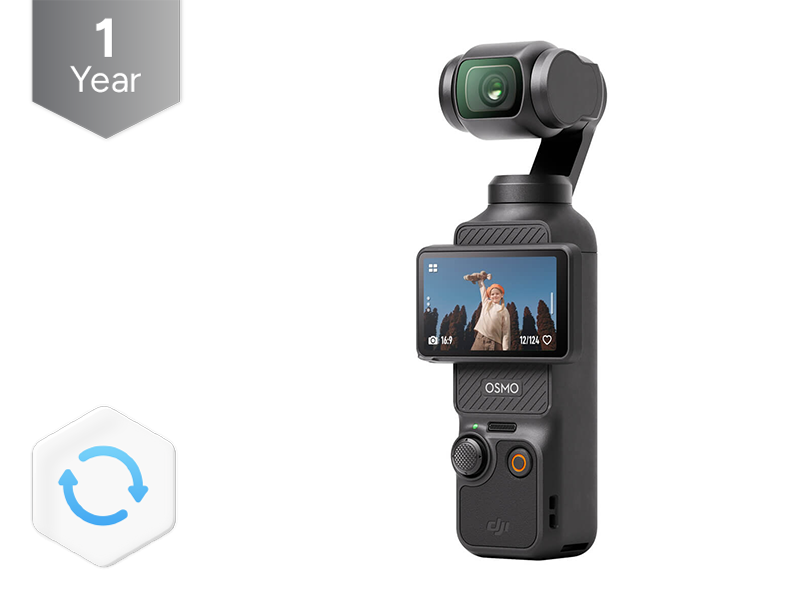 DJI Care Refresh 1-Year Plan (Osmo Pocket 3)
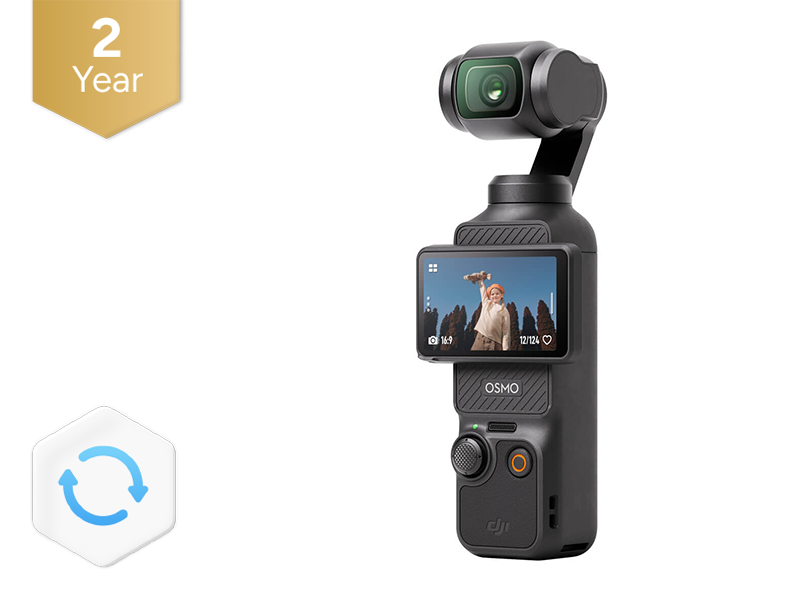 DJI Care Refresh 2-Year Plan (Osmo Pocket 3)
 D1 Labs Carry Case for Osmo Pocket 3
 Osmo Pocket 3 Carrying Bag
 DJI OM Magnetic Phone Clamp 5
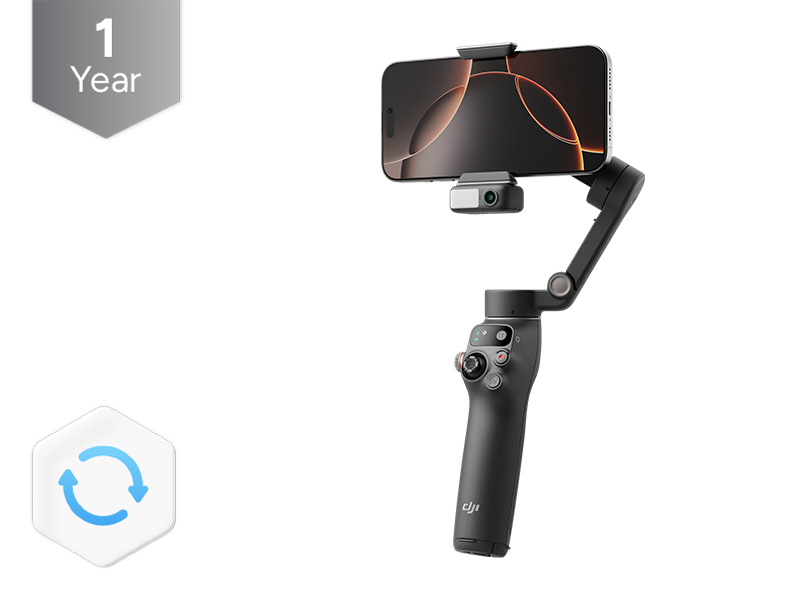 DJI Care Refresh 1-Year Plan (Osmo Mobile 7P)
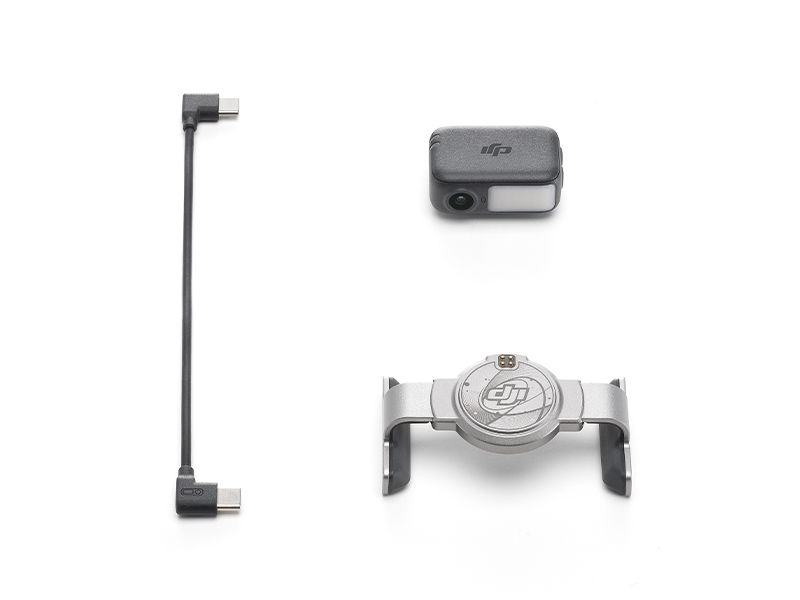 DJI OM 7 Series Tracking Kit
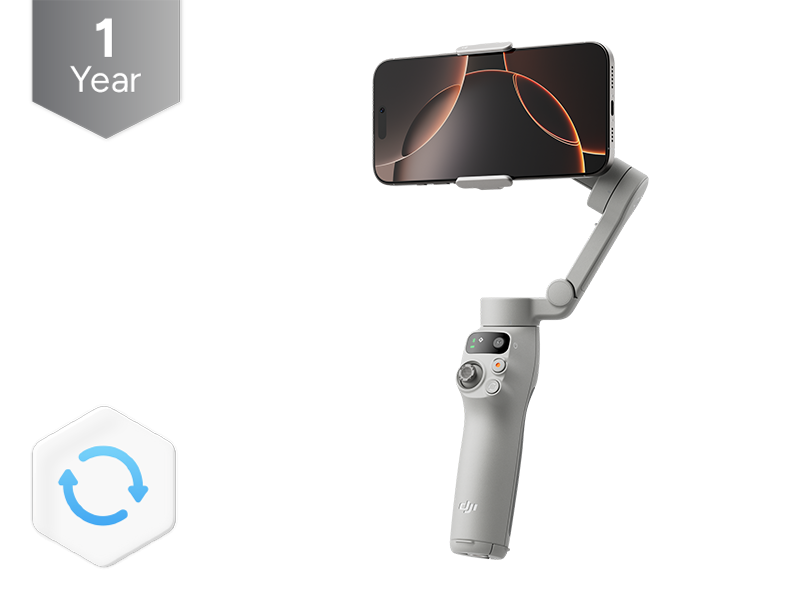 DJI Care Refresh 1-Year Plan (Osmo Mobile 7)
 Osmo 1.6m Tripod Selfie Stick
 DJI OM 7 Series Magnetic Phone Clamp
 DJI Care Refresh 1-Year Plan (DJI RS 4 Mini)
 DJI Care Refresh 2-Year Plan (DJI RS 4 Mini)
 DJI RS Enhanced Intelligent Tracking Module
 DJI RS Intelligent Tracking Module
 DJI Care Refresh 1-Year Plan (DJI Mini 4 Pro)
 DJI Care Refresh 2-Year Plan (DJI Mini 4 Pro)
 DJI Care Refresh 1-Year Plan (DJI Air 3S)
 DJI Care Refresh 2-Year Plan (DJI Air 3S)
 DJI RC Pro 2
 DJI Care Refresh 1-Year Plan (DJI RS 4)
 DJI Care Refresh 2-Year Plan (DJI RS 4)
 DJI Care Refresh 1-Year Plan (Osmo Action 5 Pro)
 DJI Care Refresh 2-Year Plan (Osmo Action 5 Pro)
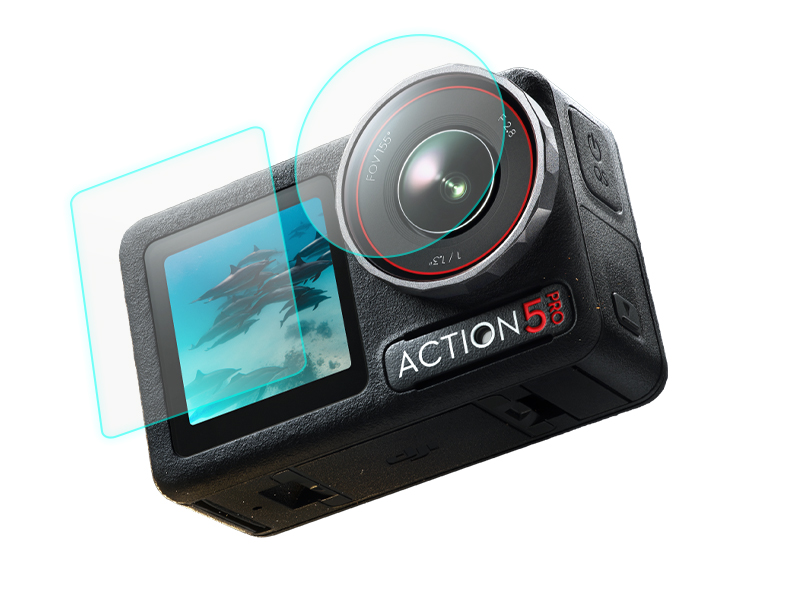 D1 Labs Screen & Lens Protector for Osmo Action 5 Pro
 DJI Care Refresh 1-Year Plan (DJI Mavic 4 Pro)
 DJI Care Refresh 2-Year Plan (DJI Mavic 4 Pro)
 PGYTECH OneGo Air Backpack 25L | Obsidian Black
 D1 Labs Safety Case for DJI Mavic 4 Pro
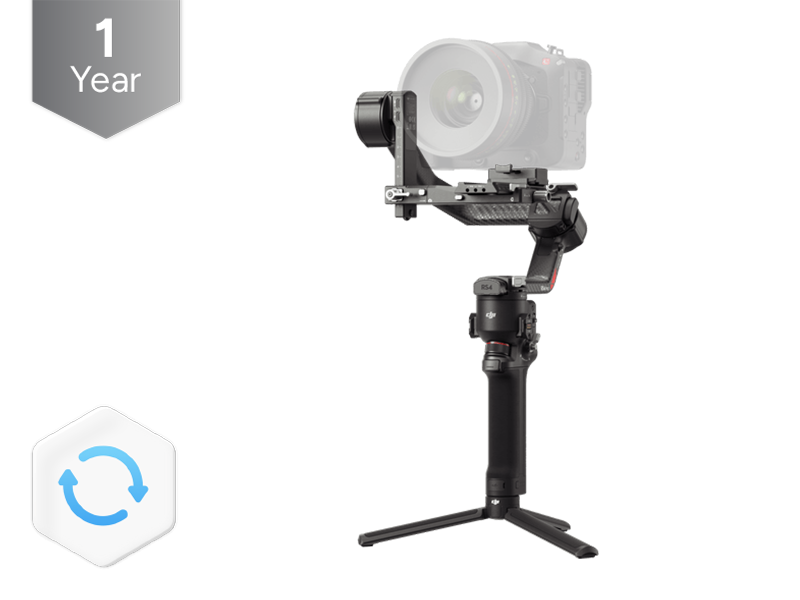 DJI Care Refresh 1-Year Plan (DJI RS 4 Pro)
 DJI Care Refresh 2-Year Plan (DJI RS 4 Pro)
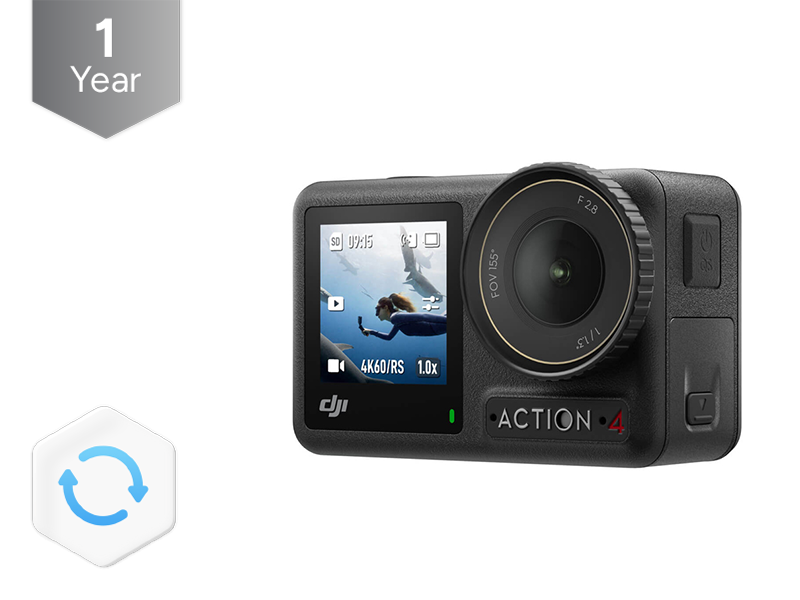 DJI Care Refresh 1-Year Plan (Osmo Action 4)
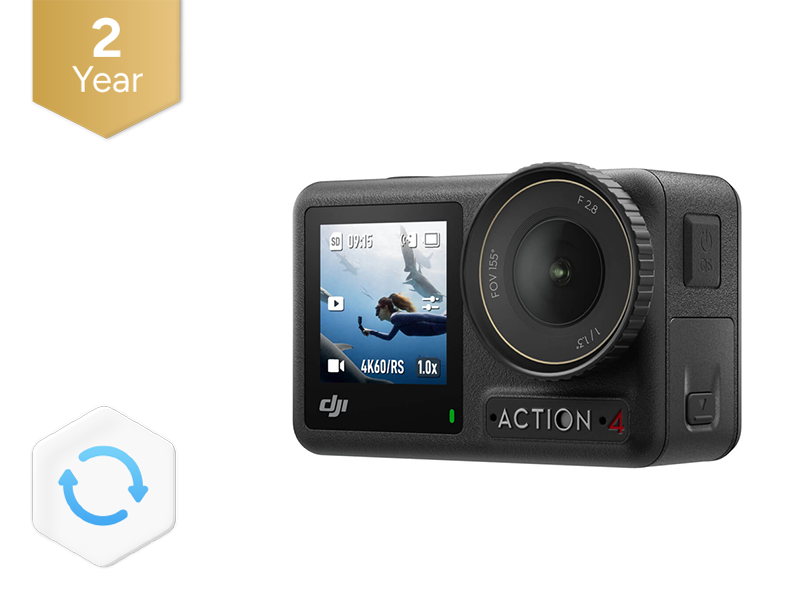 DJI Care Refresh 2-Year Plan (Osmo Action 4)
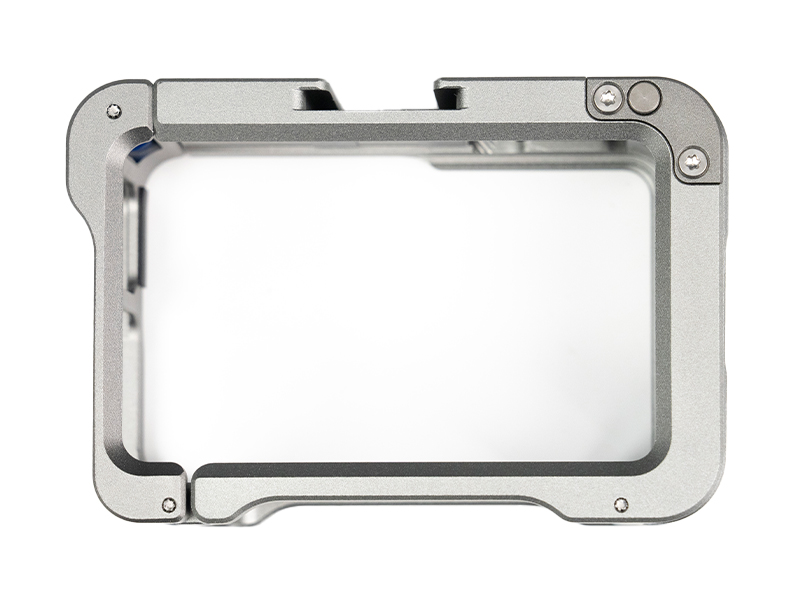 D1 Labs Camera Cage for Osmo Action 3/4/5 Pro
 DJI Mic 3 Receiver
 DJI Mic 3 Transmitter
 DJI Mic 3 Charging Case
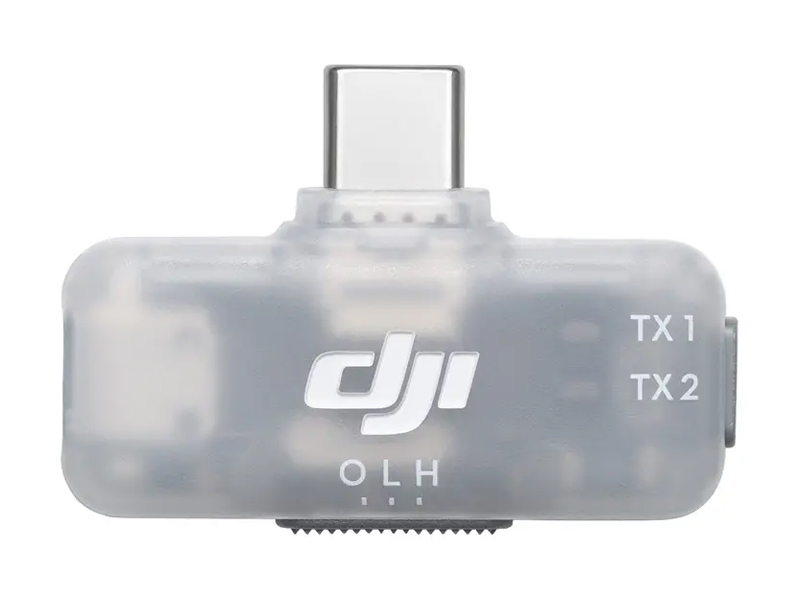 DJI Mic Series Mobile Receiver
 DJI Mic Series Carrying Pouch
 DJI Mic Mini Windscreen (Black & Grey w. Black Clip)
 DJI Care Refresh 1-Year Plan (Osmo Nano)
 DJI Care Refresh 2-Year Plan (Osmo Nano)
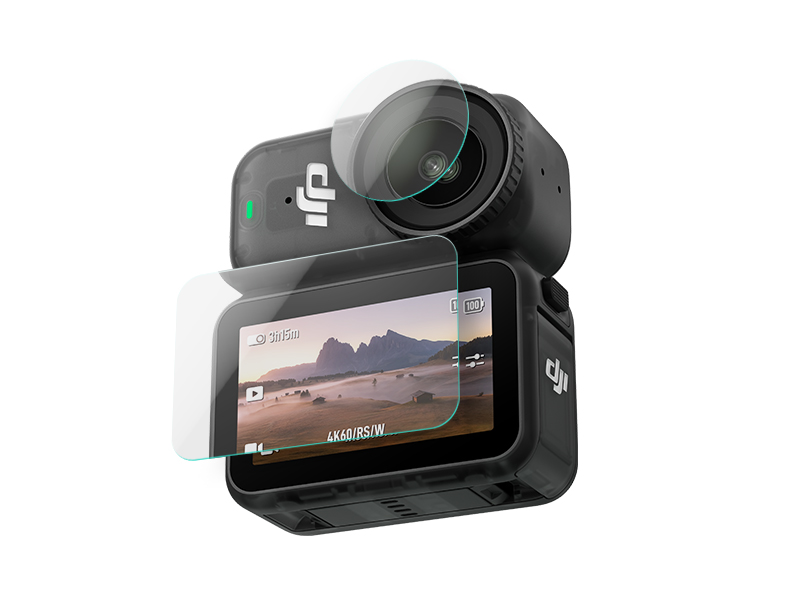 D1 Labs Screen & Lens Protector for Osmo Nano
 Osmo 70cm Invisible Selfie Stick
 DJI Care Refresh 1-Year Plan (Osmo 360)
 DJI Care Refresh 2-Year Plan (Osmo 360)
 Osmo 360 Carrying Bag
 D1 Labs Screen Protector for Osmo 360
 D1 Labs Tri-Colour Drone Strobe Light
 D1 Labs All-in-One Mount for Osmo Pocket 3
 UGREEN 130W USB-C Car Charger
 UGREEN 100W USB-C Charging Station
 UGREEN 35W Nexode GaN II Charger
 UGREEN USB-C to HDMI Adapter
 D1 Labs Landing Pad Pro (65CM)
 D1 Labs Landing Pad Pro (100CM)
 D1 Labs Weighted Drone Landing Pad (92 cm)
 D1 Labs Dual Hook Controller Lanyard
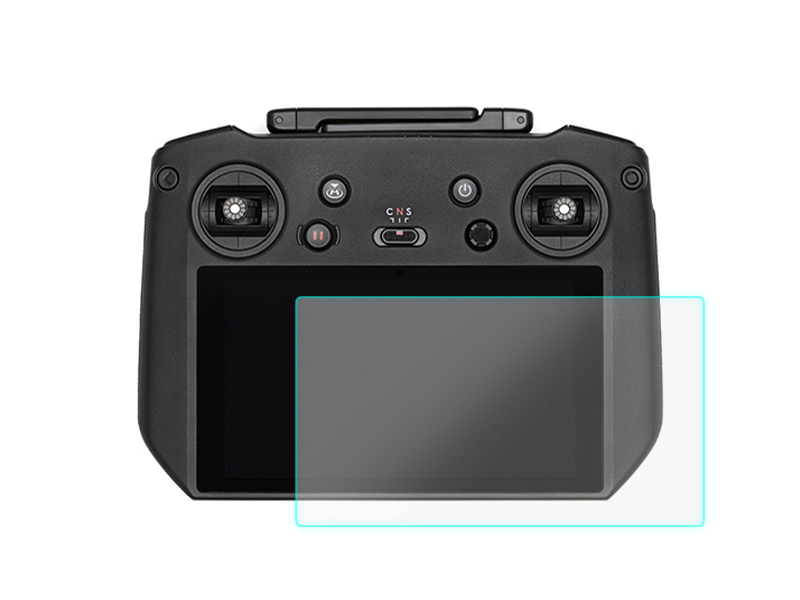 D1 Labs Screen Protector for DJI RC Pro
 SunnyLife Carrying Case for DJI RC Pro
 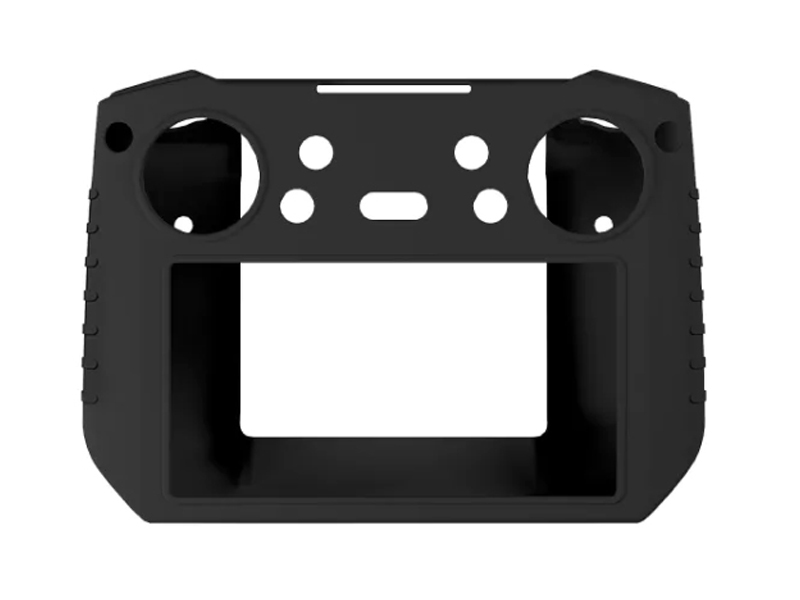 SunnyLife Protective Cover for DJI RC Pro
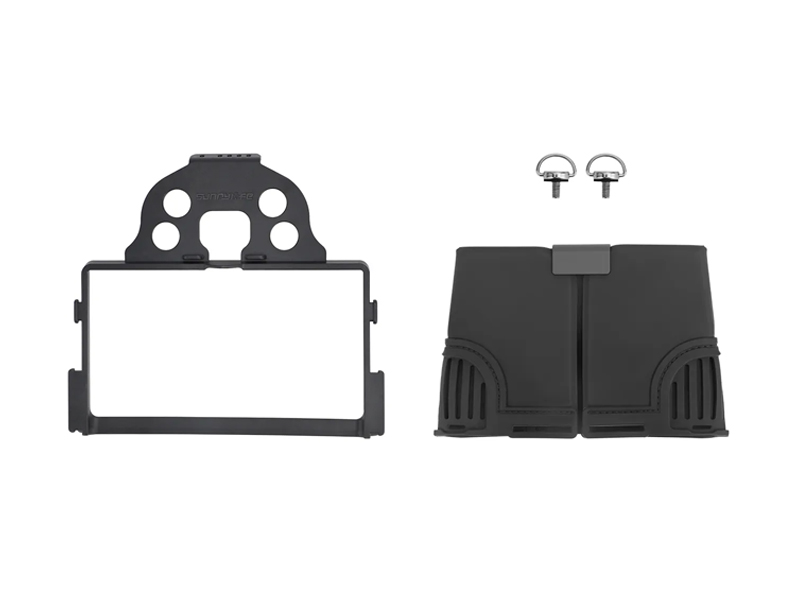 SunnyLife Sun Hood for DJI RC Pro
 D1 Labs Drone Safety Sign
 D1 Labs Retractable Safety Cone (450 mm)
 LiPO Battery Safe Bag (Large)
 Freewell Mega Filter Pack for Osmo Action 6 (12 Pack)
 Freewell Bright Day Filters for Osmo Action 6 (4 Pack)
 Freewell CPL Filter for DJI Mini 5 Pro
 Freewell Standard Day Filters for Osmo Action 6 (4 Pack)
 Freewell Sherpa Series Case for iPhone 14 Pro Max
 Freewell Sherpa Series Case for iPhone 15 Pro
 Freewell Sherpa Series Case for iPhone 15 Pro Max
 Freewell Sherpa Series Glow Mist 1/4 Filter
 Phantom 4 Pro V2.0 Remote Controller
  DJI RC Motion 3
 Cynova Protective Cover for DJI RC Pro 2
 D1 Labs Screen Protector for DJI RC Pro 2
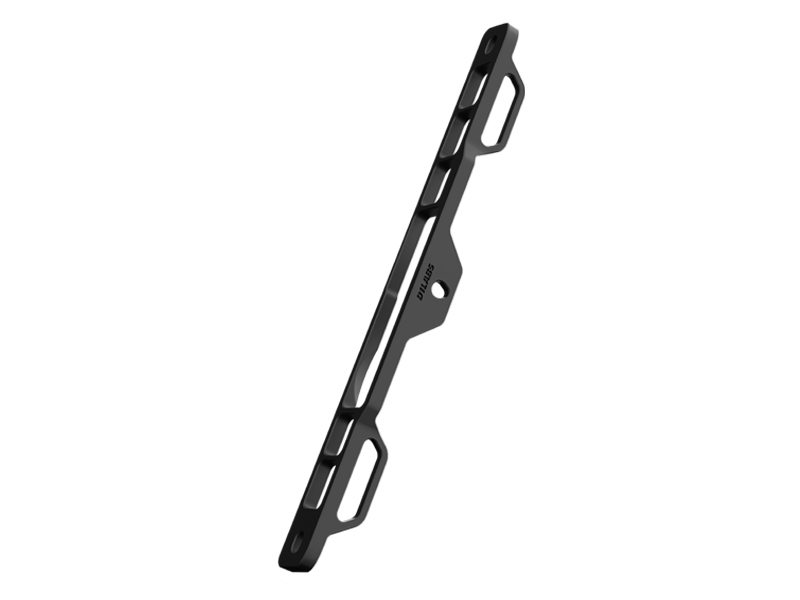 D1 Labs Lanyard Bracket for DJI RC Pro 2
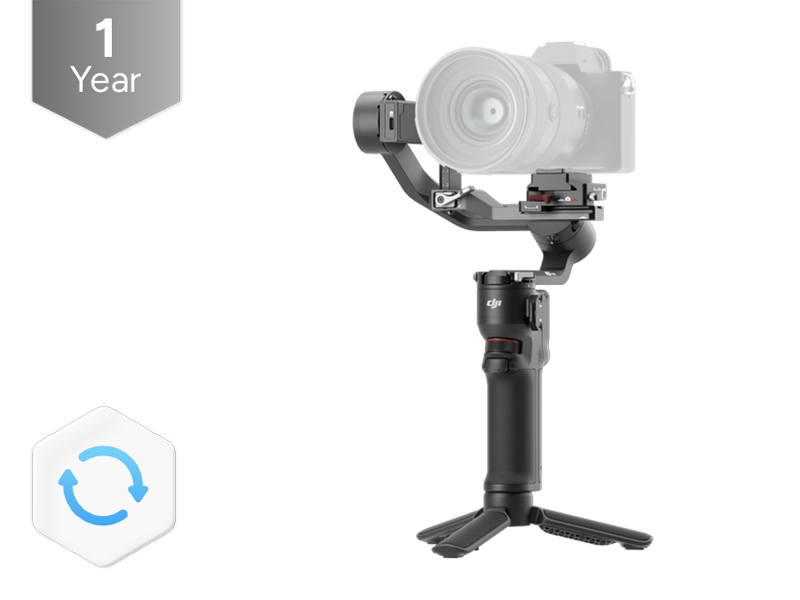 DJI Care Refresh 1-Year Plan (DJI RS 3 Mini)
 DJI Care Enterprise Basic (DJI Mavic 3 Multispectral)
 DJI Care Enterprise Basic (DJI Mavic 3 Thermal)
 DJI Care Enterprise Basic (Matrice 30T)
 DJI Care Enterprise Basic (Zenmuse L2)
 DJI Care Enterprise Basic 2-Year Plan (Zenmuse H30)
 DJI Care Enterprise Basic 2-Year Plan (Matrice 350 RTK)
 DJI Care Enterprise Basic 2-Year Plan (DJI Mavic 3 Thermal Advanced)
 DJI Care Enterprise Basic 2-Year Plan (D-RTK 3 Multifunctional Station)
 DJI Care Enterprise Plus (D-RTK 3 Multifunctional Station)
 DJI Care Enterprise Plus (Zenmuse S1)
 DJI Care Enterprise Plus (Zenmuse V1)
 DJI Care Enterprise Plus (Zenmuse L2)
 Ex-Demo DJI Mini 3
 Ex-Demo DJI Mini 3 Fly More Combo Plus
 Ex-Demo Osmo Pocket 3 Creator Combo
 Ex-Demo DJI Neo 2 Fly More Combo
 PGYTECH Camera Wrist Strap
 Freewell Standard Day Filters for DJI Mavic 3 Pro (4 Pack)
 Freewell CPL Filter for DJI Mavic 3 Pro
 Ex-Demo Osmo Mobile 8 Advanced Tracking Combo
 Ex-Demo Osmo Nano Standard Combo (64GB)
 Ex-Demo Osmo Nano Standard Combo (128GB)
 Ex-Demo DJI RS 4 Combo
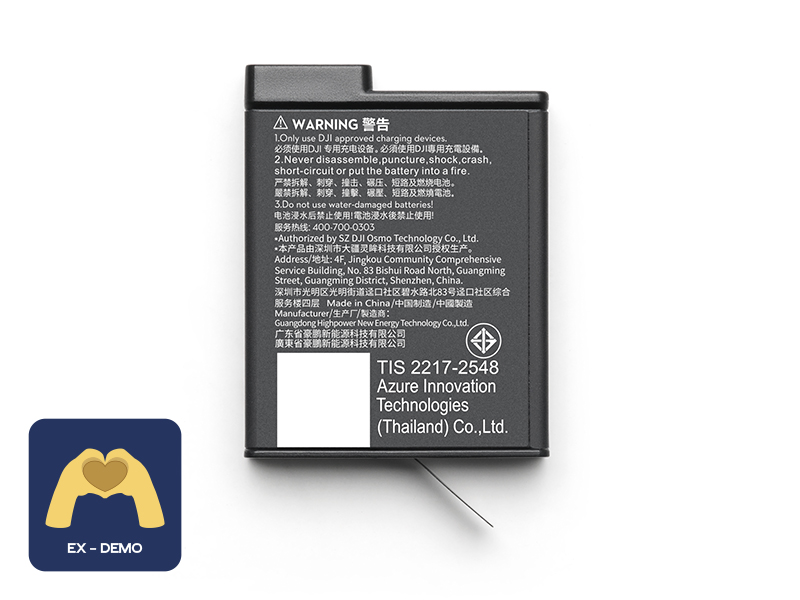 Ex-Demo Osmo Action Extreme Battery Plus (1950 mAh)
 Ex-Demo DJI Mini 5 Pro Intelligent Flight Battery
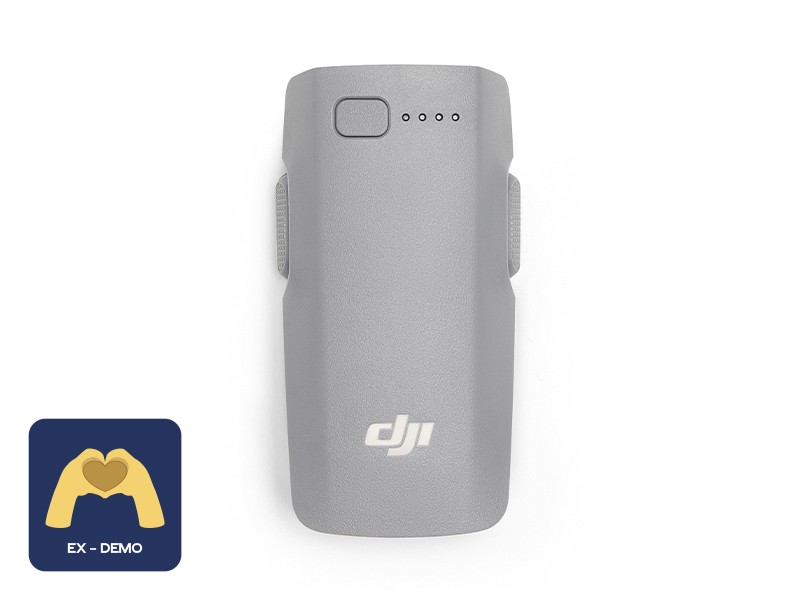 Ex-Demo DJI Neo 2 Intelligent Flight Battery
 Ex-Demo DJI RS Enhanced Intelligent Tracking Module
 Ex-Demo DJI Matrice 4TD Combo
 Ex-Demo Mavic 2 Enterprise Zoom
 Ex-Demo DJI Matrice 4D
 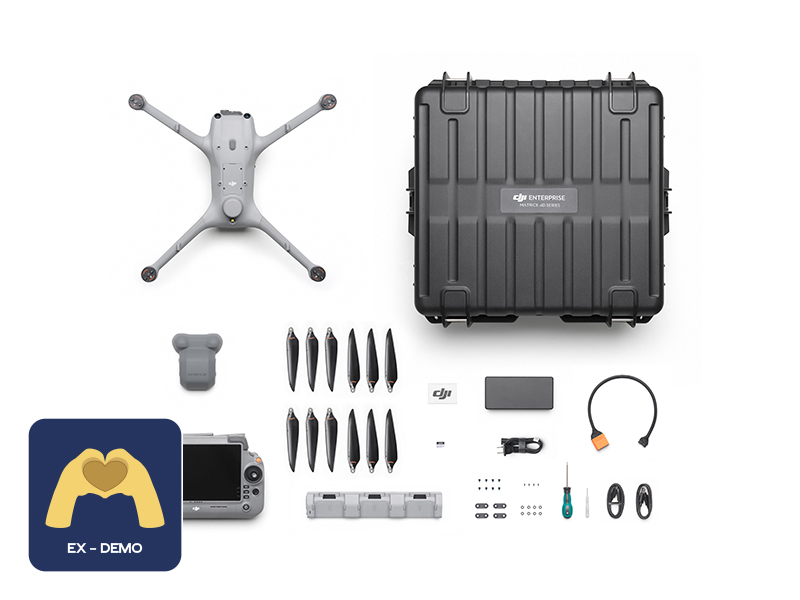 Ex-Demo DJI Matrice 4D Combo
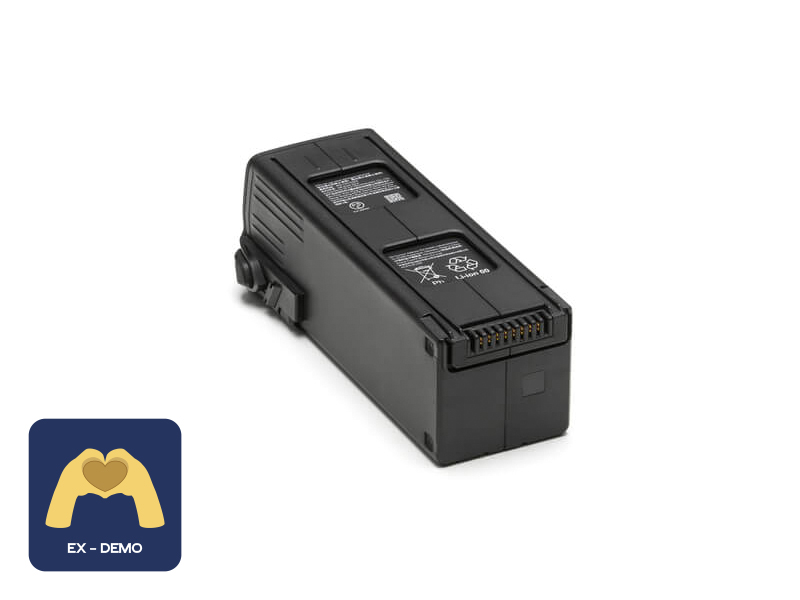 Ex-Demo DJI Mavic 3 Series Intelligent Flight Battery
 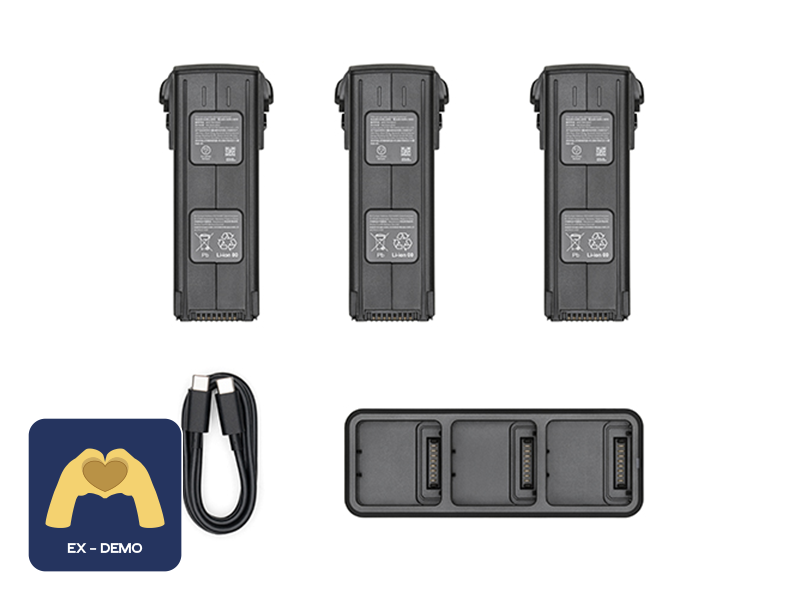 Ex-Demo DJI Mavic 3 Enterprise Series Battery Kit
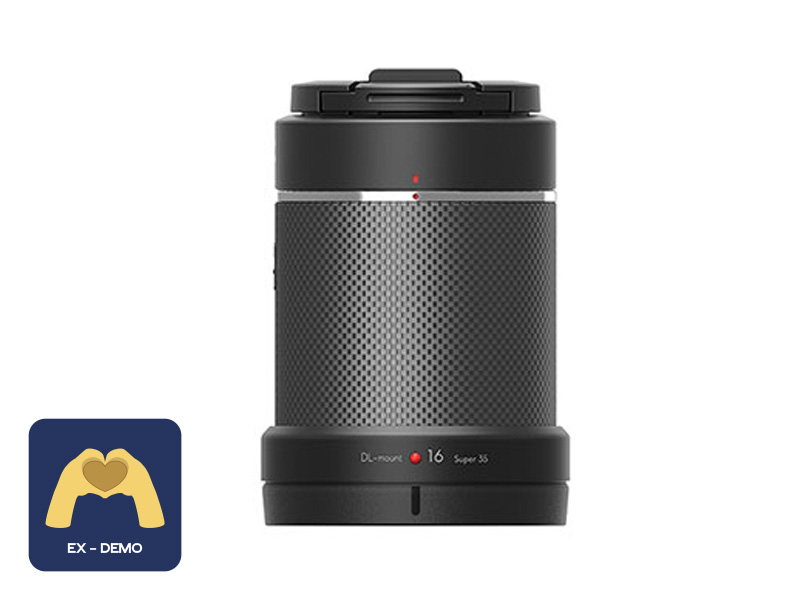 Ex-Demo DJI DL-S 16mm F2.8 ND ASPH Lens
 Ex-Demo TB60 Intelligent Flight Battery
 Ex-Demo FLIR Zenmuse XT 640 13mm 30Hz
 Ex-Demo Zenmuse X5S
 Ex-Demo Zenmuse X7